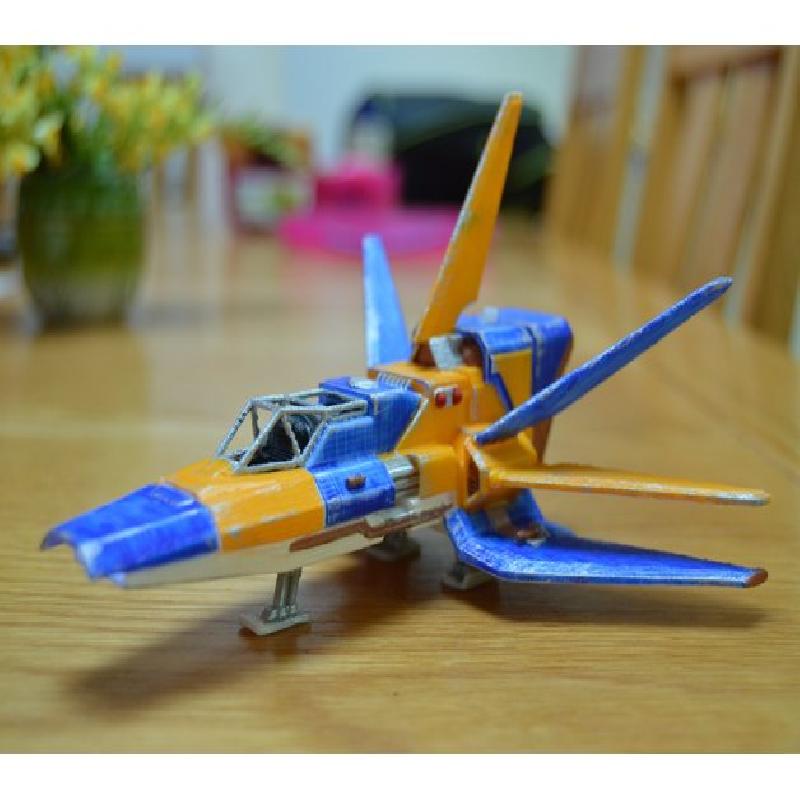
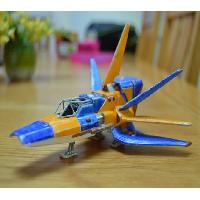
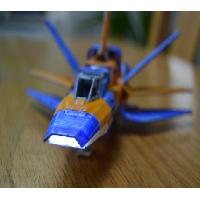
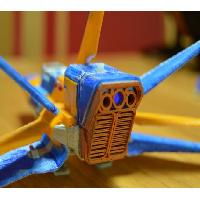
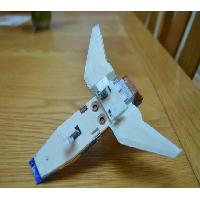
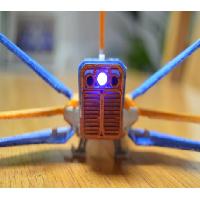
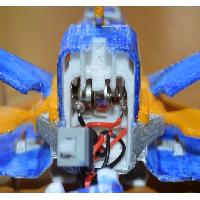
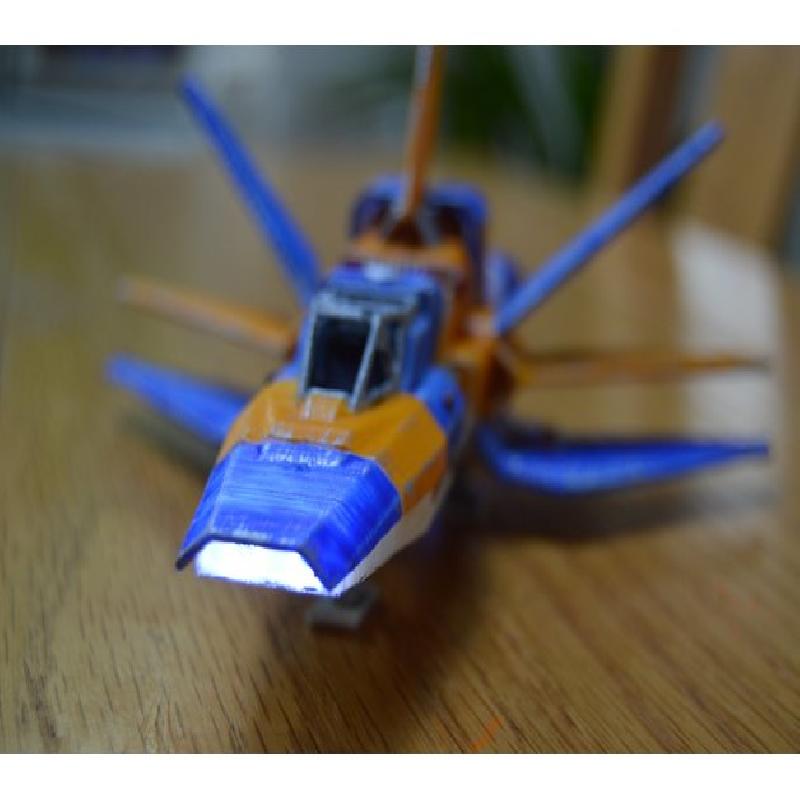
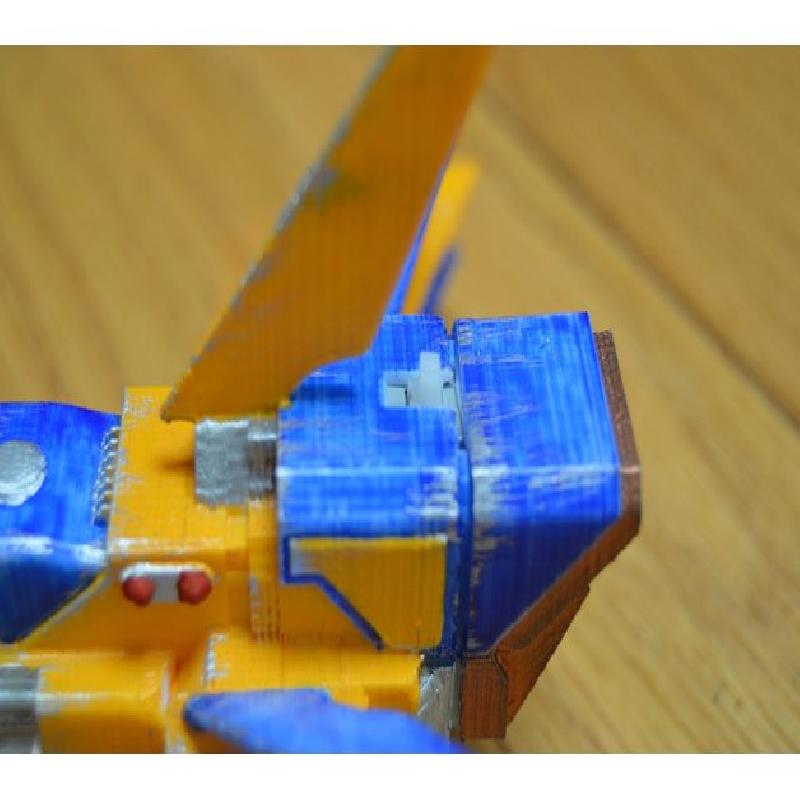
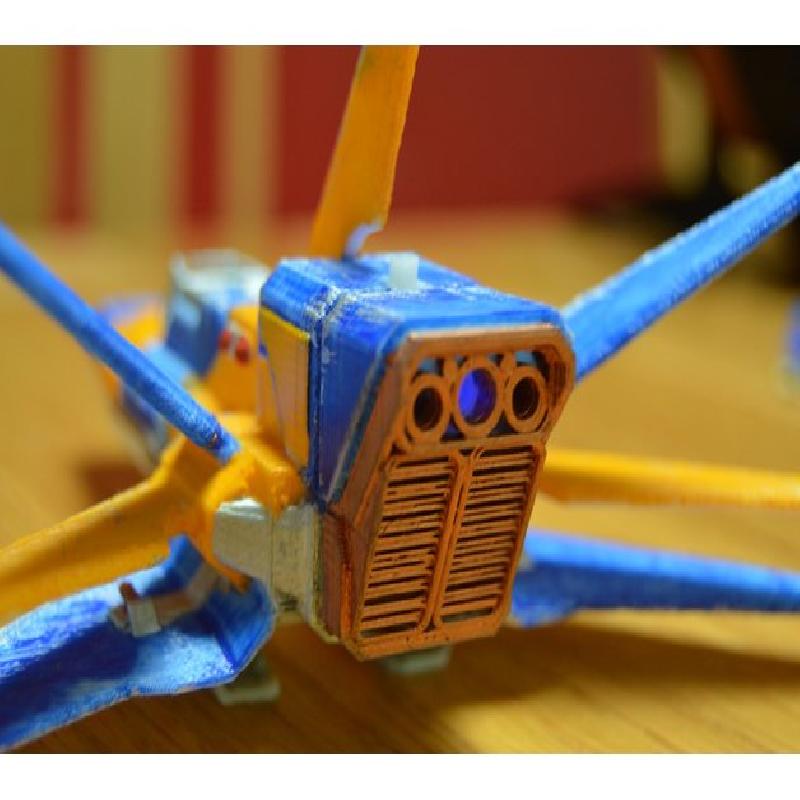
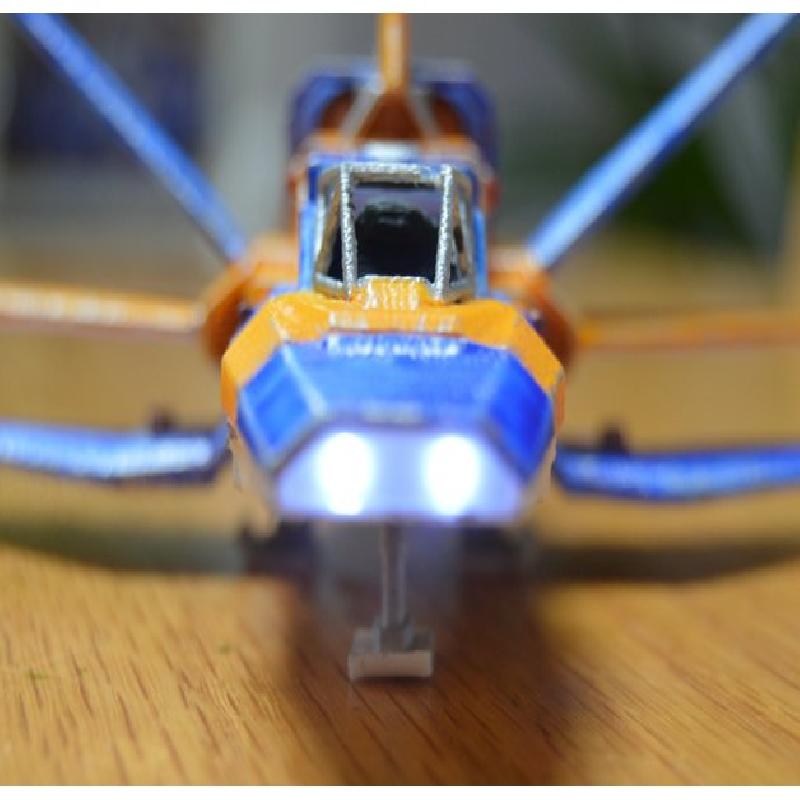
Seriously updated No Man's Sky ship with LED's at the front,, back and battery/switch compartments
Electronic Parts are readily available from eBay;
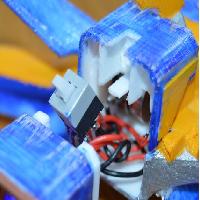
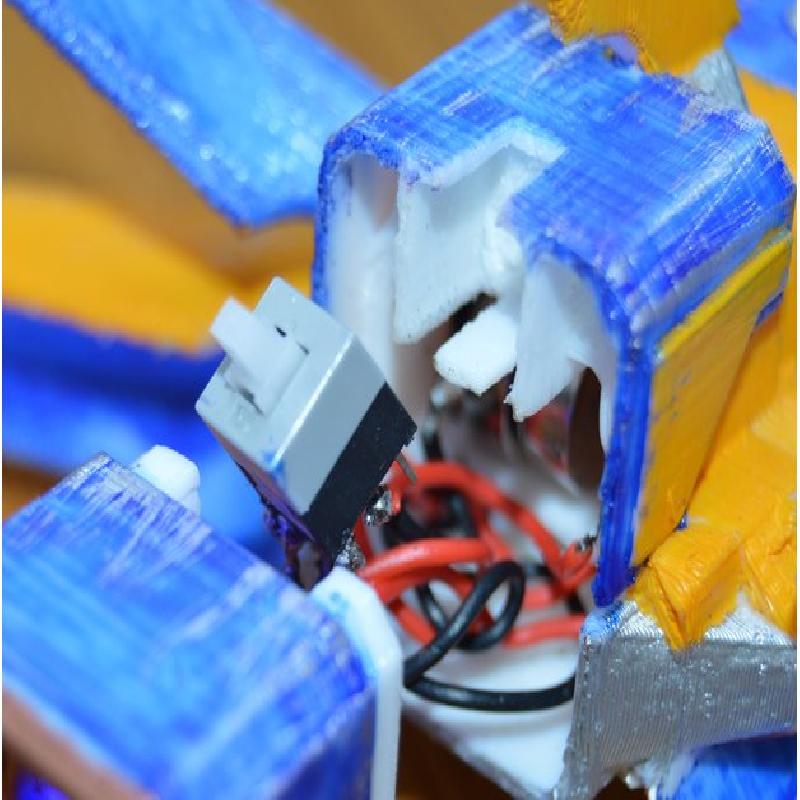
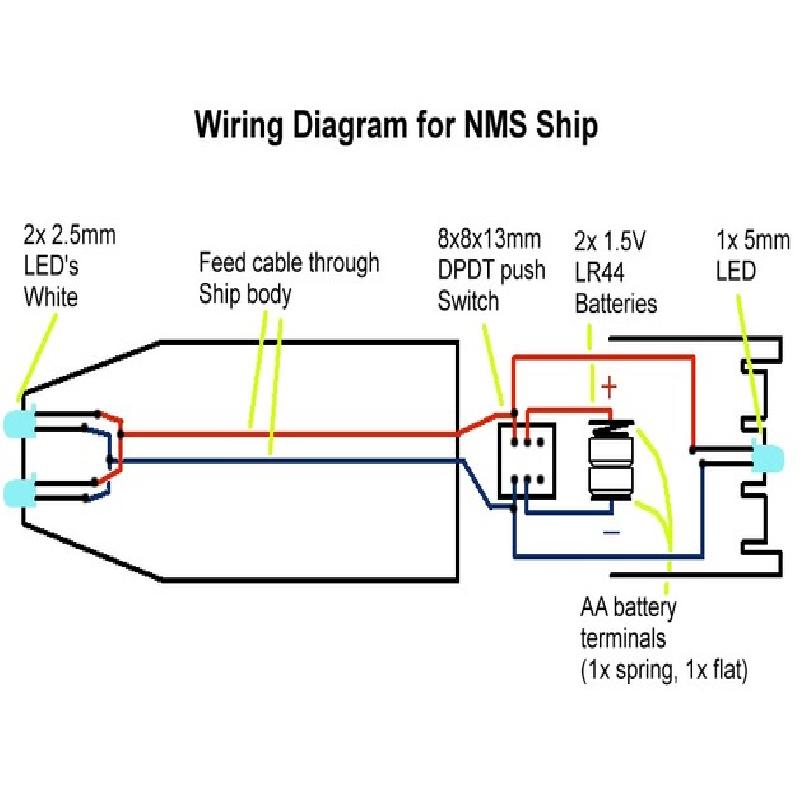
Switch
8x8x13 DPDT latching
http://www.ebay.co.uk/itm/5-Pcs-Square-8x8x13mm-6-Pin-DPDT-Mini-Push-Button-Self-locking-ON-OFF-Switch-/232209396353?hash=item3610c23281:g:XLQAAOSw9GhYfnUr
LED's
2 x 2.5mm (white) & 1 x 5mm (blue/white/red or whatever!)
Batteries
2 x AG13 (LR44) 1.5V
Printer Brand:
Duplicator 4X
Printer:
Wanhao
Resolution:
0.2-0.3mm
Infill:
20%
Create a 3D printed spaceship with basic wiring, switch, batteries and LED's
This small project will inspire students to;
Print a complex model with a high degree of success (supports etc.. provided)
Allow them to wire and assemble a basic circuit
Require relatively fine soldering skills
Work out a step-by-step means of assembly
Lesson Plan
Requirements:
3D printer and software (Repetier, Simplify3D, Slic3r etc..)
Lesson 1
Introduction - Bringing virtual reaility into reality (Inspire with NMS video)
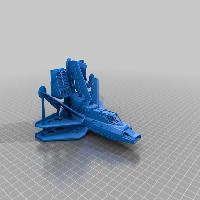
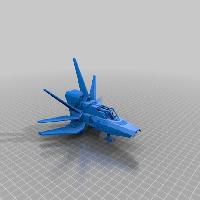
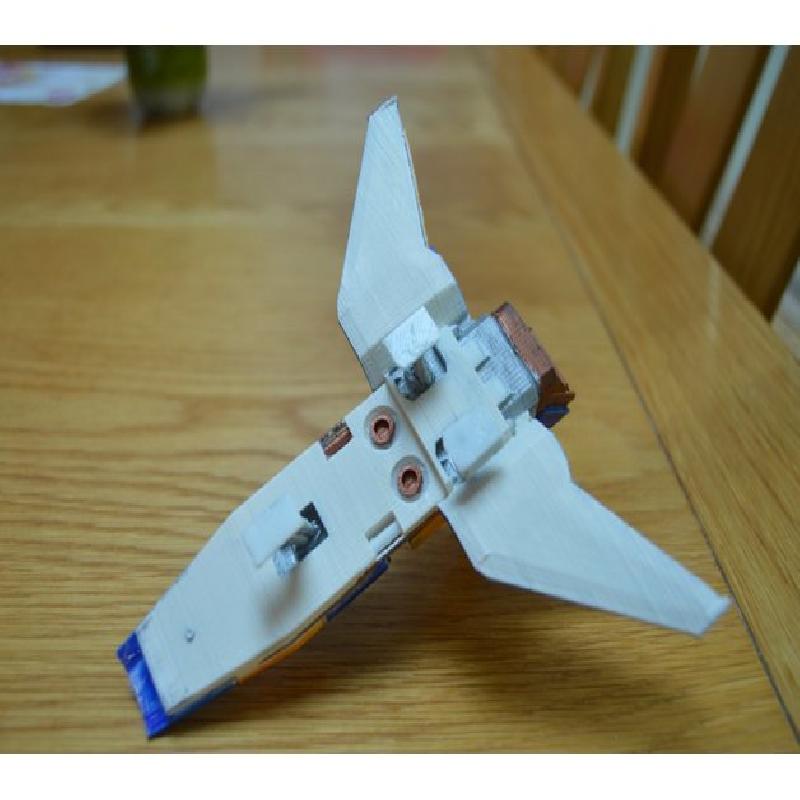
Navigate to this model in Thingiverse and download to computer. Final model should look like attached STL file.
Highlight supports and layout of model (why are supports required? etc..)
Ideally printed in PLA (explain filament differences etc..)
Layout models in 3D software, set printer settings etc..
Print model
Lesson 2 & 3
Hand out printed models
Careful removal of supports and parts (hood, landing gear and stand)
Tidying up of model - cleaning rough edges, making sure parts fit etc..
Paint if necessary using acrylic paints and fixers
Prep for next lesson - lighting it up!
Lesson 4 & 5
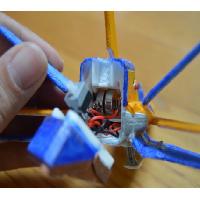
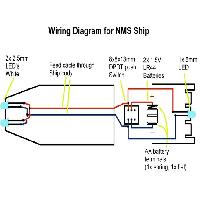
Overview of basic circuit diagram and components (example finished model)
Work out what needs assembly first, soldering and other considerations (e.g. extra length of wire etc..)
Soldering of LED's and switches, battery tabs etc..
Testing and appraisal
Material requirements
PLA filament (white 1.75mm)
Acrylic paints and fixers
2x 2.5mm white LEDs
1x 5mm blue/white LED
1x 8x8x13mm DPDT push switch
2x LR44 1.5V batteries
2 colour wire reels (red/black)
Soldering iron, solder
3D printing
Painting
Soldering
Basic electronics
Assembly
3D printer setup
Circuitry
5 hours (excluding print times)