Disclaimer: I haven't printed this out myself yet. I intend to. That said, I think it'll work.
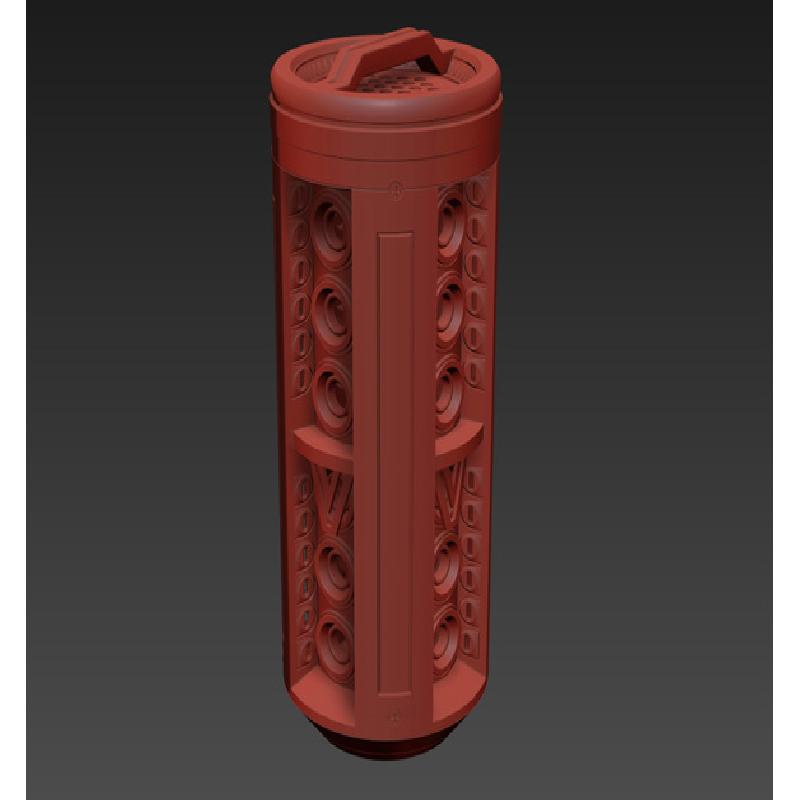
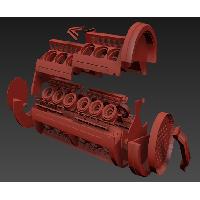
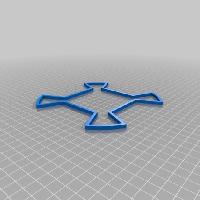
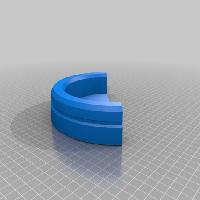
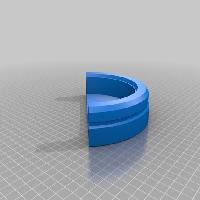
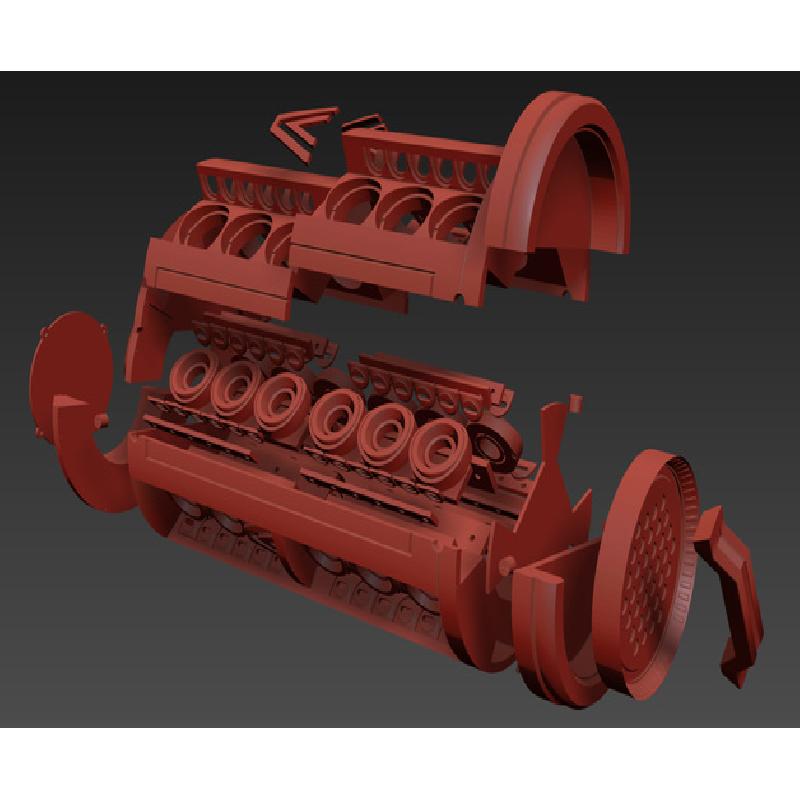
This is designed to print a 1:1 scale Pilot battery from the game Titanfall 2. It has been broken into as many parts as I can reasonably manage to make the printing process a bit easier... or at least, so that it fits within the bounds of my Makergear M2 Printer.
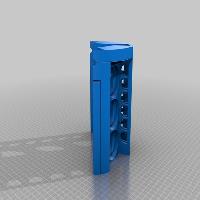
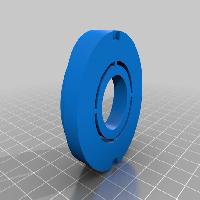
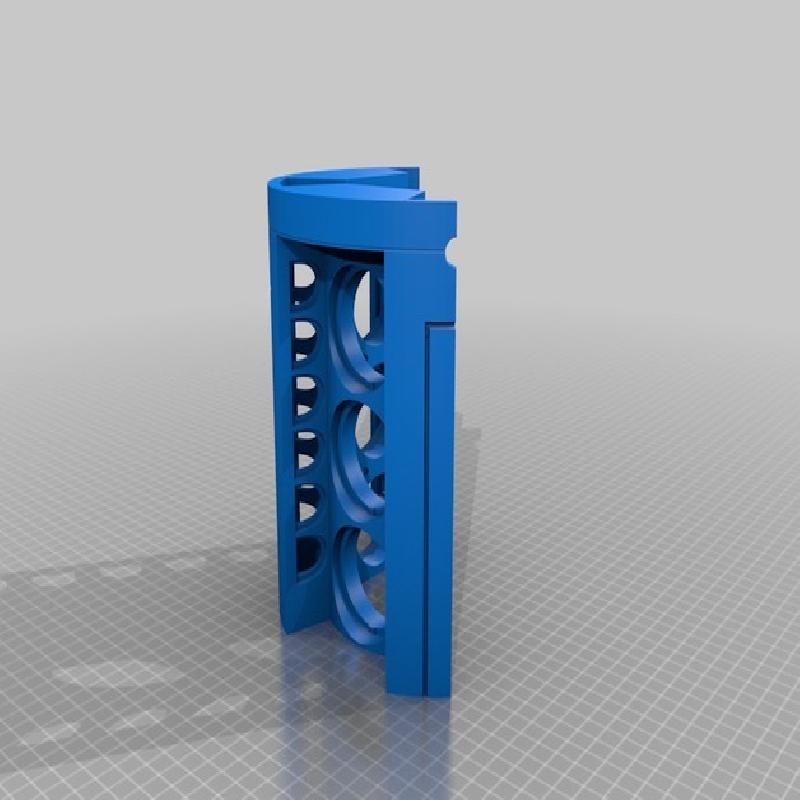
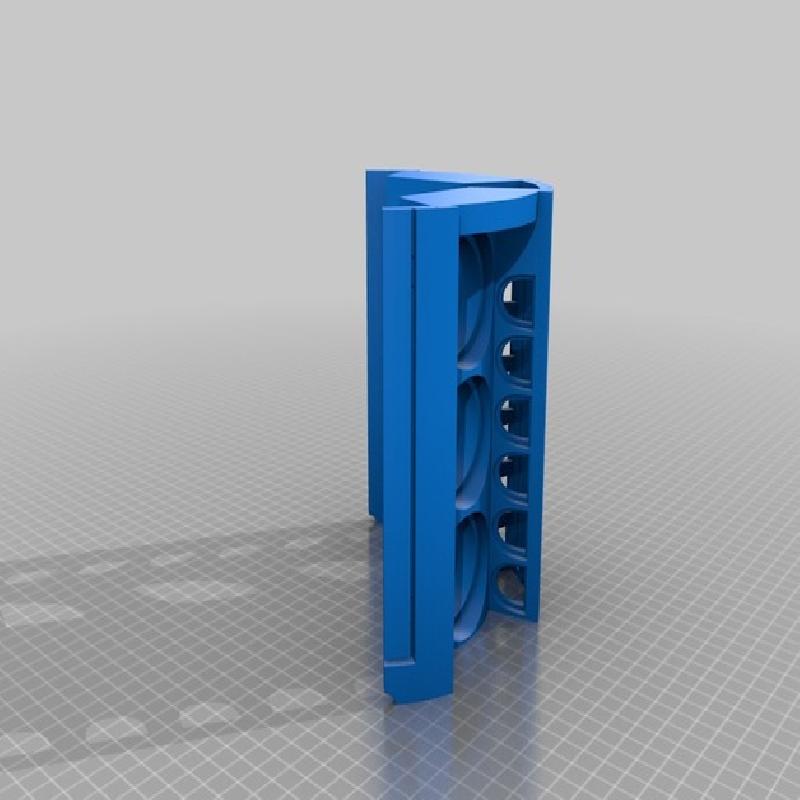
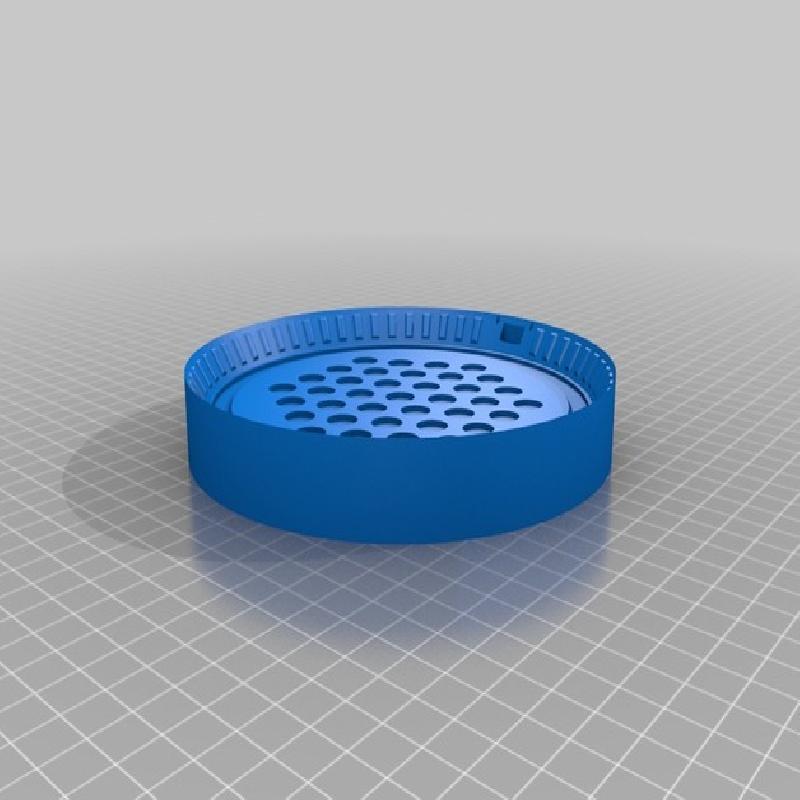
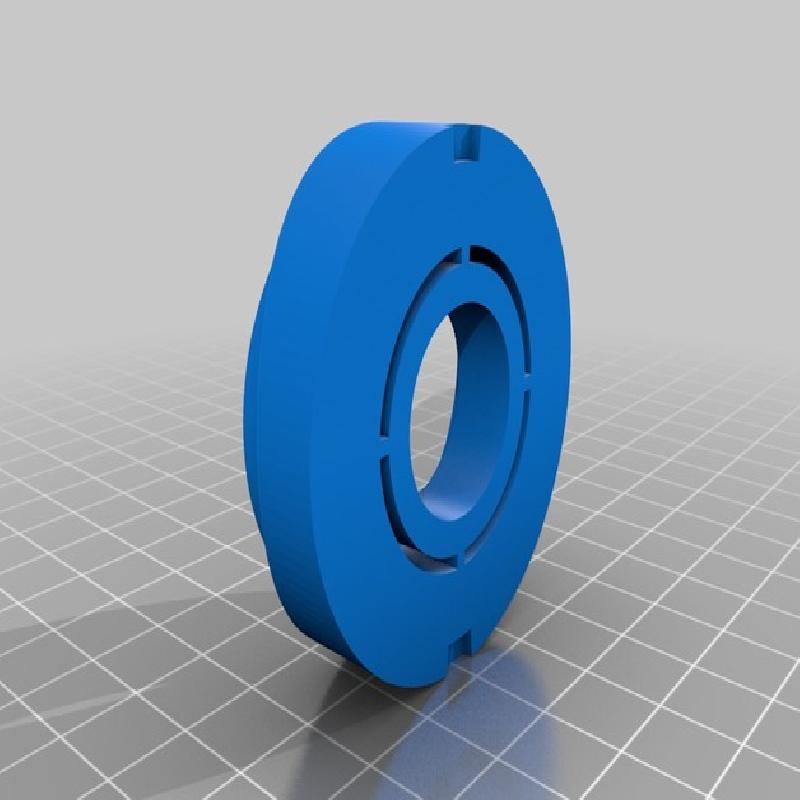
This battery is designed to accommodate 120 5mm Green LEDs in total. The battery can be thought of in quadrants - divisions of four - with each side having 30 LEDs. Six of these are mounted behind the big inset circles, and 24 are mounted behind the smaller side discs. The parts are designed in such a way as to be printed individually, sanded, cleaned up, and then glued into place on the battery body. My plan is to then get some pieces of acrylic, cut them to fit behind each of the parts in front of each LED, and sand them to diffuse the light accordingly. The LEDs are all installed into printed strips that hold them in the correct positions and orientations. The strips themselves mount into holes or recesses designed onto the interior of the battery body.
You could totally just go ahead and use LED strip lighting on the inside instead of what I designed this for. Just stick it to the printed strips.
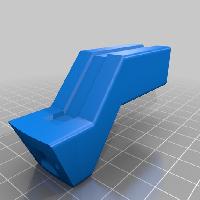
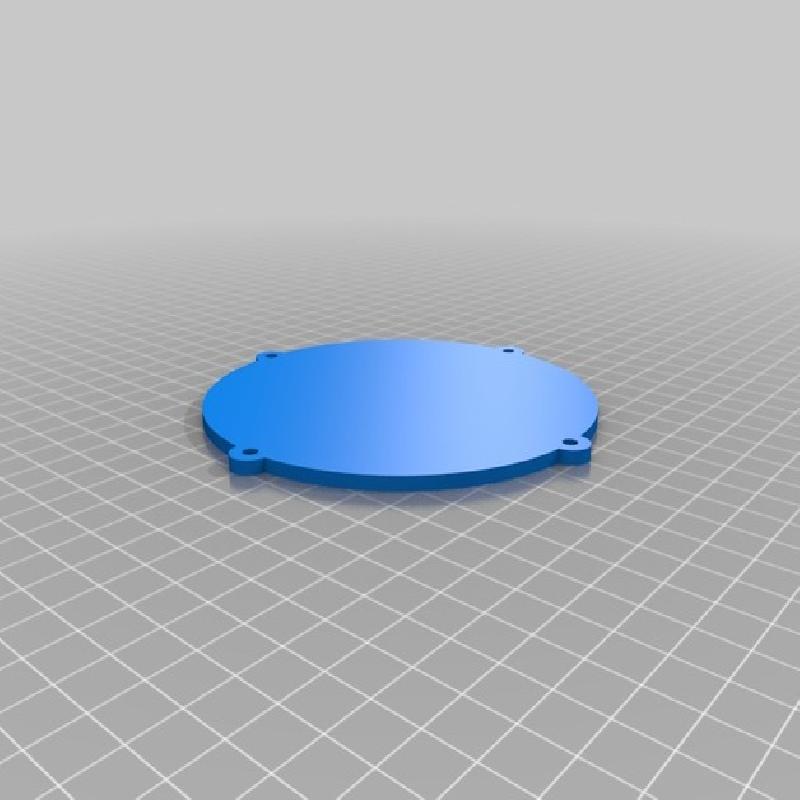
The bottom of the battery has a hollow chamber that I designed to be big enough to hopefully fit a few C-cell batteries in a battery holder. You could wire your LEDs straight to 2 C batteries, all in parallel, or you could use an arduino or other microcontroller to make the LEDs dim, glow, or otherwise animate. The bottom lid has holes sized for 4xM4 screws as an easy way of securing everything shut.
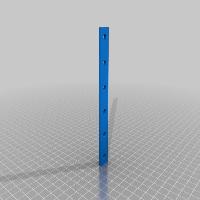
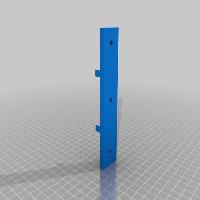
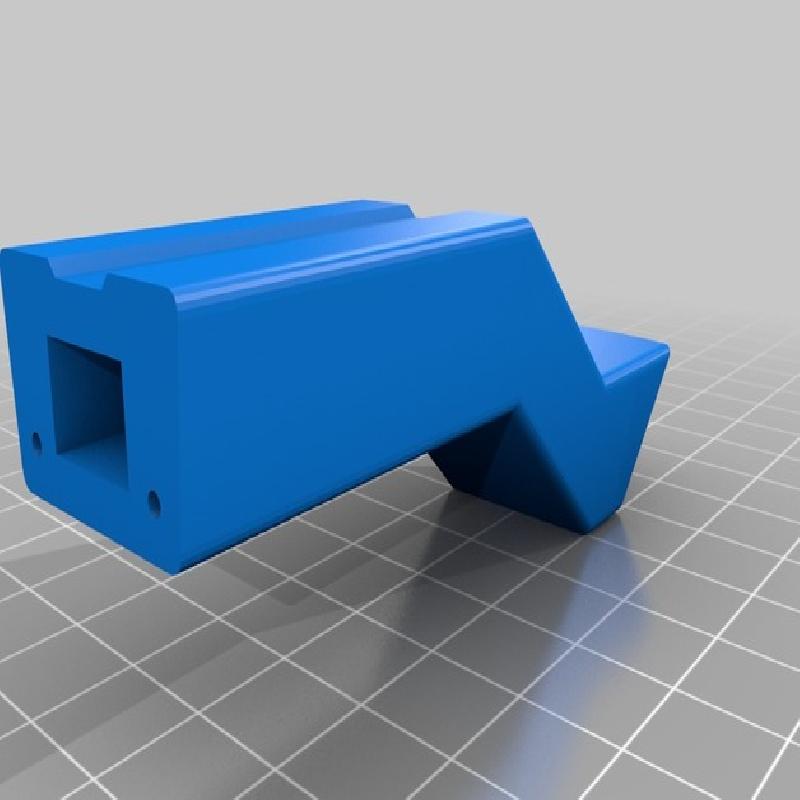
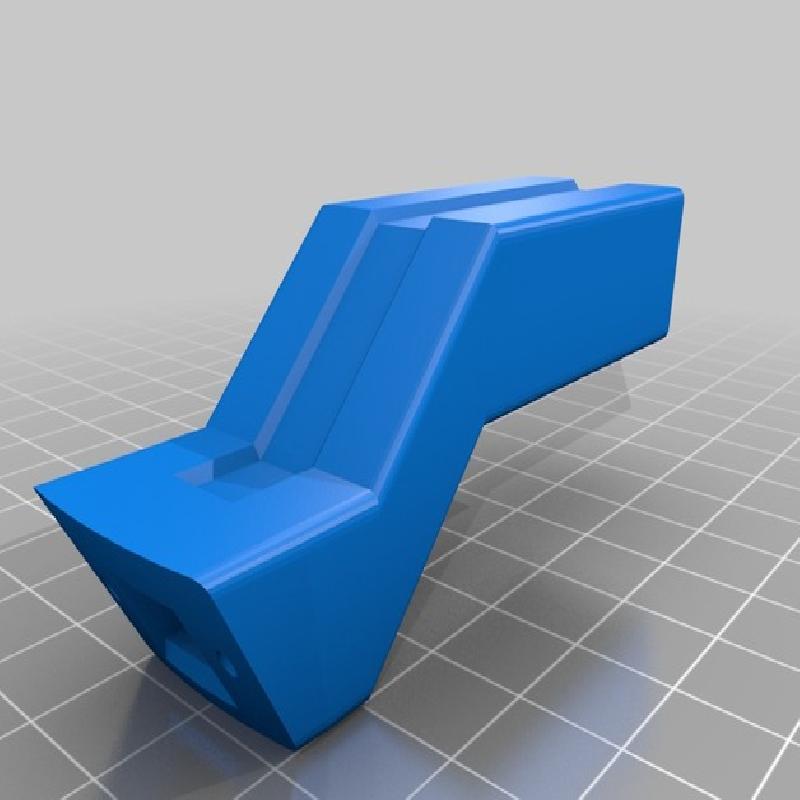
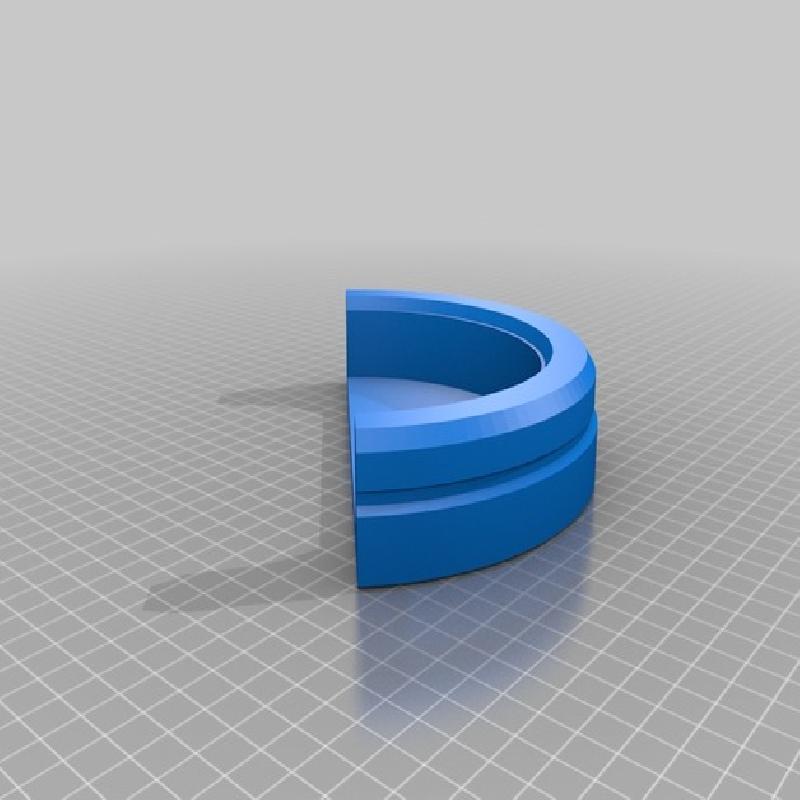
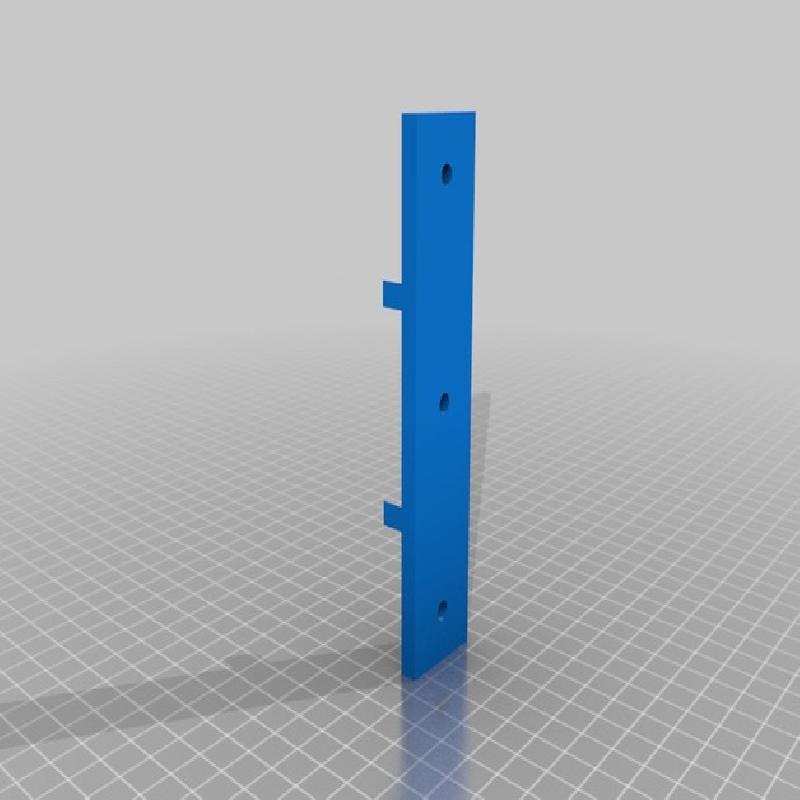
The handle has been designed in two separate pieces with a hollow channel on the inside. I figured I'd wire some kind of on/off switch onto the underside of the handle, but I didn't get too particular about it while designing this. You can always just grab a dremel and carve out a spot for a switch wherever you fancy.
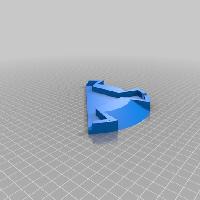
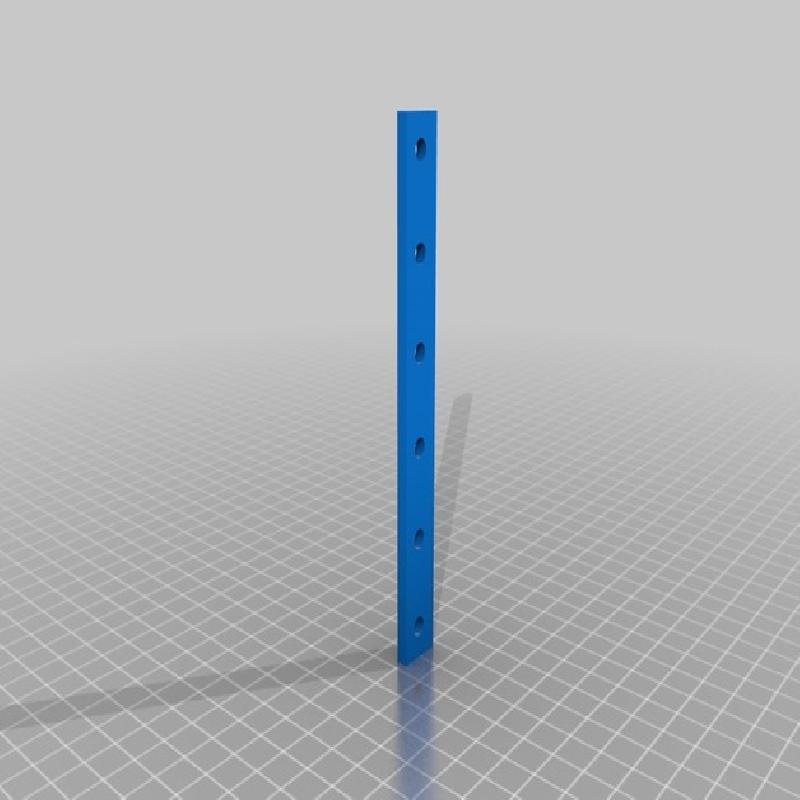
Most if not all of the parts have small holes channeled through them. These are to aid in alignment during assembly. They've been sized for 1.5mm brass rod, which I have in abundance. Cut a bit of rod, glue it into a hole on one side, and you have a handy post to help you line up the other adjacent parts.