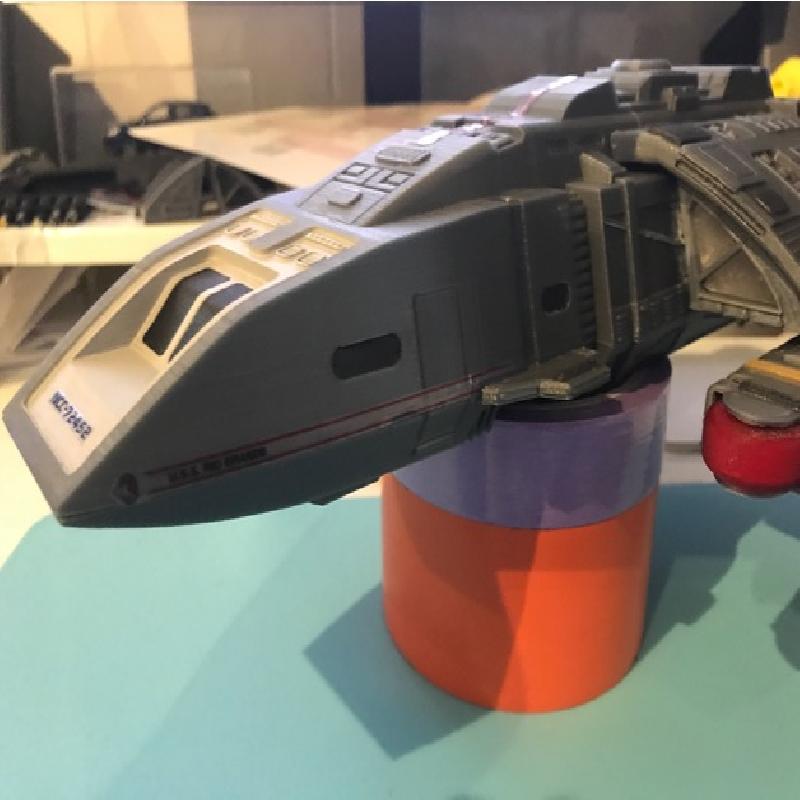
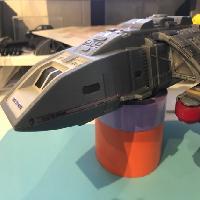
After printing the original model of the Runabout i wanted te build a bigger version. One that could have LED lights installed to make the model come to life.
The model is 1/70 scale and so the total length of the model is 33 cm (13 inches). You will have to follow the printing instructions i have written and also it would help to view the build log i posted on Youtube of this Runabout build.
Link to the build log: https://www.youtube.com/playlist?list=PLtTCQ0DBBLzF56kbQ9n5aPAkfsldfcZEN
If there are any questions, don't hesitate to ask them in the comments, as this is a rather complex build.
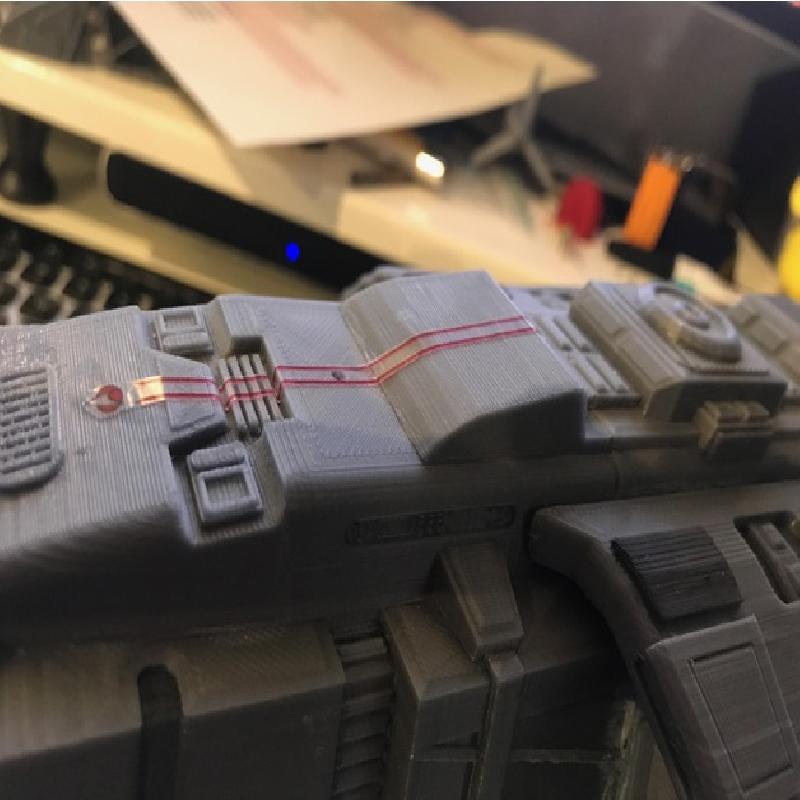
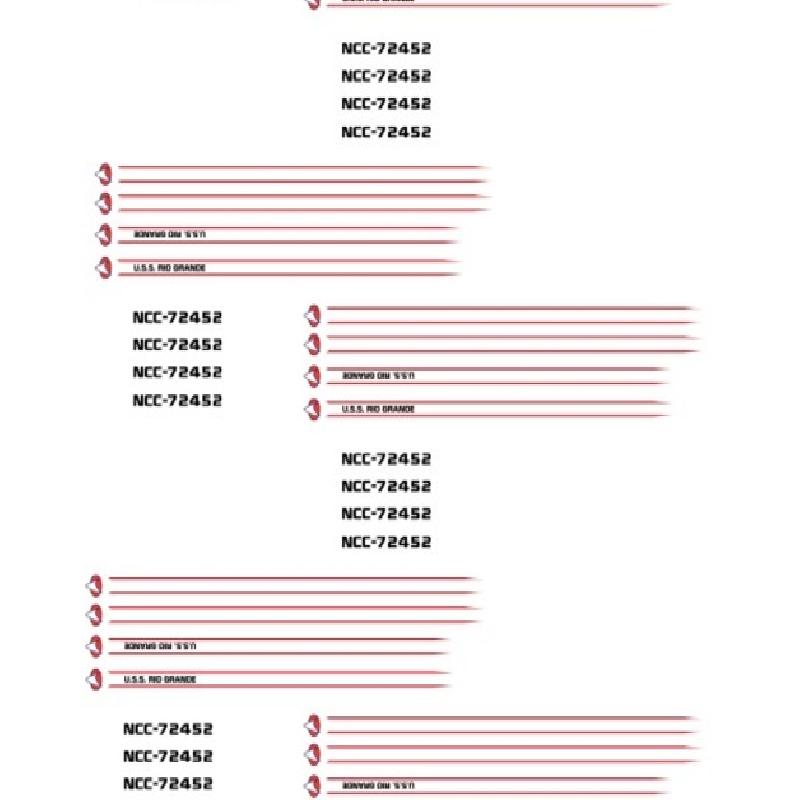
Also included is a pdf with custom made decals for this model. Print them out on decal paper or transparant sticker material.
Printer:
Anet A8
Rafts:
No
Supports:
Yes
Resolution:
0.1
Infill:
10%
Notes:
Okay here we go with the print instructions:
Most of the parts don't need supports, but there are a few that need support for the best results.
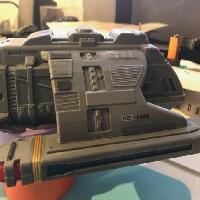
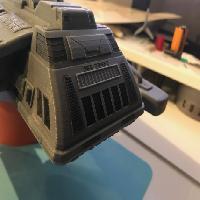
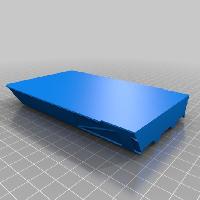
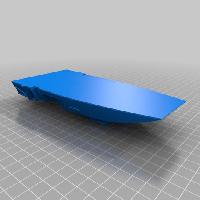
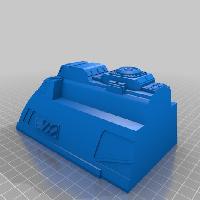
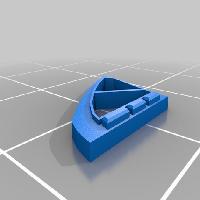
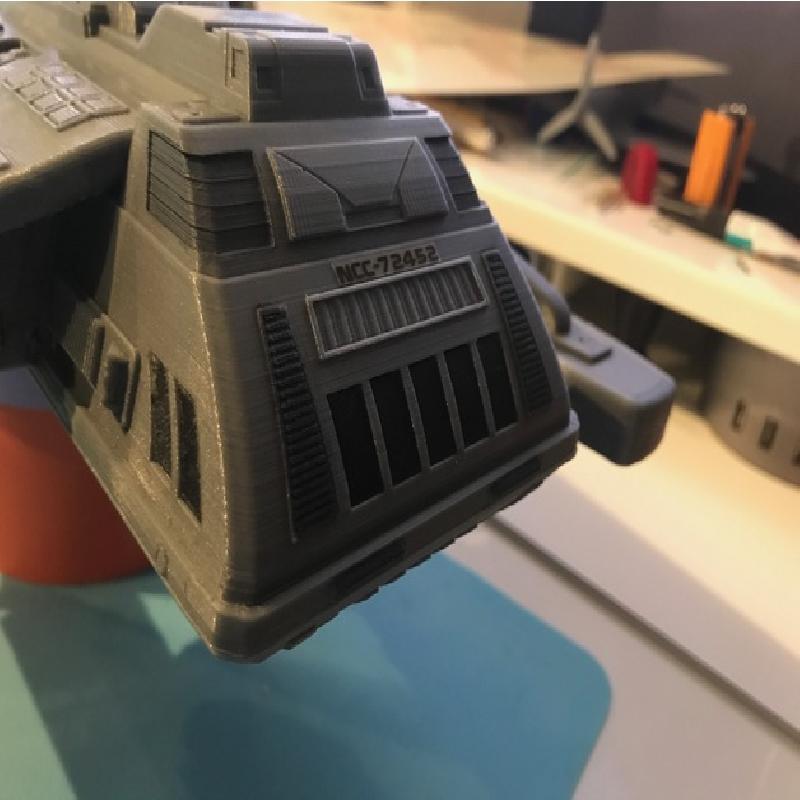
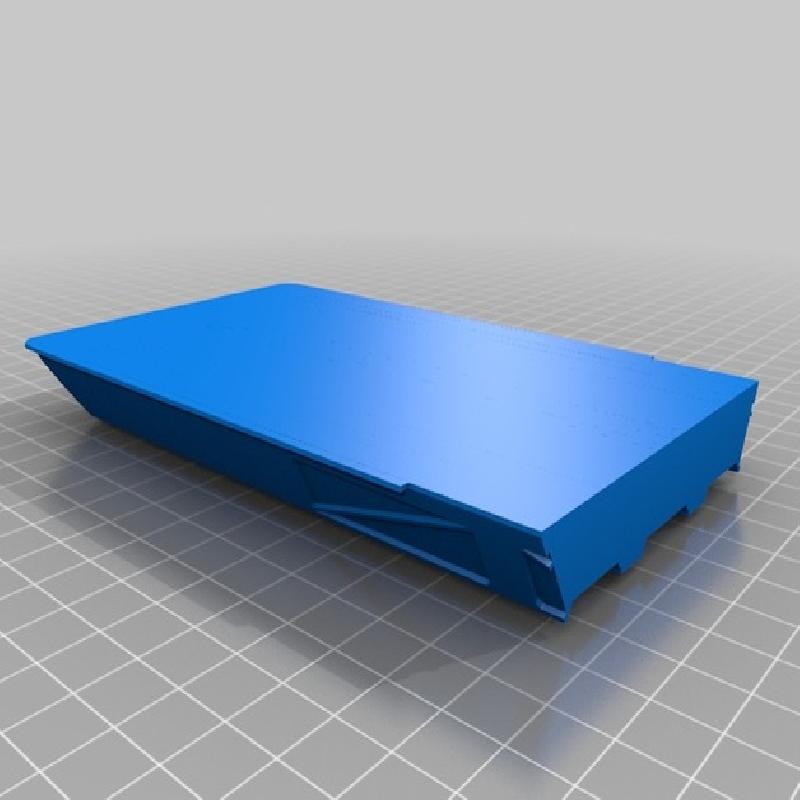
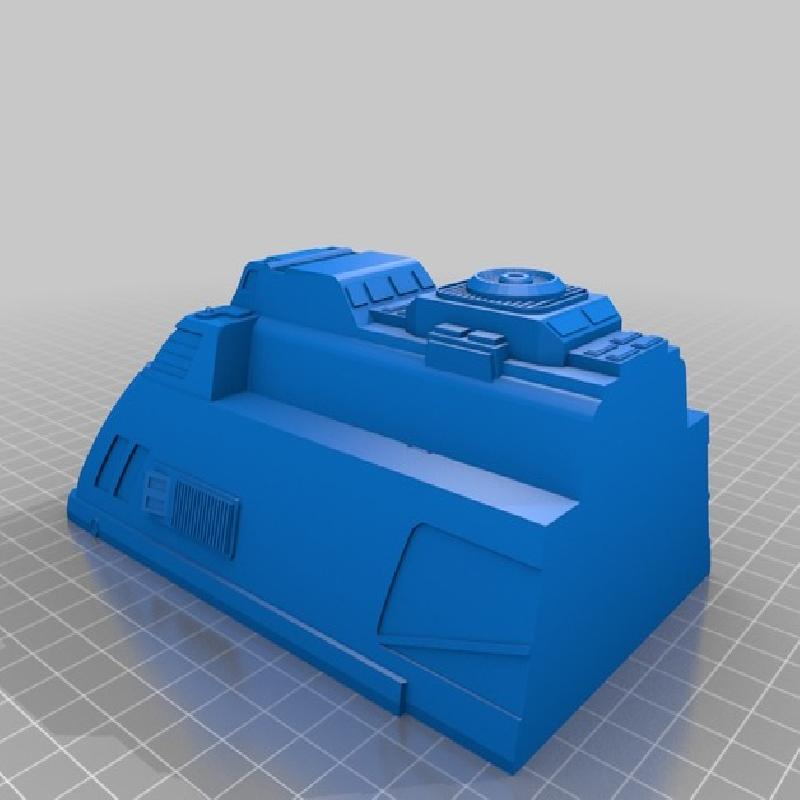
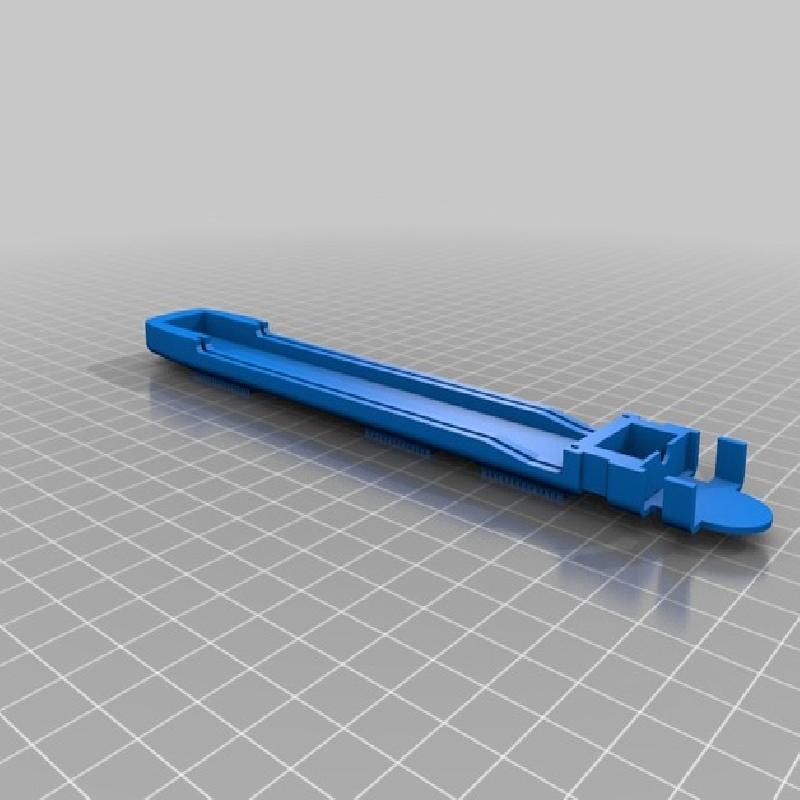
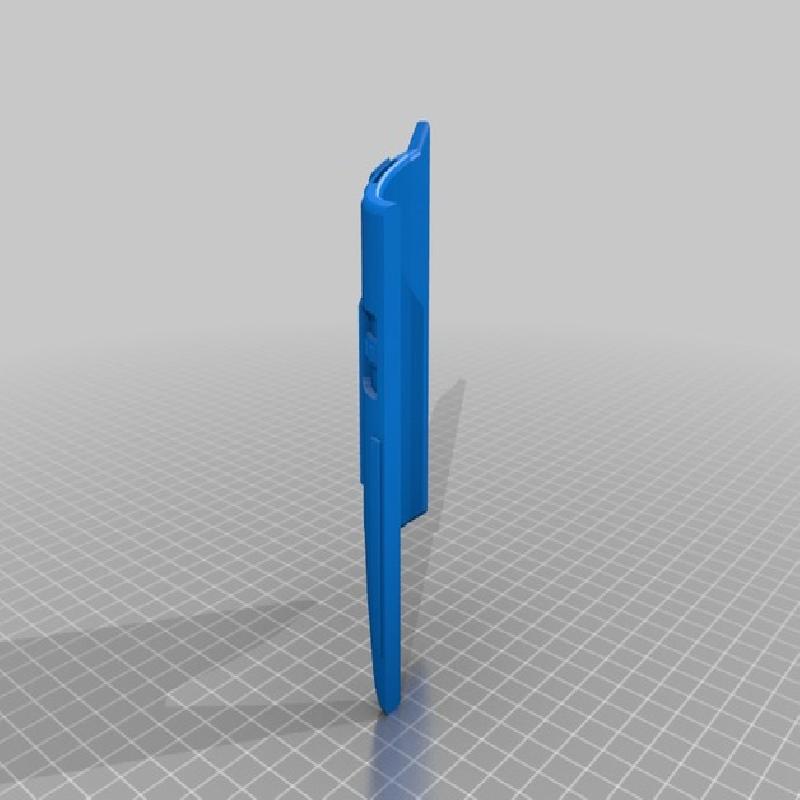
The main body of the ship is split into 4 parts, these are the Rio_Grande lower back, lower front, upper back and upper front files.
My recommendation for these 4 parts is to print them with a wall thickness of 3 mm and a top thickness of 3mm, the bottom layer you can make as thin as 0.3mm (3 layers at 0.1mm layer heights) This is so that you can easily cut parts out of the bottom so hollow out the main body for installation of the electronics. Also print with a low infill, max 10% (You will need to remove parts of the infill. See video logs for details on this.
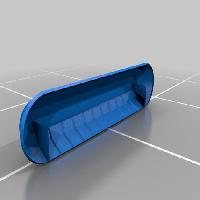
Then the nacelles:
The body is split in 2 peaces the top and bottom. I printed the tops in the orientation of the file (right side up) and used supports for the inside, this way the top details are the best.
The bottom part i rotated 180 degrees, so that this is printed the same as the top part.
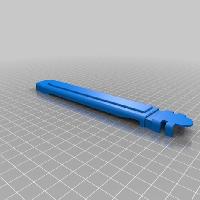
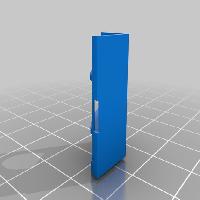
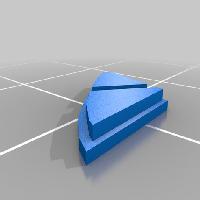
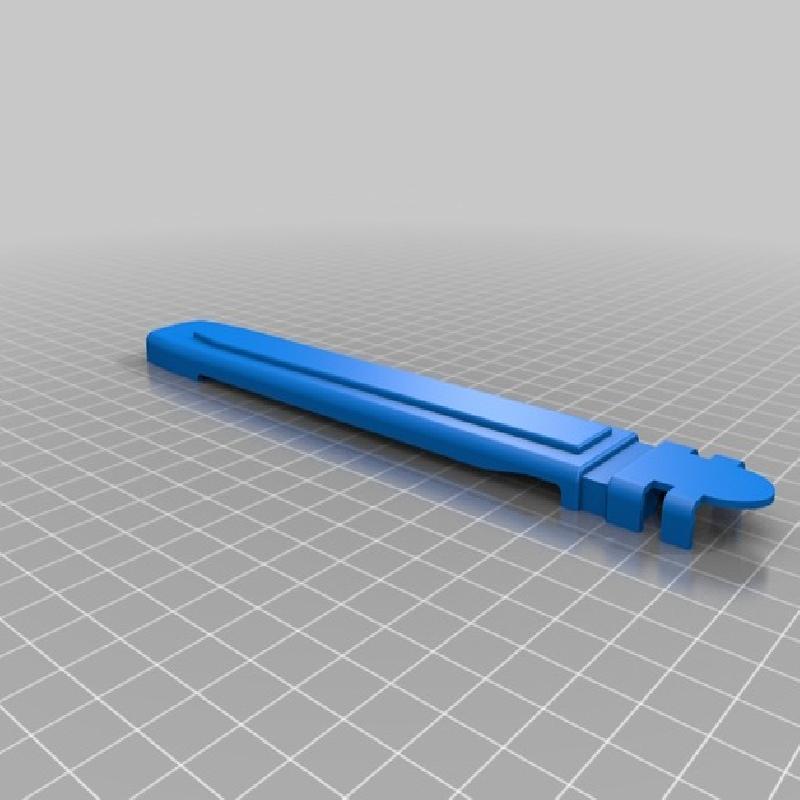
The Impuls wings are split into 3 parts, the front, the starboard body and the insert.
As the starboard name suggests this is only one of the impuls wings, you will need to mirror these 3 parts to create the port side of the impuls wings. These 3 parts don't need supports. As you print the front part flat on the printbed.
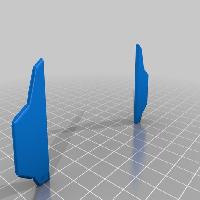
As for the wings, these need supports!
I printed the wings in the upright orientation, so that the build layers are the same as on the main body of the model. This however will need a large amount of support because of this. So decide for yourself.
The chiller grills and Bussard collector caps are to be printed in a translucent material. I used translucent red and blue PETG (main model is PLA) The bussard you can stand up its end, and then you do not need supports. I would suggest a layer height of 0.05 for the caps, so that the round top on the front is the best possible.
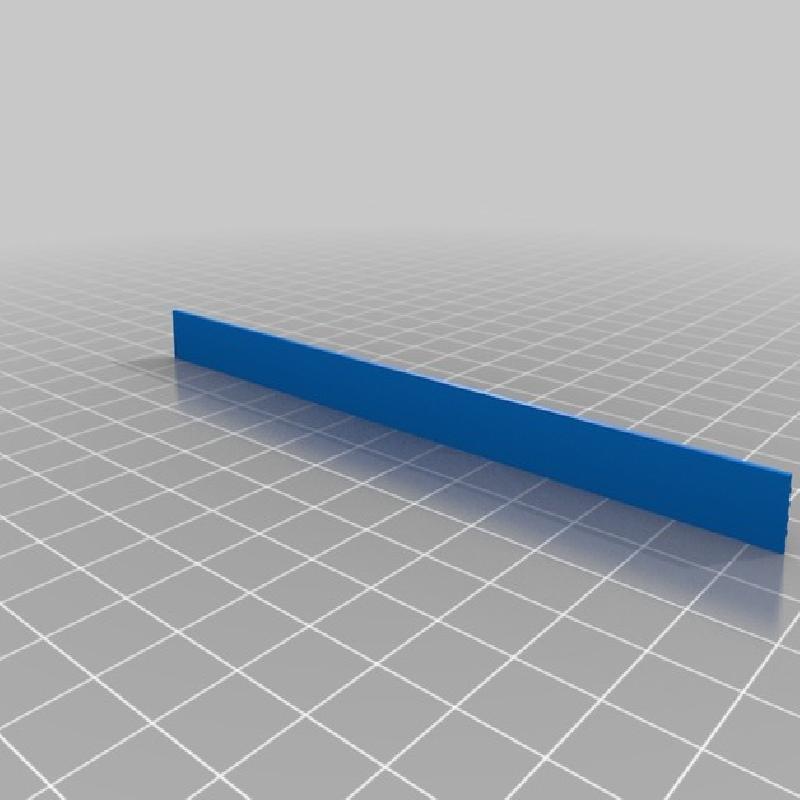
Gold bands for Nacelles:
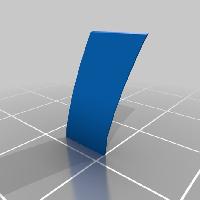
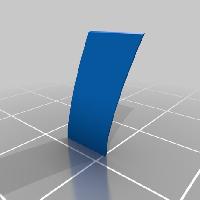
If you have a sample pack of gold or yellow PLA, i would suggest to use that for these bands. These print as a long strip and what i did was i printed this, and while it was still at temperature (60 degrees celsius) i would manually bend the part around the nacelle. See video log and photo for details on the final finish.
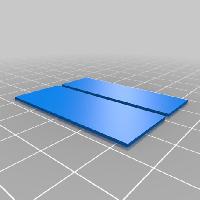
Additional i have window inserts for all the windows. If you do not want to paint the windows black because of fear that you can't get the good finish, then you can use black PLA to print the window inserts at a 0.3mm hight (would use 0.1 layers). The front windows need to be bent into shape like the gold bands, see videolog.
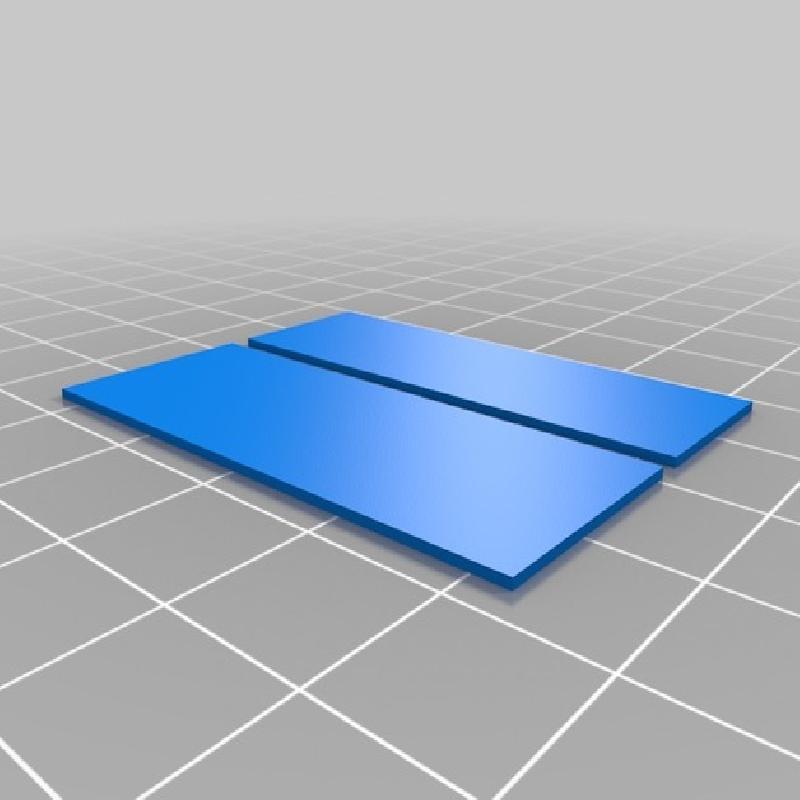
Also additional i have included a lightblock strip, this could be printed in black PLA to insert between the Impuls wings and the outer wings, so that the lights you install in the impuls engines don't spill out between the engines and outer wings. (see video log) and a Warpcore LED holder, this is a small round peace that can hold a 5mm LED and make gluing that peace in place a little easier.