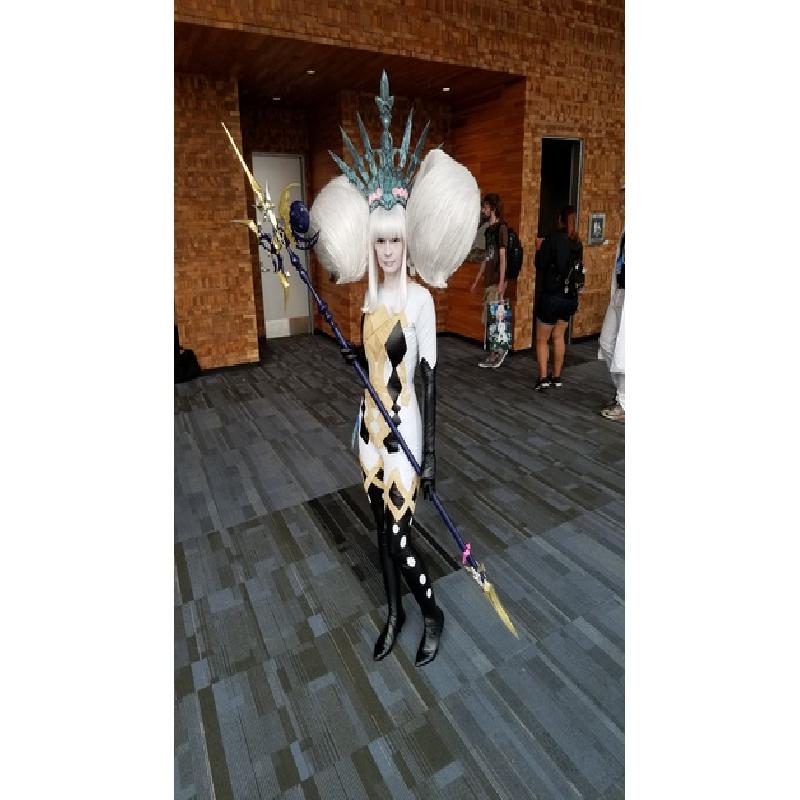
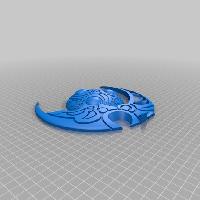
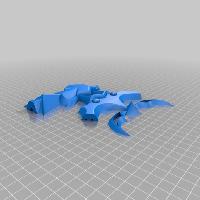
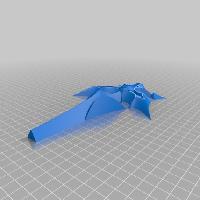
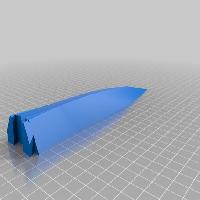
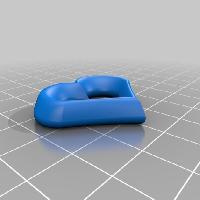
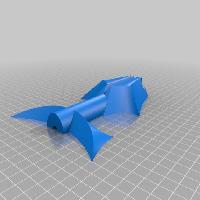
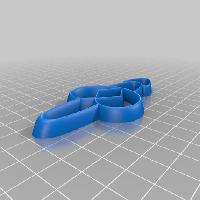
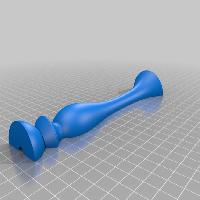
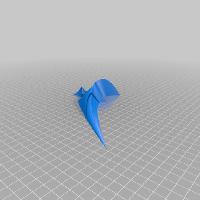
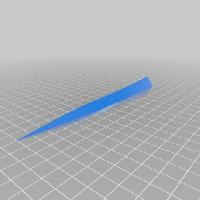
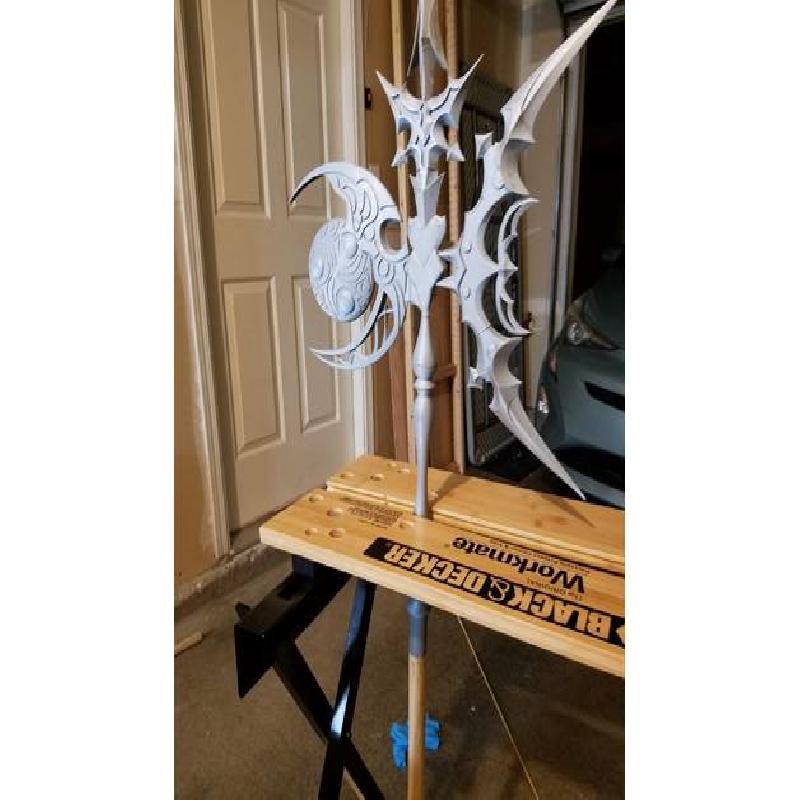
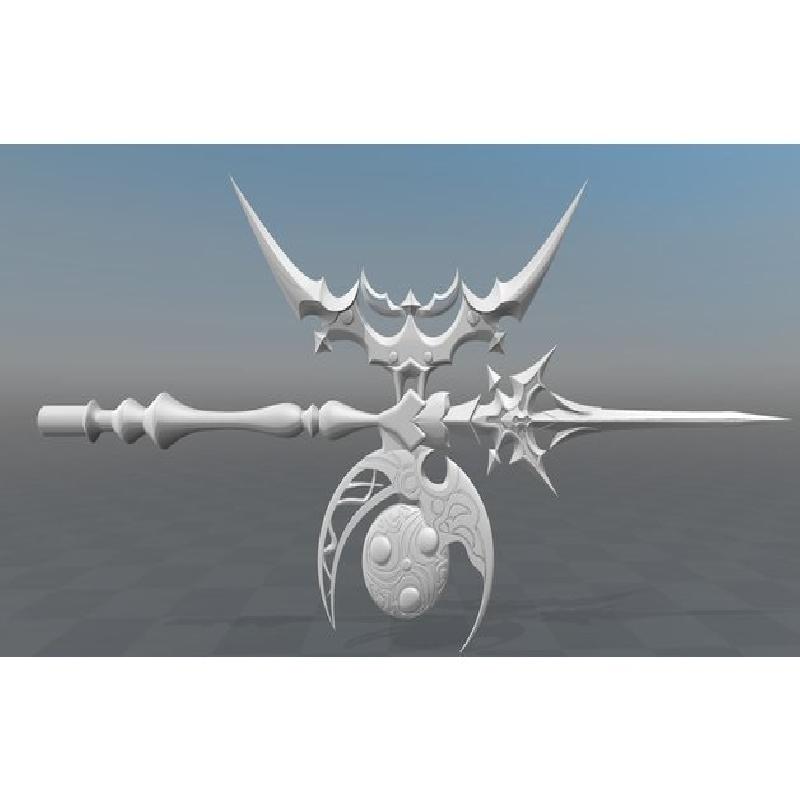
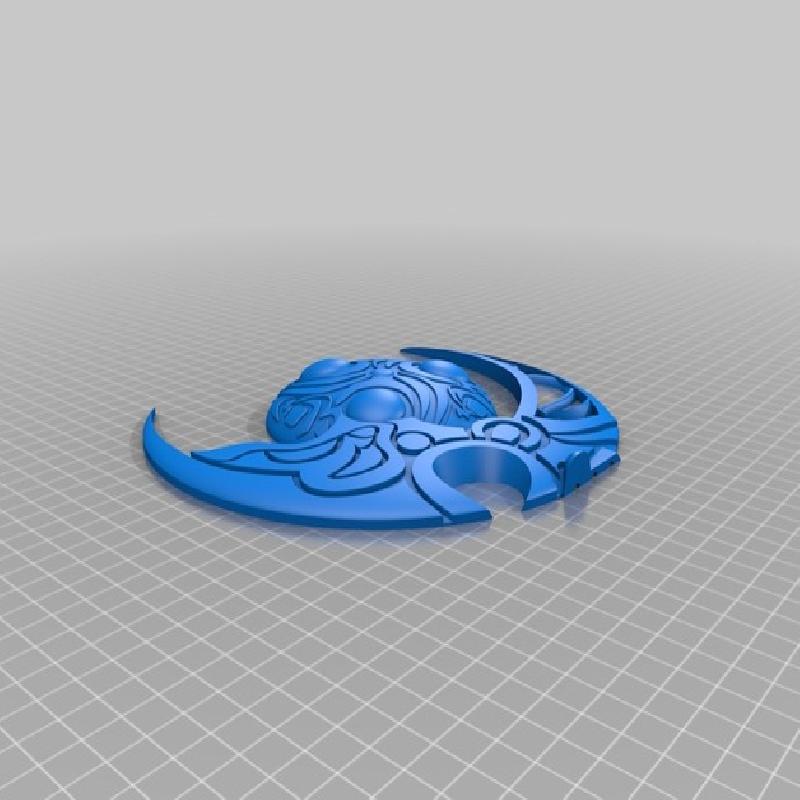
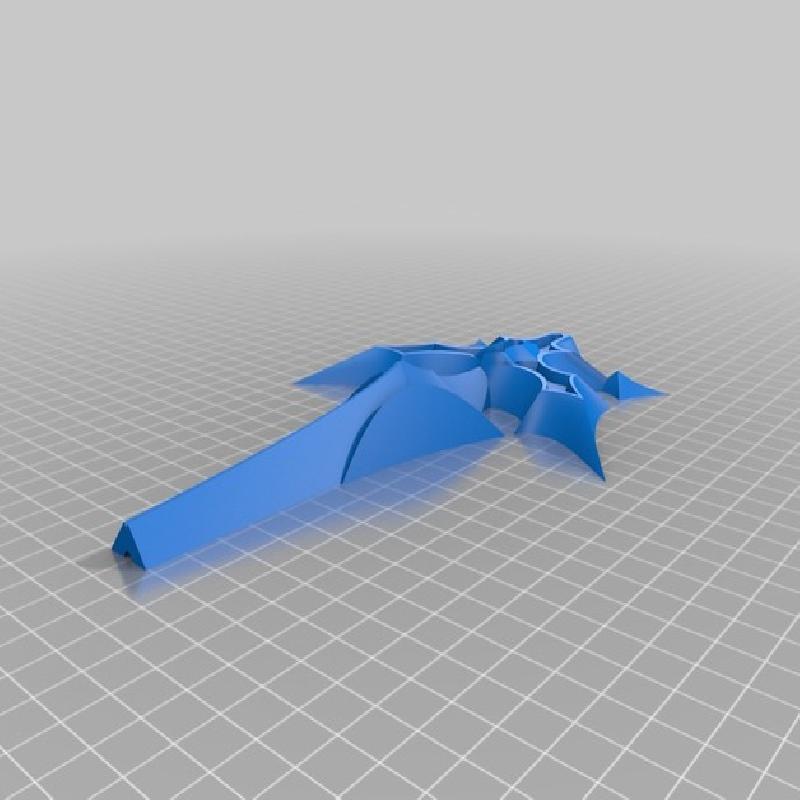
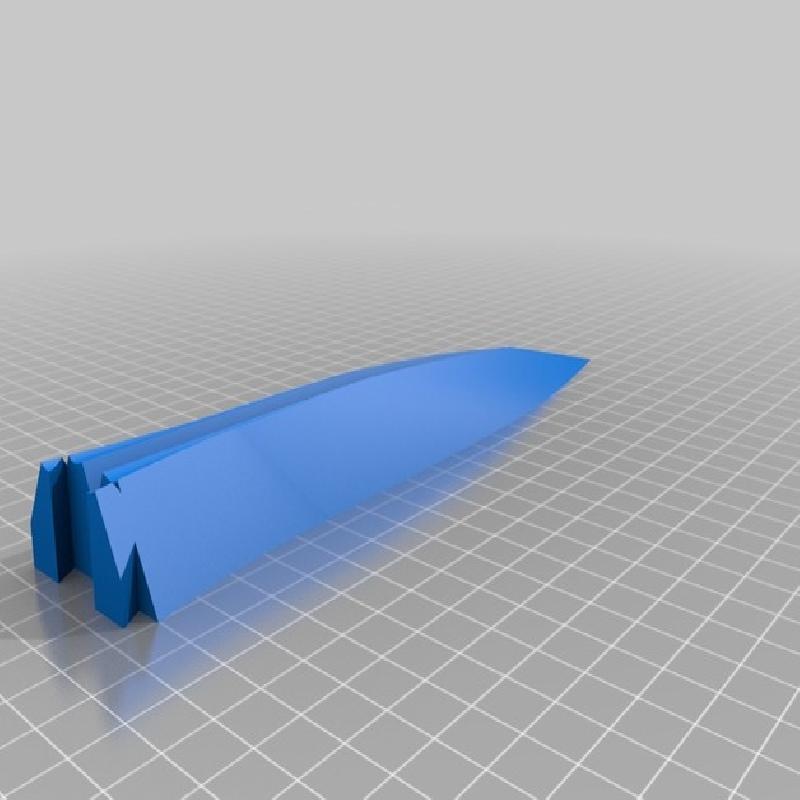
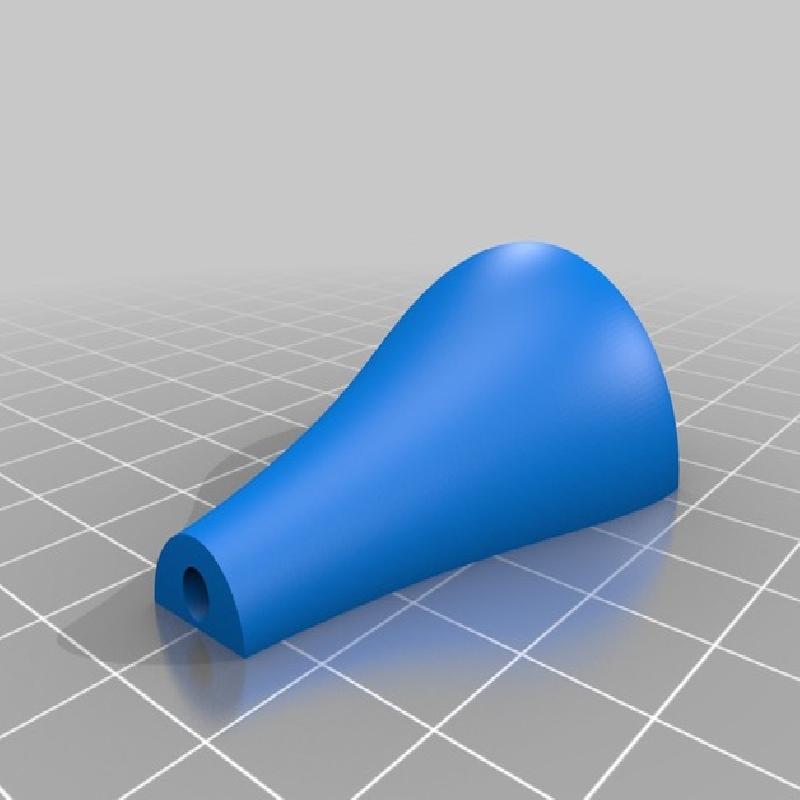
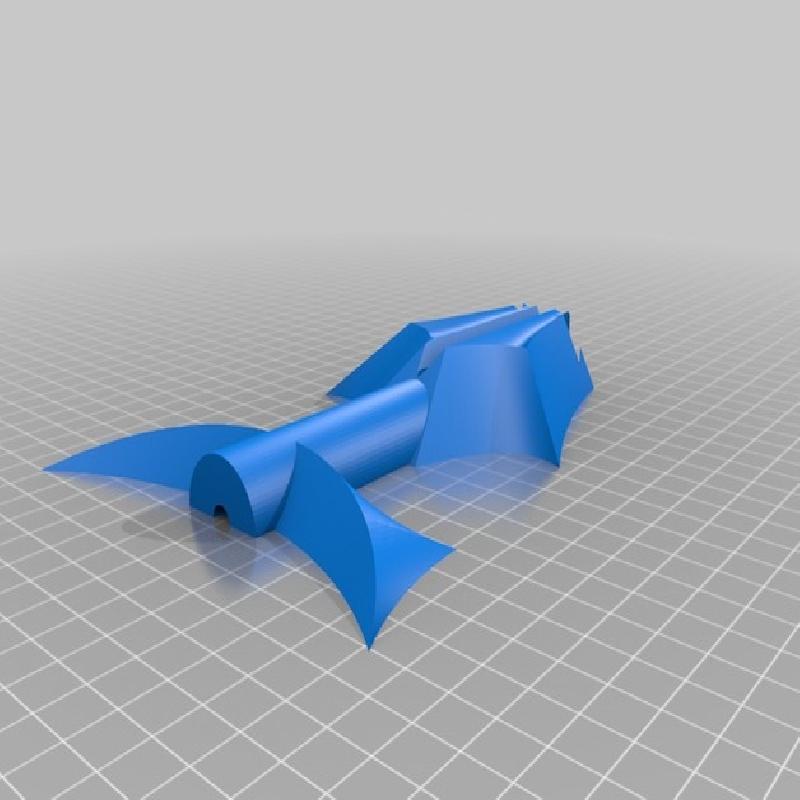
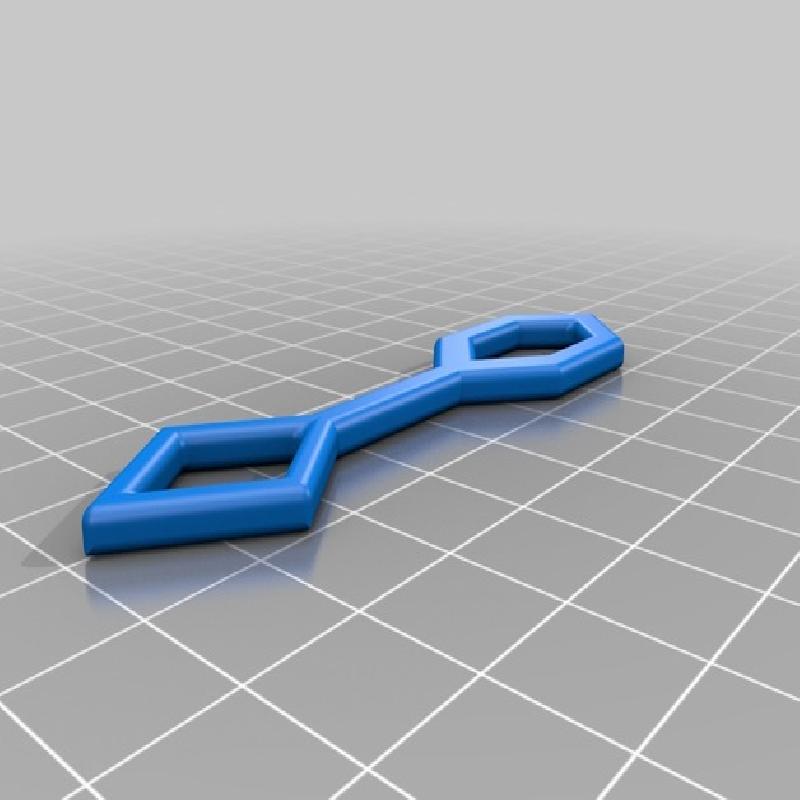
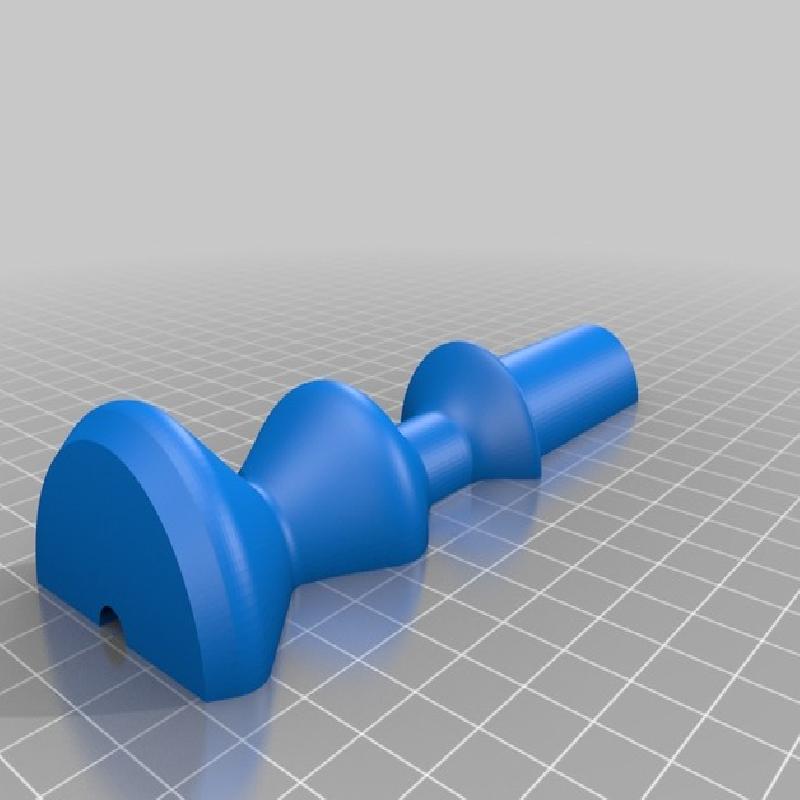
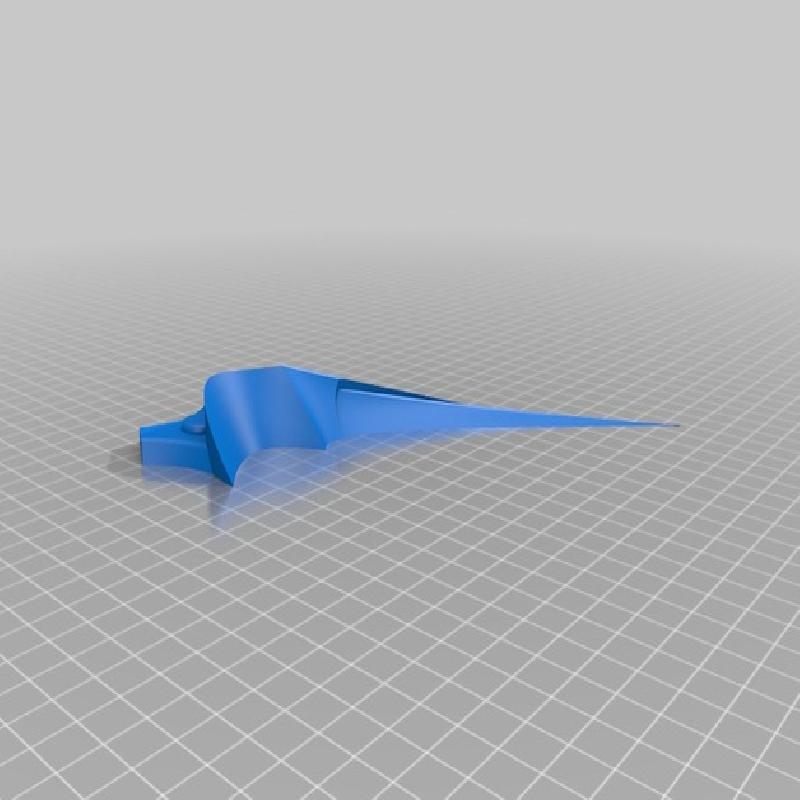
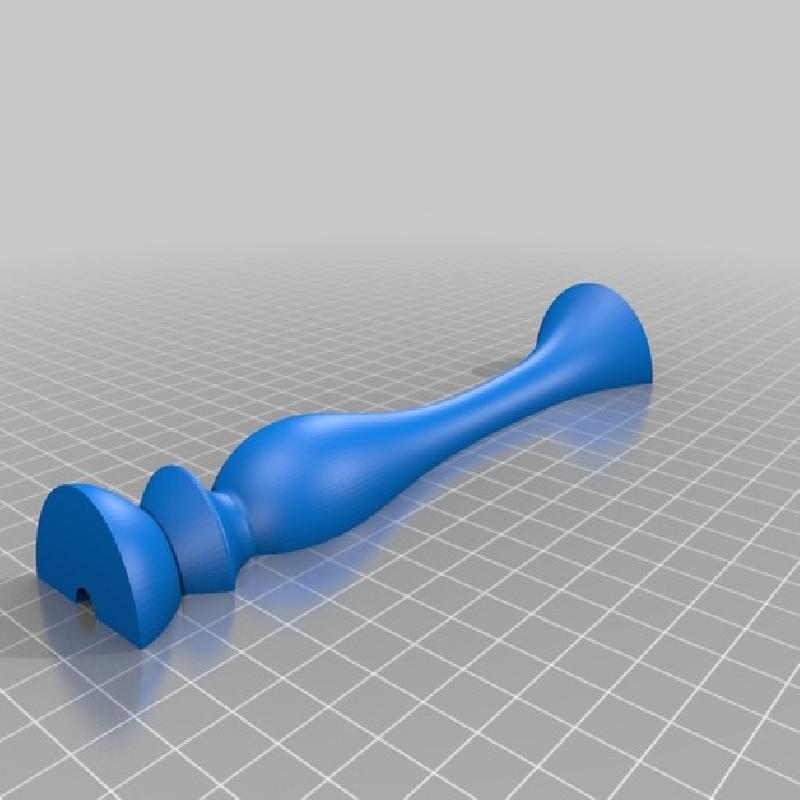
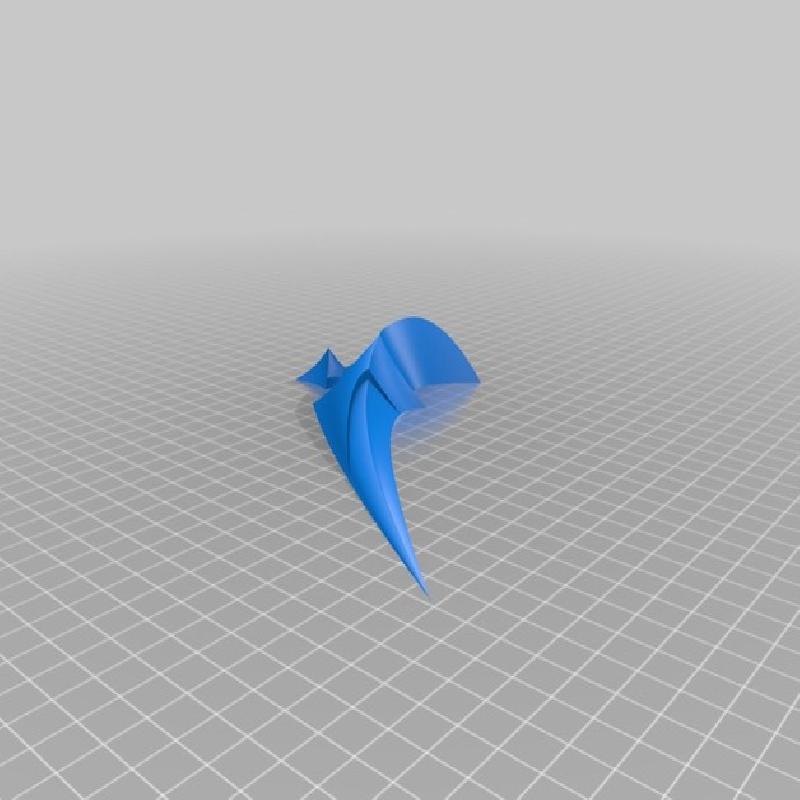
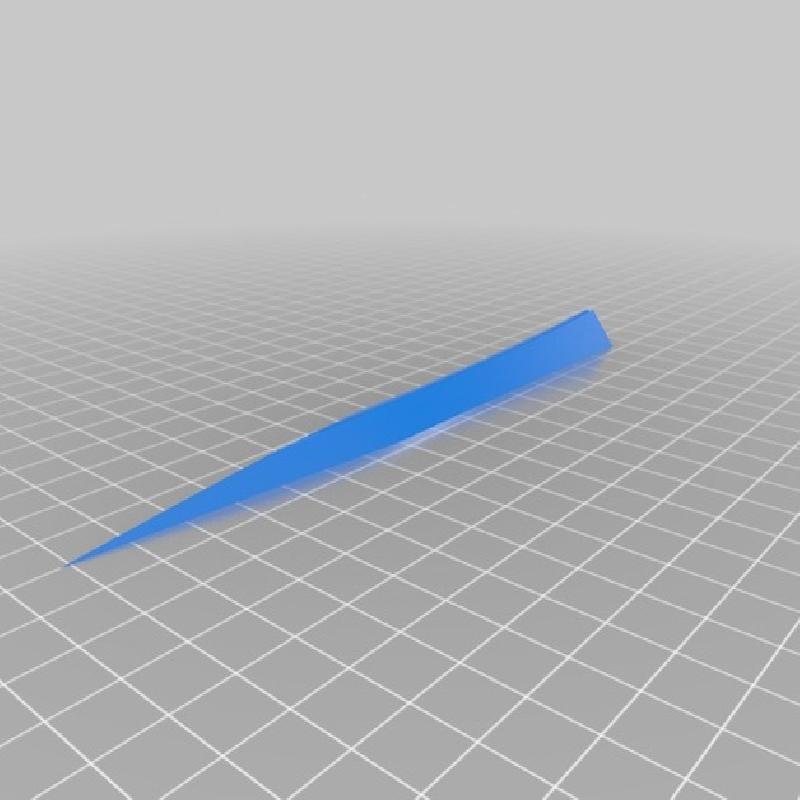
Scathach's spear from FFXIV, used for a cosplay of said boss from Final Fantasy XIV.
Printer Brand:
Ultimaker
Printer:
Ultimaker 3
Rafts:
Doesn't Matter
Supports:
No
Resolution:
0.06mm
Infill:
20%
Notes:
Model should be fine with 0.1mm or even 0.2mm printer resolution. I did 0.06mm and it was probably overkill. Otherwise, this model is designed to be printed without supports and used the default Ultimaker 3 settings.
The model was designed for printing on an Ultimaker 3 sized bed, if you need to print it on a smaller bed you can use mesh mixer to slice it up into smaller pieces. Keep in mind structural integrity when doing this.
Step 1
Glue the mirrored halves together, making sure to keep the parts lined up. I recommend 5-minute cure epoxy, but depending on your material you may want to do something different.
Step 2
Clean up the pin holes by using a drill with 1/8 inch and 1/4 inch bits.
Step 3
Take a wooden dowel, cut it to size for scaling the prop, and drill a 1/4 inch hole in the center of each end. Optional: Cut the dowel in half and drill some additional holes for adding a hanger bolt and e-nut wood insert hexagonal screw so you can take the spear apart for travel. The hanger bolt and nut can be hard to find, but the clerks at your local hardware store can help you get what you need.
Step 4
Coating the pins in epoxy, insert them into the pieces, then put the pieces together.
Step 5
Using bondo or wood filler, fill in the cracks between pieces.
Step 6
Prepare the surface with some combination of sanding, filler primer, XTC-3D, and did I mention sanding?
Step 7
Paint it! You will want to do a ton of masking with painter's tape. My one regret with this model is that I didn't separate out the pieces based on how it was to be painted, which means a lot of time will be spent masking with painter's tape.
I started off doing the blue before moving to the metallic parts, but how you paint it is largely up to you.