This is the pretty dimensionally accurate model of a Zamperla Giant Discovery 40. In real life, this ride stands 91 feet tall and is 122 feet long and 82 feet wide. This model is on a scale of one foot to one millimeter meaning it (when printed and assembled correctly) stands 91mm tall and is 122mm long and 82mm wide respectively.
This has been in the works for a very long time and has gone through countless iterations and reworks to make it as accurate as we can while still be printable. Overall we think the result is a very nice talking point and a nice little model to print and assemble.
Now that you're done printing...
What you'll need: Hot glue gun, hot glue sticks, flush cutters, PATIENCE (the glue dries/cools VERY slowly).
Warning: Not allowing the glue to dry/cool properly will make the connections weak and the model may pull itself apart.
1) Remove any and ALL support material.
2) Do not paint anything before assembling.
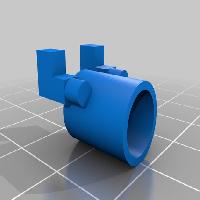
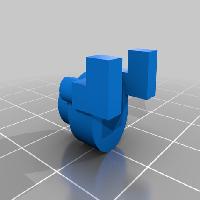
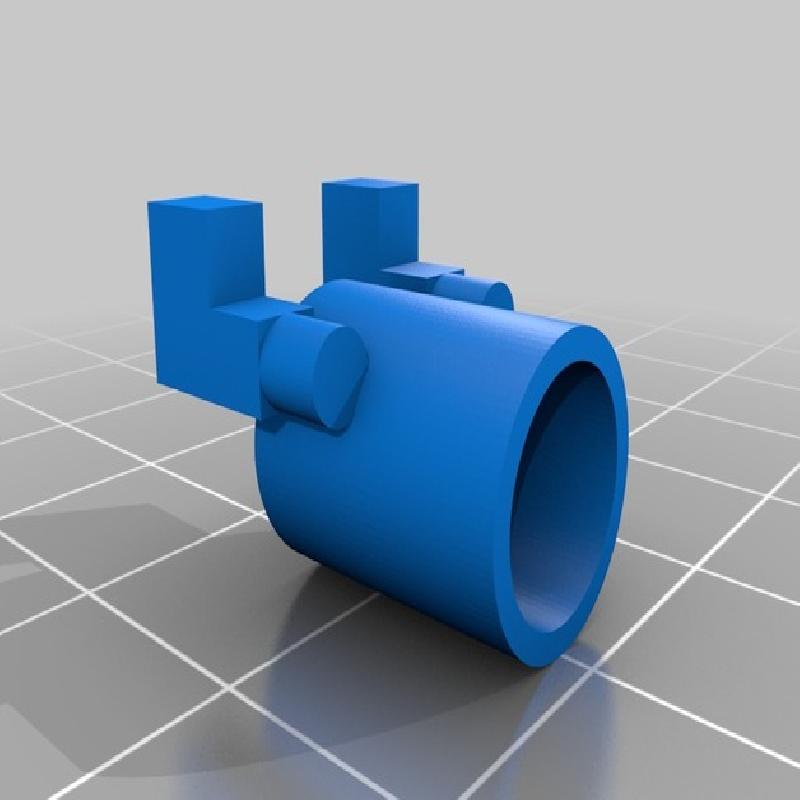
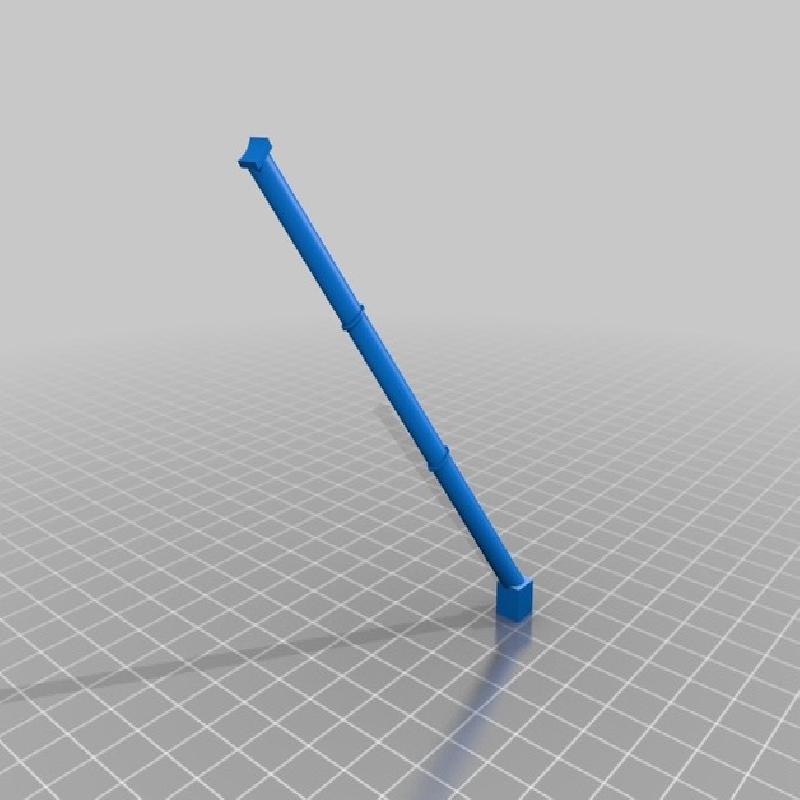
3) Take the 'Engine Male' piece and thread it through the 'Pendulum Hinge'.
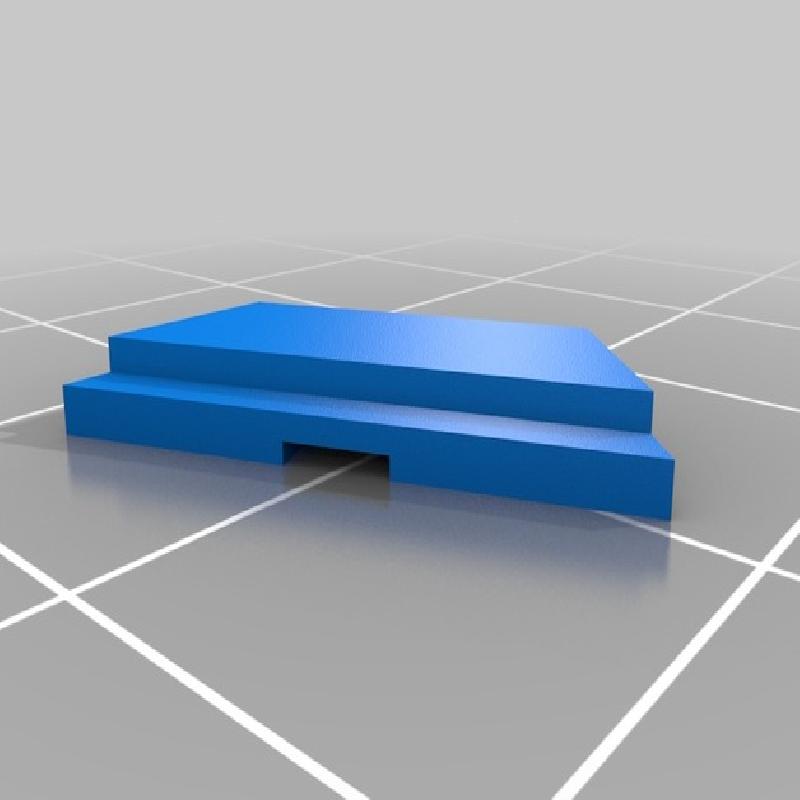
4) Lightly line the inside wall of the 'Engine Female' piece with hot glue.
5) Quickly press the 'Engine Male' piece and threaded 'Pendulum Hinge' in making sure the mock reduction boxes are flat. We recommend flipping them upside-down like a table to assure they dry together evenly.
6) Set aside what you just worked on.
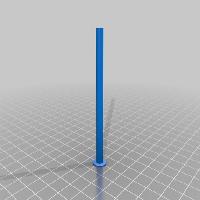
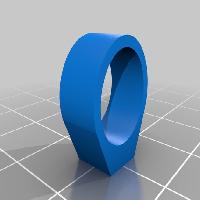
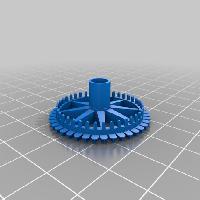
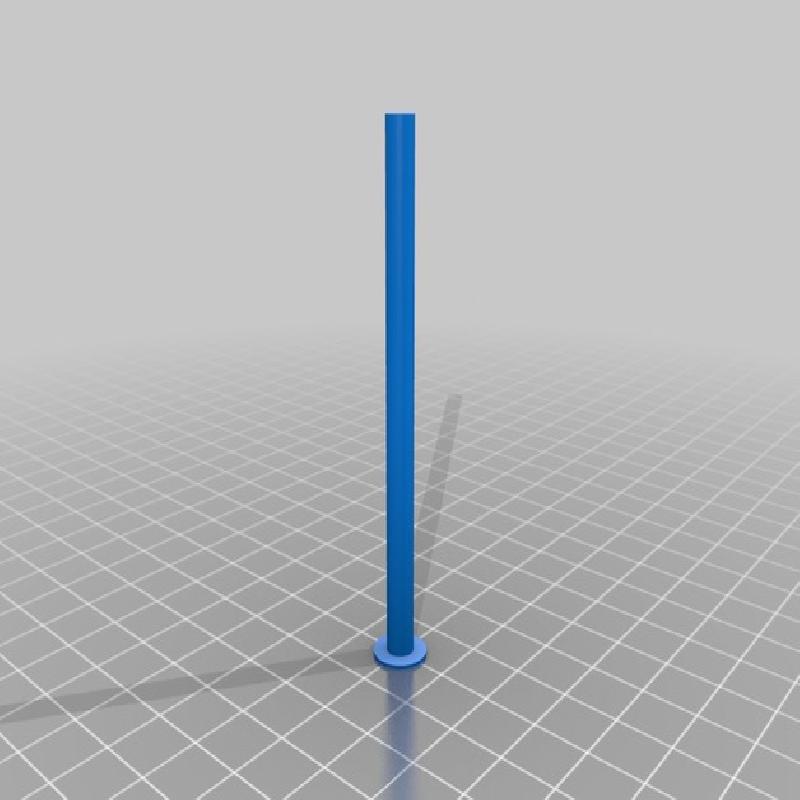
7) Take the 'Pendulum' piece and thread the 'Ride Vehicle' piece right side up (the way it printed) onto the rod such that the large flat circle on the bottom of the 'Pendulum' piece is nearly flush with the bottom of the 'Ride Vehicle' piece.
8) Apply a small amount of hot glue to the top of the 'Pendulum' piece.
9) Quickly affix the 'Pendulum' piece to the 'Pendulum Hinge'.
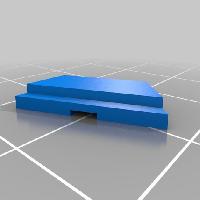
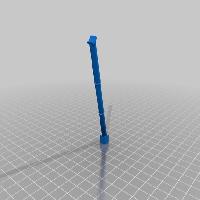
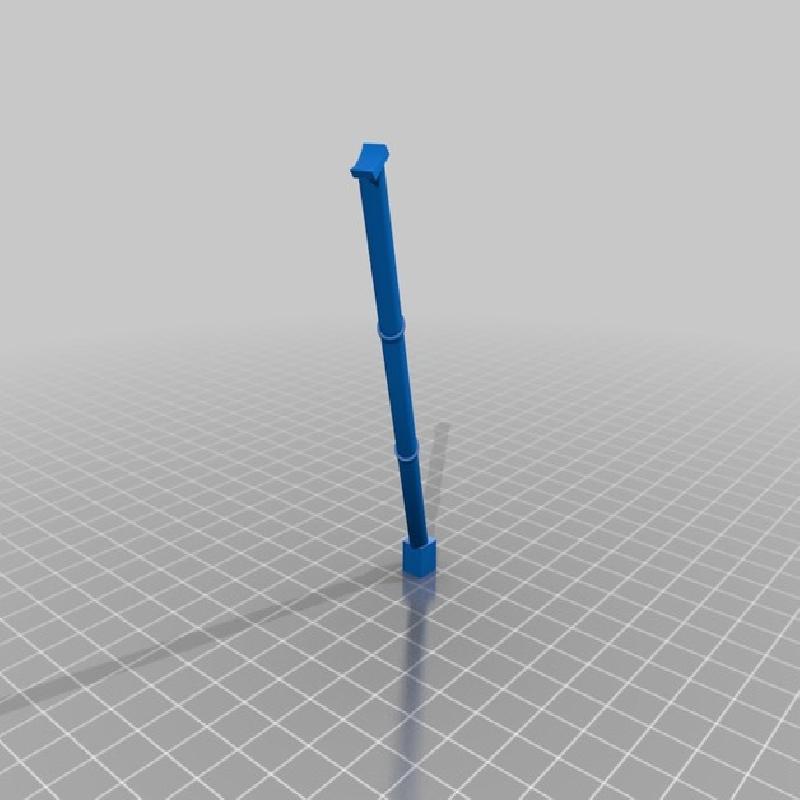
10) Take one (1) 'Support A' and one (1) 'Support B' piece and glue each into one box in the 'Base' piece facing inward in both the X and Y direction. (towards the center).
11) Take the other ride assembly you previously assembled and place a dot of glue on each side of one side of the engine.
12) Affix them respectively one dot of glue to one connection point leaving a tiny bit of space for the pendulum to swing.
13) Repeat steps 10-12 for the other side.
14) slide in the floor panels.
15) Paint the model or leave it whatever color it was printed in.
16) ENJOY!
If you have any questions don't hesitate to ask. :)