by ericthepoolboy, published
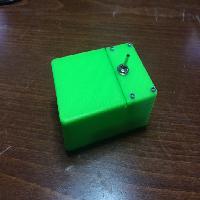
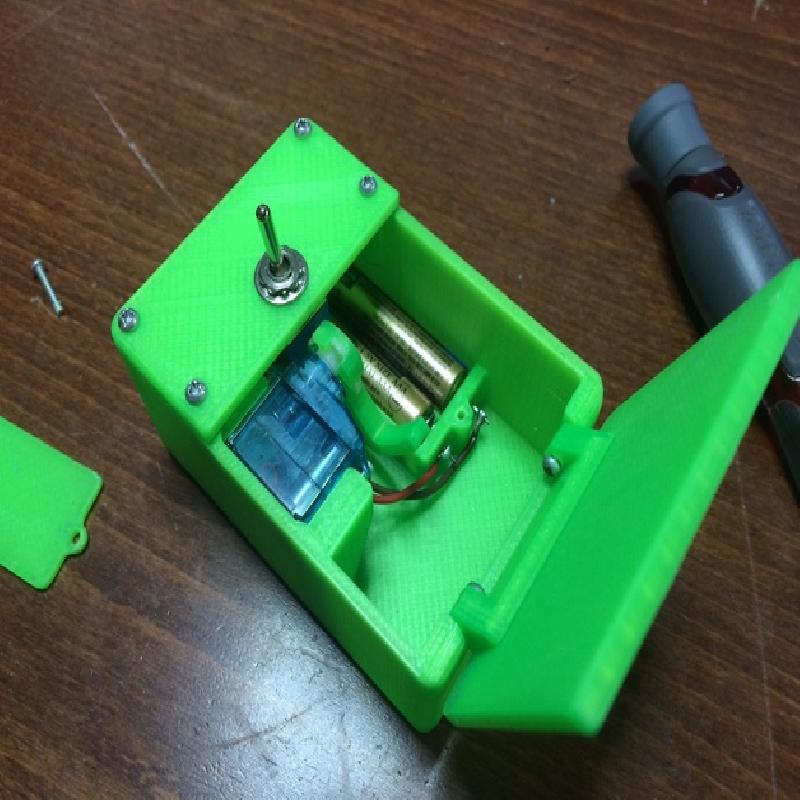
I know the useless box is an old concept and that there are a few on here but I figured I post it on here anyways. I made this about two years ago because none of the useless boxes on here looked clean nice. They were all fairly clunky and required to many parts and hinges. I came up with something fairly small, compact, withe the batteries loacted inside the box. It's really easy to print and assemble if you know how to solder and read a basic schematic.
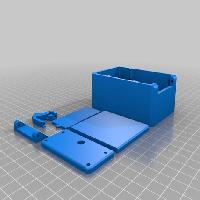
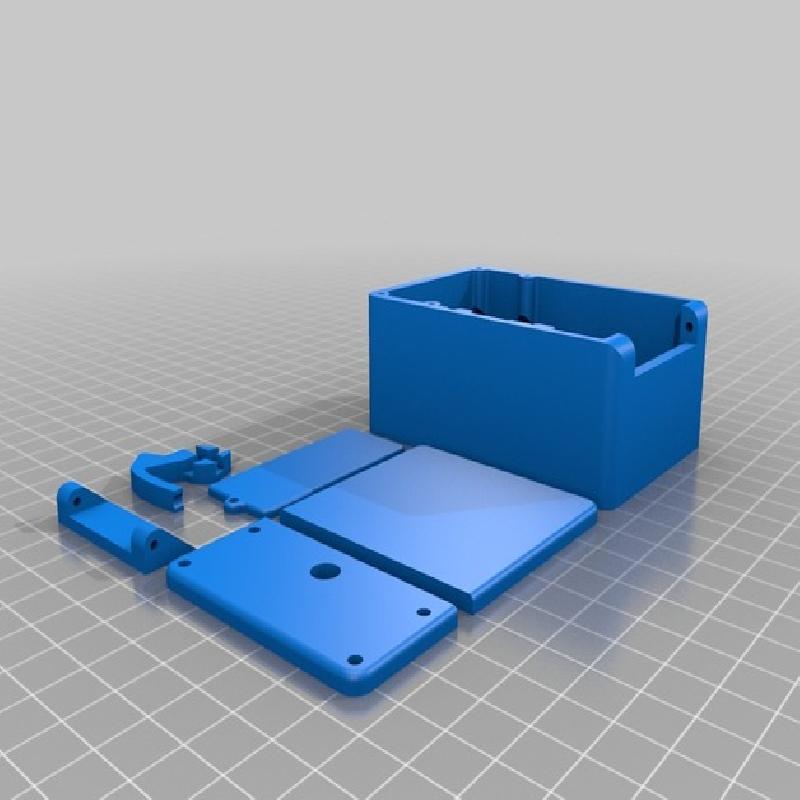
Parts list and instructions
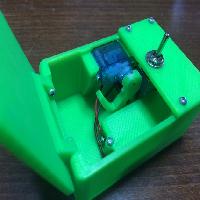
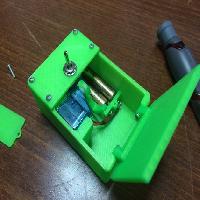
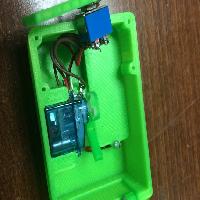
4.3g servo. Only a couples dollar on ebay from China, or you can get it on amazon too. The box was designed around the one style of servo. I have gotten different 4.3g servos and some of the mounting flanges are different. They still work, they just don't sit flush. You will need to modify the servo to spin continuously and also remove the control board so that the servo motor can be hooked up directly to DC voltage. To do this you need to take the servo apart, remove the control board while keeping the wires coming off the motor as long as possible. To modify the servo for continuous rotation, you may need to remove the potentiometer, the detents in the potentiometer, or do nothing at all. It all depend on the servo you are using.
DPDT toggle switch, On-On. The toggle switch may need to modified so that the effort required to flip it is less than the servo can put out. To do this, you need to disassemble the toggle and shorten the little rod that moved the contactor. About a 1/16 of an inch should be sufficient. To mount the toggle switch, position it so that the terminals that are attached to the battery are against the front of the box (opposite of the hinge).
Subminiature micro switch with lever arm. You can find these on eBay or Amazon.
2 AAA batteries
Misc. wire
Paper clip or other bendable wire. To make the contacts for the batteries, I used paperclips. Just straightened them out and wrapped them around some needle nose pliers. You can probably use anything similar just make sure that you can solder to it.
2-56 x 1/2" machine screw or similar. There are nine little machine screws holding everything together. Two for the micro switch, four for the lid, one for the battery cover, and 2 for the hinge.
The hinge is glued on door, you could probably print the door with the hinge but I wanted the top to have a good surface finish.
For the arm that's attached to the servo, I glued it, but you can also melt some PLA around it and attach it that way. Minor trimming of the arm may be required so that the door closed properly.