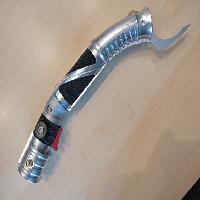
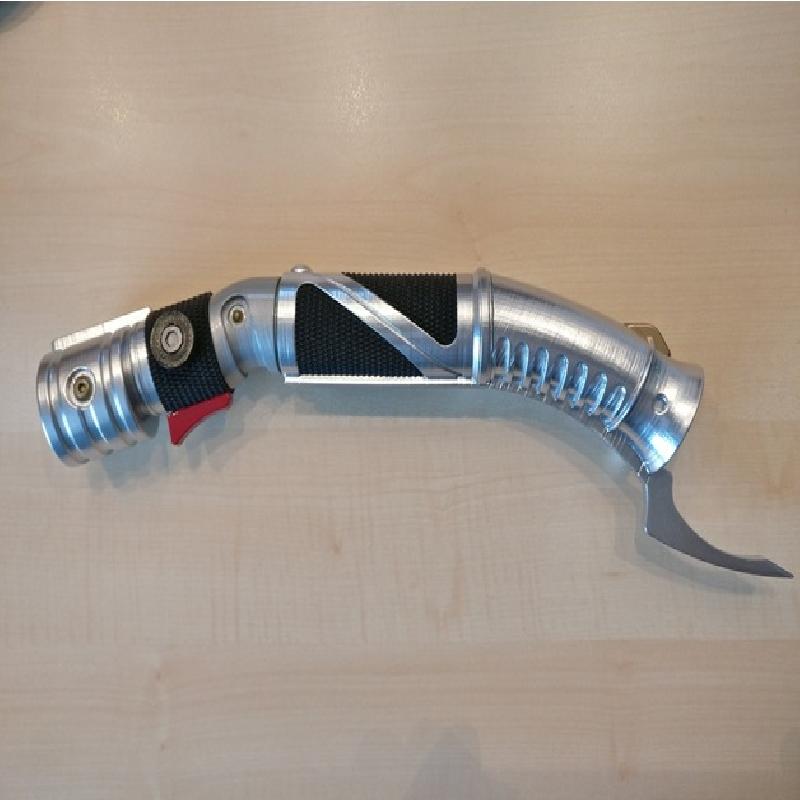
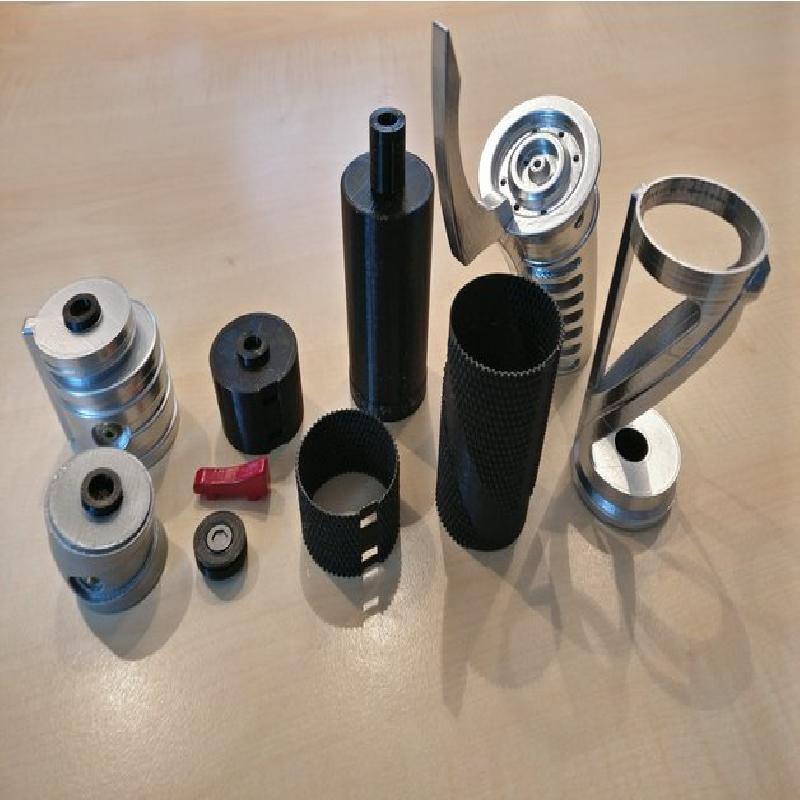
Yet an other fantastic original model by CaseStudyno8!
Now from a visual point of view it doesn't get any better than this. You can tell a lot of research and modeling expertise went into optimizing every single detail.
There are some models of this exact lightsaber floating around the interwebs but most of them would even be an offense to Jar Jar Binks to say the least.
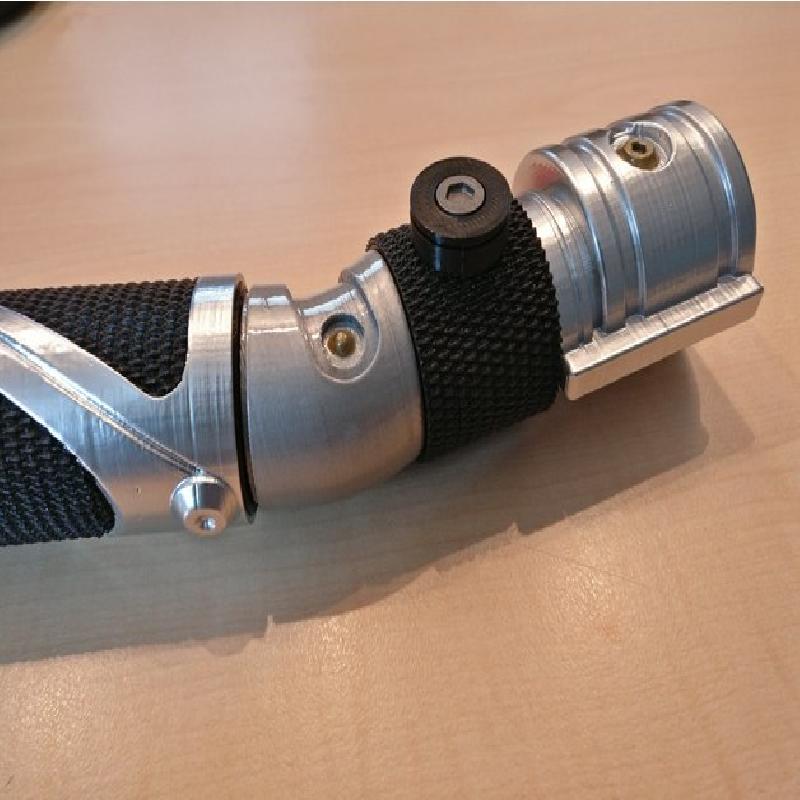
But when it comes to fan made prop replicas there is always room for improvement - My contribution comes in form of rubberized grip and chamber.
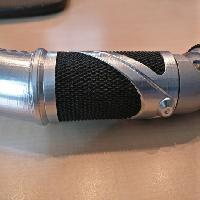
I really like the original knurled design of the InnerGrip and LowerChamber which are supposed to be printed in black PLA or ABS. But I cannot imagine them to be quite comfy (and I guess Christopher Lee would agree).
As chance would have it, I had some flexible filament laying around from previous experiments. So why not use it on something "reasonable"?!
So to make this Remix, of course you need some TPE or TPU filament which can be somewhat pricy. I used Recreus FilaFlex which is like insane 40 €/$ for 0,5 kg.
And your machine has to be capable of printing rubber filament, which many Bowden extruders are limited or NOT!
In any case, carefully read my advice in the section below to help with printing the rubber sleeves.
WARNING: This as a complete overhaul not an update! My remix is not guaranteed to combine with the original parts! All required files are included here.
Printer:
Anet A6
Rafts:
No
Supports:
Yes
Resolution:
0.15
Infill:
10 - 15%
Notes:
All original parts can be printed as you normally would a high quality movie or game prop. For this purpose I tend to lower the print speed (to as low as 25 - 30 mm/s) and set the layer height to 0.15 mm for good visual quality.
The cores of InnerGrip and LowerChamber can be printed much faster and at 0.2 layer height as they will be invisible later on.
The rubber hulls are somewhat more complicated and I strongly advise you to use my optimzed setting to get acceptable quality.
Use best practise for all flexible filaments:
-Use the lowest acceptable print speed (mine was 20 mm/s)
-TURN OFF RETRACTION completely as it does not work with TPE at all and will mess up your print
-Test out optimal hotend temperature for your material as TPE is prone to blistering when overheated
-Use Skirt not Brim for priming as latter is a pain in the a** to trim off and TPE sticks to the heatbed perfectly
Besides this you may have noticed the Hull files are not "hulls" but rather solid bodies. But thats not the way we are going to print them.
Instead activate the "Spiralize" option (Cura)/"Vase Mode" (Slic3r) to only print the outermost contour in one continous line. At this point the print will still have a closed bottom rendering it impractical. To fix this set Bottom/Top Wall Thickness to zero. Cura may signal you that this is a dumb idea but trust me it is not. This way you will get an open tube/sleeve that slips right over the solid core providing it with a soft jacket.
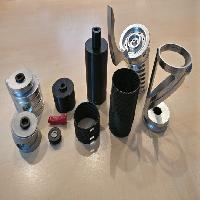
Mechanical Postprocessing
After removing the support material some parts were sanded very lightly with P150 and P400 grid.
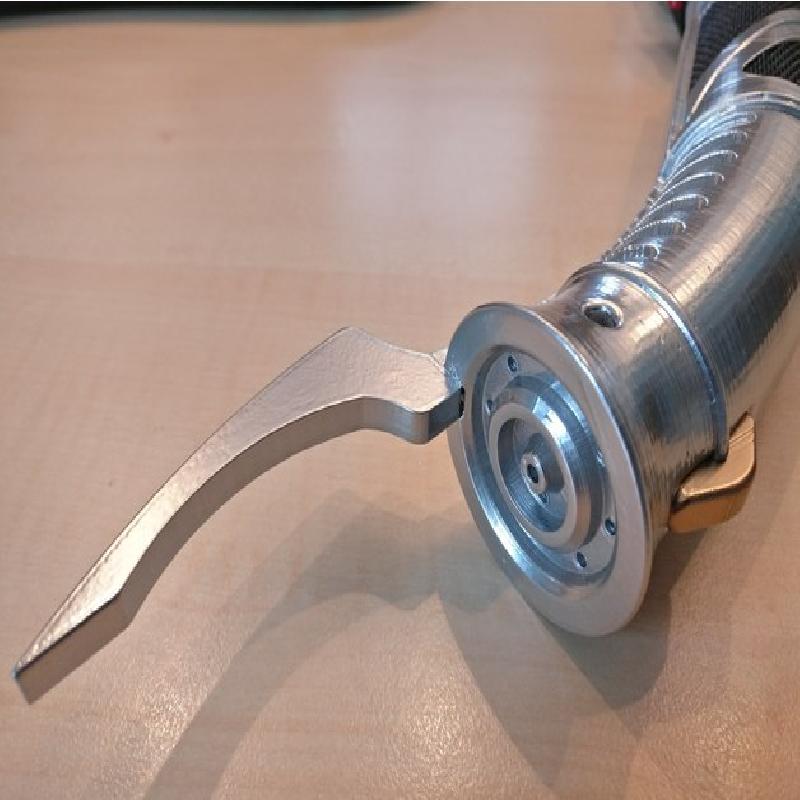
The EmiterGuard was glued to the Emiter with industrial grade plastics glue befor painting.
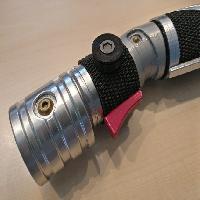
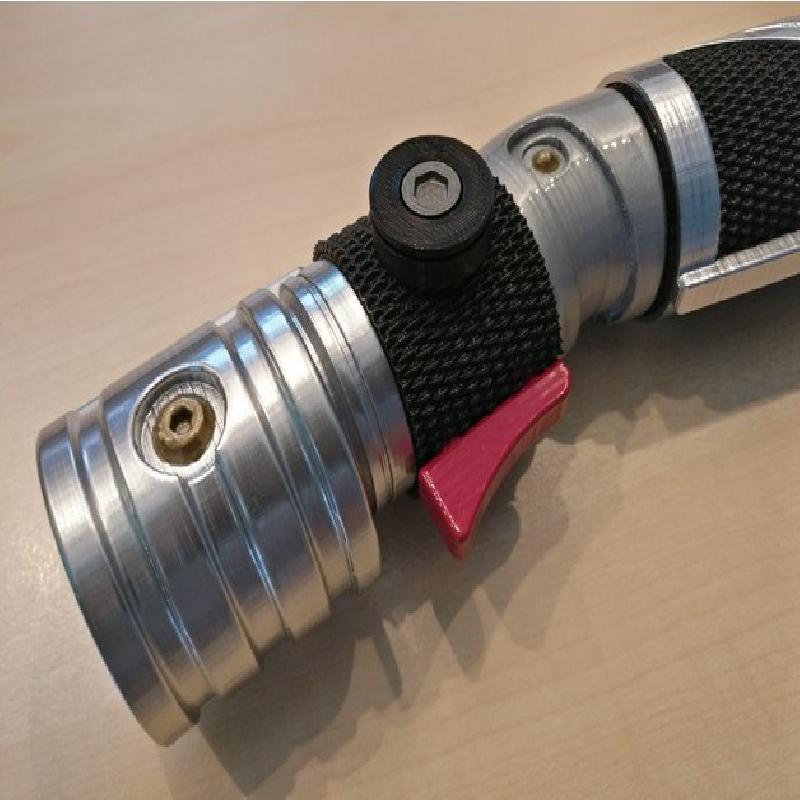
The rubber hull of the LowerKnurledChamber has three openings, one for the LowerButton and two for the RedTrigger. Printed in VaseMode/Spiralize they shold be blocked by "indentations" of the outer wall. Take small scissors (e.g. nail clipping ones) and carefully trim them off inside.
Paintjob
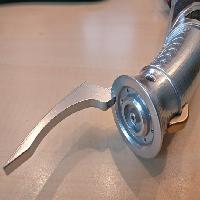
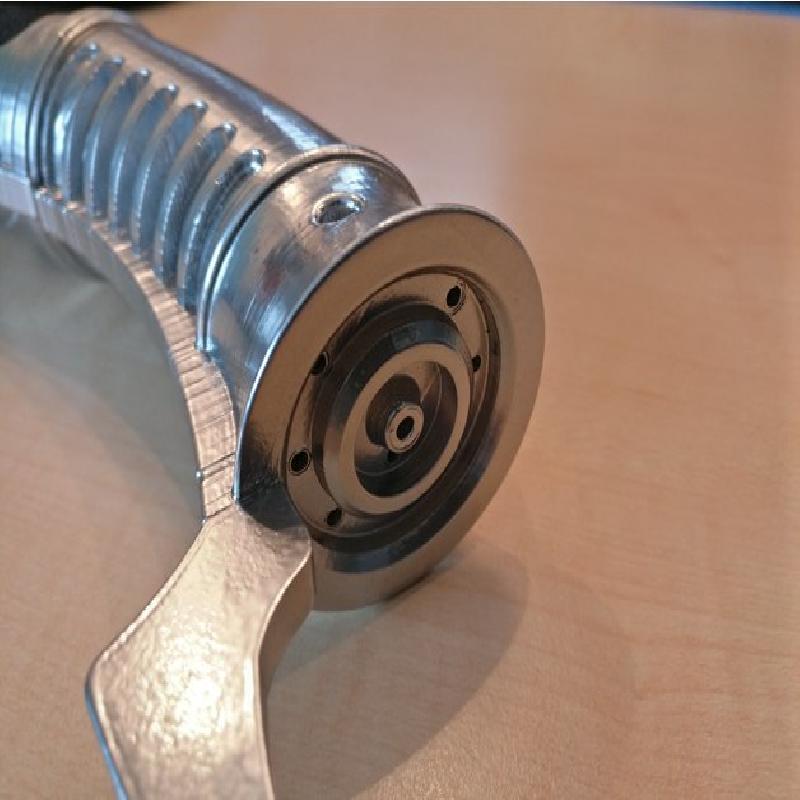
Emiter + Guard, OuterGrip, CurveTransition and Pommel were primed, spray painted in high gloss silver and received some highligths in gold emaille paint.
RedTrigger was painted in glossy emaille paint, UpperTrigger in gold and LowerButtonBolt in steel.
Everything else was left as is.
Assembly
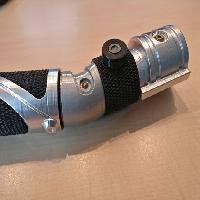
For the LowerKnurledChamber, slide the hull over the core in the correct orientation (check openings), then glue in Button and RedTrigger.
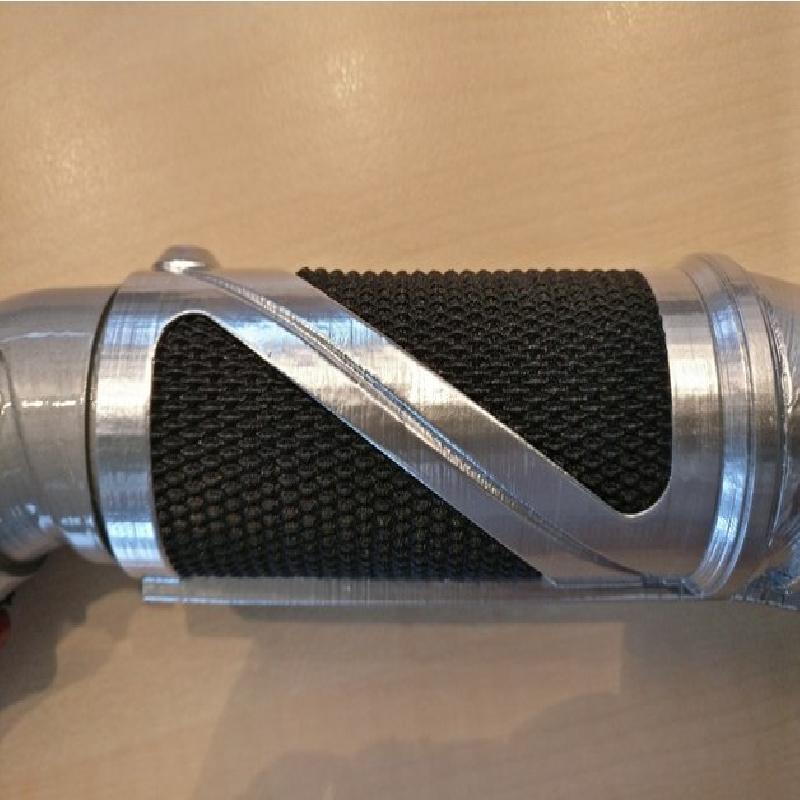
For the Grip, first put the rubber hull into the OuterGrip. Align gaps in the knurling with the braces. Then slide in the core completely. The stud/connector of the core should come right through the hole in the OuterGrip. This way no additional Connector is required.
Everything else comes together like in the original version.
Finally put together with plastics glue or cyanoacrylate.
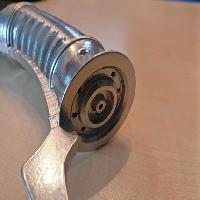
Carefully check the alignment of all parts as all connectors are perfectly round!
NEW
I created the rubber hulls by extracting the knurling from the original parts, leaving only a core minus two times a print wall thickness and some tolerance. This way the elastic hull printed in VaseMode easily fits over the hard plastic core.
For the InnerGrip I even offset the knurling and did a Boolean with the OuterGrip. The resulting body not only slides into the outer grip, like the original one did. It fills the "windows" of the skeleton, improving not only on the feel but also on the look of the whole lightsaber.
IMPROVED
Besides the updated rubber grips I tried to correct some minor flaws with the original files.
First importing one part into my slicer software I immediately noticed some strange artifacts - jagged lines interrupting the top layers (see attached screenshot). Analyzing this further in Blender, I noticed almost every part was rotated around an arbitrary axis by some minor degree. This leads to interrupted layers when slicing/printing. Most certainly this is a precision error in the STL exporter of the CAD software used.
All parts were corrected, realigned and should be oriented for optimal printing results and stability now.
You may wonder why the Emitter is on its tip, seemingly toppling over while the original was resting on its full bottom?! Printing it this way, the decorative, ornamented top will come out perfect in horizontal layers instead of jagged with visible layer lines. And the bottom of the part won't be visible in the final assembly thus can be hideous. Just remember to use sufficient Support Density or even Support Interface so the part won't come off the bed mid print!
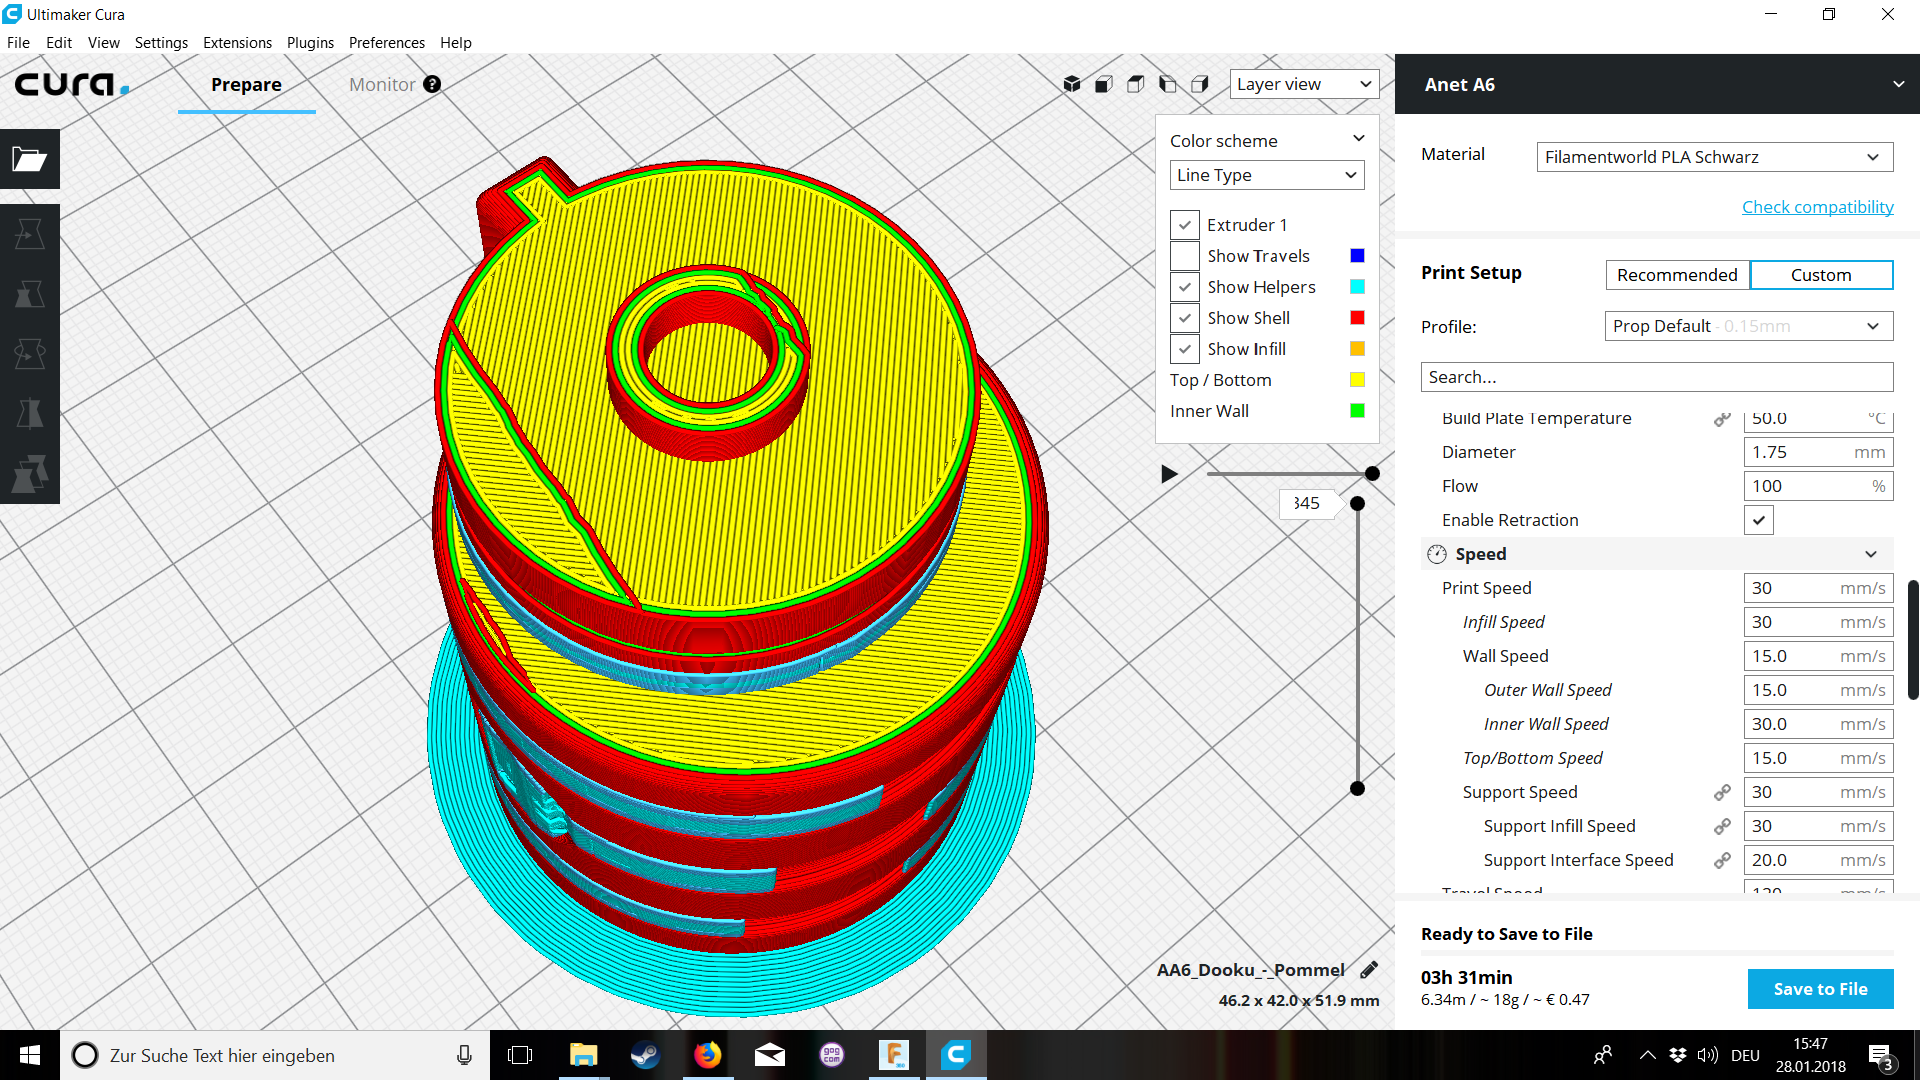
Rotation Error on the Pommel
All parts except for the RedTrigger and rubber hulls of course were printed in black mid grade PLA.
The InnerGripHull and LowerKnurledChamberHull are made from black TPE.
RedTrigger is in, well, red PETG.