by werd10, published
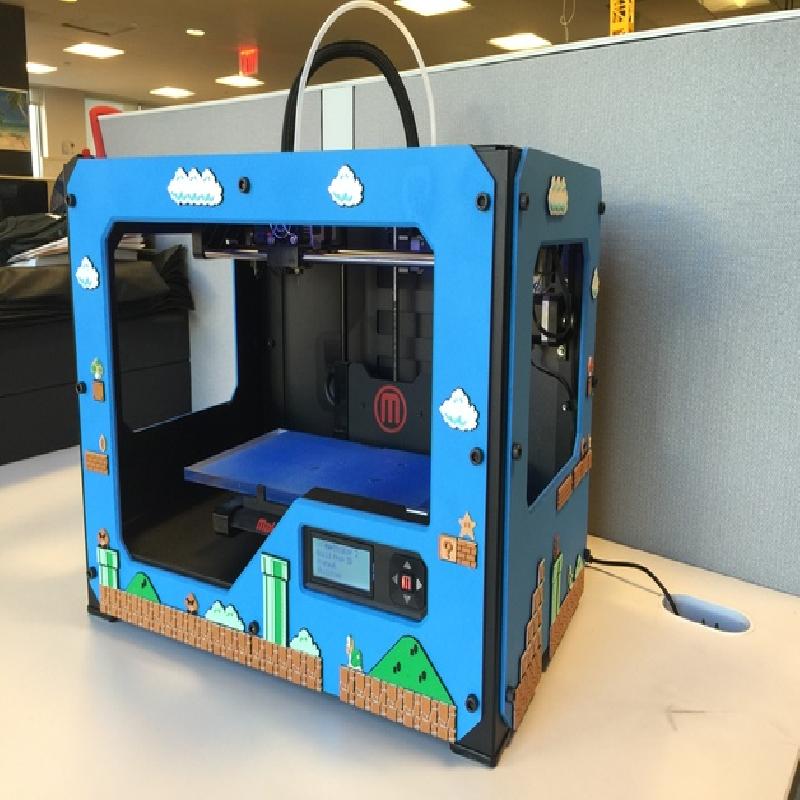
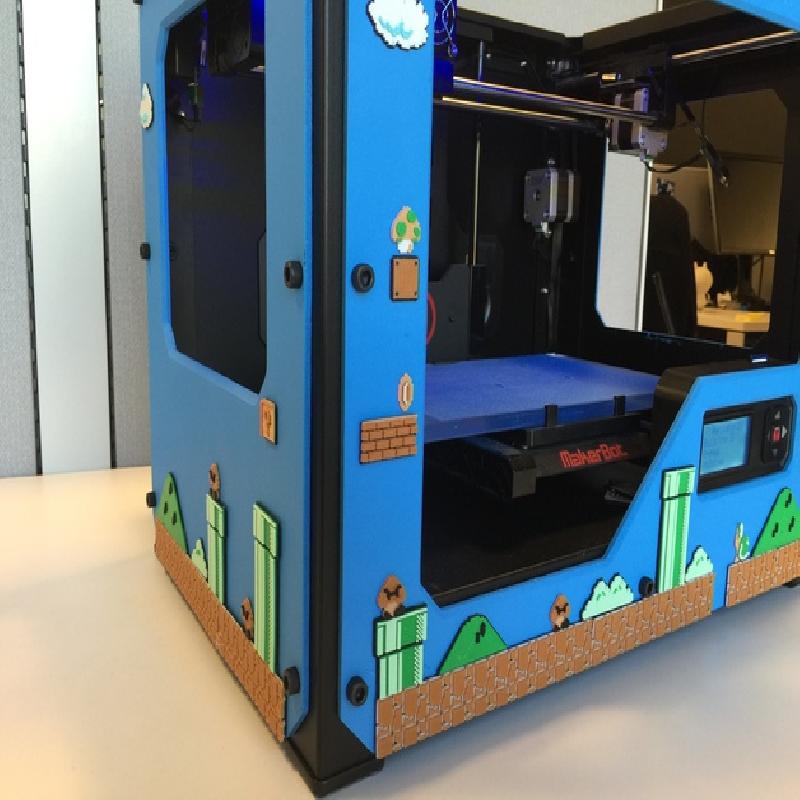
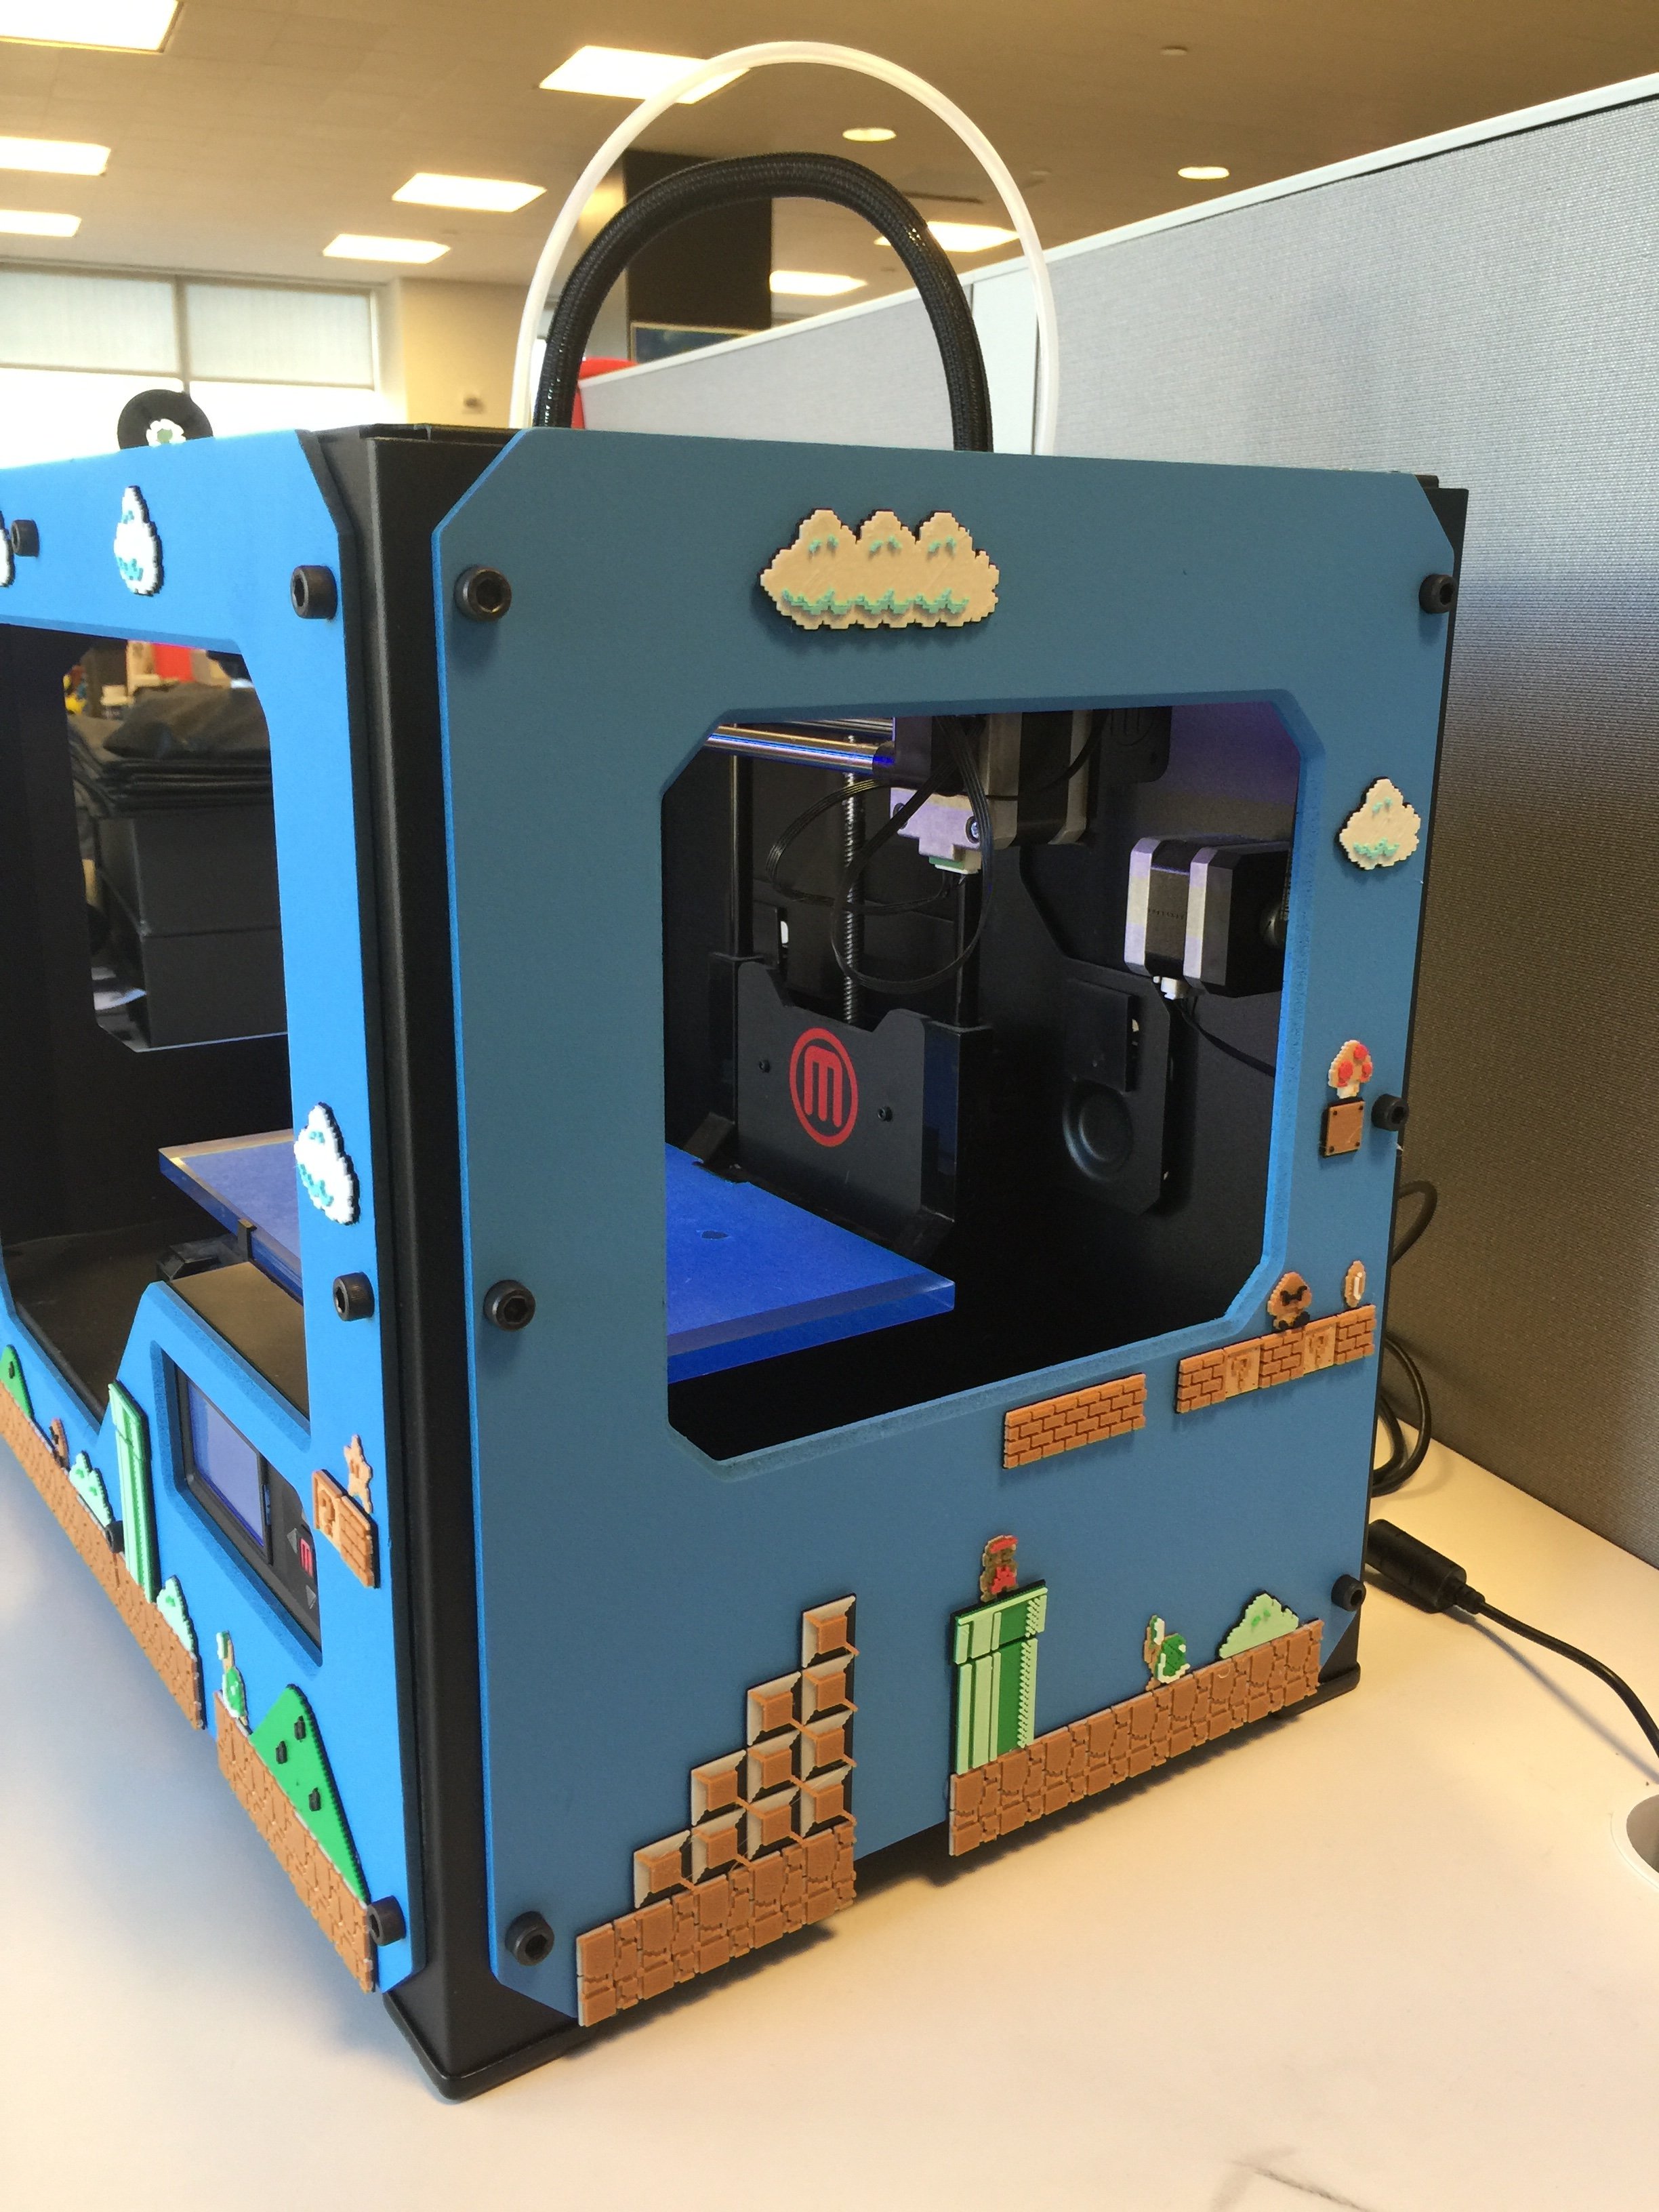
I wanted to 1-up my Replicator 2 with a Super Mario inspired theme!
Aside from the blue paint used on the panels, all of the pieces were 3D printed and not painted or finished in any way, the multiple colors are from swapping filament colors mid-print.
My general process was:
Trace features from reference image using Illustrator.
Import the SVG file of each feature into 123D Design and extrude each piece to create 3D models.
Print all pieces, pausing mid-print to swap filament colors (this part was intense!)
Paint the panels, glue the pieces, and assemble everything!
Keep reading below for my full process of creating this!
*NOTE: I used Illustrator because I have access to it through work. This same process could easily be done using a free alternative such as Inkscape.
Printer Brand: MakerBot
Printer: MakerBot Replicator 2
Rafts: No
Supports: No
Resolution: 0.2
Notes:
All parts were printed at 0.2 mm layer resolution. To achieve the multiple colors, I paused all the prints every 1 mm and changed the filament color (see below for more detail on this).
Step 1: Find and import reference image
A quick google search of Super Mario Level 1 gave me this reference image, which I pulled into Illustrator for tracing.
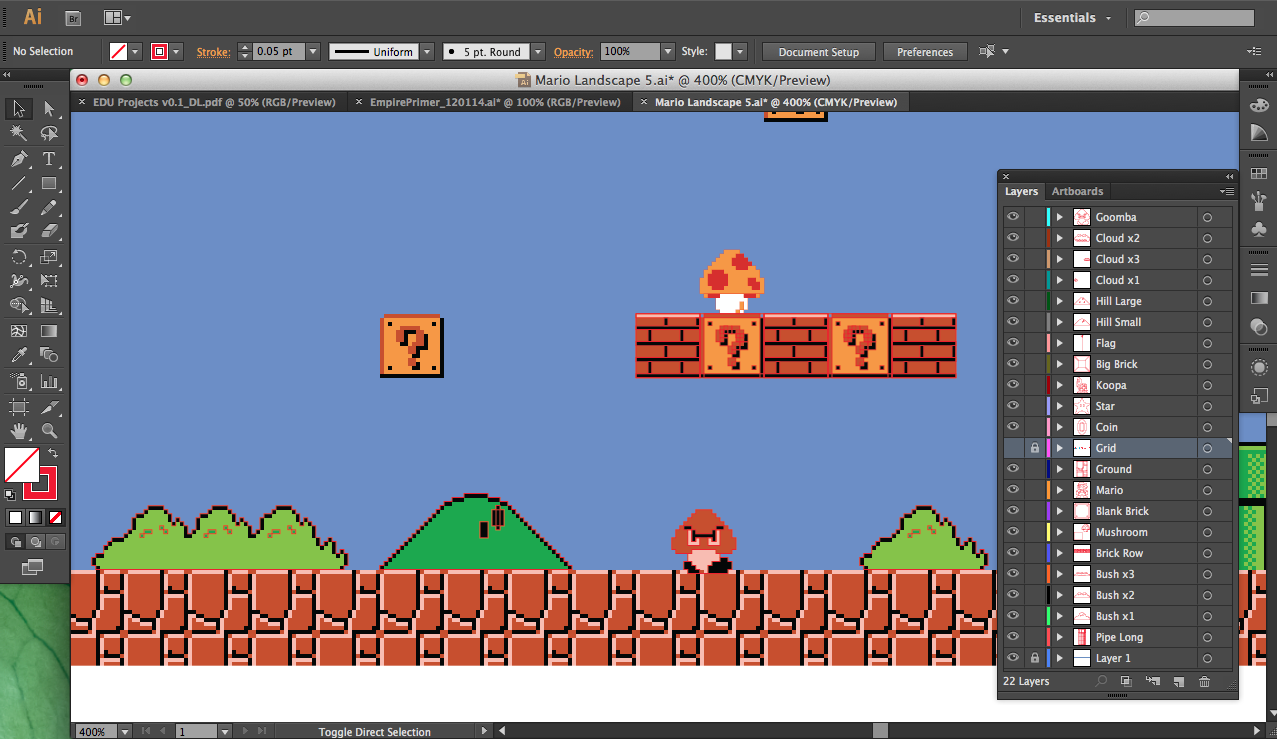
Reference Image
Step 2: Trace Features using Pen tool
I manually traced out the major features that I wanted using the pen tool. I put each on separate layers so I could toggle them on/off and for easy export later on.
NOTE: I don't know anything about Illustrator, and I'm sure there is a much faster way to do this.
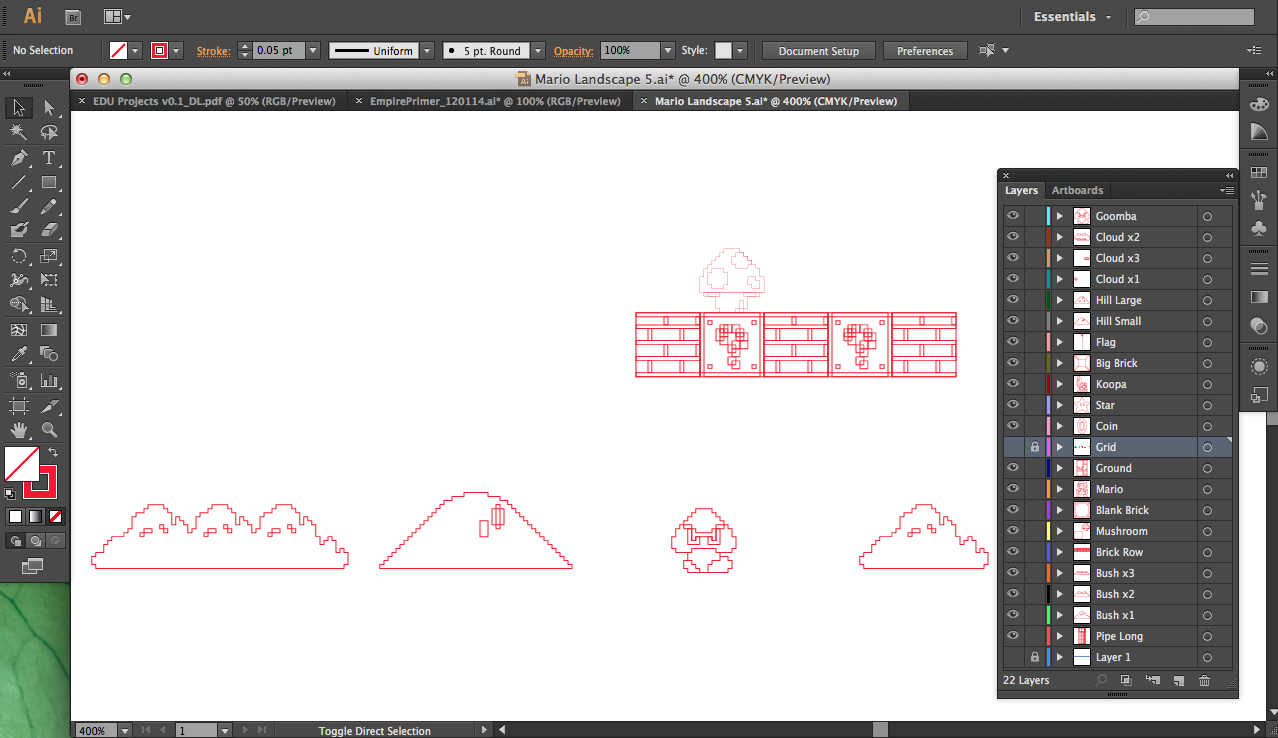
Traced features
Step 3: Export SVG's and Import into 123D Design
I exported each feature individually as an SVG file (I tried to do it all in the same file but 123D Design wasn't happy about that).
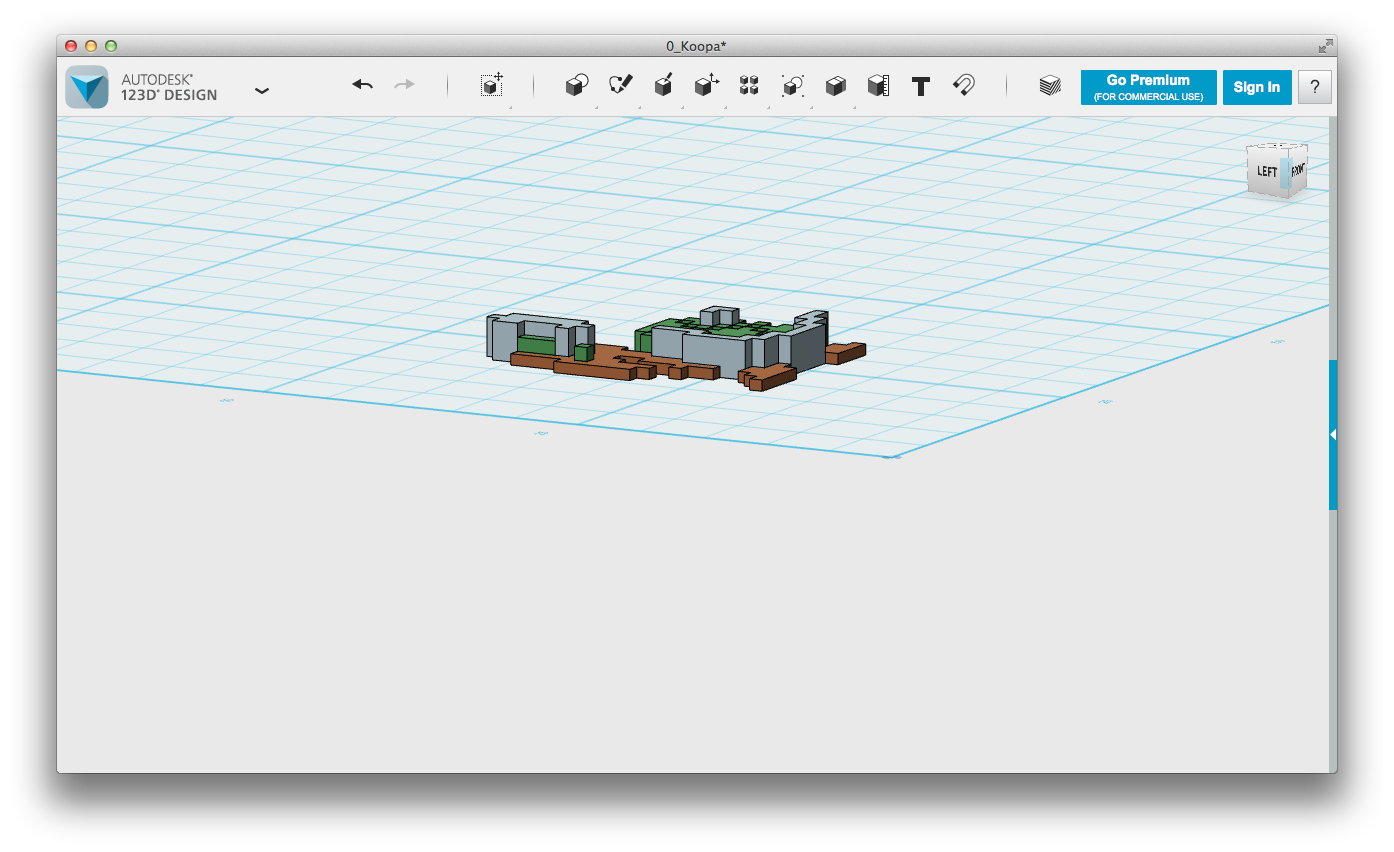
In 123D Design, I chose the "Import SVG as Sketch" option.
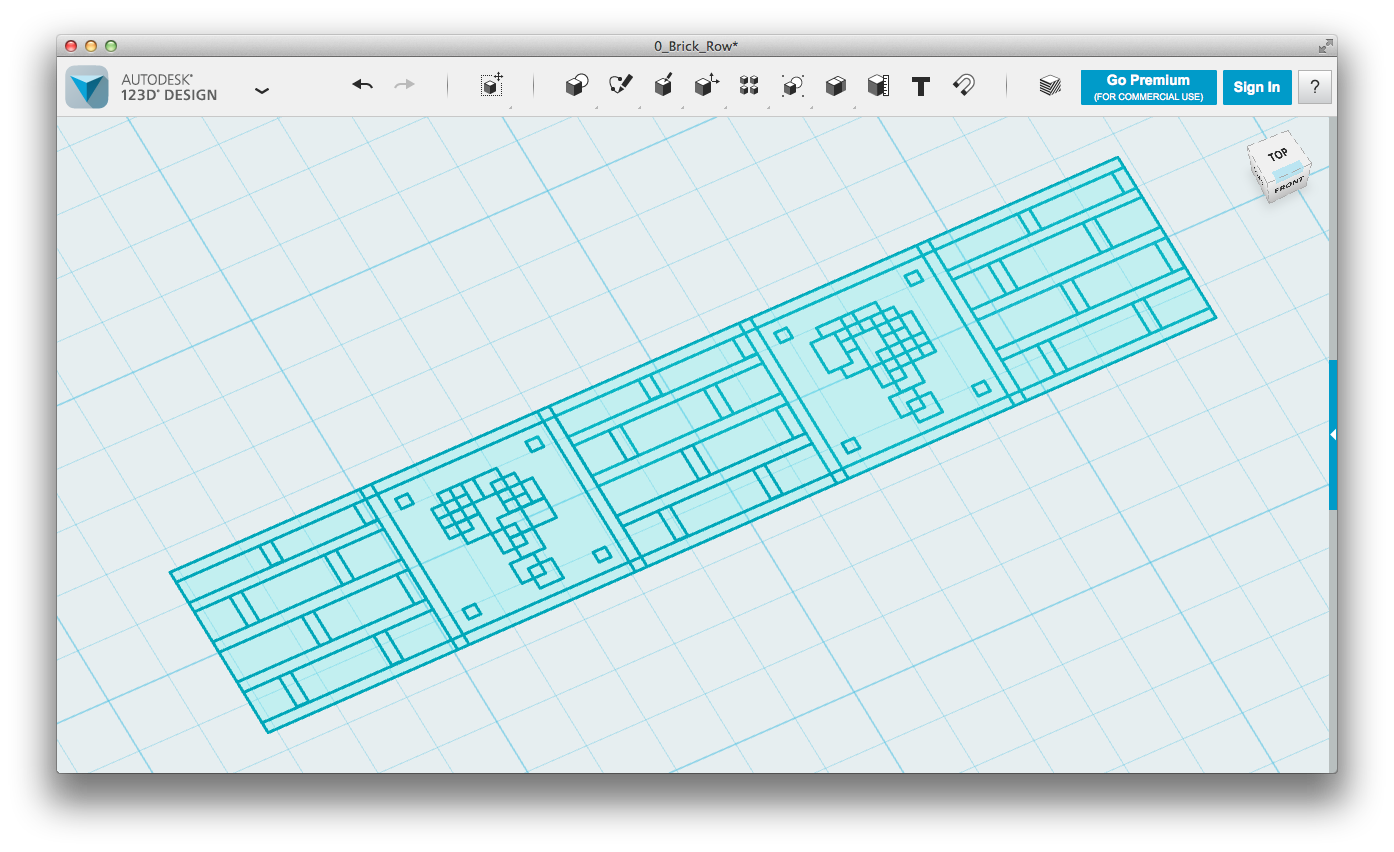
SVG imported as sketch into 123D Design
Step 4: Extrude Features to correct height
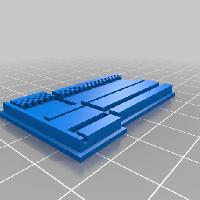
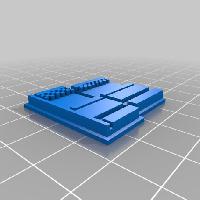
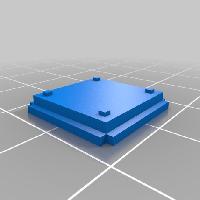
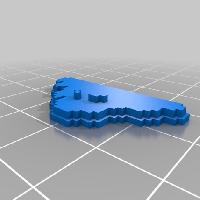
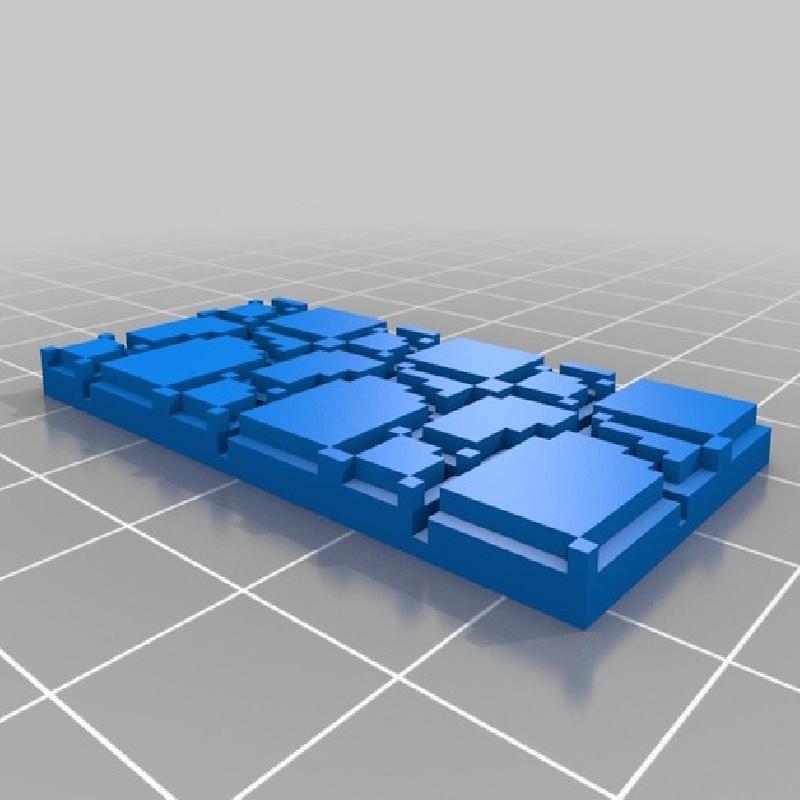
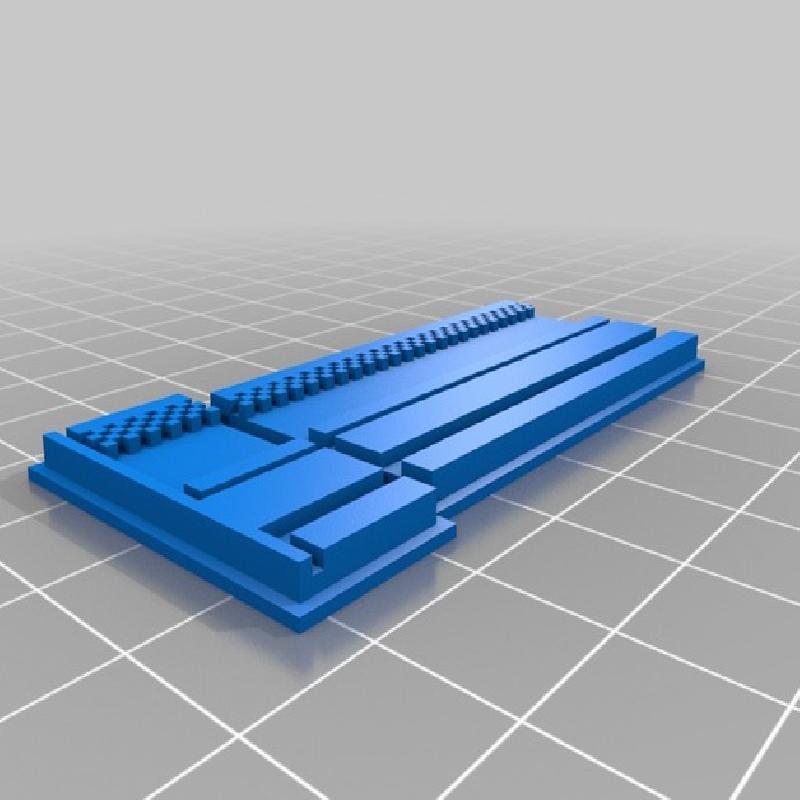
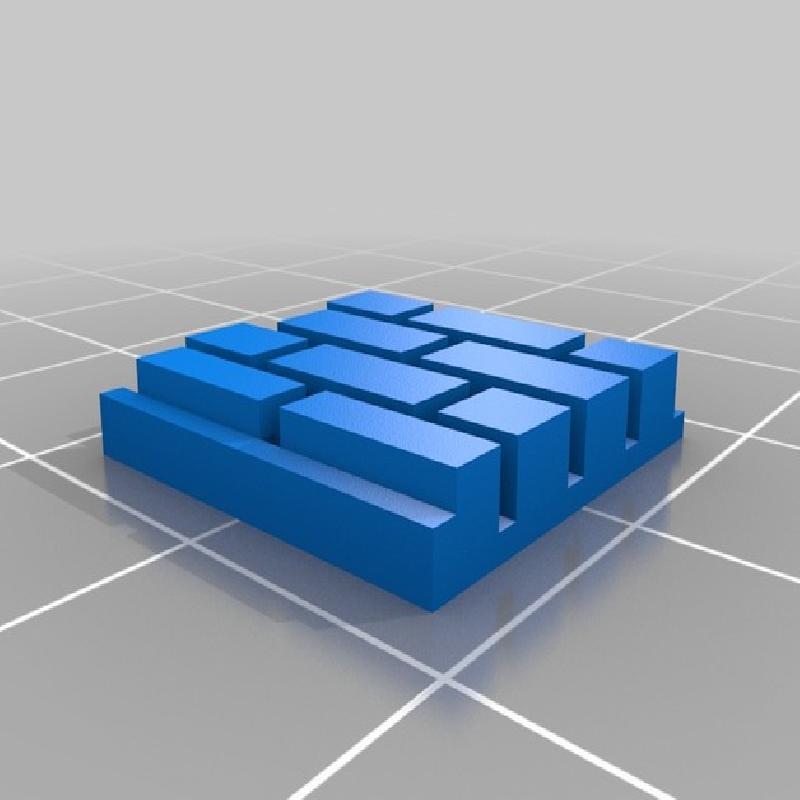
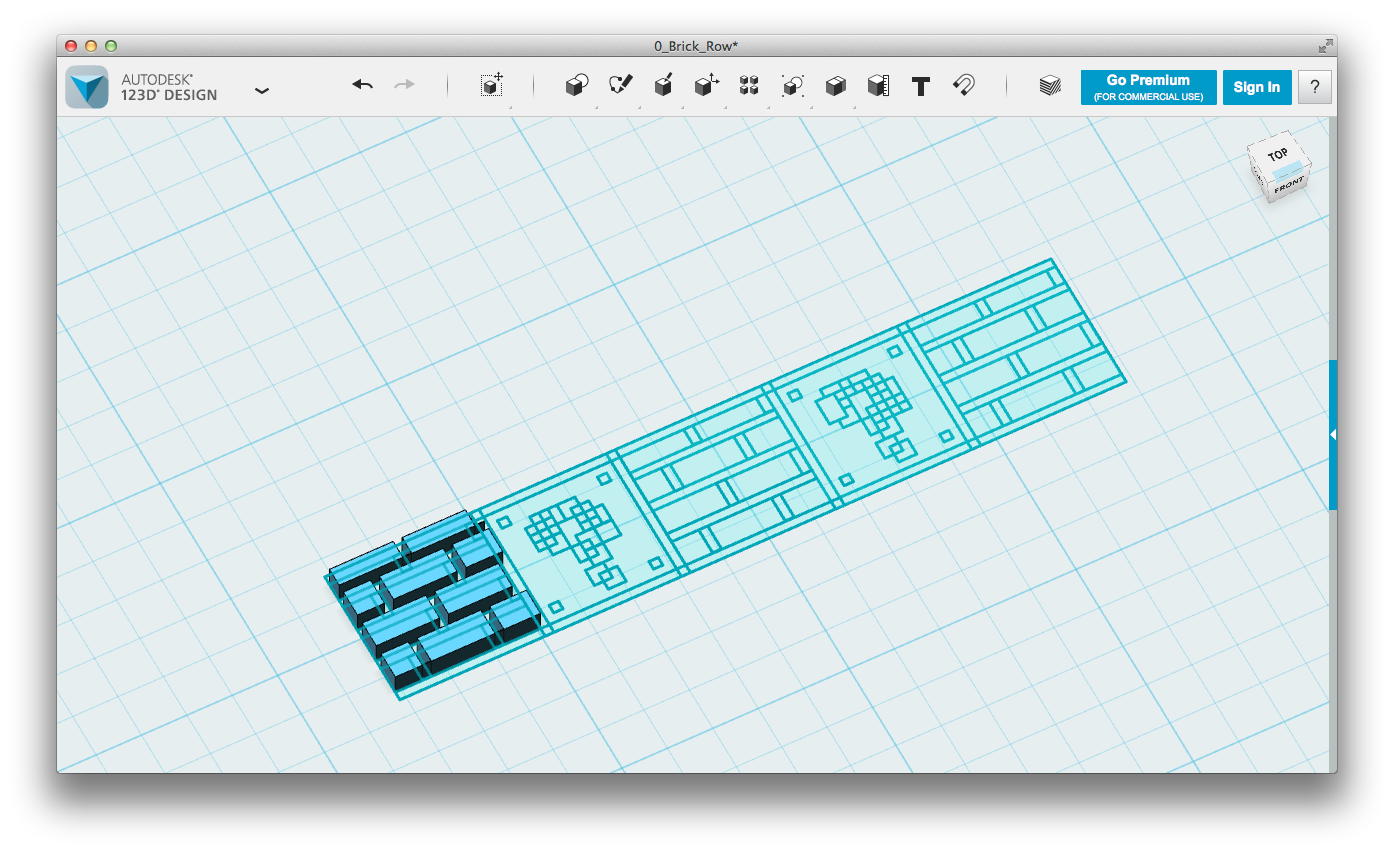
I knew I wanted to swap filament during the prints to achieve the multi-color look, and was able to match each color from the image (closely enough) to a MakerBot filament color (each feature has no more than 3 colors).
In order to do this, I extruded all parts of the model to specific heights based on their color.
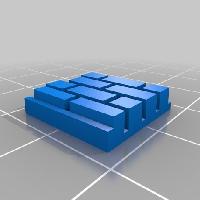
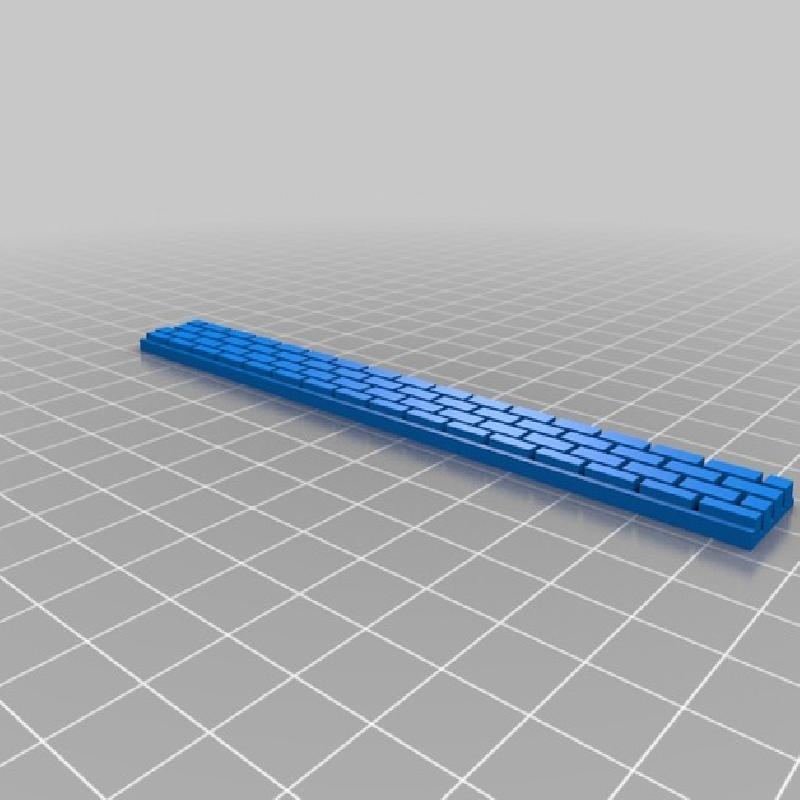
See the brick example below:
When making the model, I extruded the Black sections to 0.8mm, the Light Brown sections to 1.8mm, and the Dark Brown sections to 2.8mm. That way (when printing at 0.2mm layer height), I could start printing in Black filament, pause 1mm, switch to Light Brown, pause at 2mm, switch to Dark Brown, and complete the print.
Extruding each section to the appropriate height
Color coded to check correct heights
Notice the height difference for the different sections.
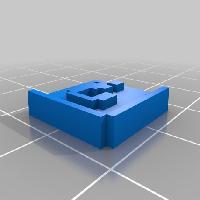
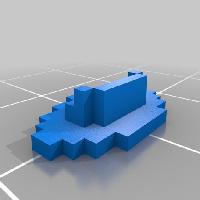
Use the same process for each of the remaining parts
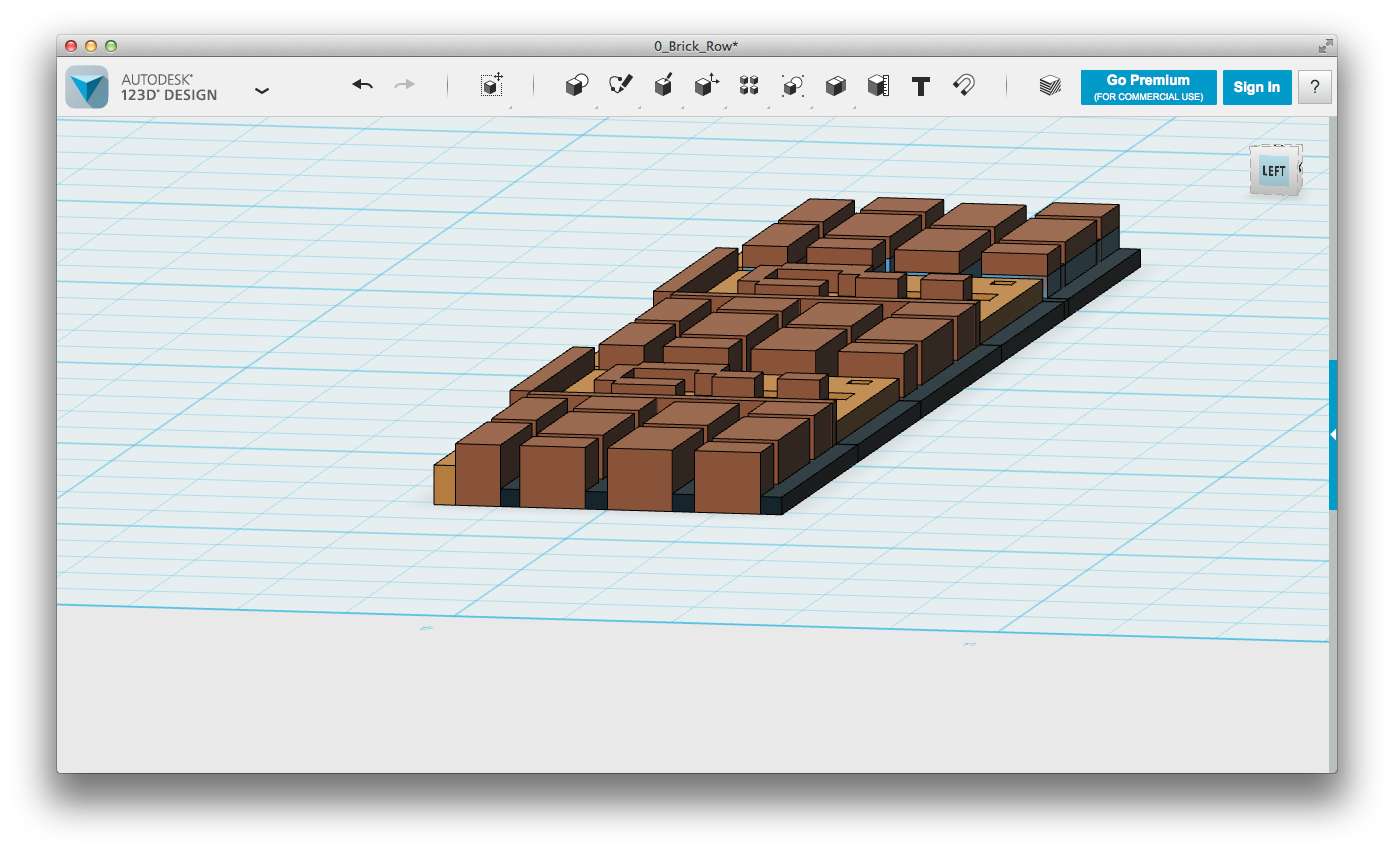
Step 5: Print all of the pieces with Z-pause
I grouped together parts that use the same color combination and printed plates of each part (see attached chart of color combinations).
For each print the process was:
Start print with base color
Set Z-pause height to 1mm
Wait until print pauses at 1mm, switch filament to 2nd color, resume print
Set Z-pause height to 2mm
Switch to 3rd (final) color and wait for print to finish
Note: I way overestimated how many pieces needed to print, so if you are following along on the spreadsheet you should adjust the quantities of each part.
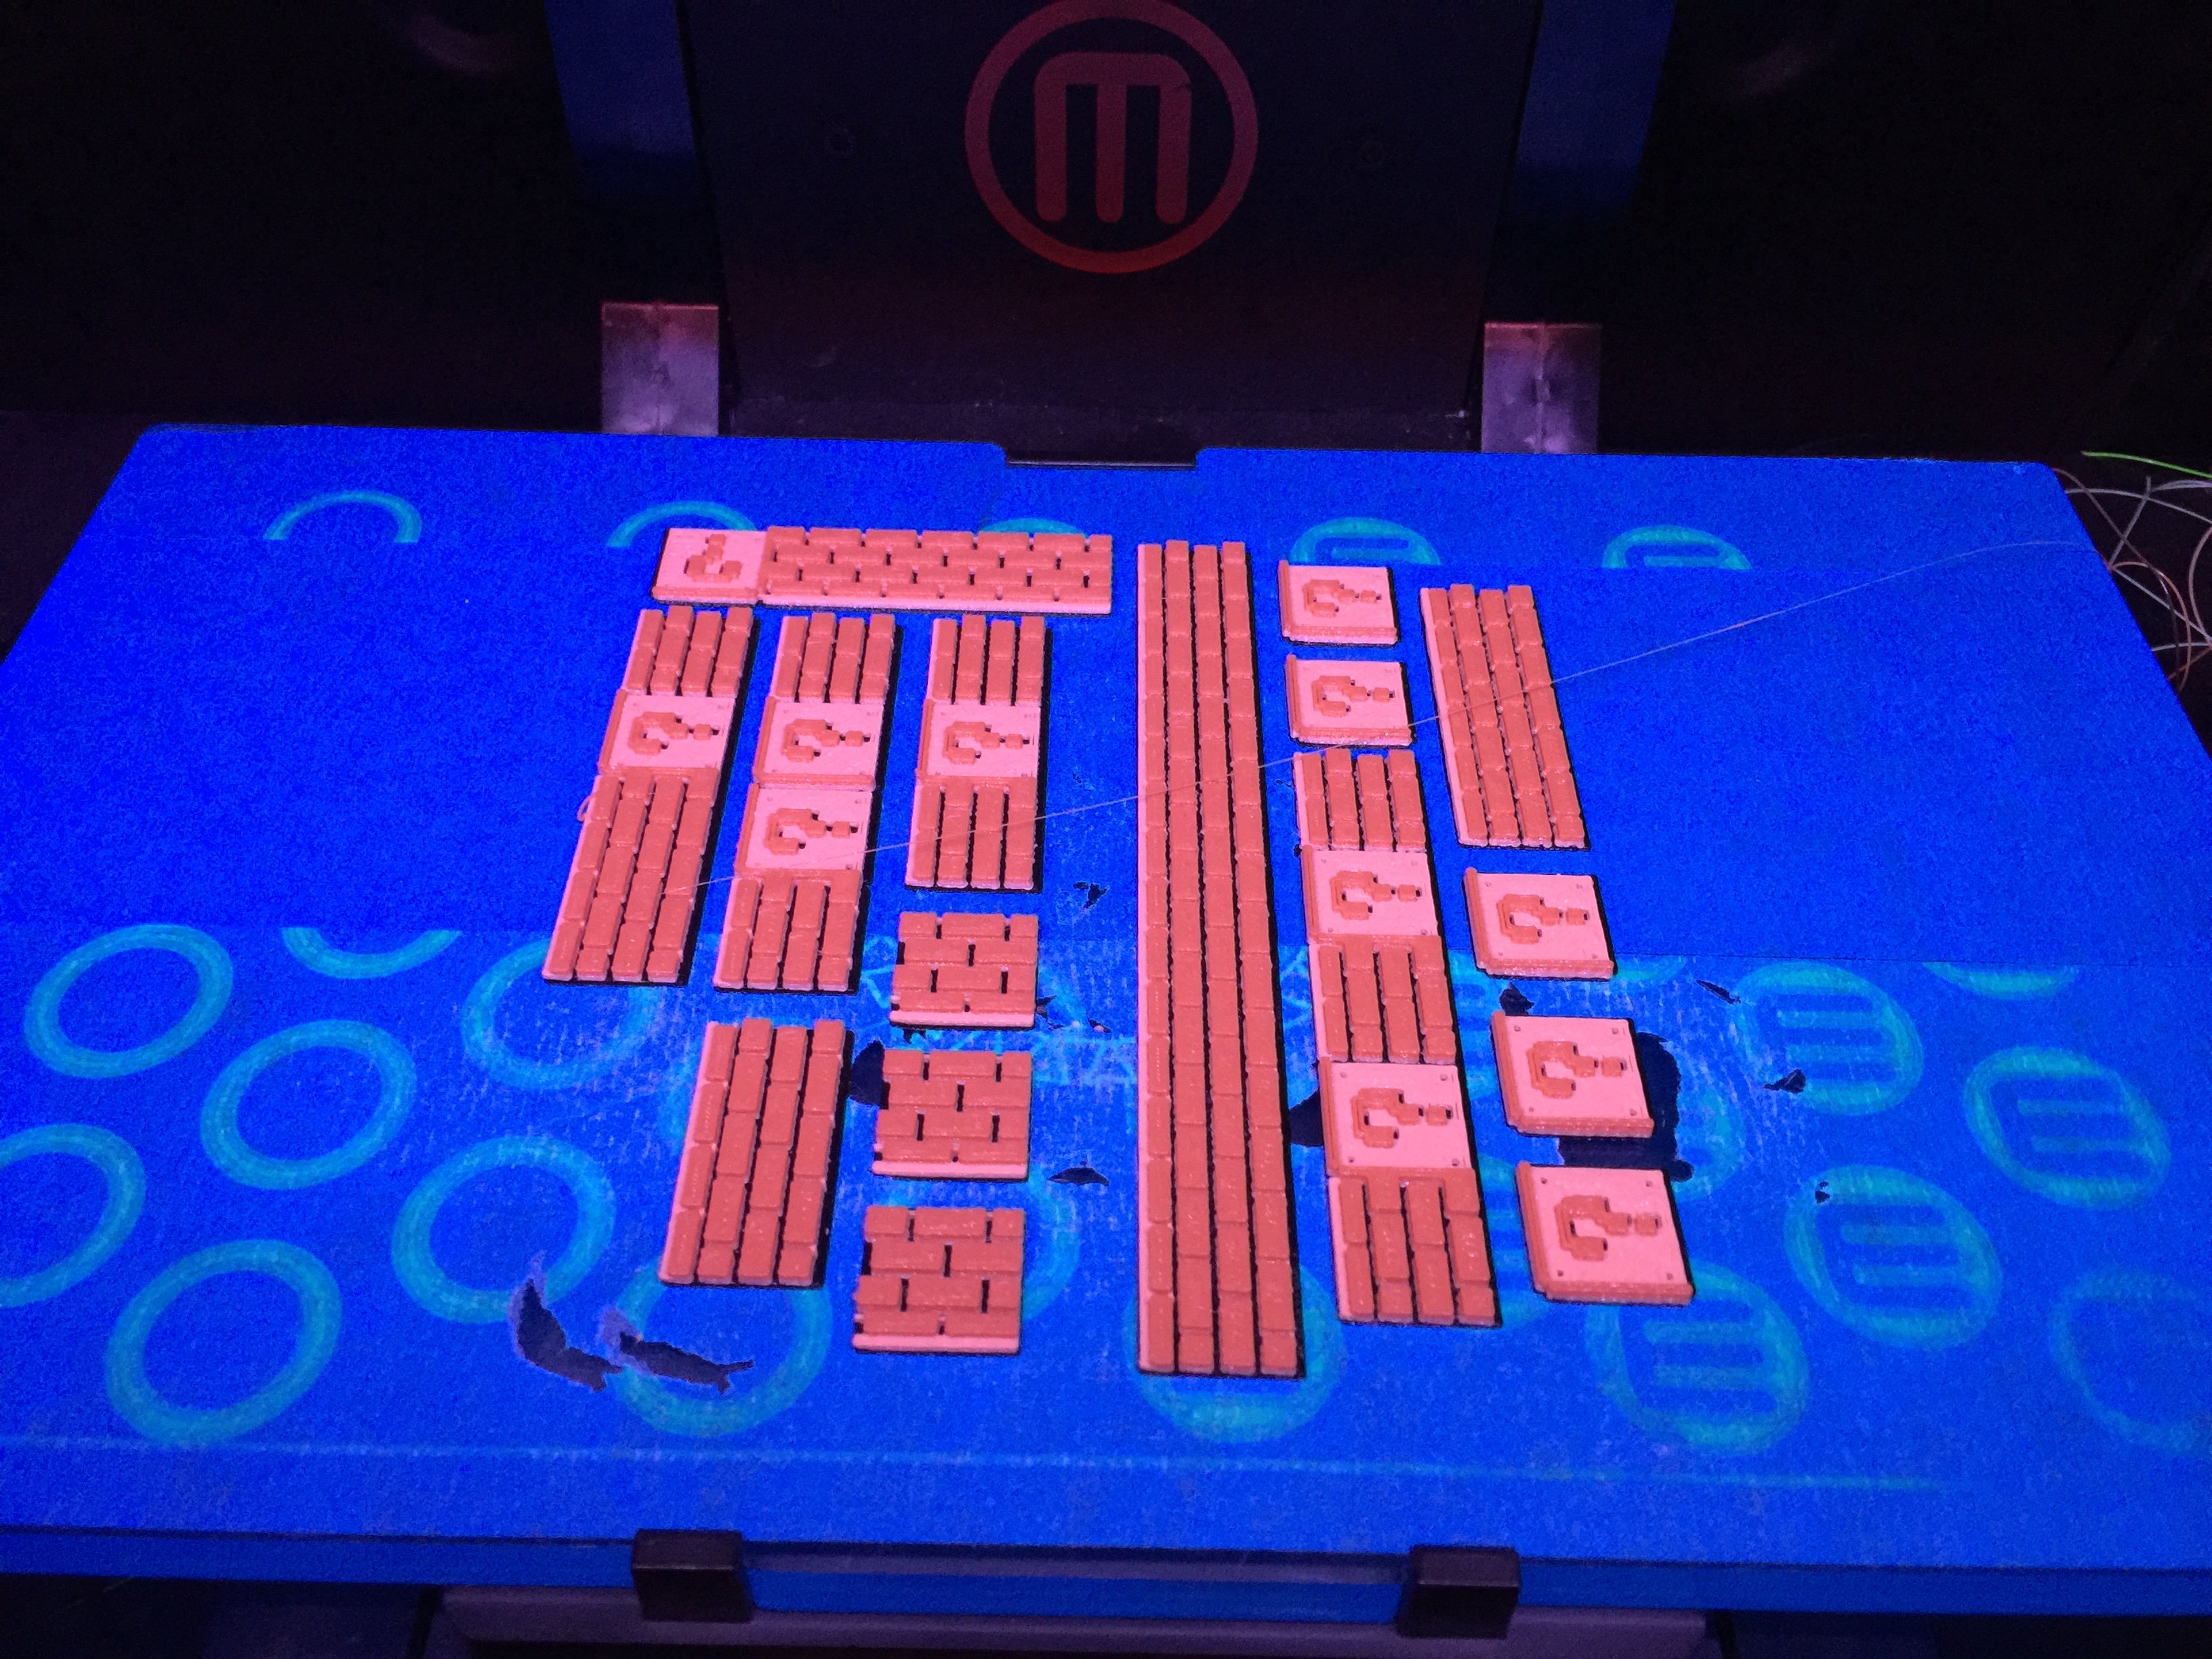
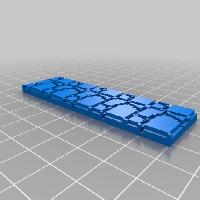
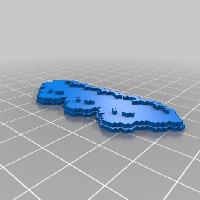
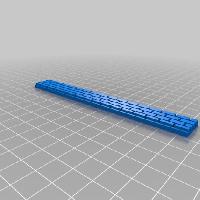
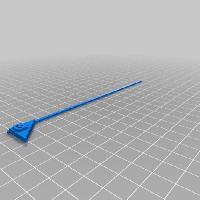
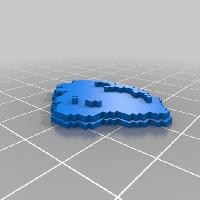
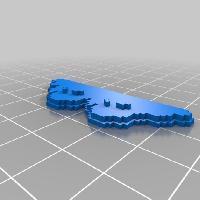
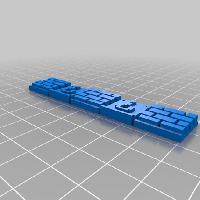
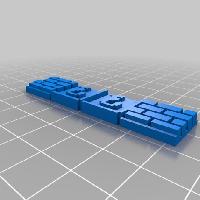
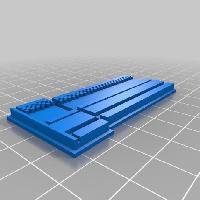
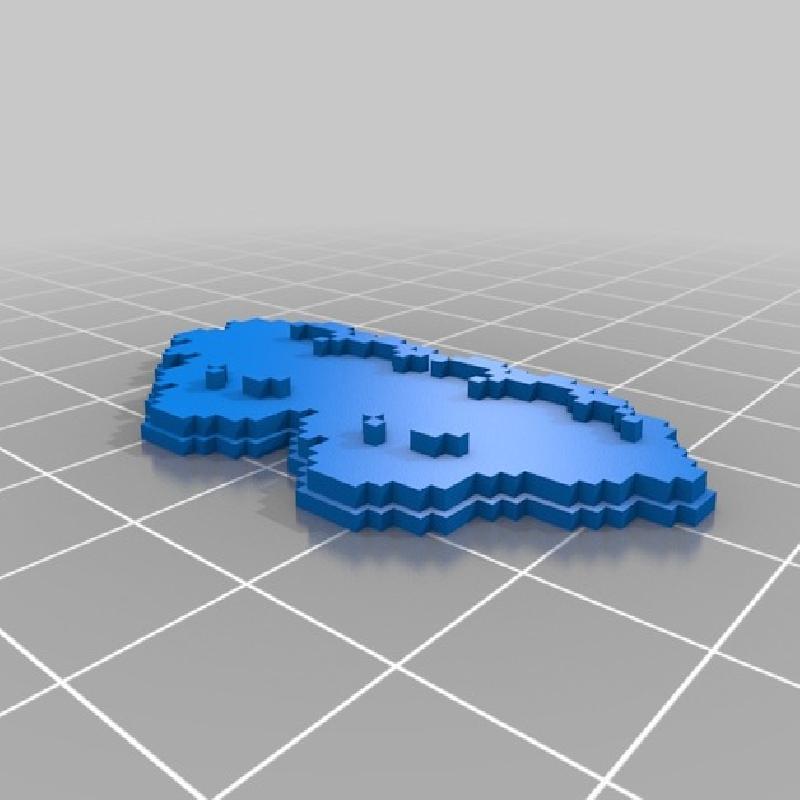
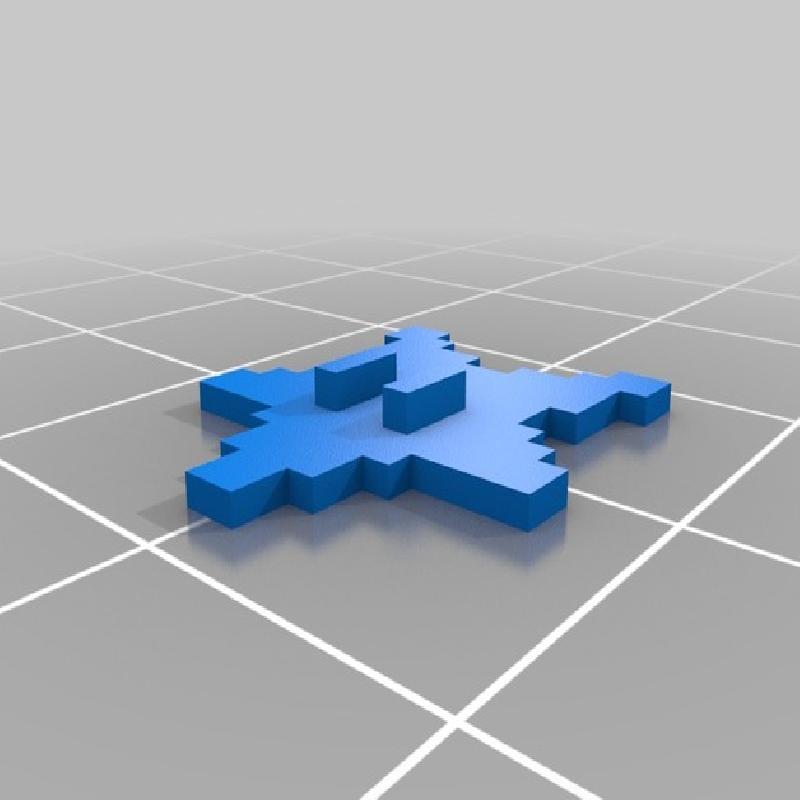
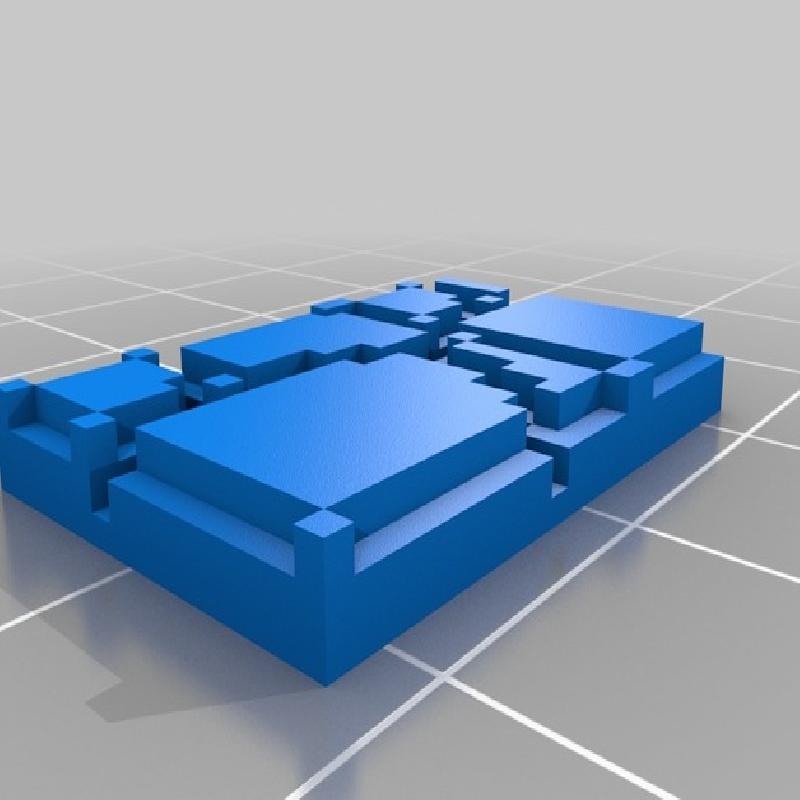
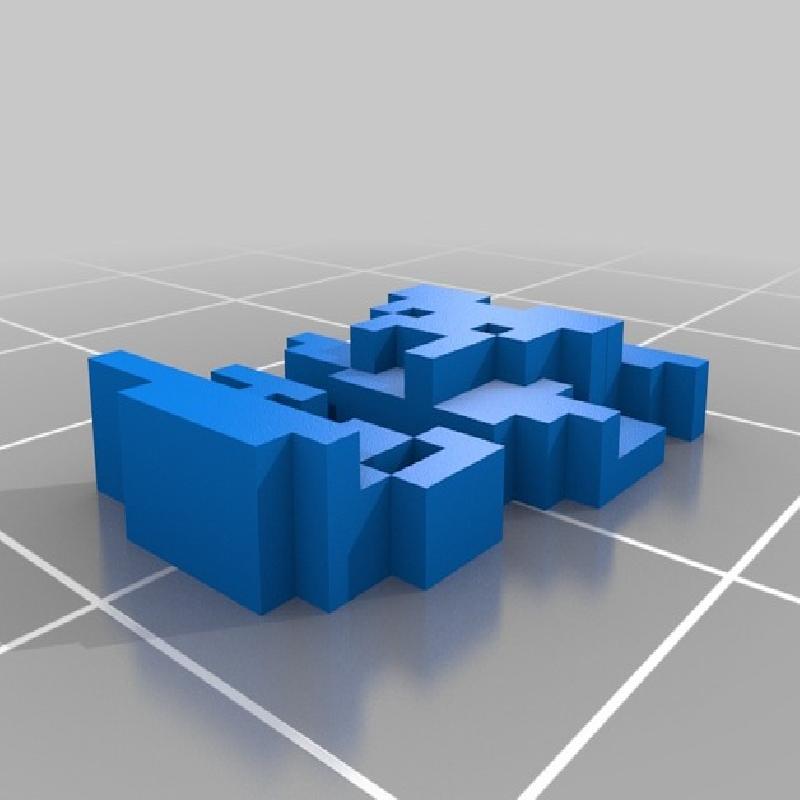
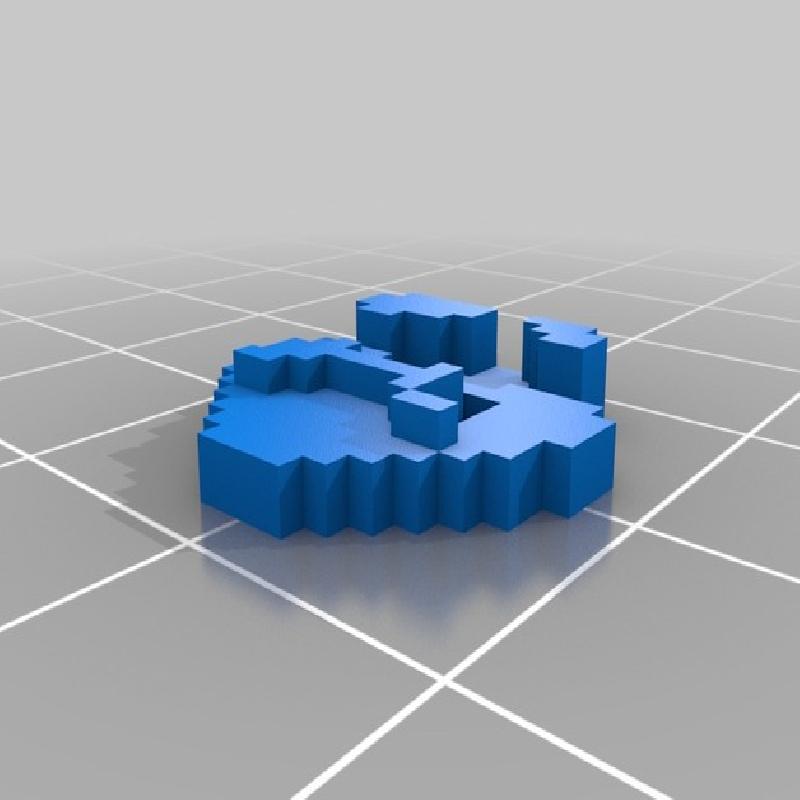
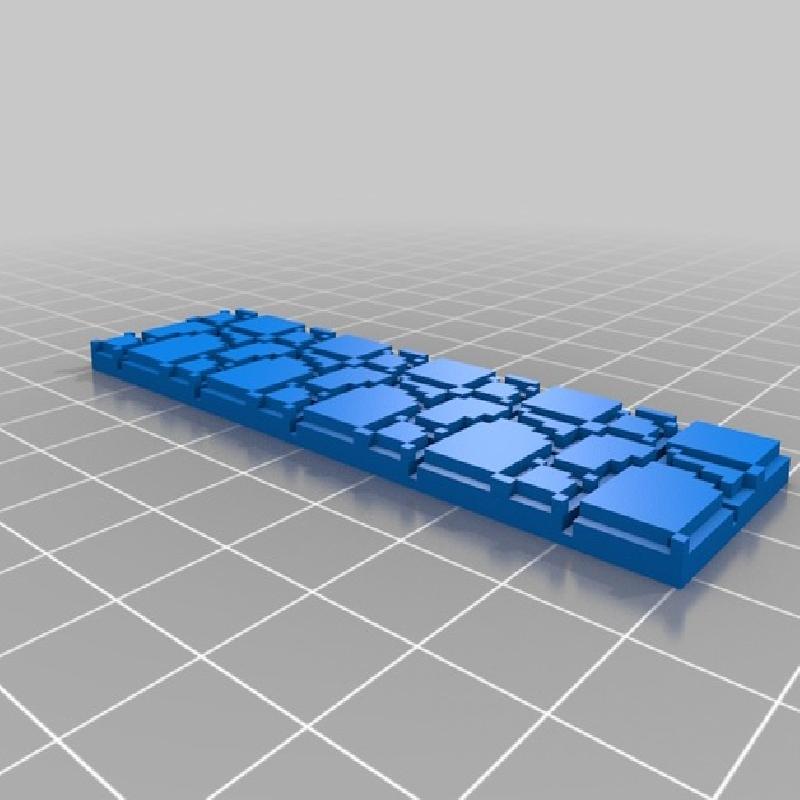
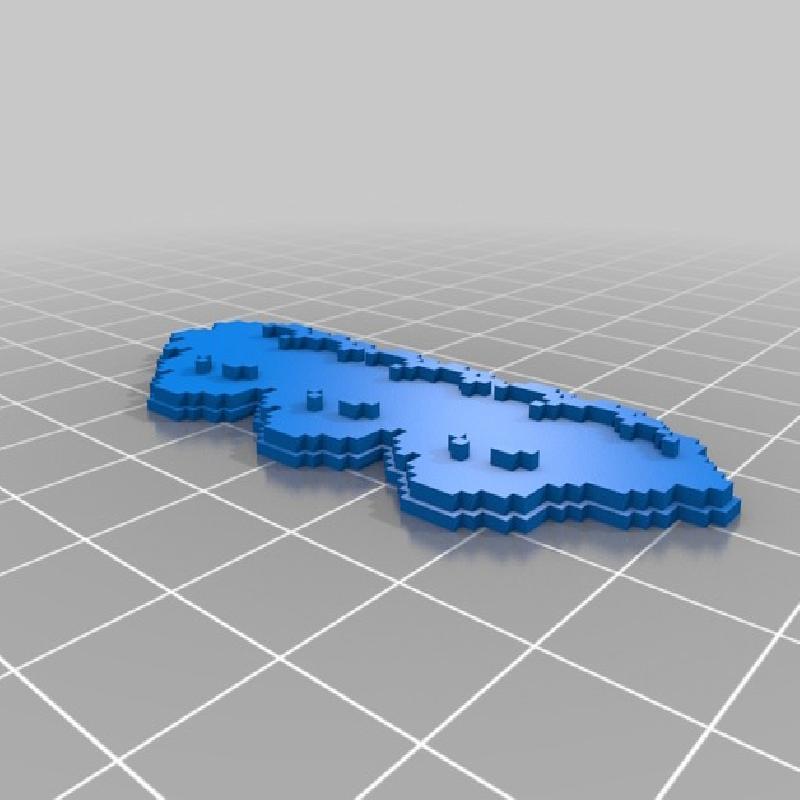
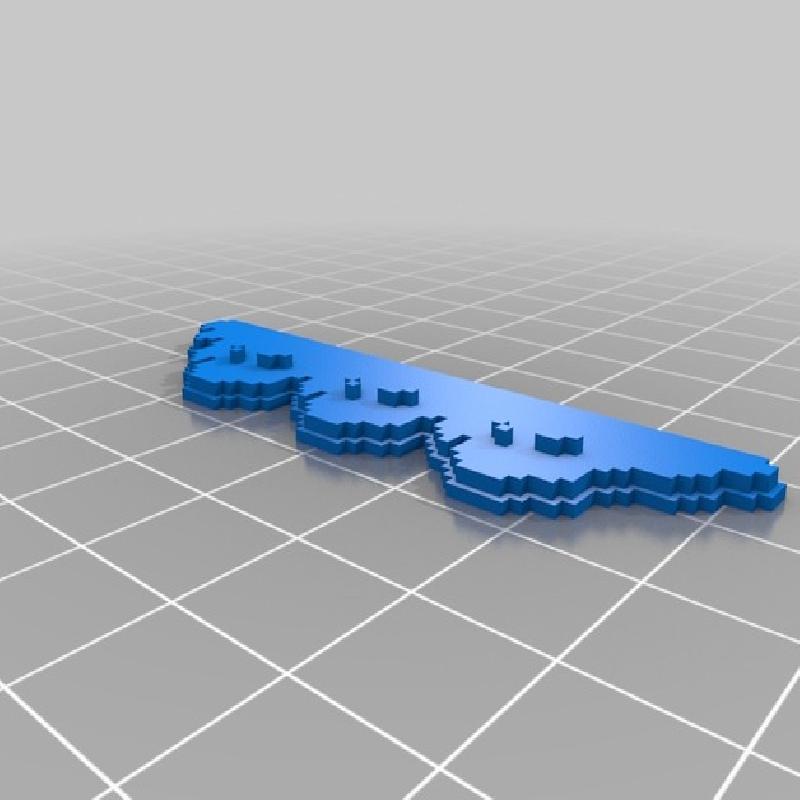
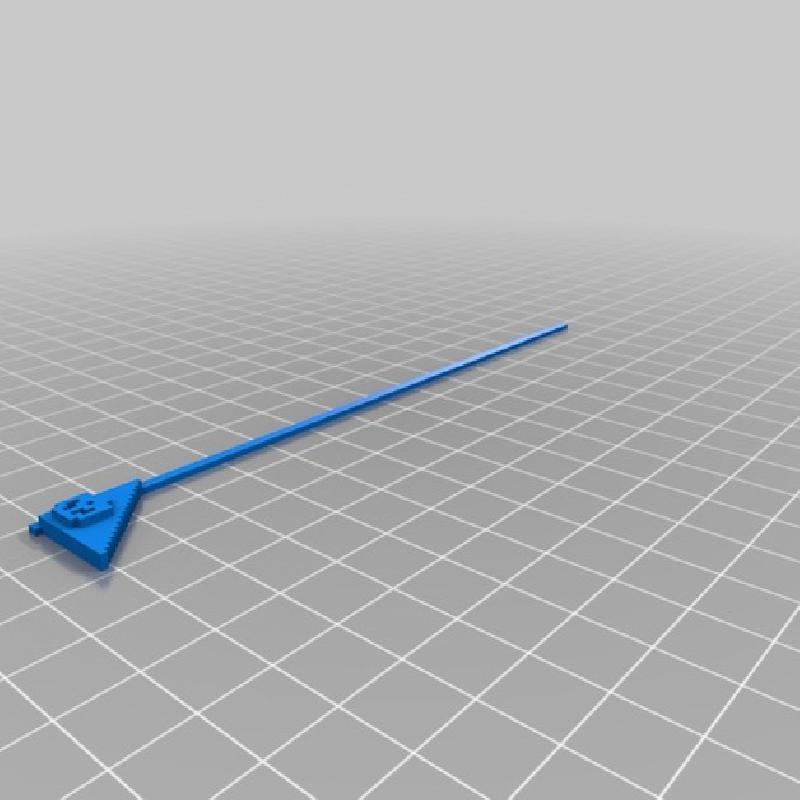
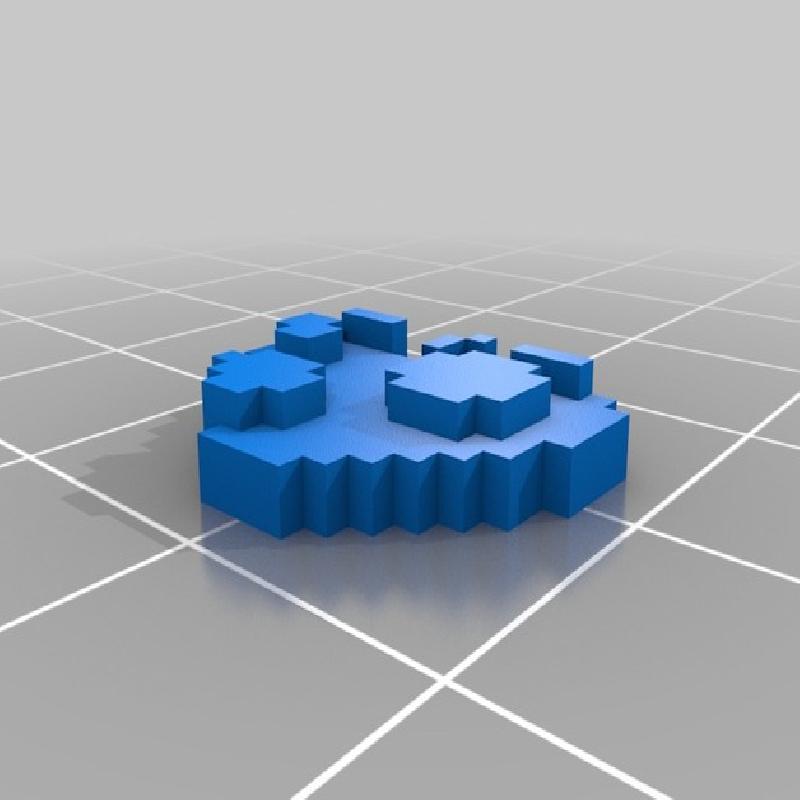
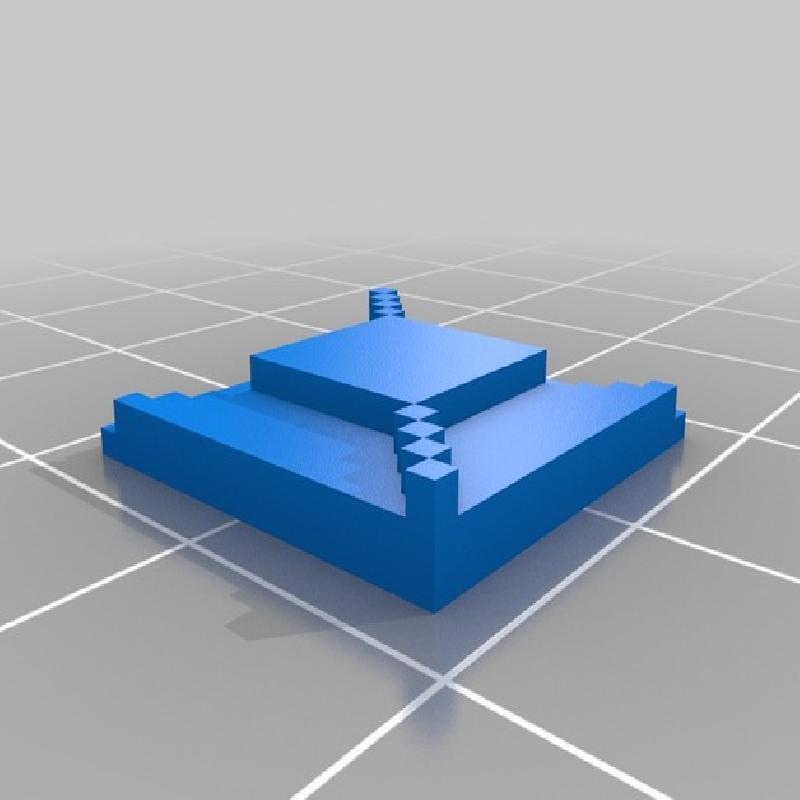
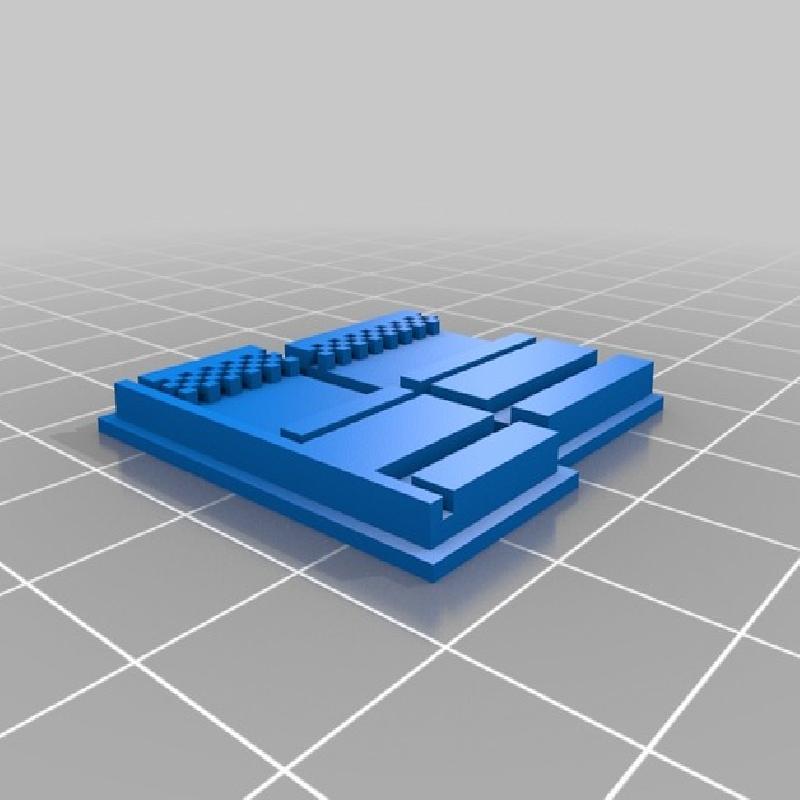
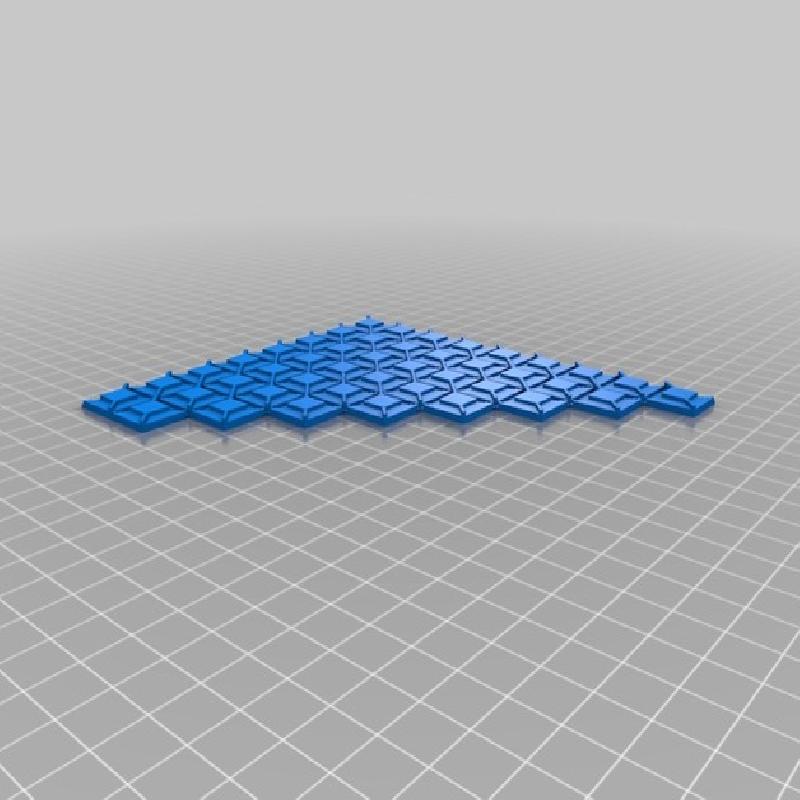
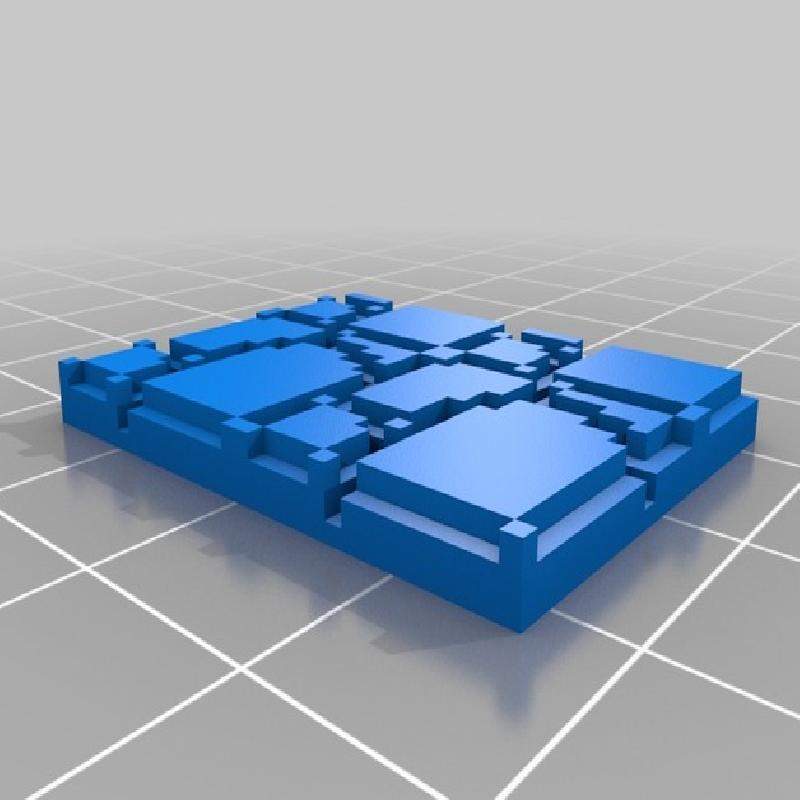
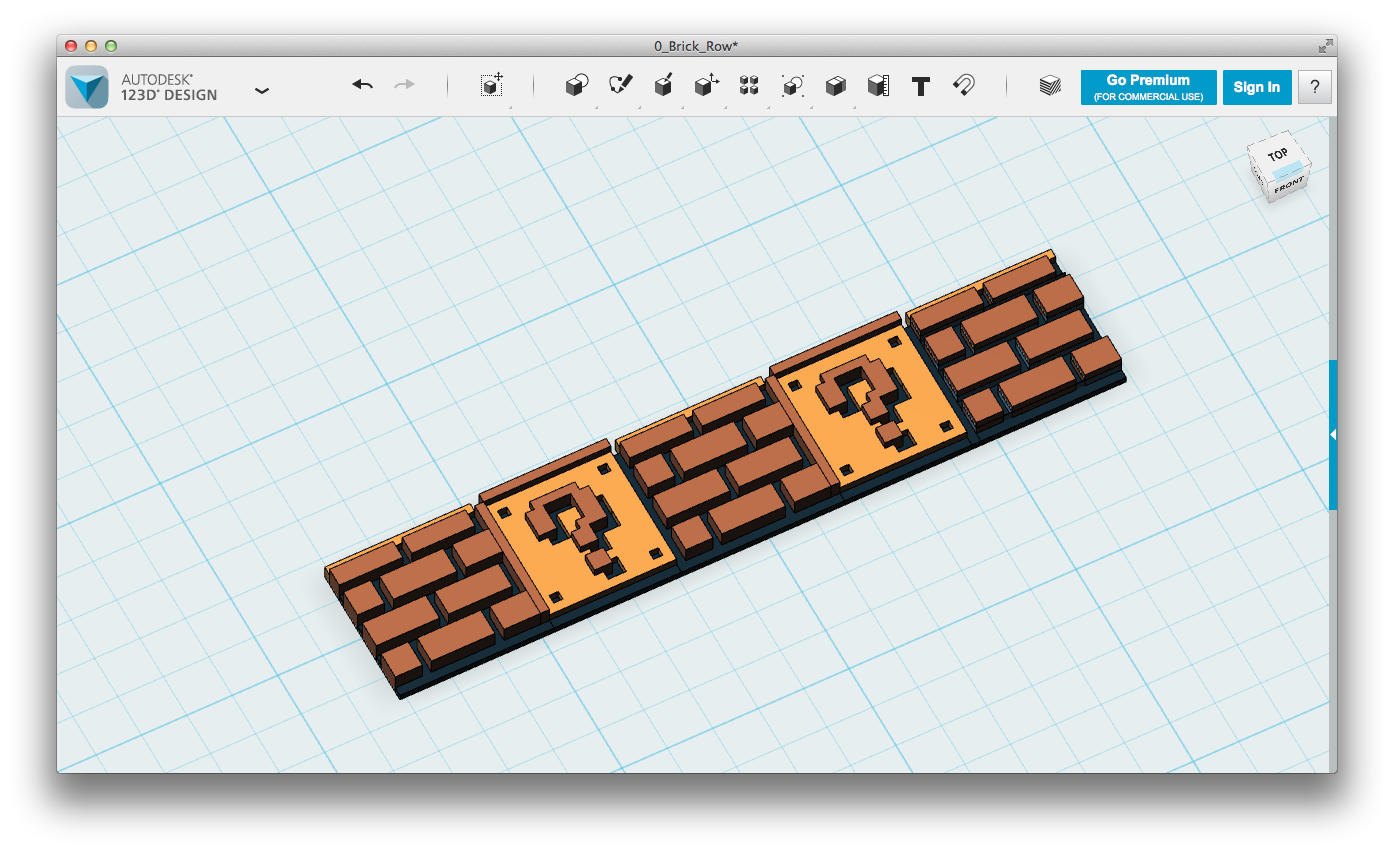
Brick pieces after the final filament swap
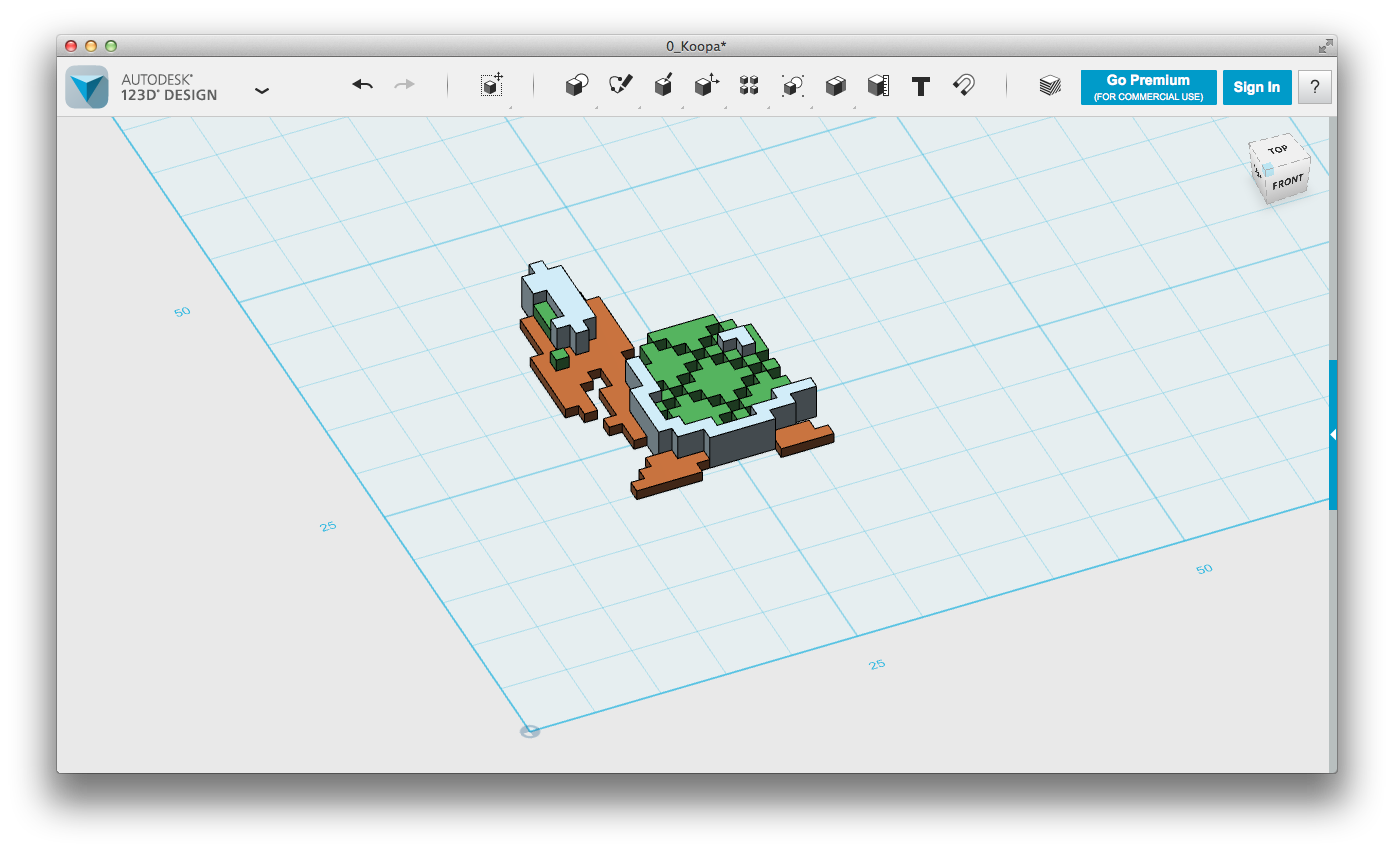
Sample of several of the finished pieces
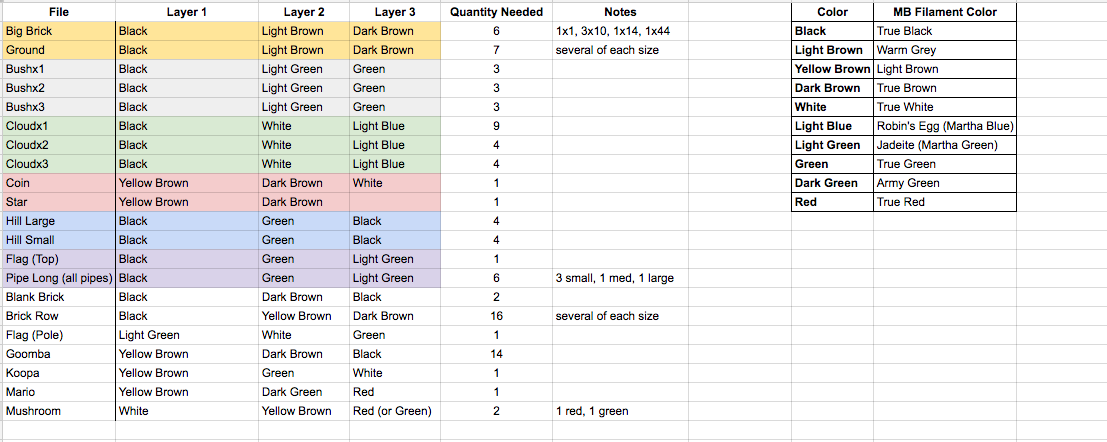
Color combinations for parts (with MakerBot filament color matches) - actual spreadsheet is in the Thing Files
Step 6: Paint the Panels
I removed the 3 panels from my Replicator 2 (front and 2 sides) and prepped them for painting - removed the front stickers, lightly sanded the front surface of each, and wiped them all down with rubbing alcohol.
I tried to match a spray paint color as best I could to the background color, which is how I ended up with Street Marking paint, but it seemed to adhere just fine to the panel surfaces.
I used 4 or 5 light coats to make sure it was an even coating.
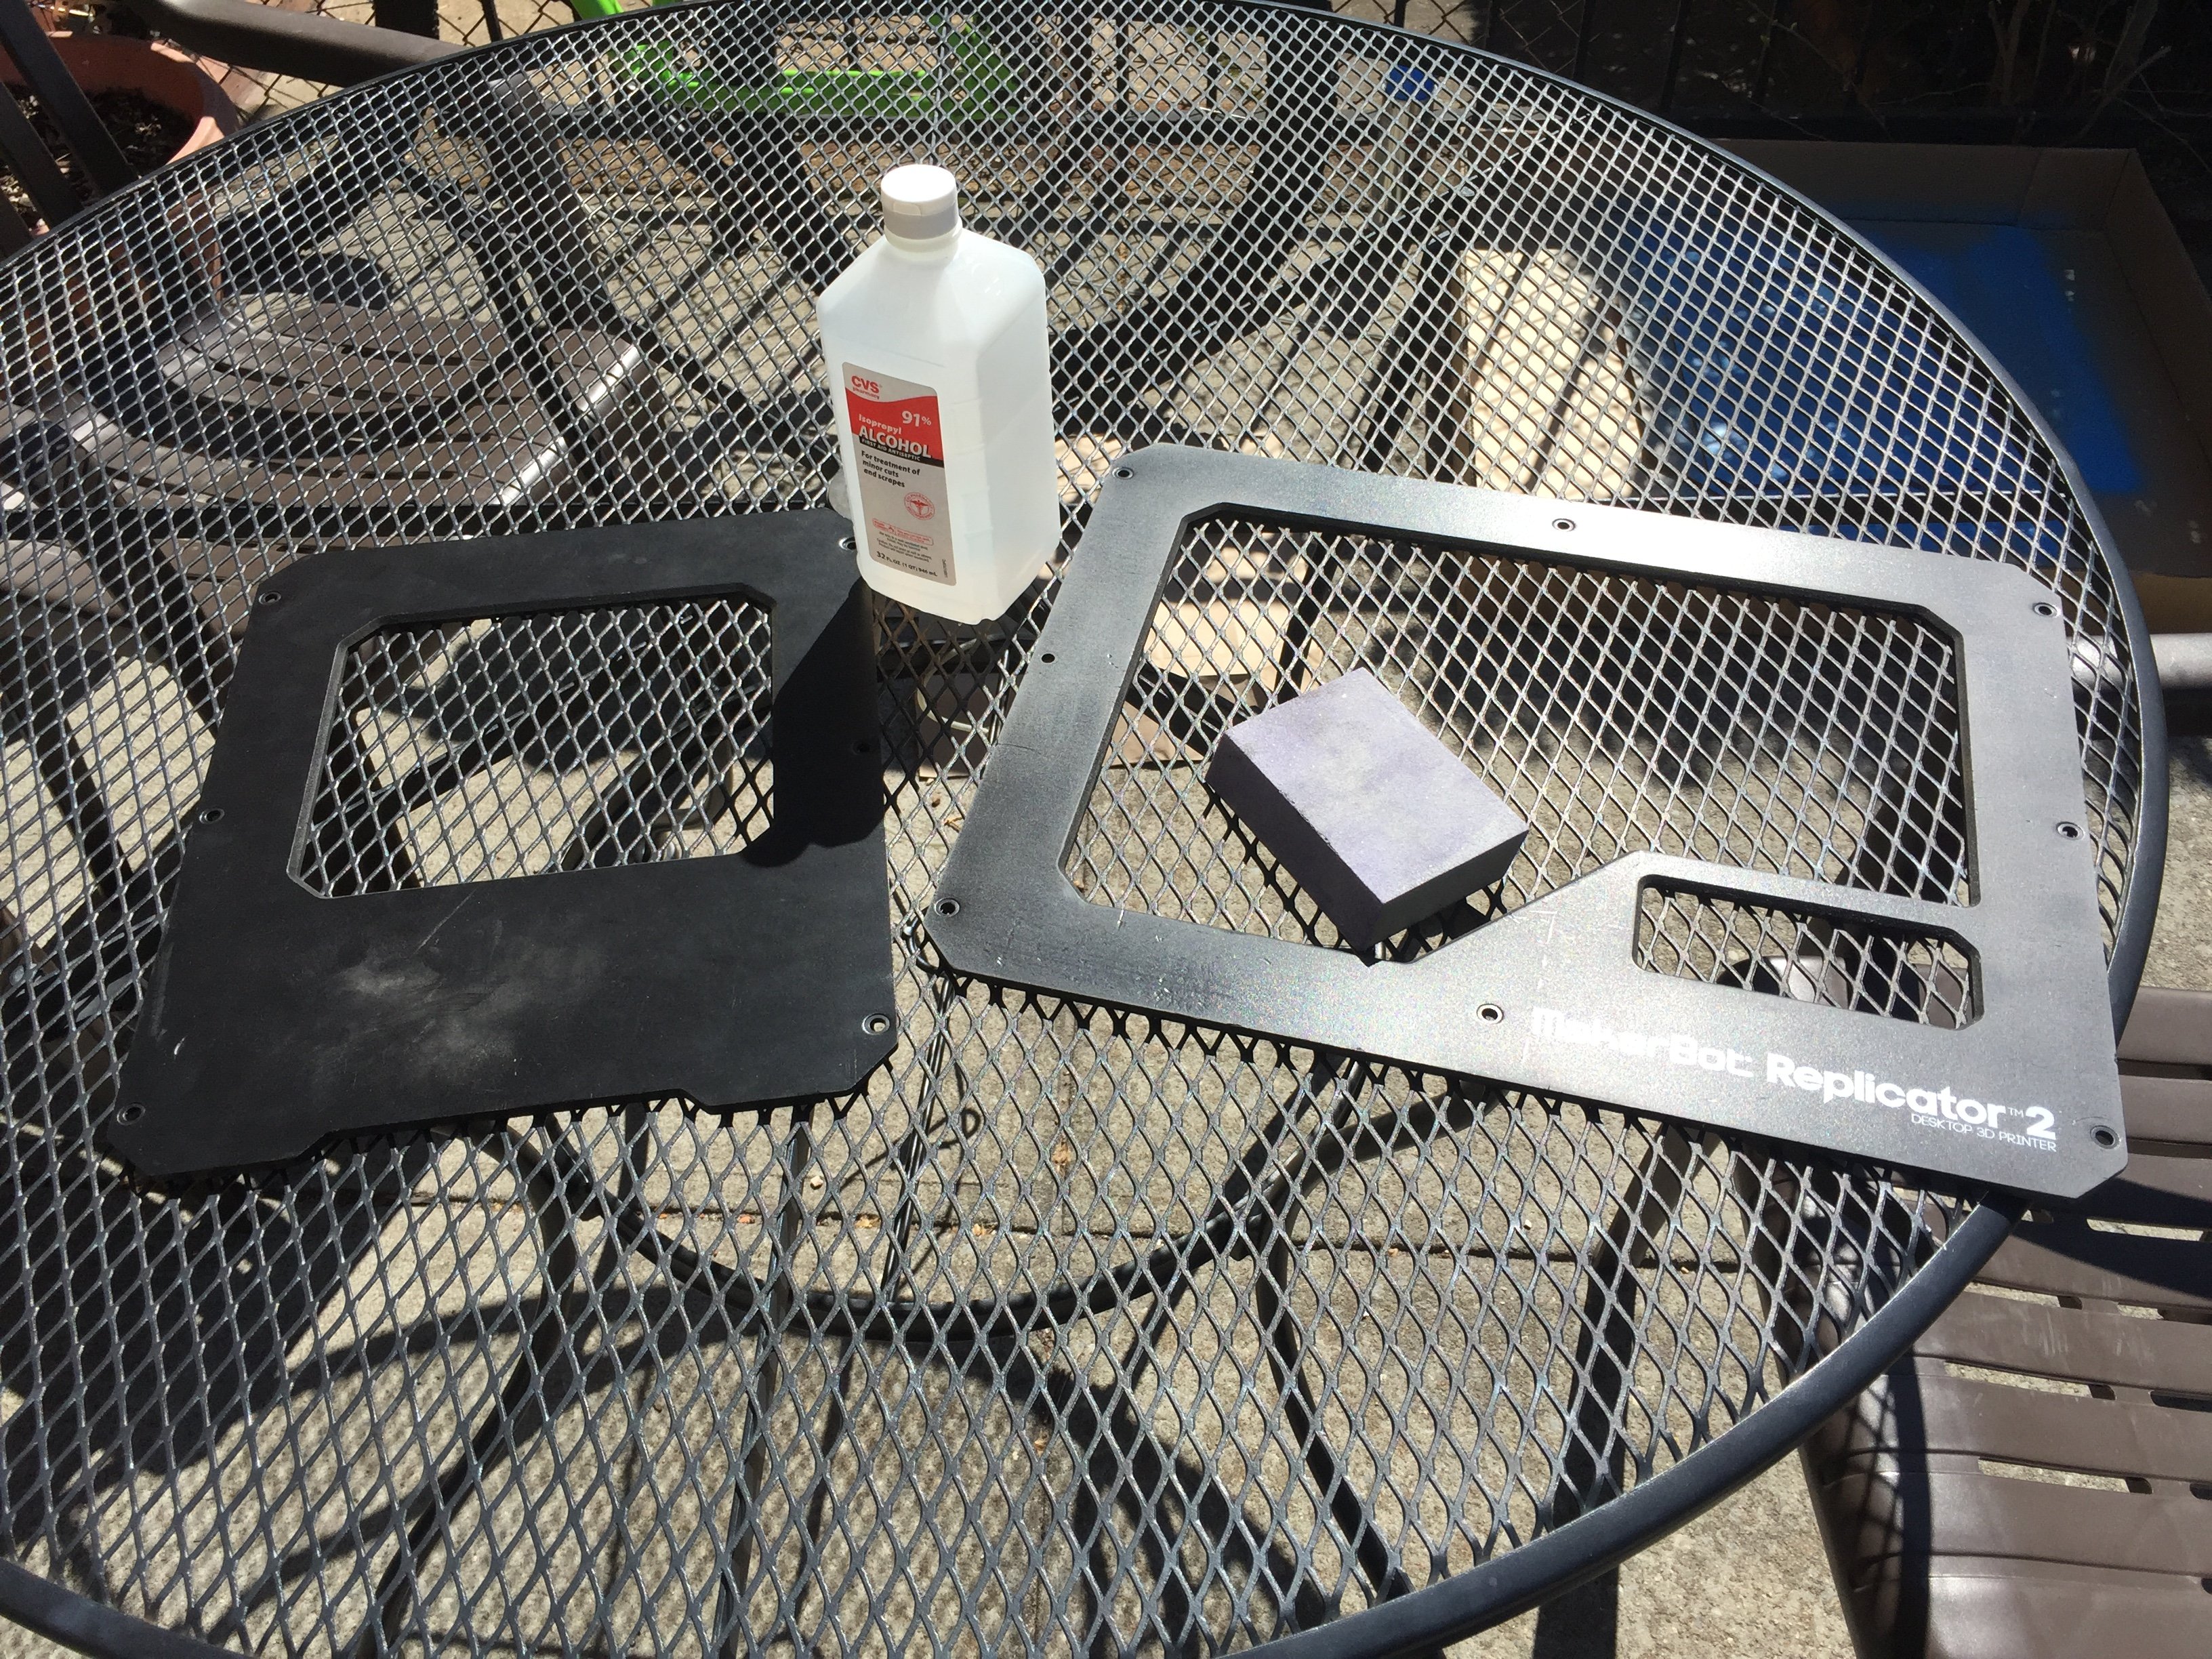
Sanding and cleaning the panels to prep for painting
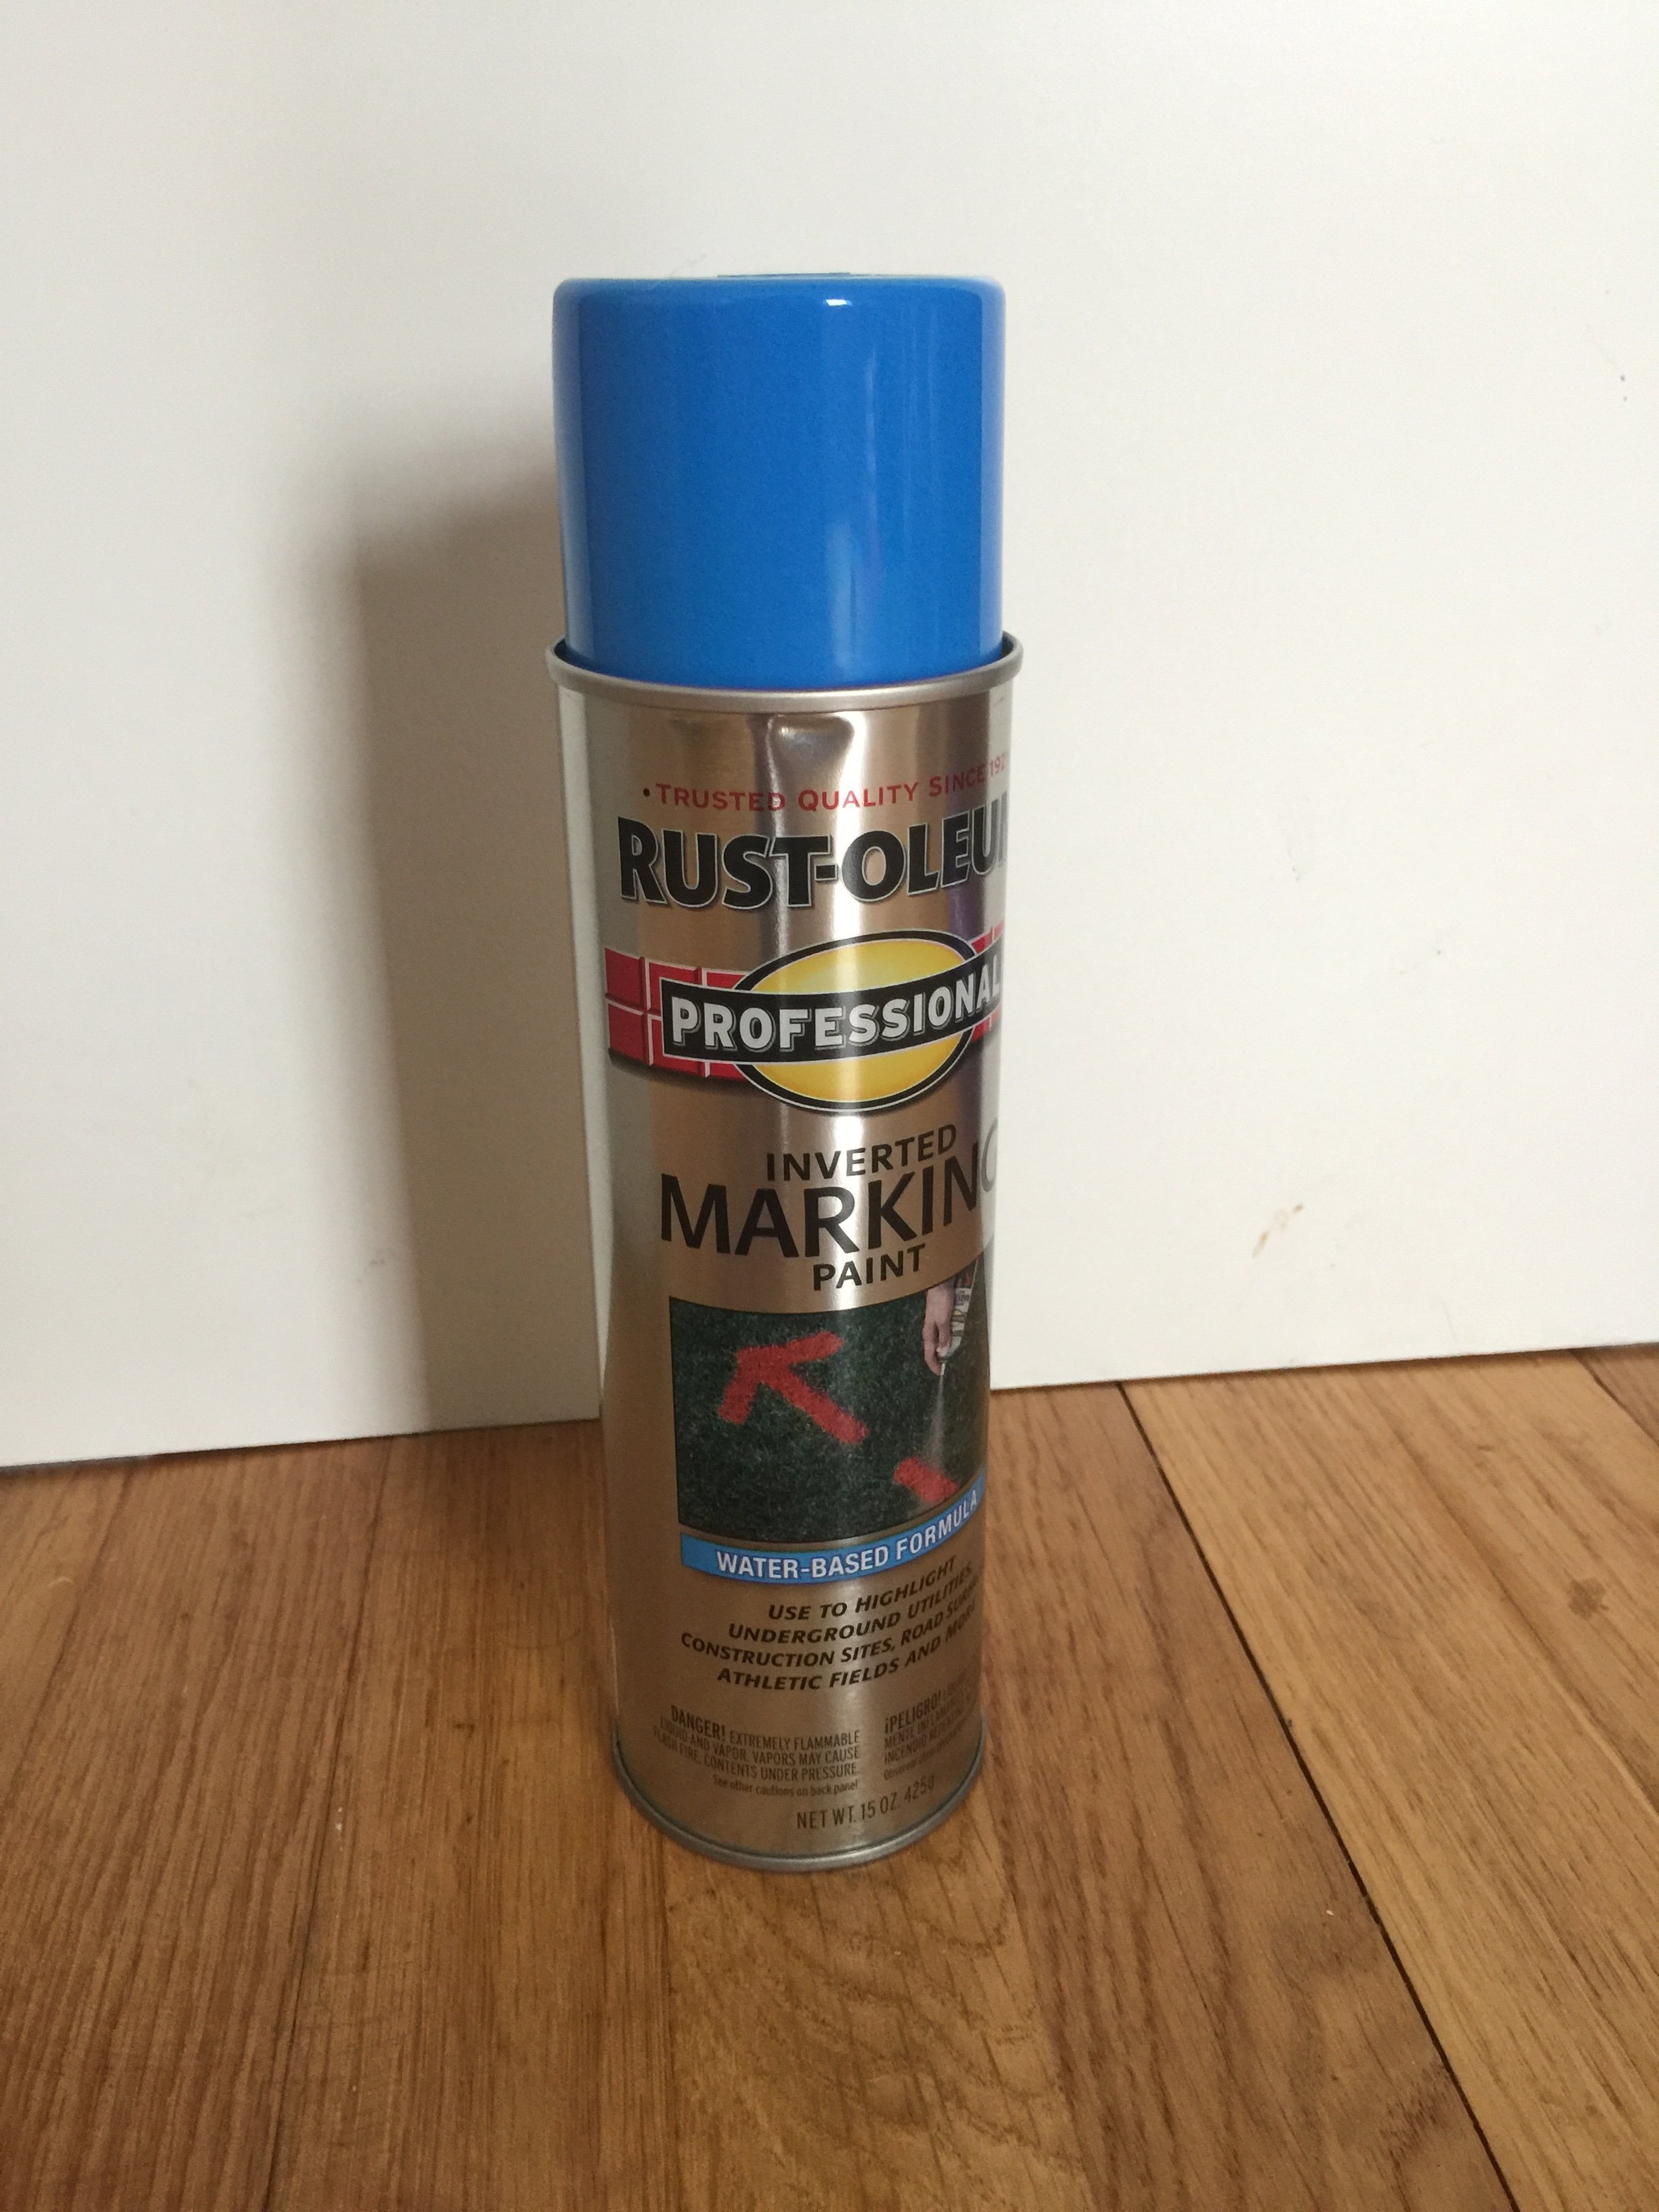

Panels after 5 coats of spray paint
Step 7: Layout, Glue, and Assemble!
Now the fun part! I originally wanted to lay out the pieces as an exact match to the original image, but I ended up having more fun just laying them out a few different ways to see what looked best.
Once I settled on a layout, I used hot glue to stick all of the pieces in place.
Finally I put the panels back on my printer, made sure everything stayed in place, and got back to printing!
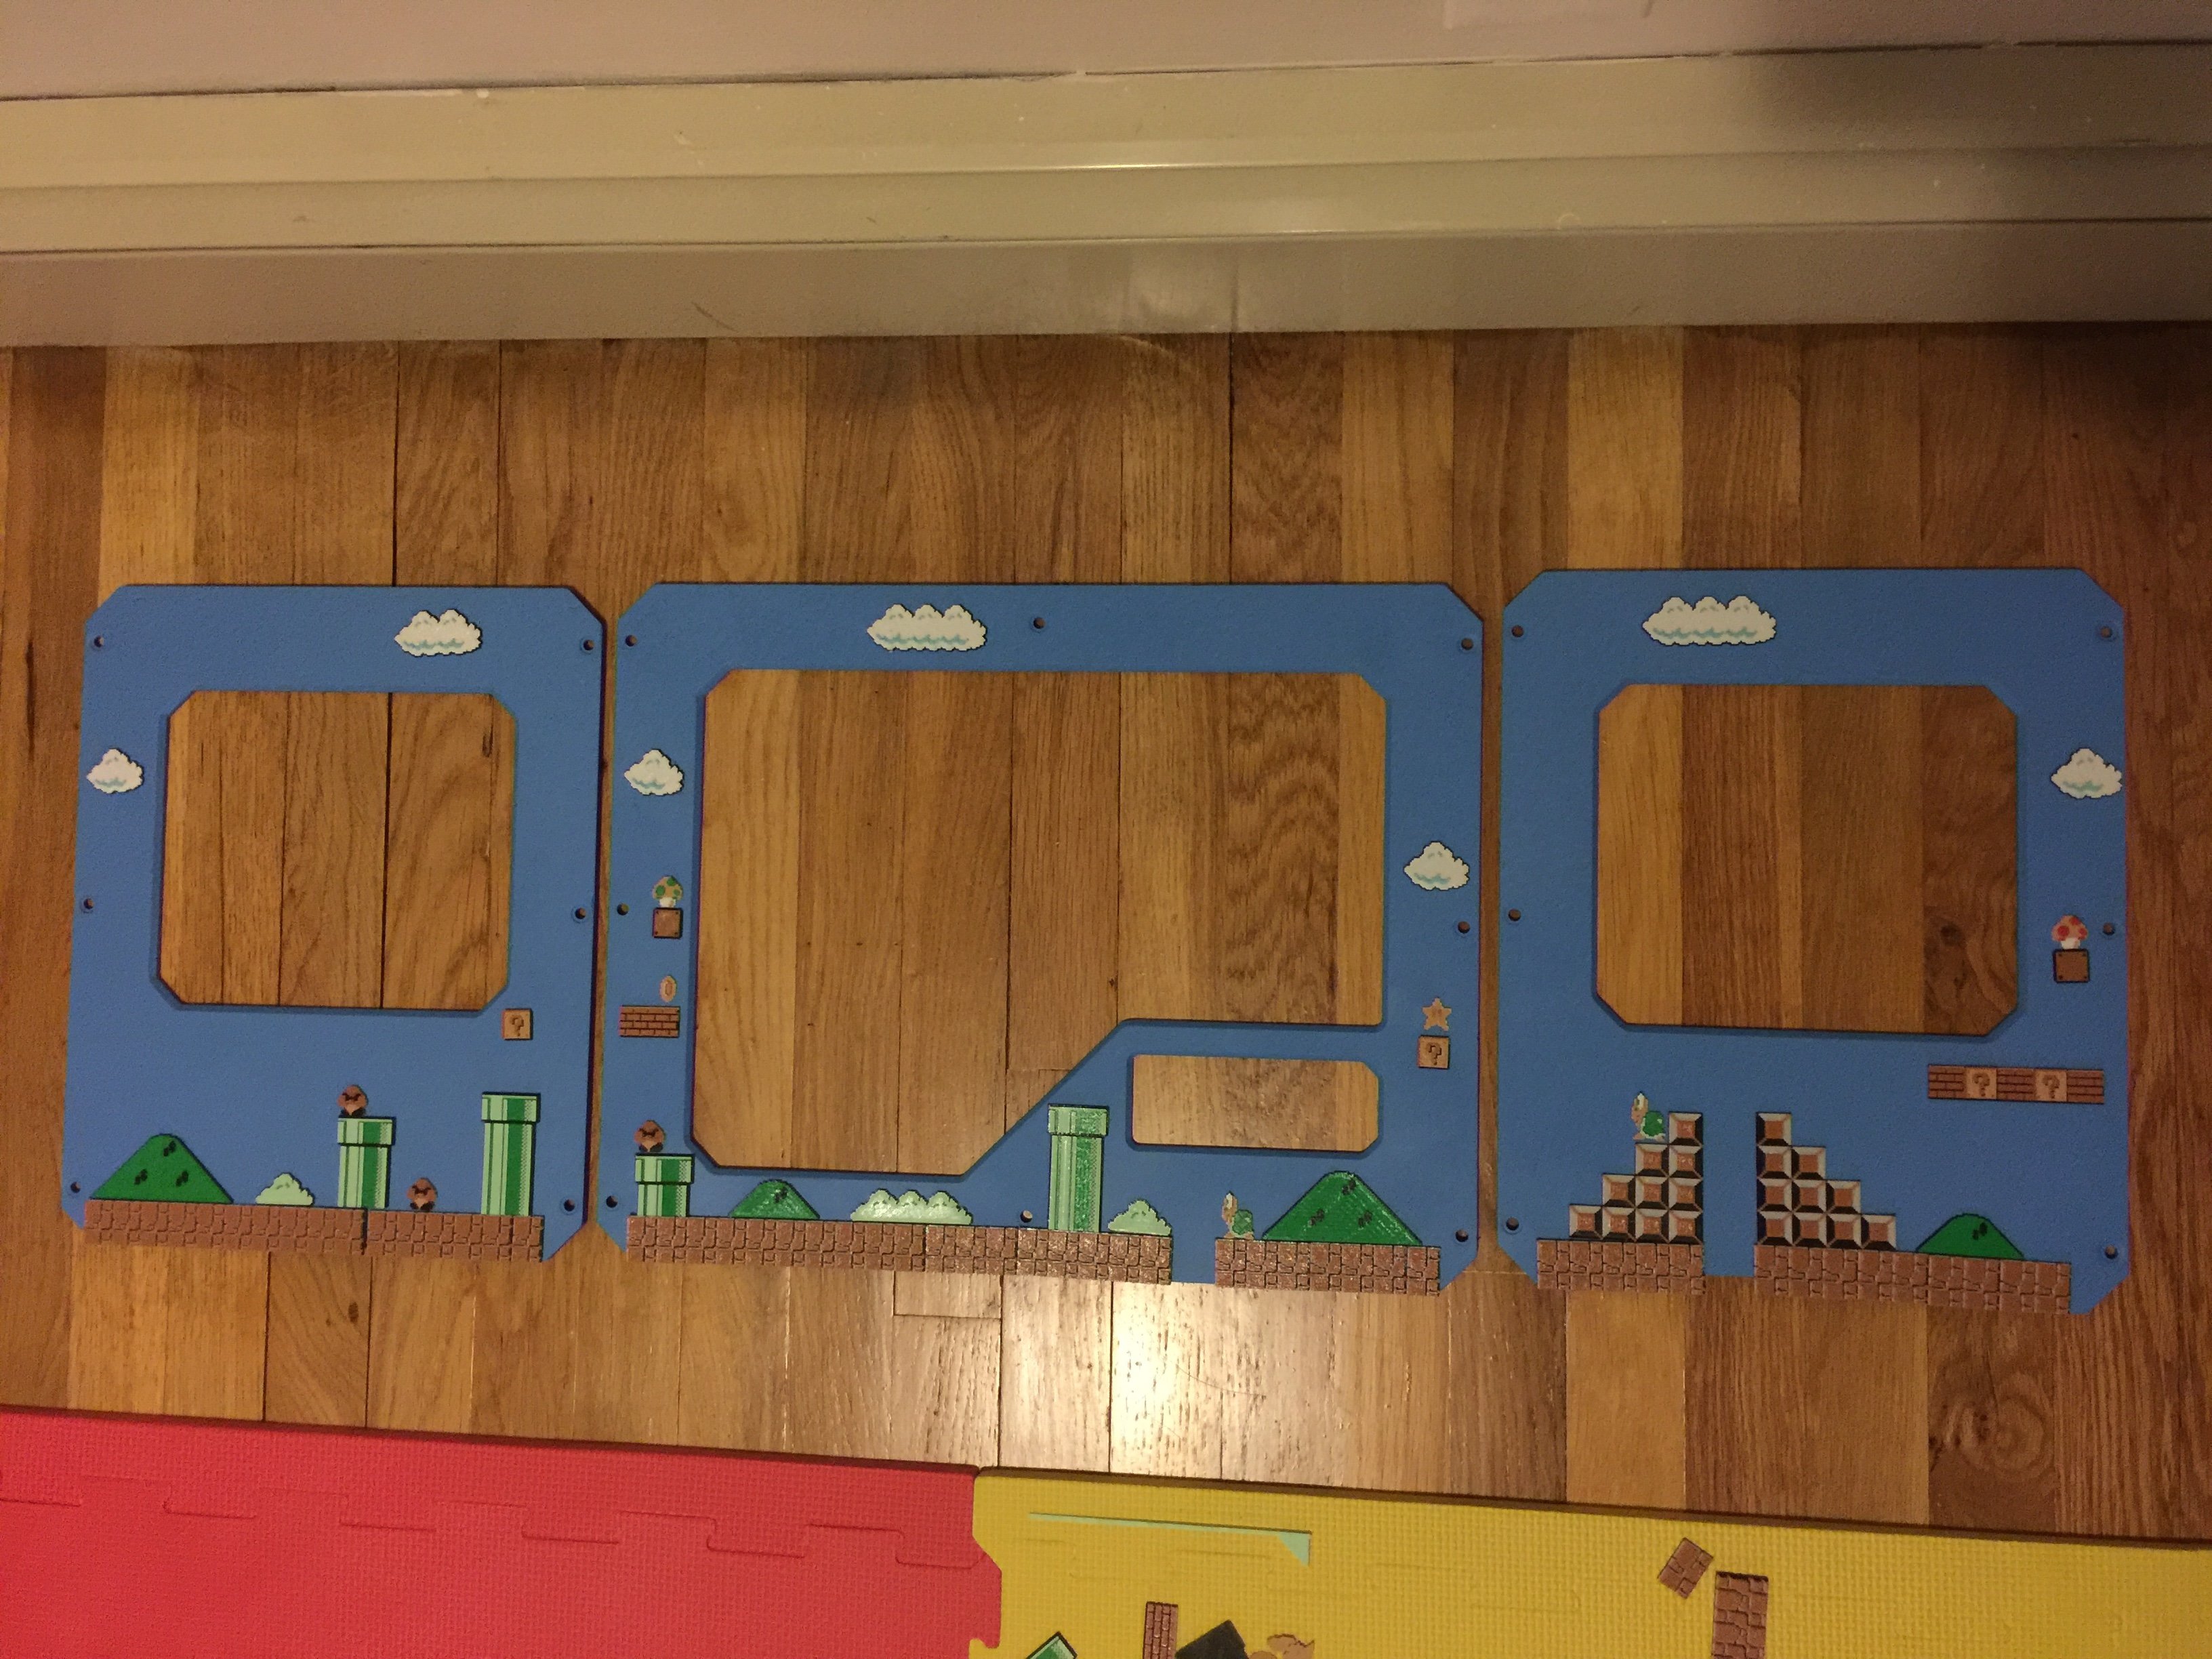
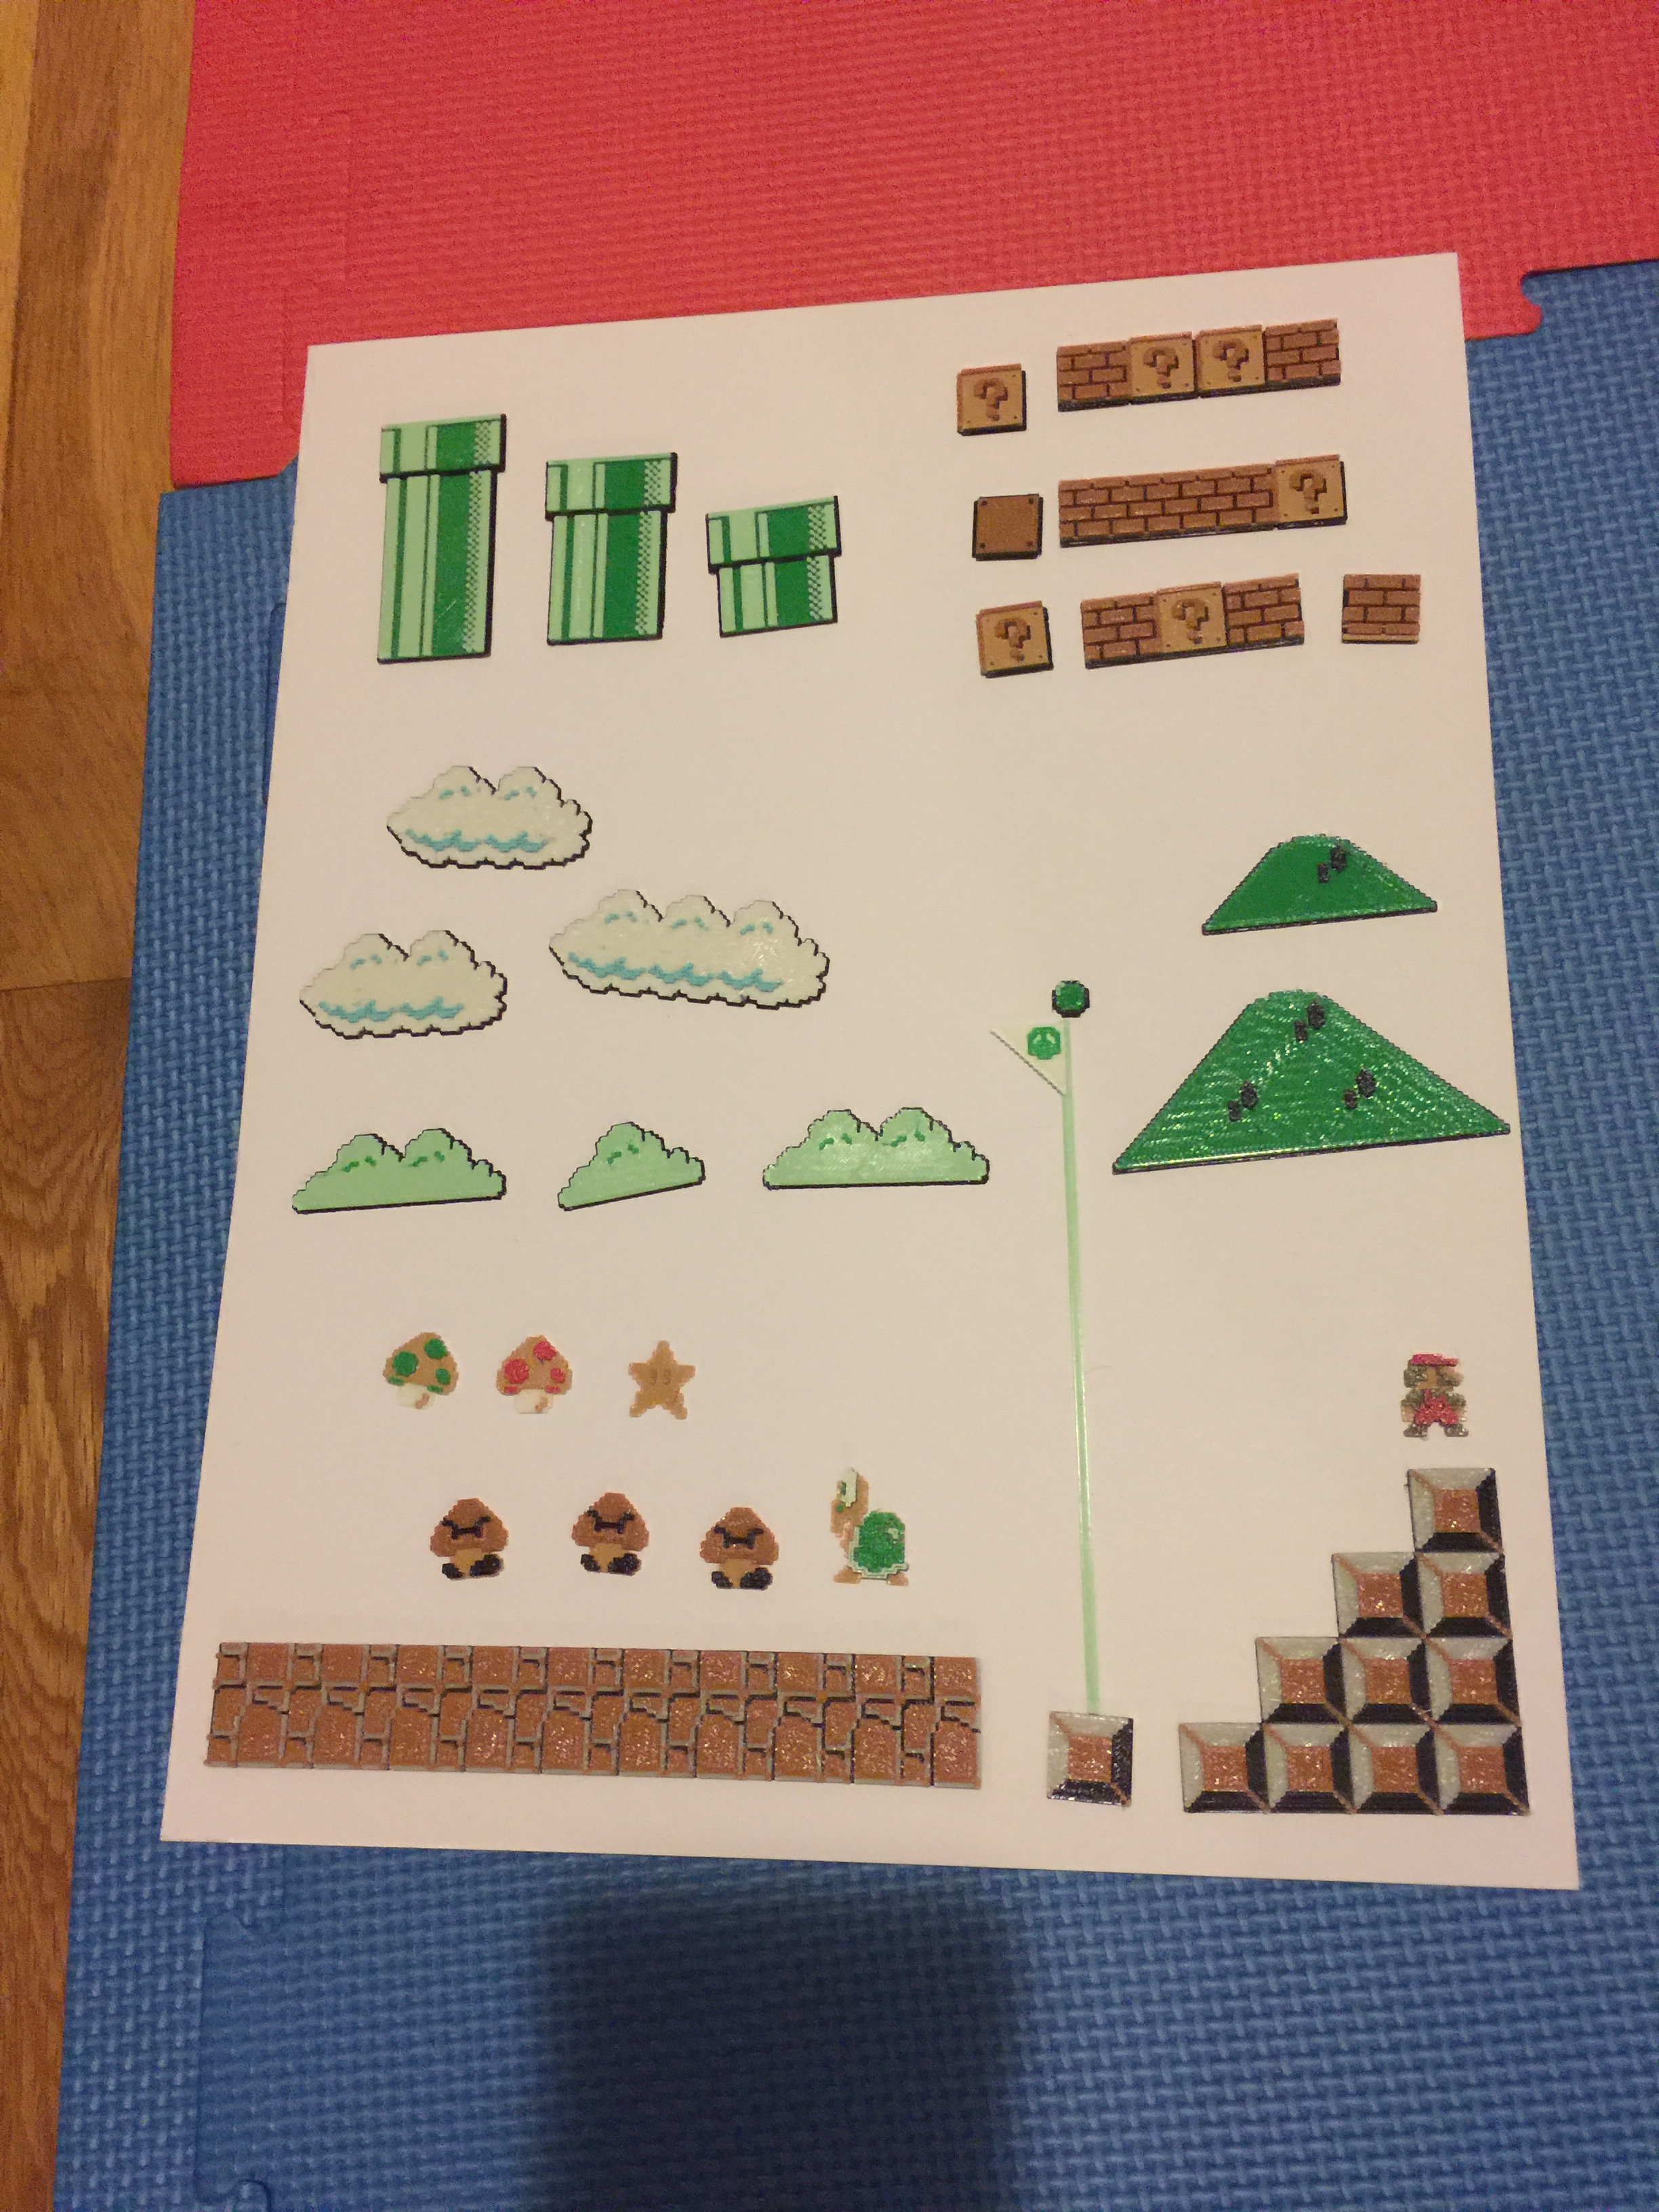
First layout, checking spacing of the parts
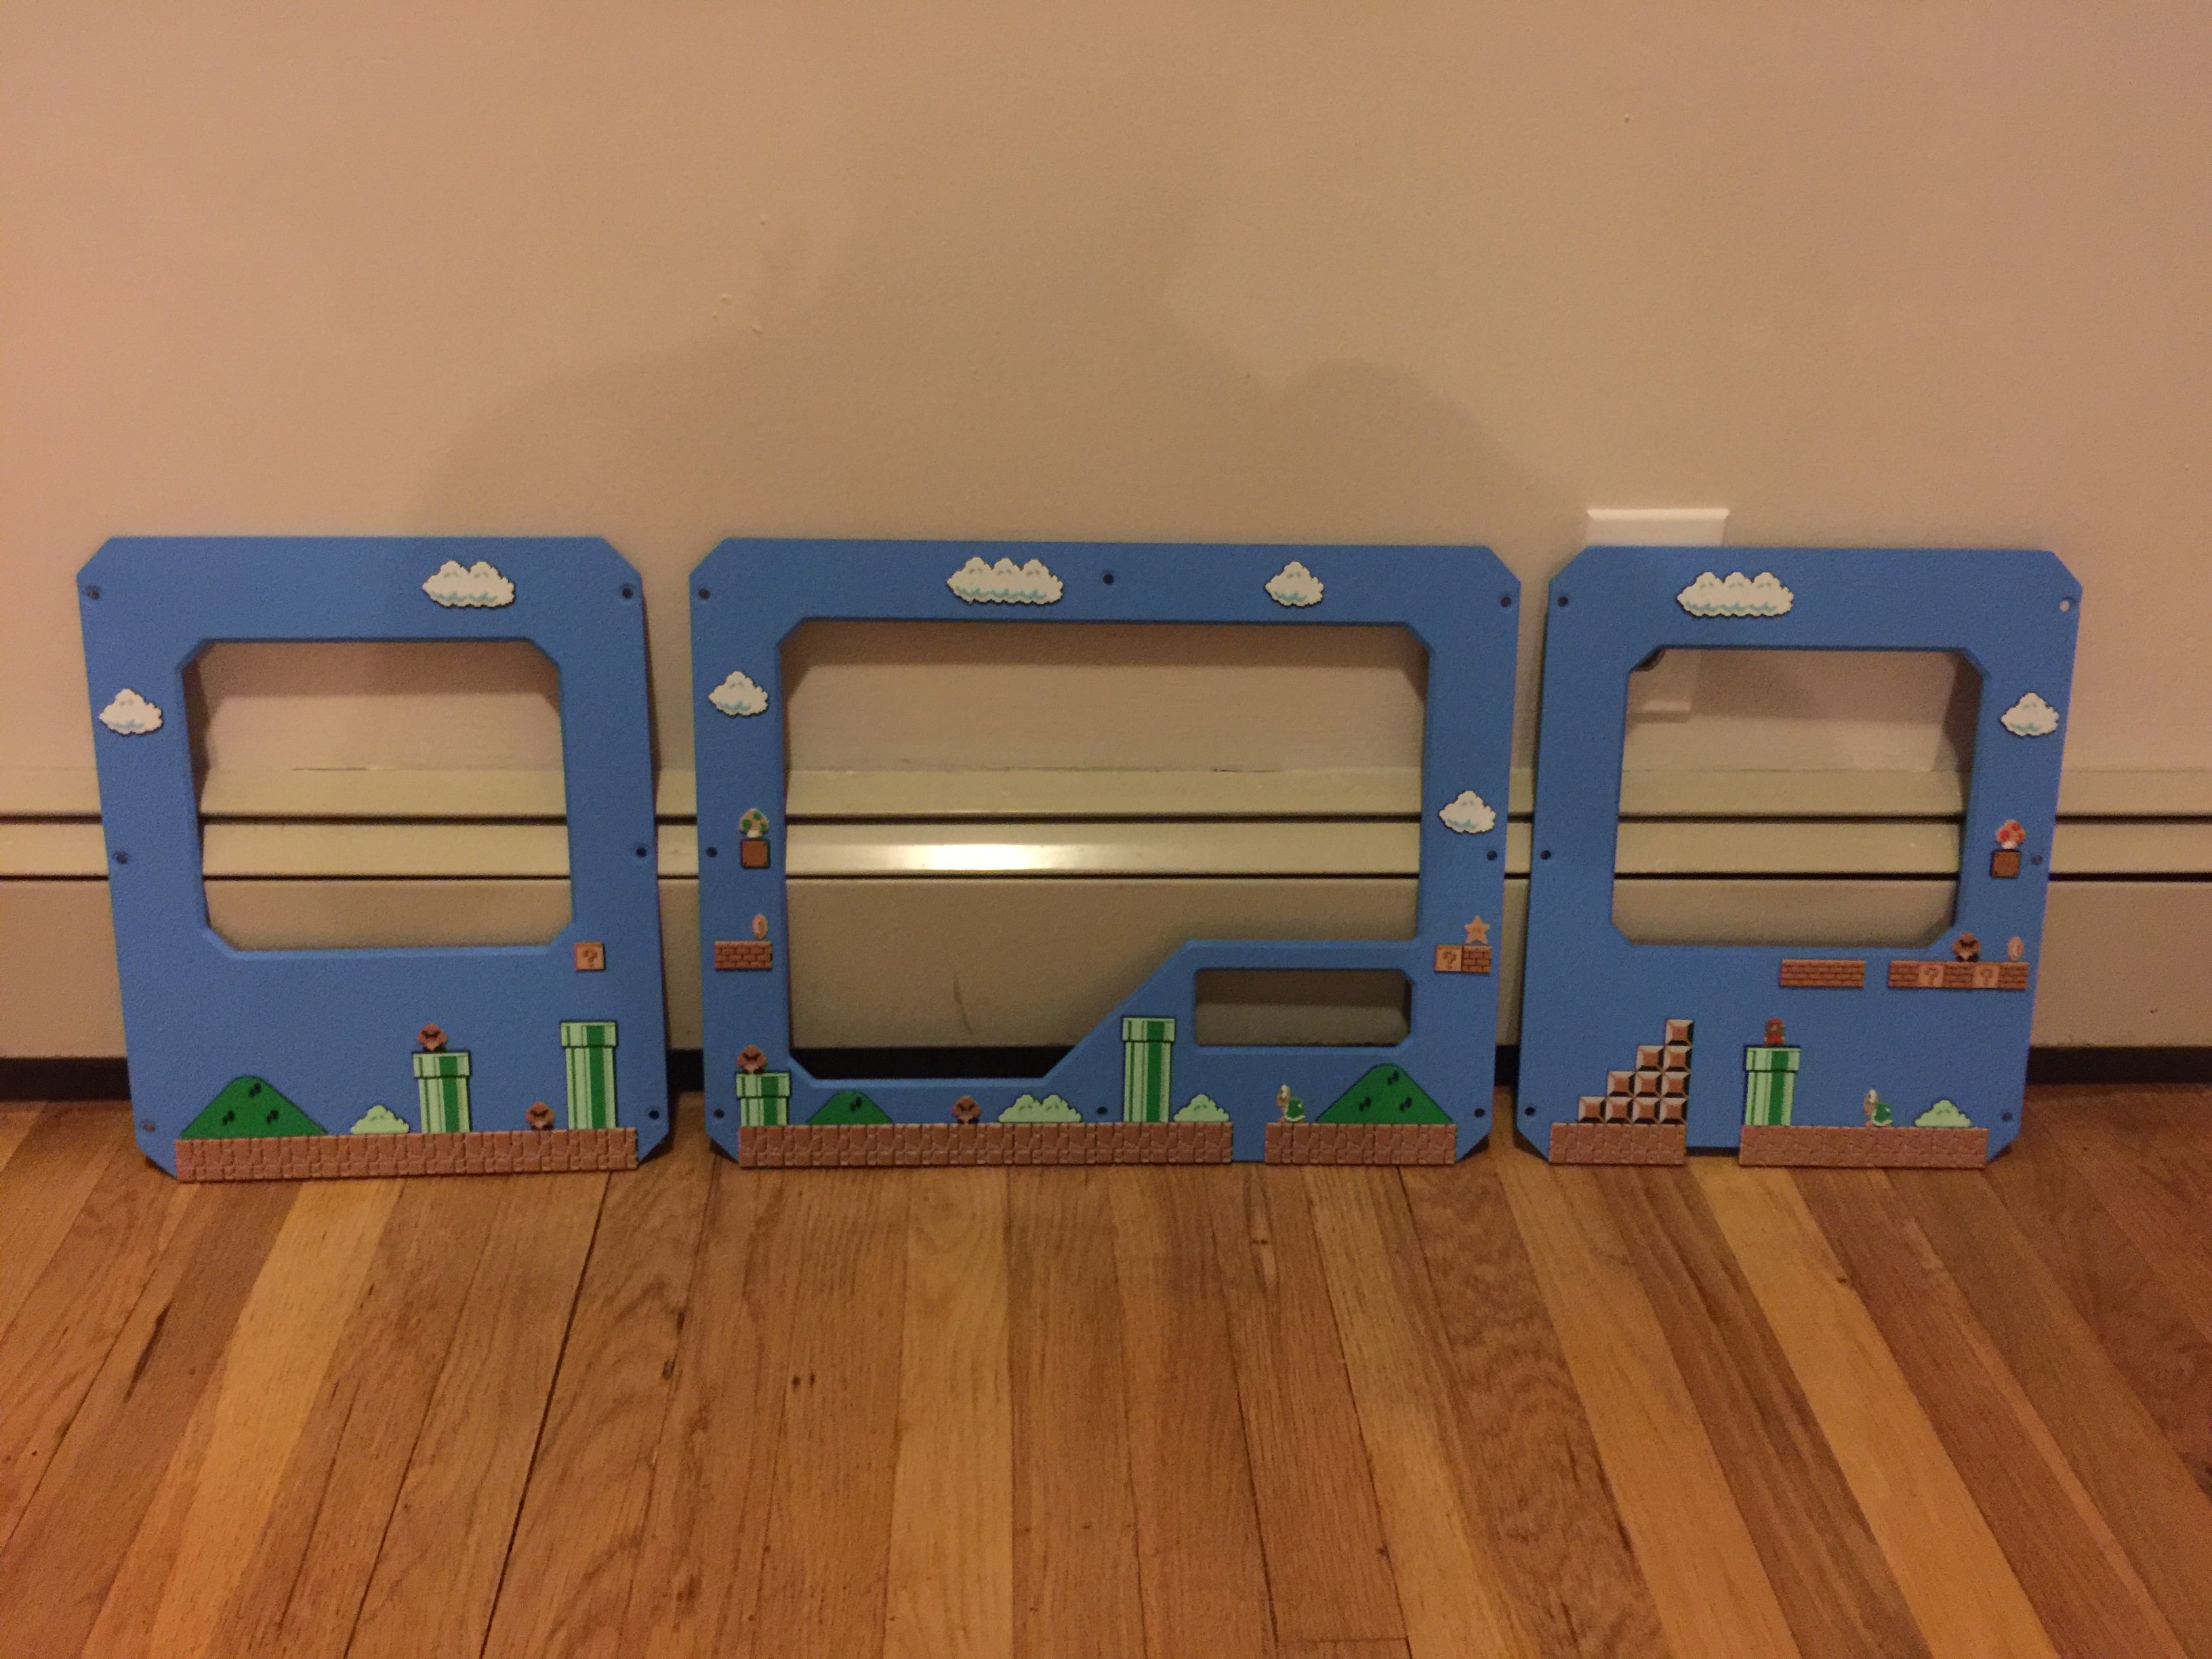
Final layout, glued and ready to be put back on the printer!

Finished, woohooo!

Files
All STL files that I used (plus some extras that I didn't use) are included in the Thing Files section, the names should be relatively self explanatory.
If you are also using a MakerBot Replicator 2 or 2X, I've included the pre-sliced .x3g files as well.
Lastly, the spreadsheet with the color breakdown for all the parts is included as well.