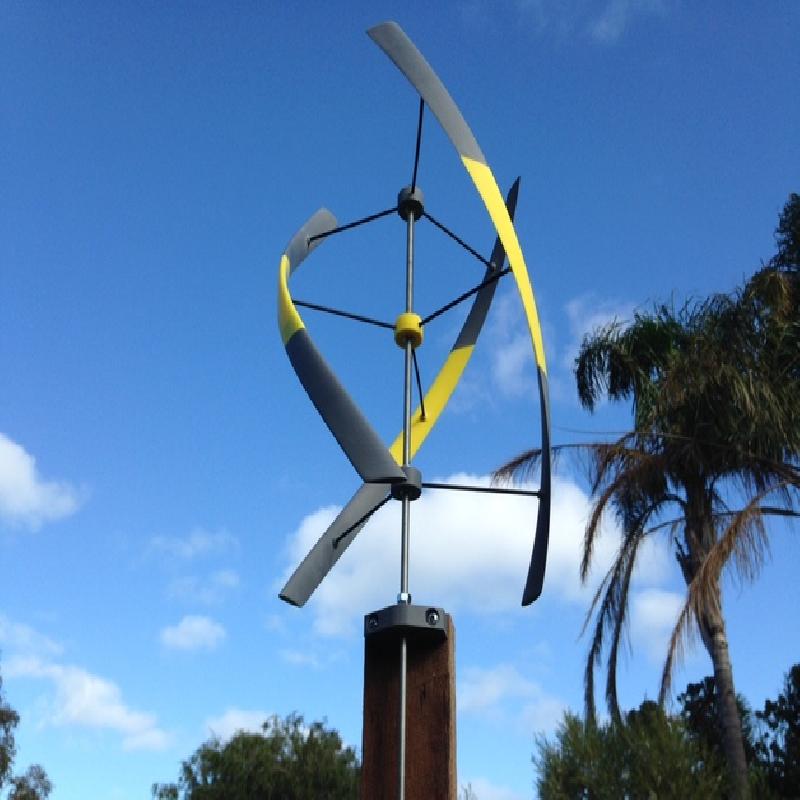
by miiiike, published
Push fits
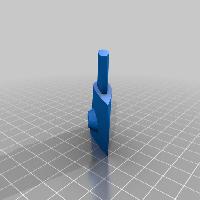
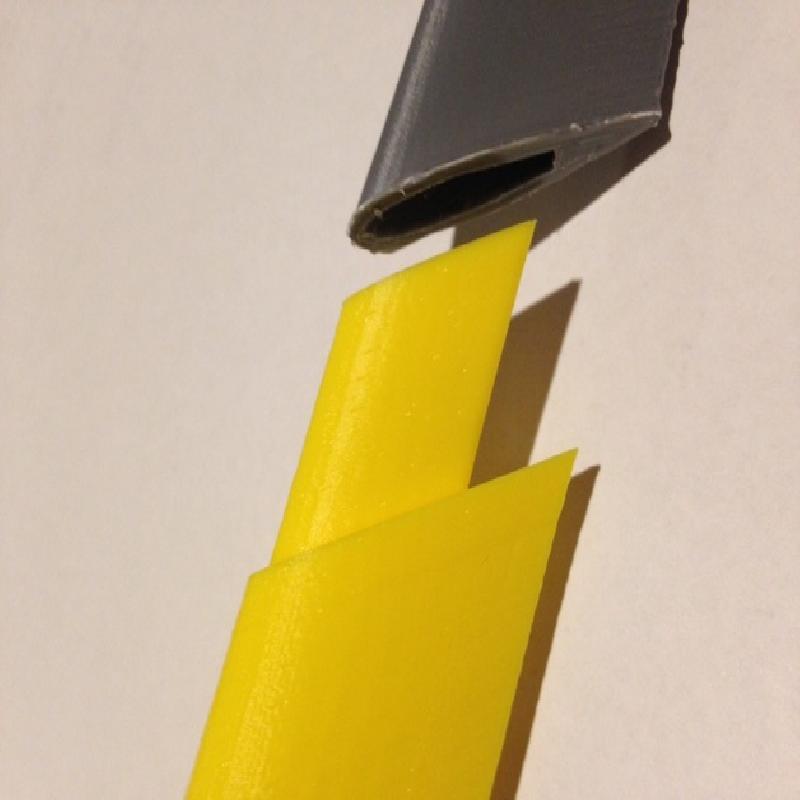
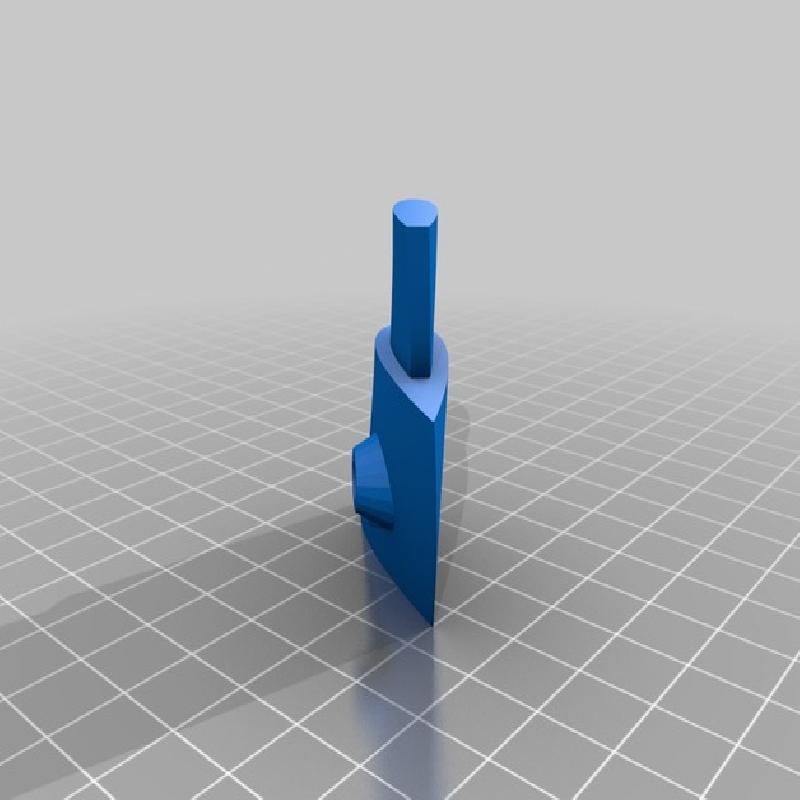
There are a few push-fit's in here, so the design may take a bit of tweaking from printer to printer. I'd suggest printing two of the 'JointTest' pieces first and checking the fit before printing much more. If they're not a good fit, the .SCAD isn't too bad to modify, but if anyone would like a hand, let me know.
Printing
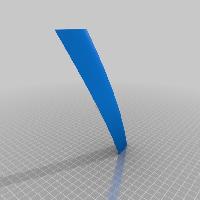
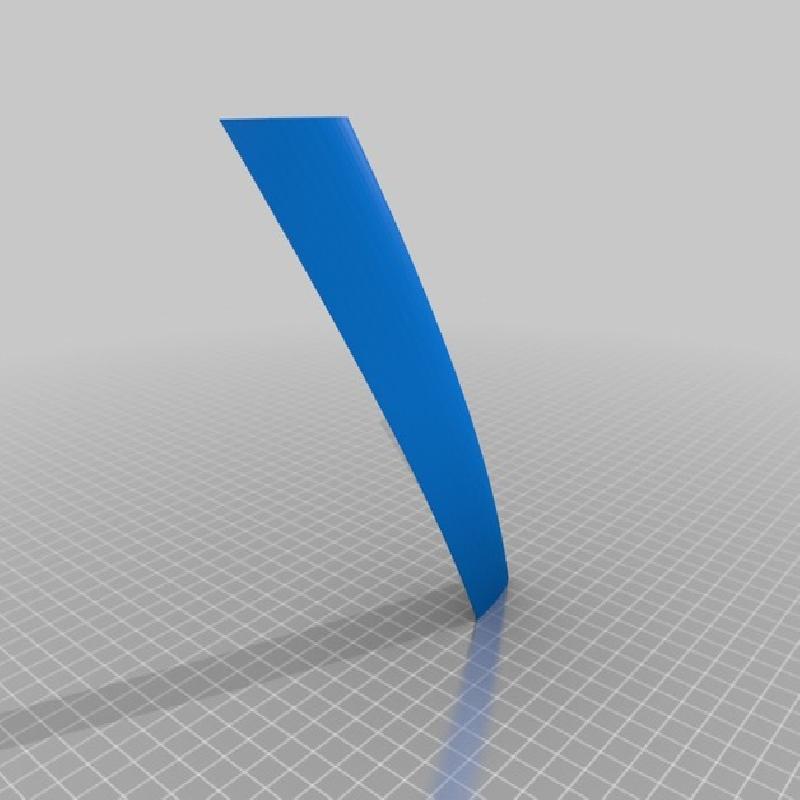
I found that the print quality was much better when I printed three of the segments at once. I'm assuming that a single segment doesn't get enough time for the first layer to cool before adding the second. With the large overhang this seems to have a big effect.
Gluing
For the gluing I used Loctite super glue (plastic adhesive) which made a really good bond, with the plastic and the carbon rods.
Make it smooth
One of the things I learnt was how much of an effect a rough finish has on the efficiency. It's worth sanding the blade to a smooth finish; the more time you can spend on this the better.
Axle
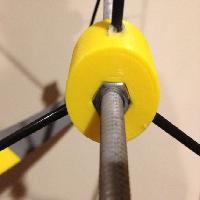
I've made this originally to go on an 8mm straight rod, but couldn't get my hands on one so ended up with threaded rod instead.
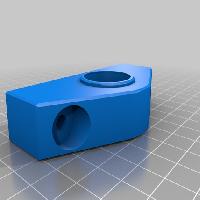
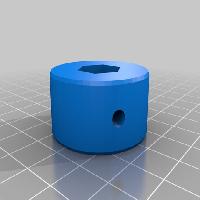
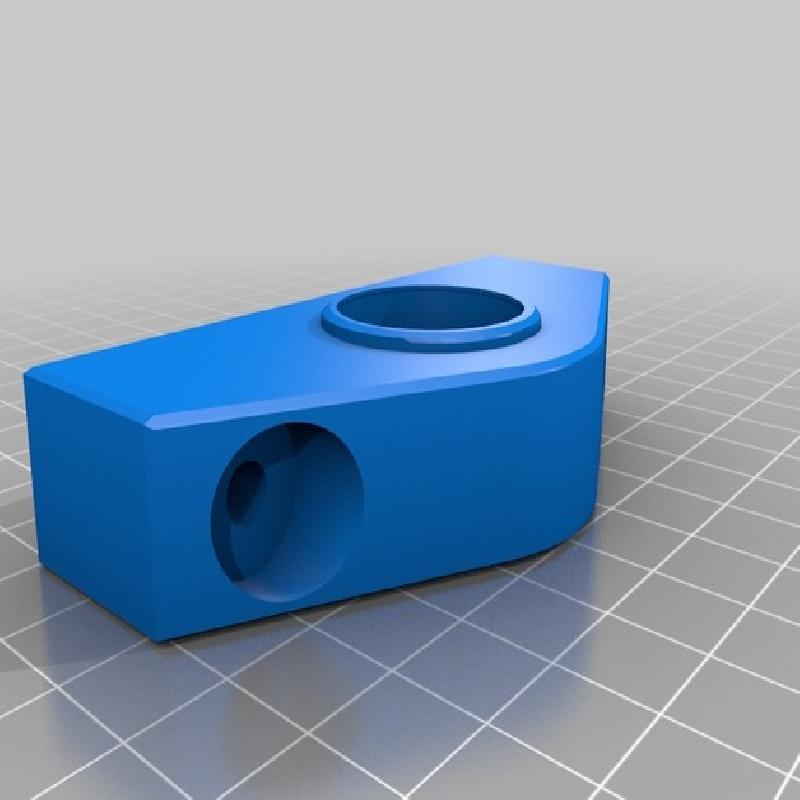
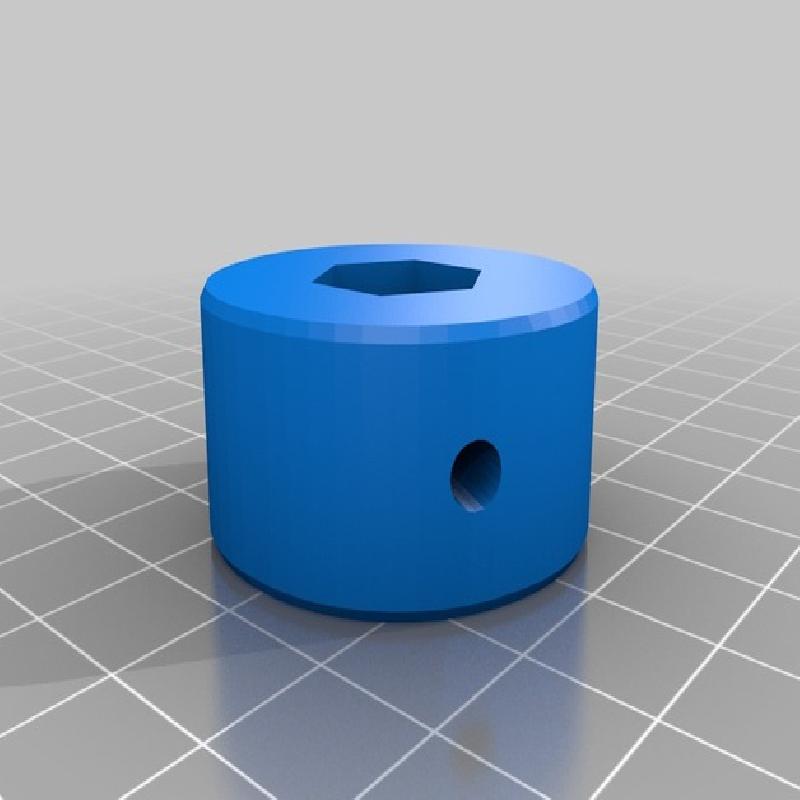
For the Straight Rod it should be a push fit through the mount. To keep it in place I planned to use the cross-hole as a guide to drill a 3mm hole through the rod. Next insert a 30mm M3 screw and with a matching nut into the recess on the other side, alternatively drill a smaller hole and tap the M3 thread directly into the rod.
To use the threaded rod, insert an M8 nut into the recess and wind it down the rod. To keep it in place use another nut and lock the two against each other.
The best way I found to assemble it is to get the spacing of the mounts correct before trying to attach the blades. The spacings for the 3 versions I've published are:
375mm tall = 117.5mm
440mm tall = 150mm
625mm tall = 222.5mm
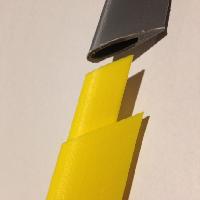
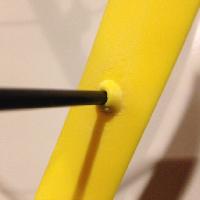
Struts
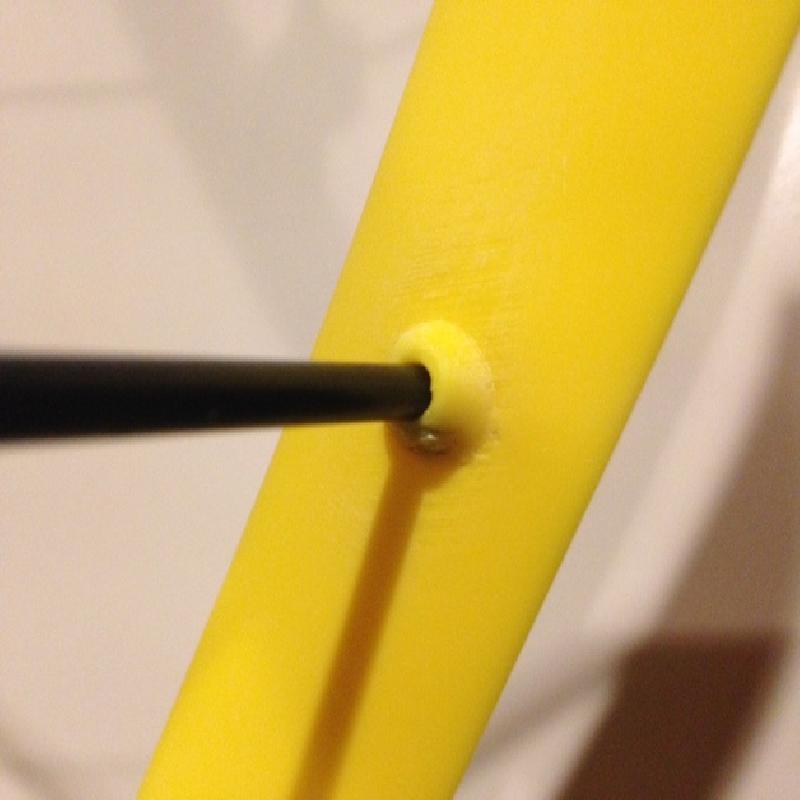
My carbon rods were cut from an old golf umbrella; they are 150mm long and have a 3.6mm diameter. These need to be a pretty snug fit with the sockets, so I'd suggest you print the 'JointTest' piece to make sure it's a good fit before printing the real thing. If not, you can change the parameter in the scad or just drill it out.
Please be careful with these, carbon splinters are not something you want.
It's important that there's very little difference in the lengths of the struts as it can throw off the balance of the whole windmill. Given that it's only supported from one end, I'm fairly sure it will fail in high wind if it's not balanced well.
When you insert them, do it with the axle already in and push them in as far as they go (same for the blade). This should make sure the blade has the same off-set at each strut.
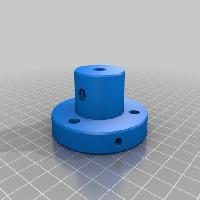
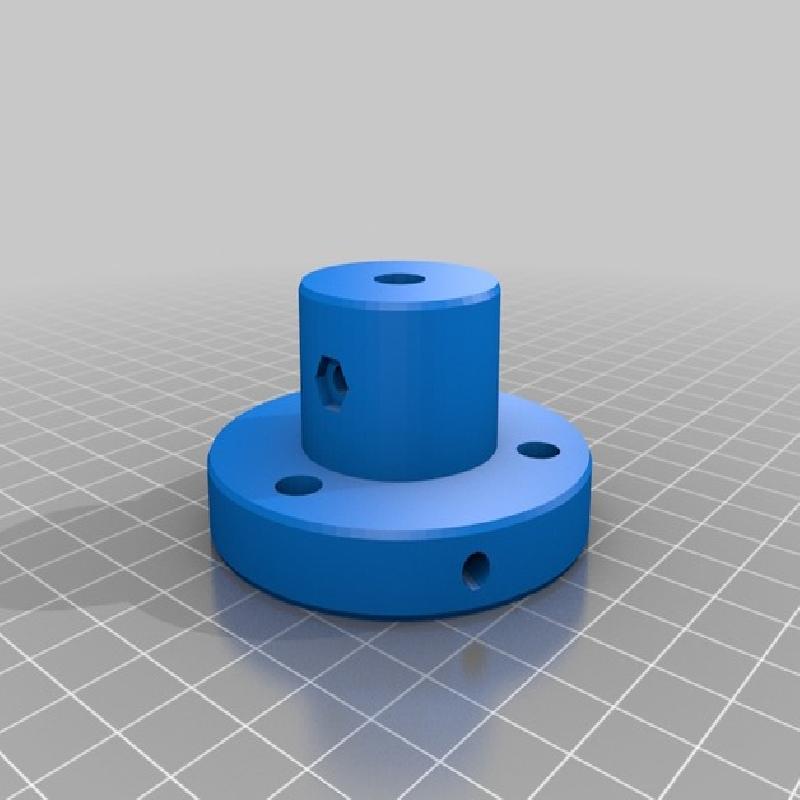
Bearing Mounts
I printed 2 x Bearing Mounts with 2 x roller-blade bearings in each. I used 2xM8 nuts locked against each other above the top mount and below the bottom one to keep them in place.
The holes are sized to suit a 10g screw with a 6mm washer.
SCAD
Don't be afraid of tinkering with this to get the blade shape / size you want. Have a go at changing these settings first:
plug_os: this is the amount to shirk the plug in from the edge of the blade.
strut_id: inner diameter of the strut hole.
blade_height: overall height
num_segs: sets the number of segments (per blade) to print.
chord_len: length of the blade in mm.
end_os: distance from the blade tip for the top & bottom strut sockets.
num_sockets: total number of strut sockets.