by MR2C280, published
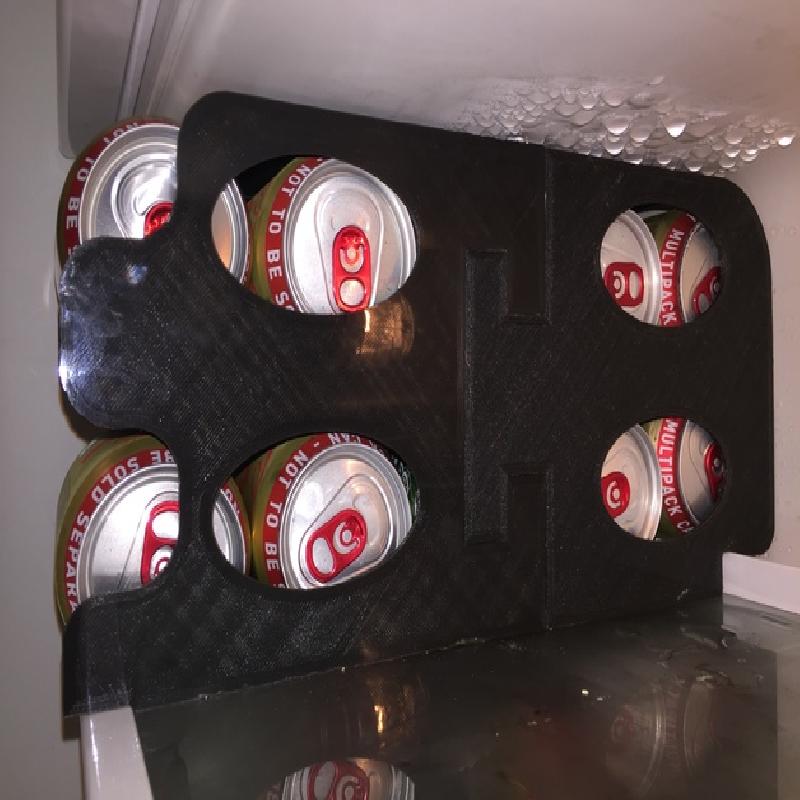
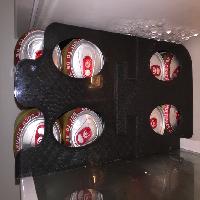
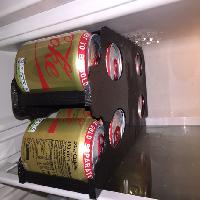
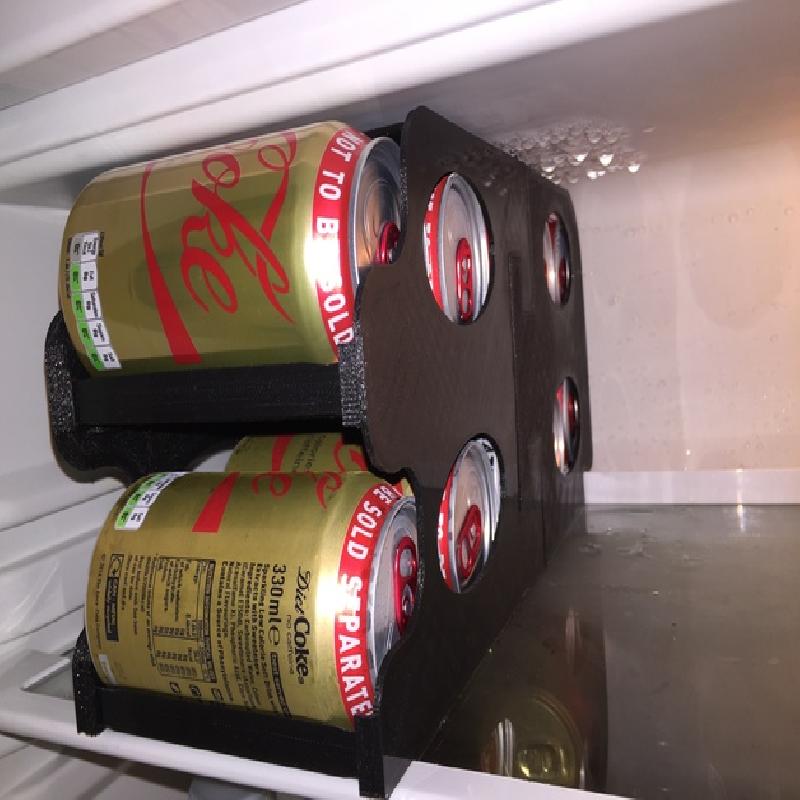
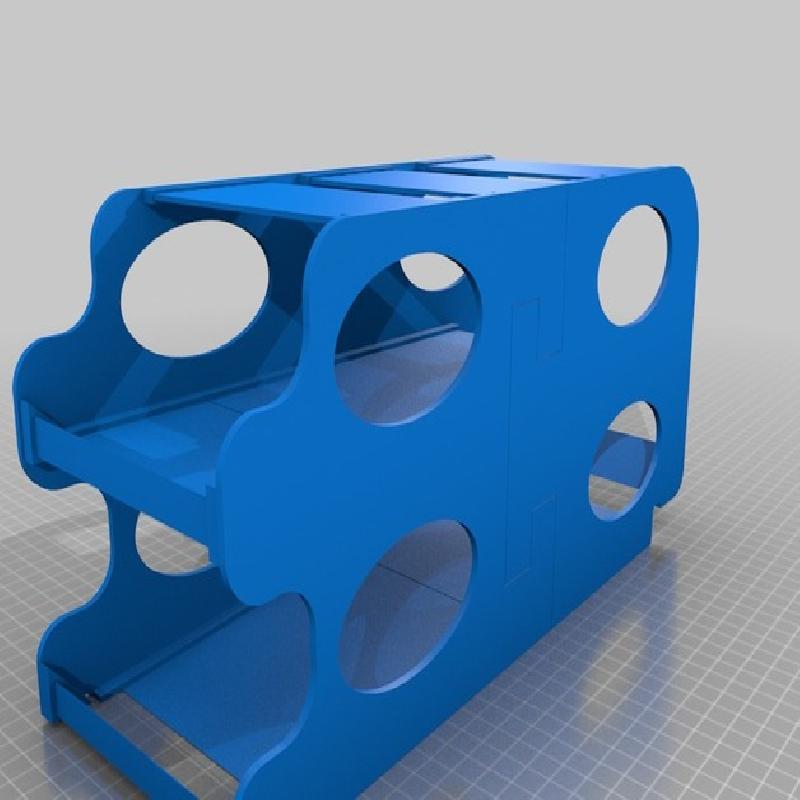
This Refrigerator Can Holder holds 10x 330ml drinks cans. You put the cans in
the front at the top and they roll to the front at the bottom so you can always take the
coldest can. When you replenish your supply, just roll them in from the top. No
need to resort the cans on the shelf to put the warm ones at the back.
The optimal design doesn't waste a millimetre of space so it is suitable for a
small bar fridge where space is at a premium. It hooks onto the ridge at the
back of the shelf and uses the back wall of the fridge as part of the holder. Placed
in the middle of the shelf, it also acts as a useful "book-end" that makes stacking
bottles on the shelf beside it easier.
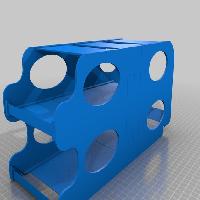
I've uploaded the AutoCAD .dwg file so you can edit the pieces if necessary to fit your fridge.
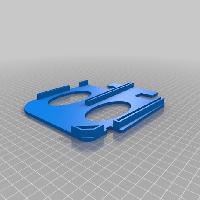
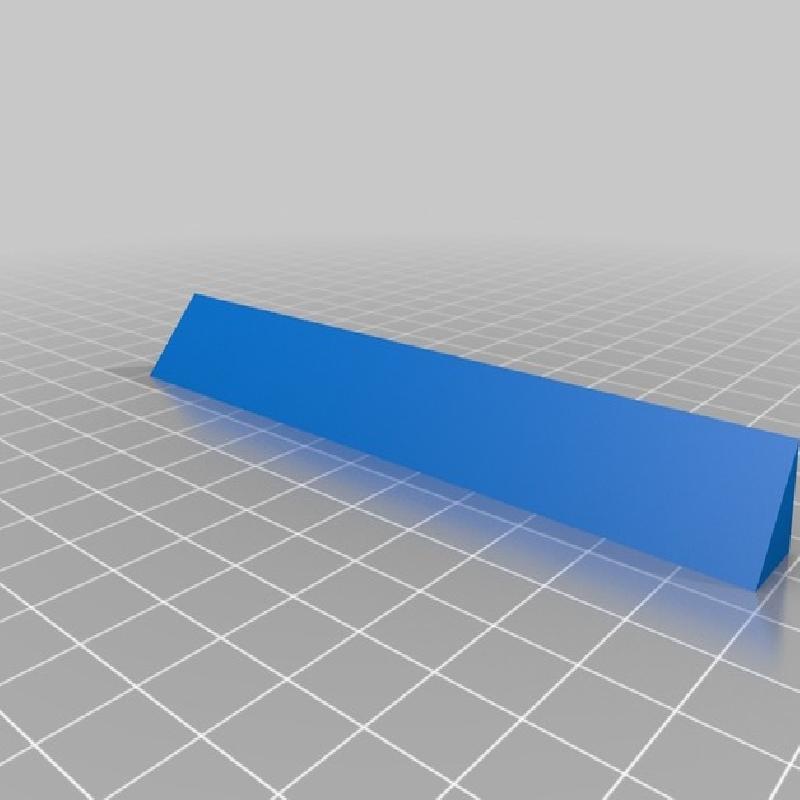
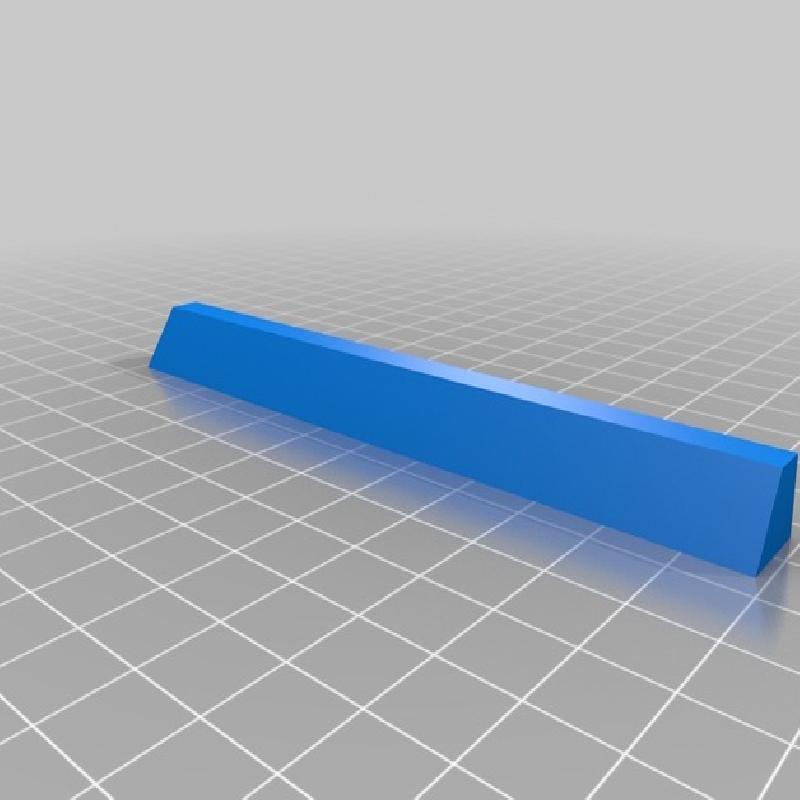
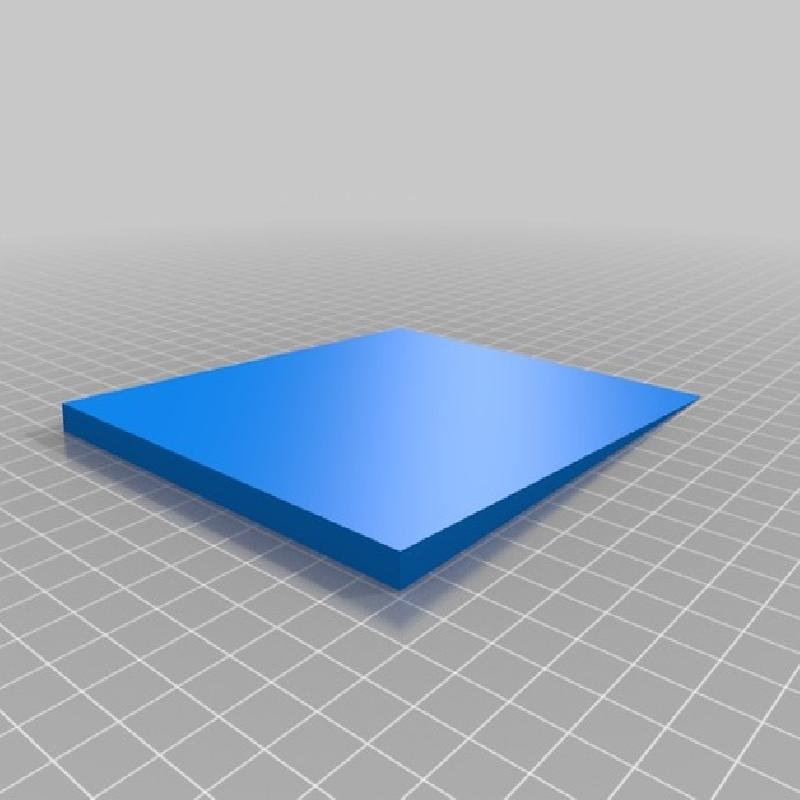
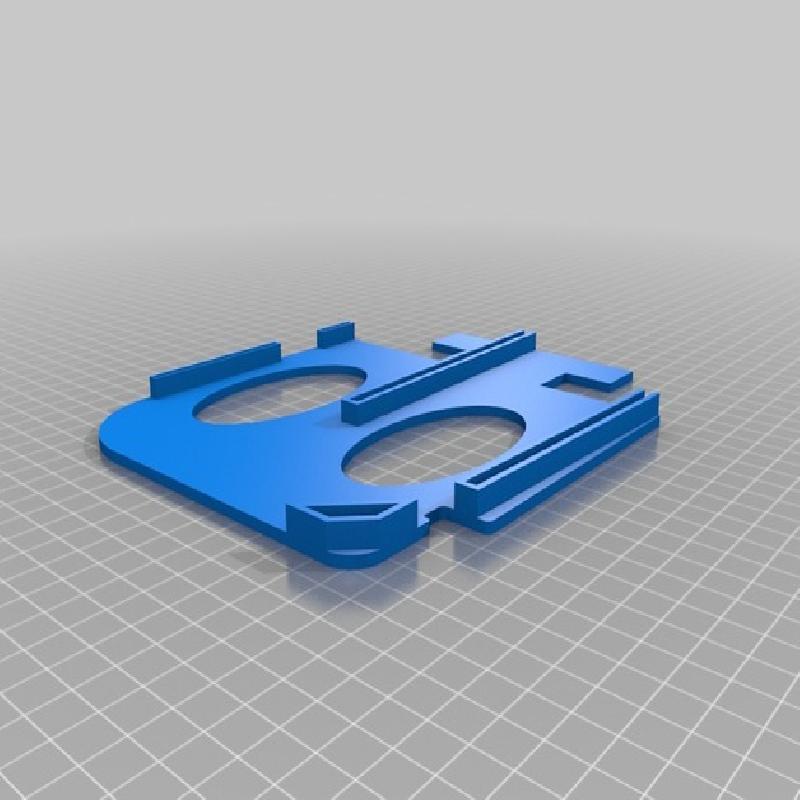
Note that this Can Holder is intended to be assembled from the 14 individual pieces.
The STL files Can_Holder_Built.stl and Can_Holder_Built_with_cans.stl are just for
illustrative purposes, they're not designed to be printed. (If you've got a printer that can
do it, I'm jealous.)
Rafts: No
Supports: No
Infill: Solid
Notes:
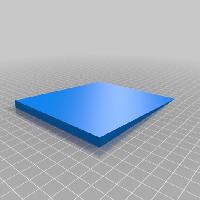
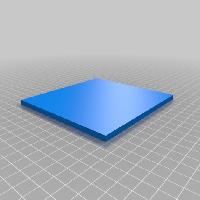
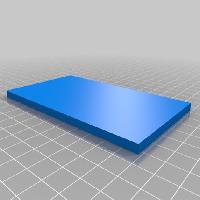
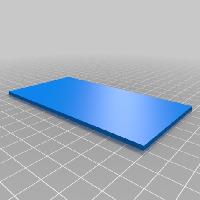
The project is cut into pieces so it is suitable for printing on a 20x20 bed.
You need to make two front walls and two rear walls but one of each must be mirrored (so you have a left and a right of each). You'll also need three top supports.
I used PLA because it's stiffer, I don't know if ABS will work in real usage but I don't see why not.
Assembly required
The shelves are designed to fit across the joint between the front and rear wall
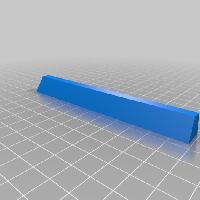
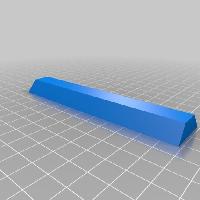
halves to add strength. Note that one of the bottom shelves is a wedge that must
go at the front. I used epoxy to glue mine together.