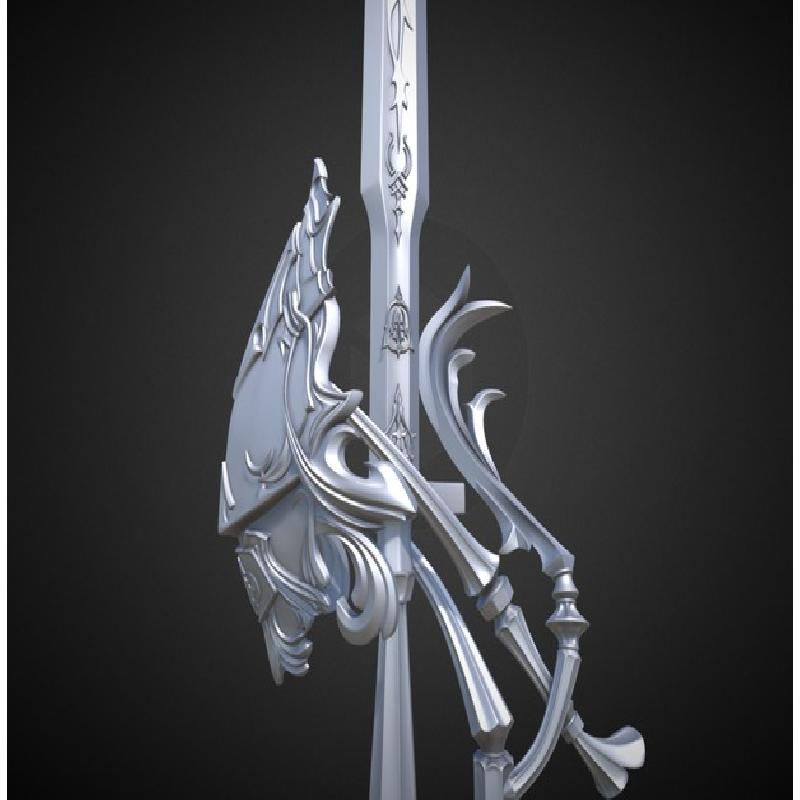
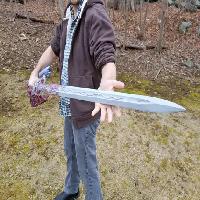
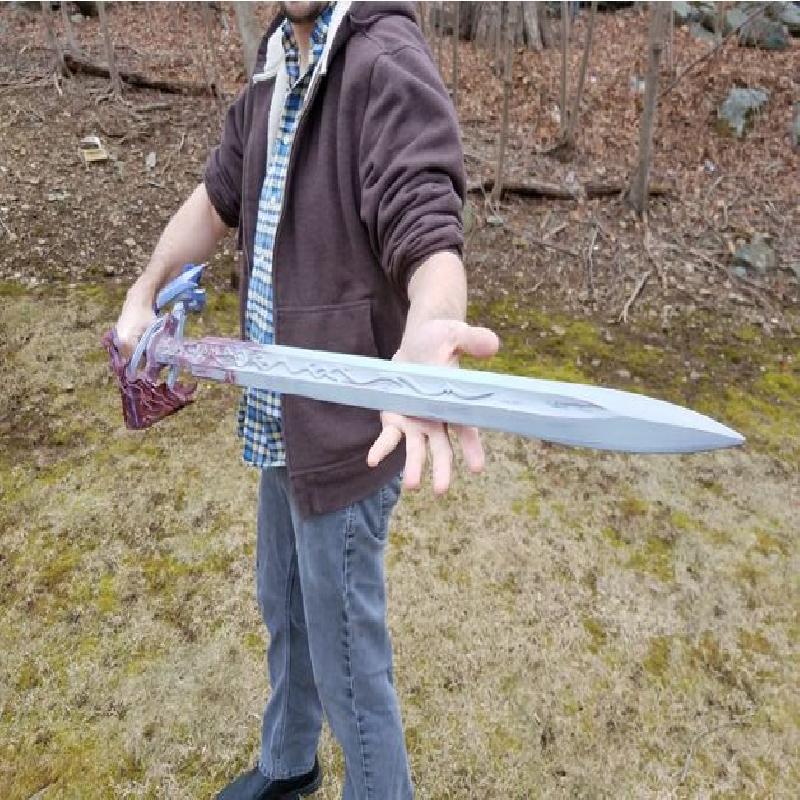
These files were created for a commission project by fusedcreations.com. Our client has given us the OK to share them publicly, so we want to spread the love and make the parts available here for anyone brave enough to try making their own version of this nearly-five-foot-long monster.
More in-depth posts about the project can be found on our blog here. The parts were sliced to fit comfortably on my Makergear M2, which has an approximately print volume of 200 x 250 x 200mm.
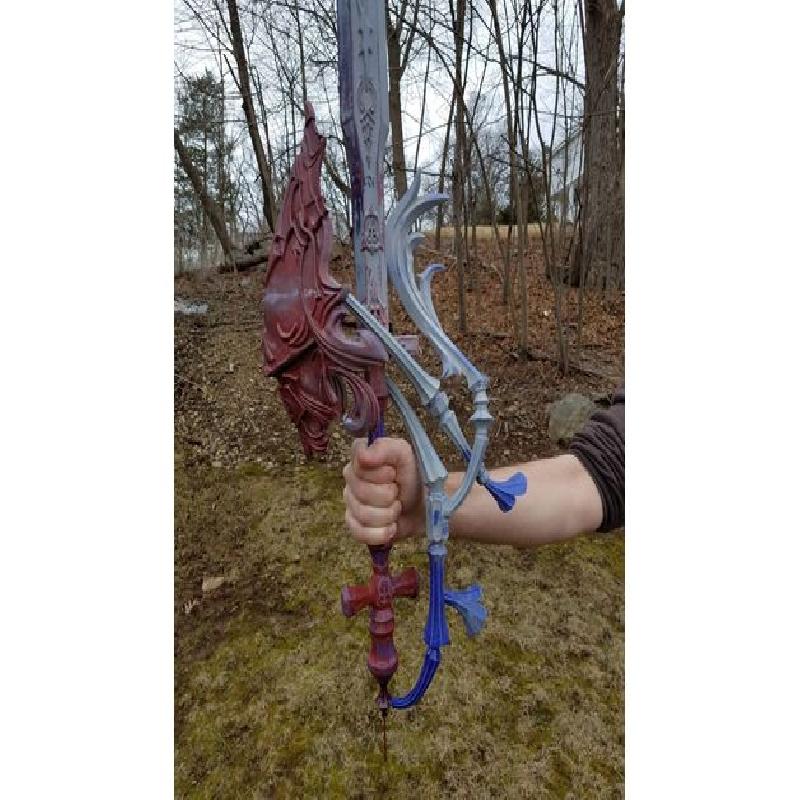
The sword is intended for use and showcasing at conventions, and therefore has to be ‘con-safe’. It may have to pass through metal detectors or other security checks. Because of this, the client wanted us to avoid using metal parts in the construction of the prop. We brainstormed a few options and ultimately settled on carbon fiber rods. These rods are strong and rigid. They are surprisingly lightweight, and most importantly, they are not going to trip a metal detector. The sword is configured for three rods that run the length of the blade into the handle. The 'central' rod is 5mm, while the side ones are 2.5mm. They are available in one-meter lengths, which does the job of connecting the blade sections and handle pretty nicely.
The quillions were divided into halves to simplify printing on an FDM machine. Eacy piece has a 'top' and 'bottom' half around the approximate middle of the piece so there's a flat surface to orient to your print bed. The quillions have a very precise configuration, and if you mistakenly assembled one of the joints at the wrong angle or orientation you’d never be able to get it to fit together properly. The spars that run into the back of the shield would never line up! To solve this problem, I used asymmetric alignment keys on the parts that required them; there's tabbed octagonal sections that should lock together at the proper orientation, and each also has a hole through it for additional carbon fiber supports.
I added some extra geometry to the back of the shield so that I had a way of properly attaching it to the quillions and crossguard. This took the form of some simple plugs for the quillions to match up to, and a square socket in the middle. I anticipated painting the shield and other elements separately, so I wanted to make sure that I could fit these parts together when they had been finished. To that end, I cut a simple hole out vertically through where the shield joins into the crossguard, with the expectation that if I need to, I can simply put an M2 screw through them later.
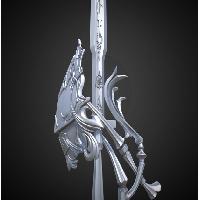
An interactive exploded view of the sword is available here. My estimate is that this’ll take about two reels (~3kg) of PLA to print – I think you could get the blade, handle, and quillions out of one reel, but you’ll probably need to do the shield with a second.
Printer Brand:
MakerGear
Printer:
Rafts:
No
Supports:
Yes
Notes:
Some parts unavoidably require supports, but the majority of the components are designed to try and minimize them.