Cyclops submarine from game Subnautica
So I had this CCTV camera acrylic dome laying around for God knows how long with absolutely no idea what to do with it.
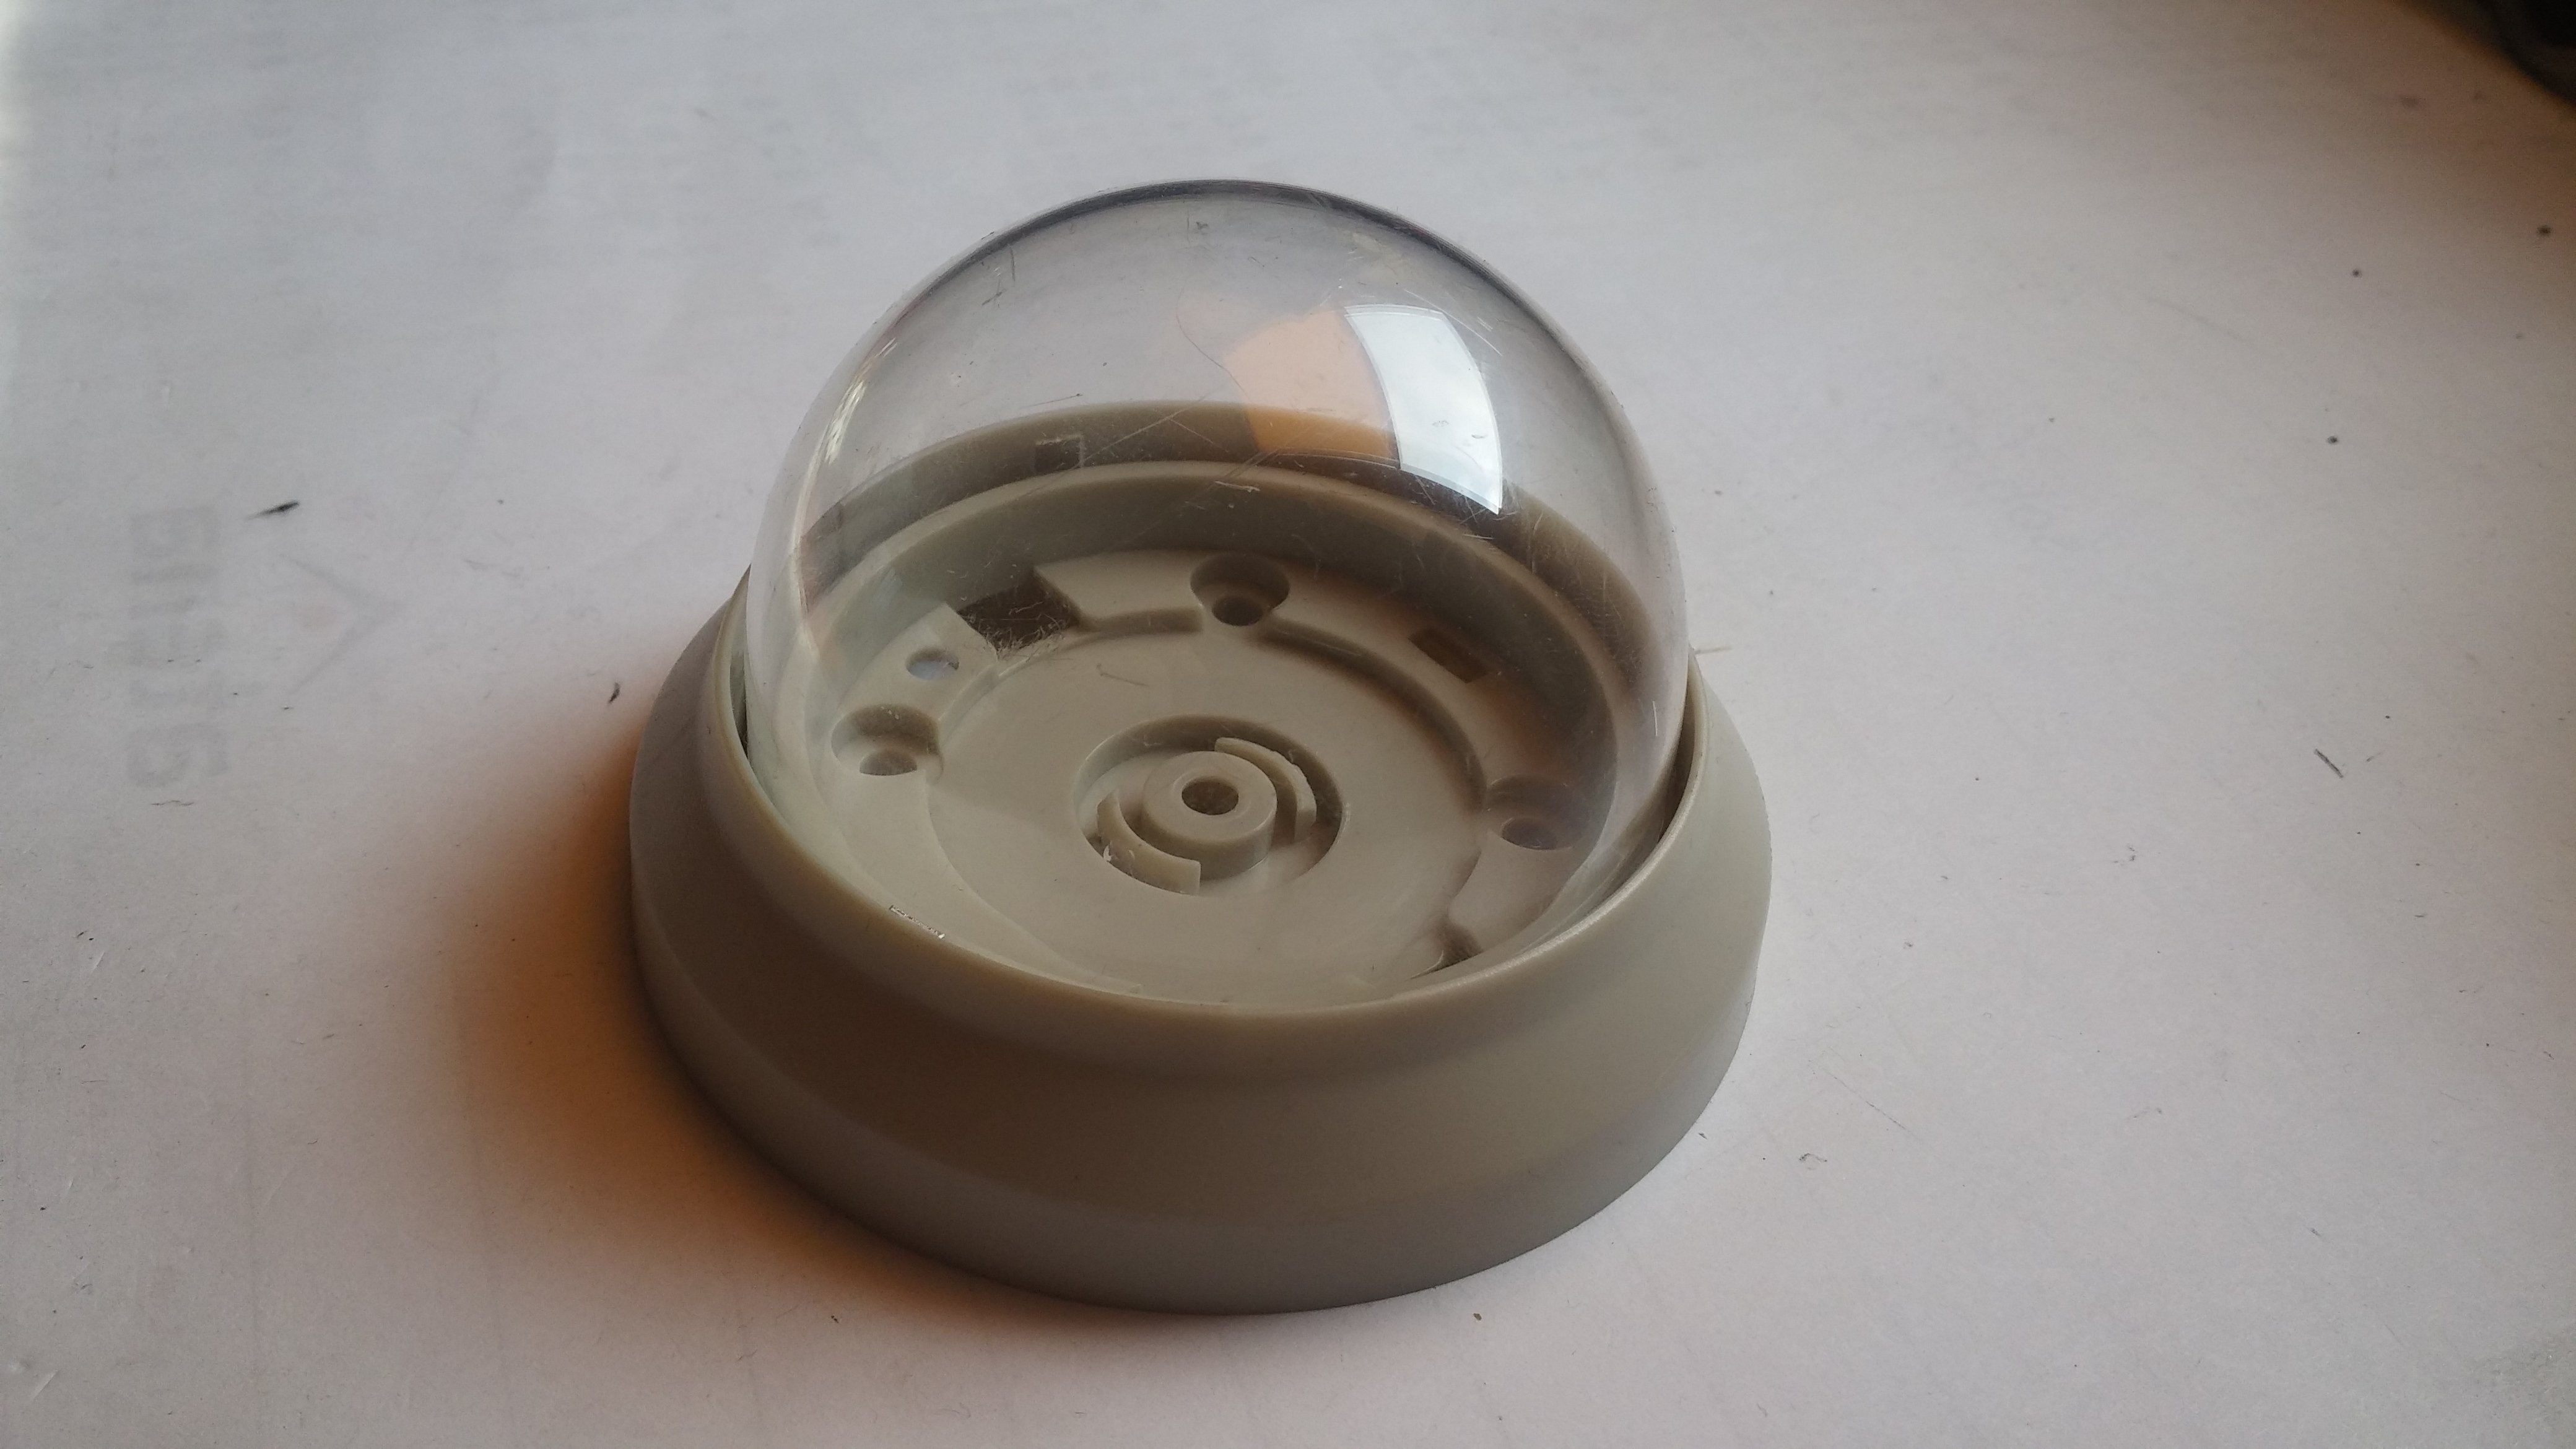
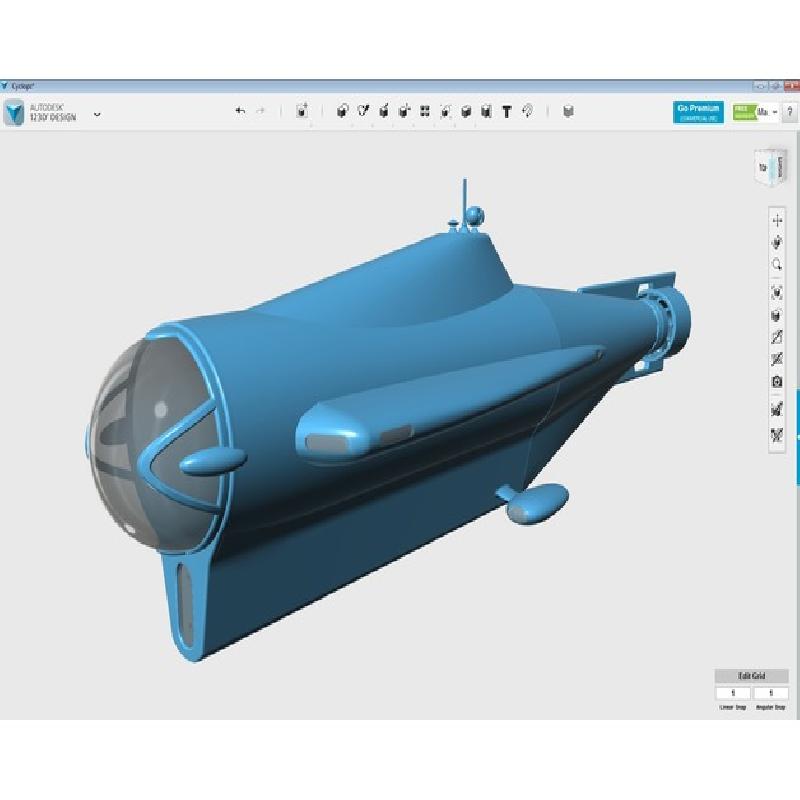
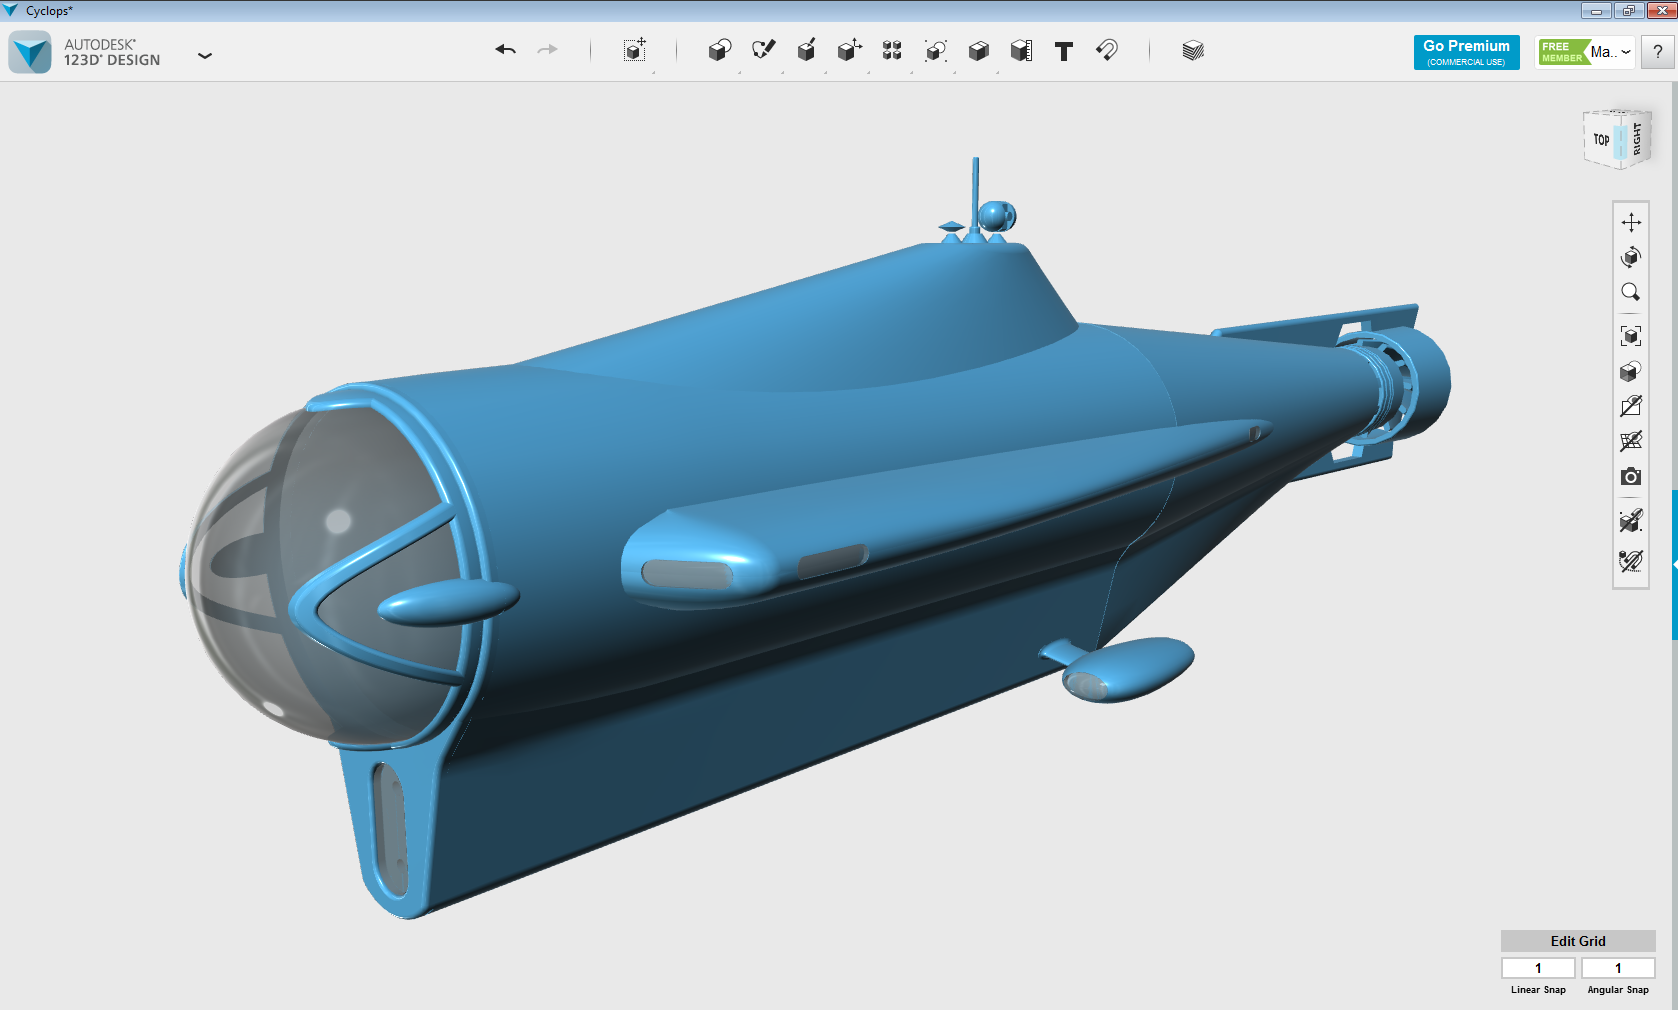
Then I fell in love with Subnautica and dome's purpose became apparent. Since there are not many prop vehicles from the game available for printing so I decided to draw one myself.
Got some screens from my brother and the internets as a reference and came up with this:
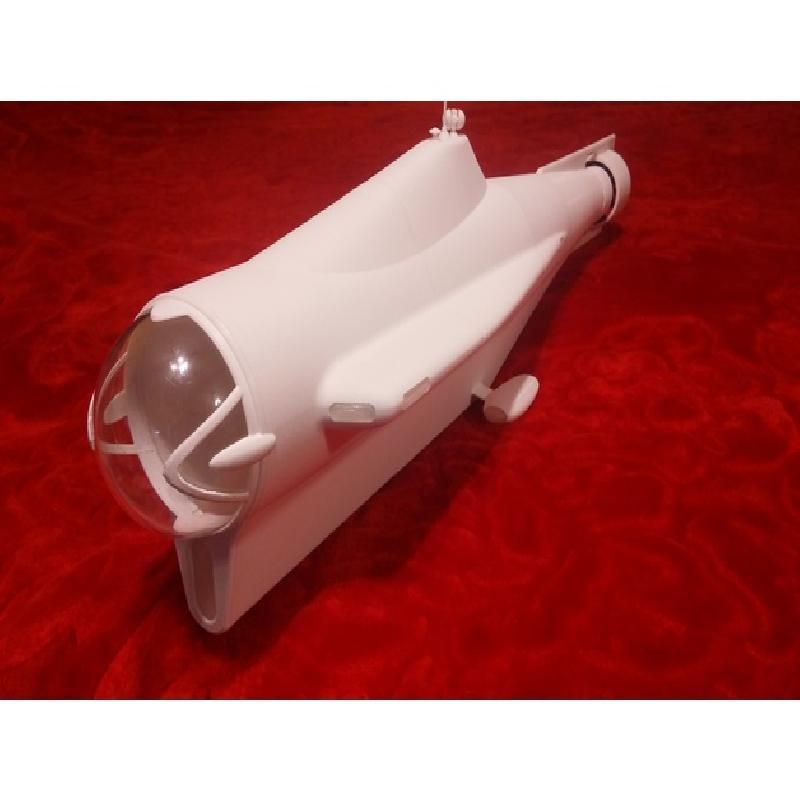
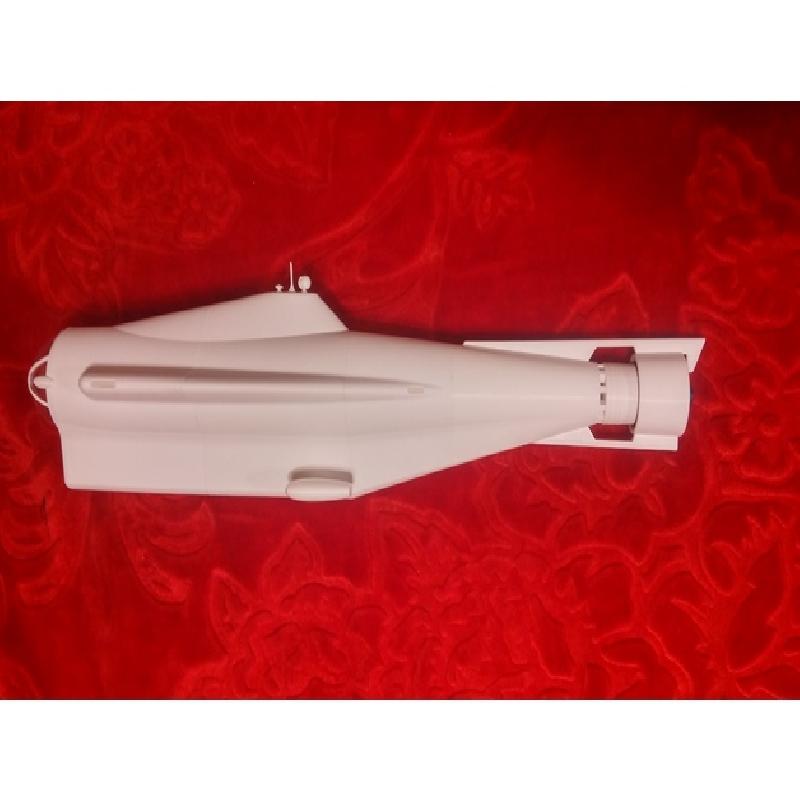
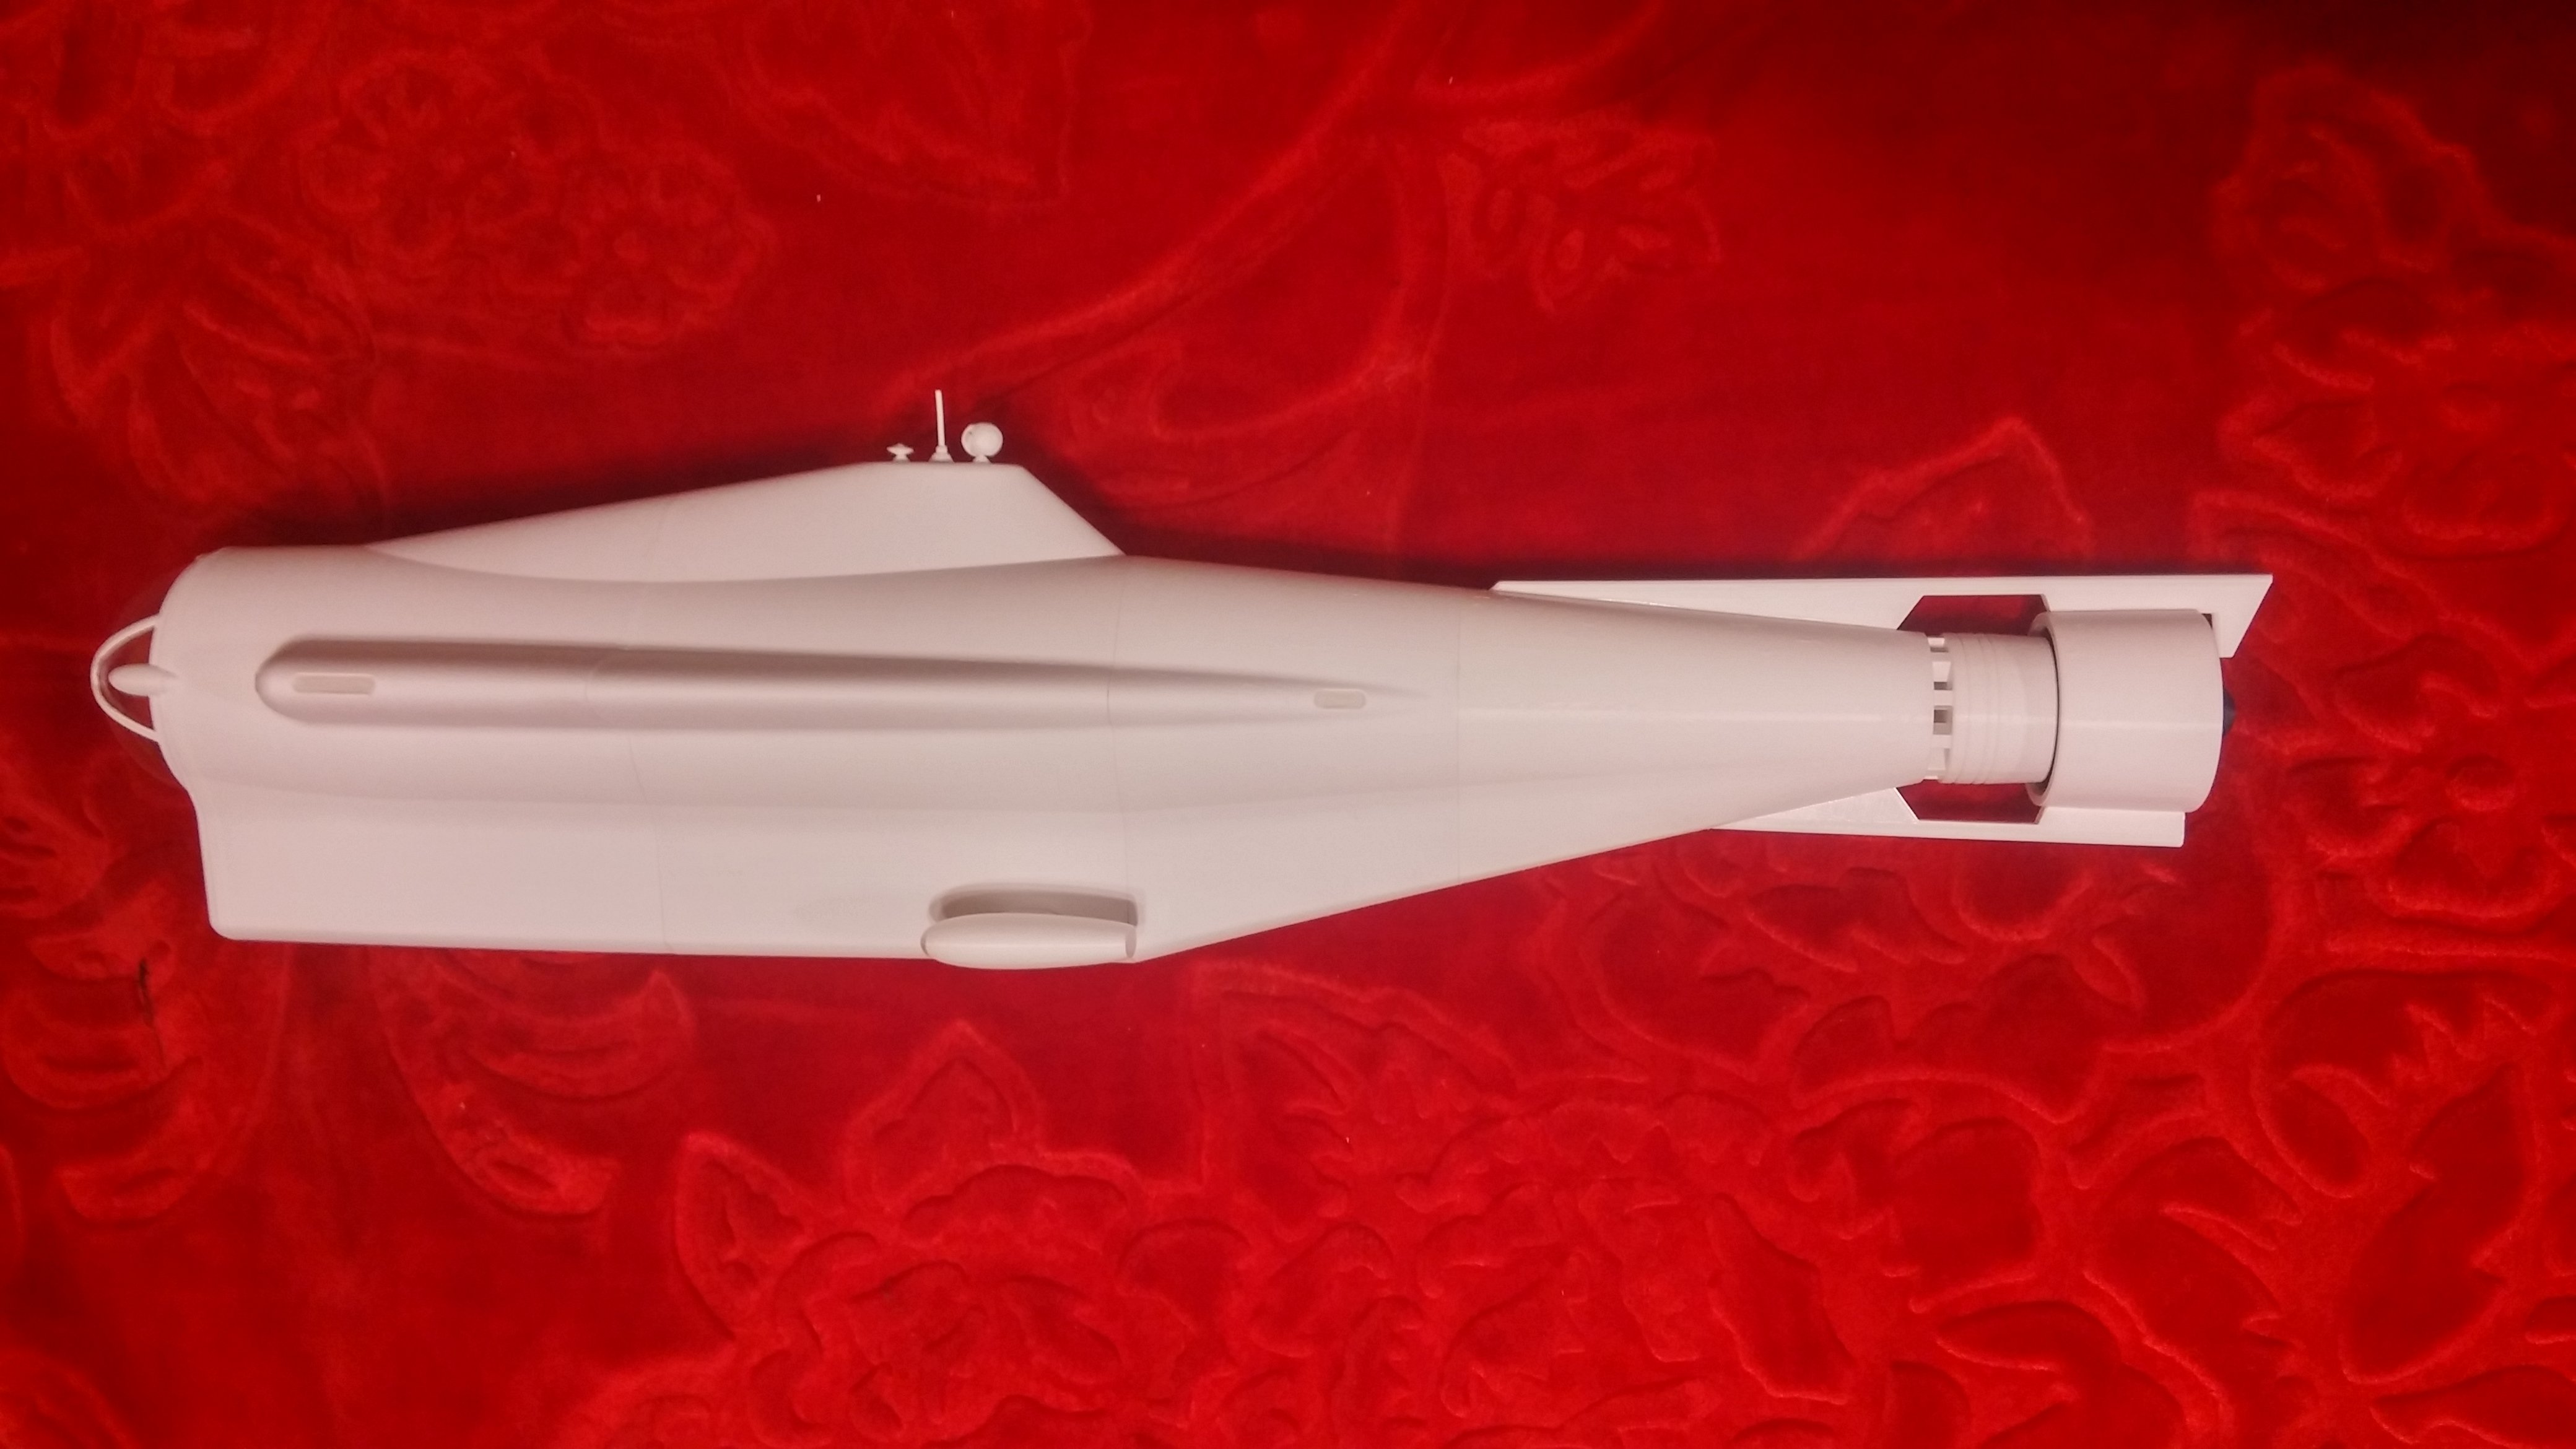
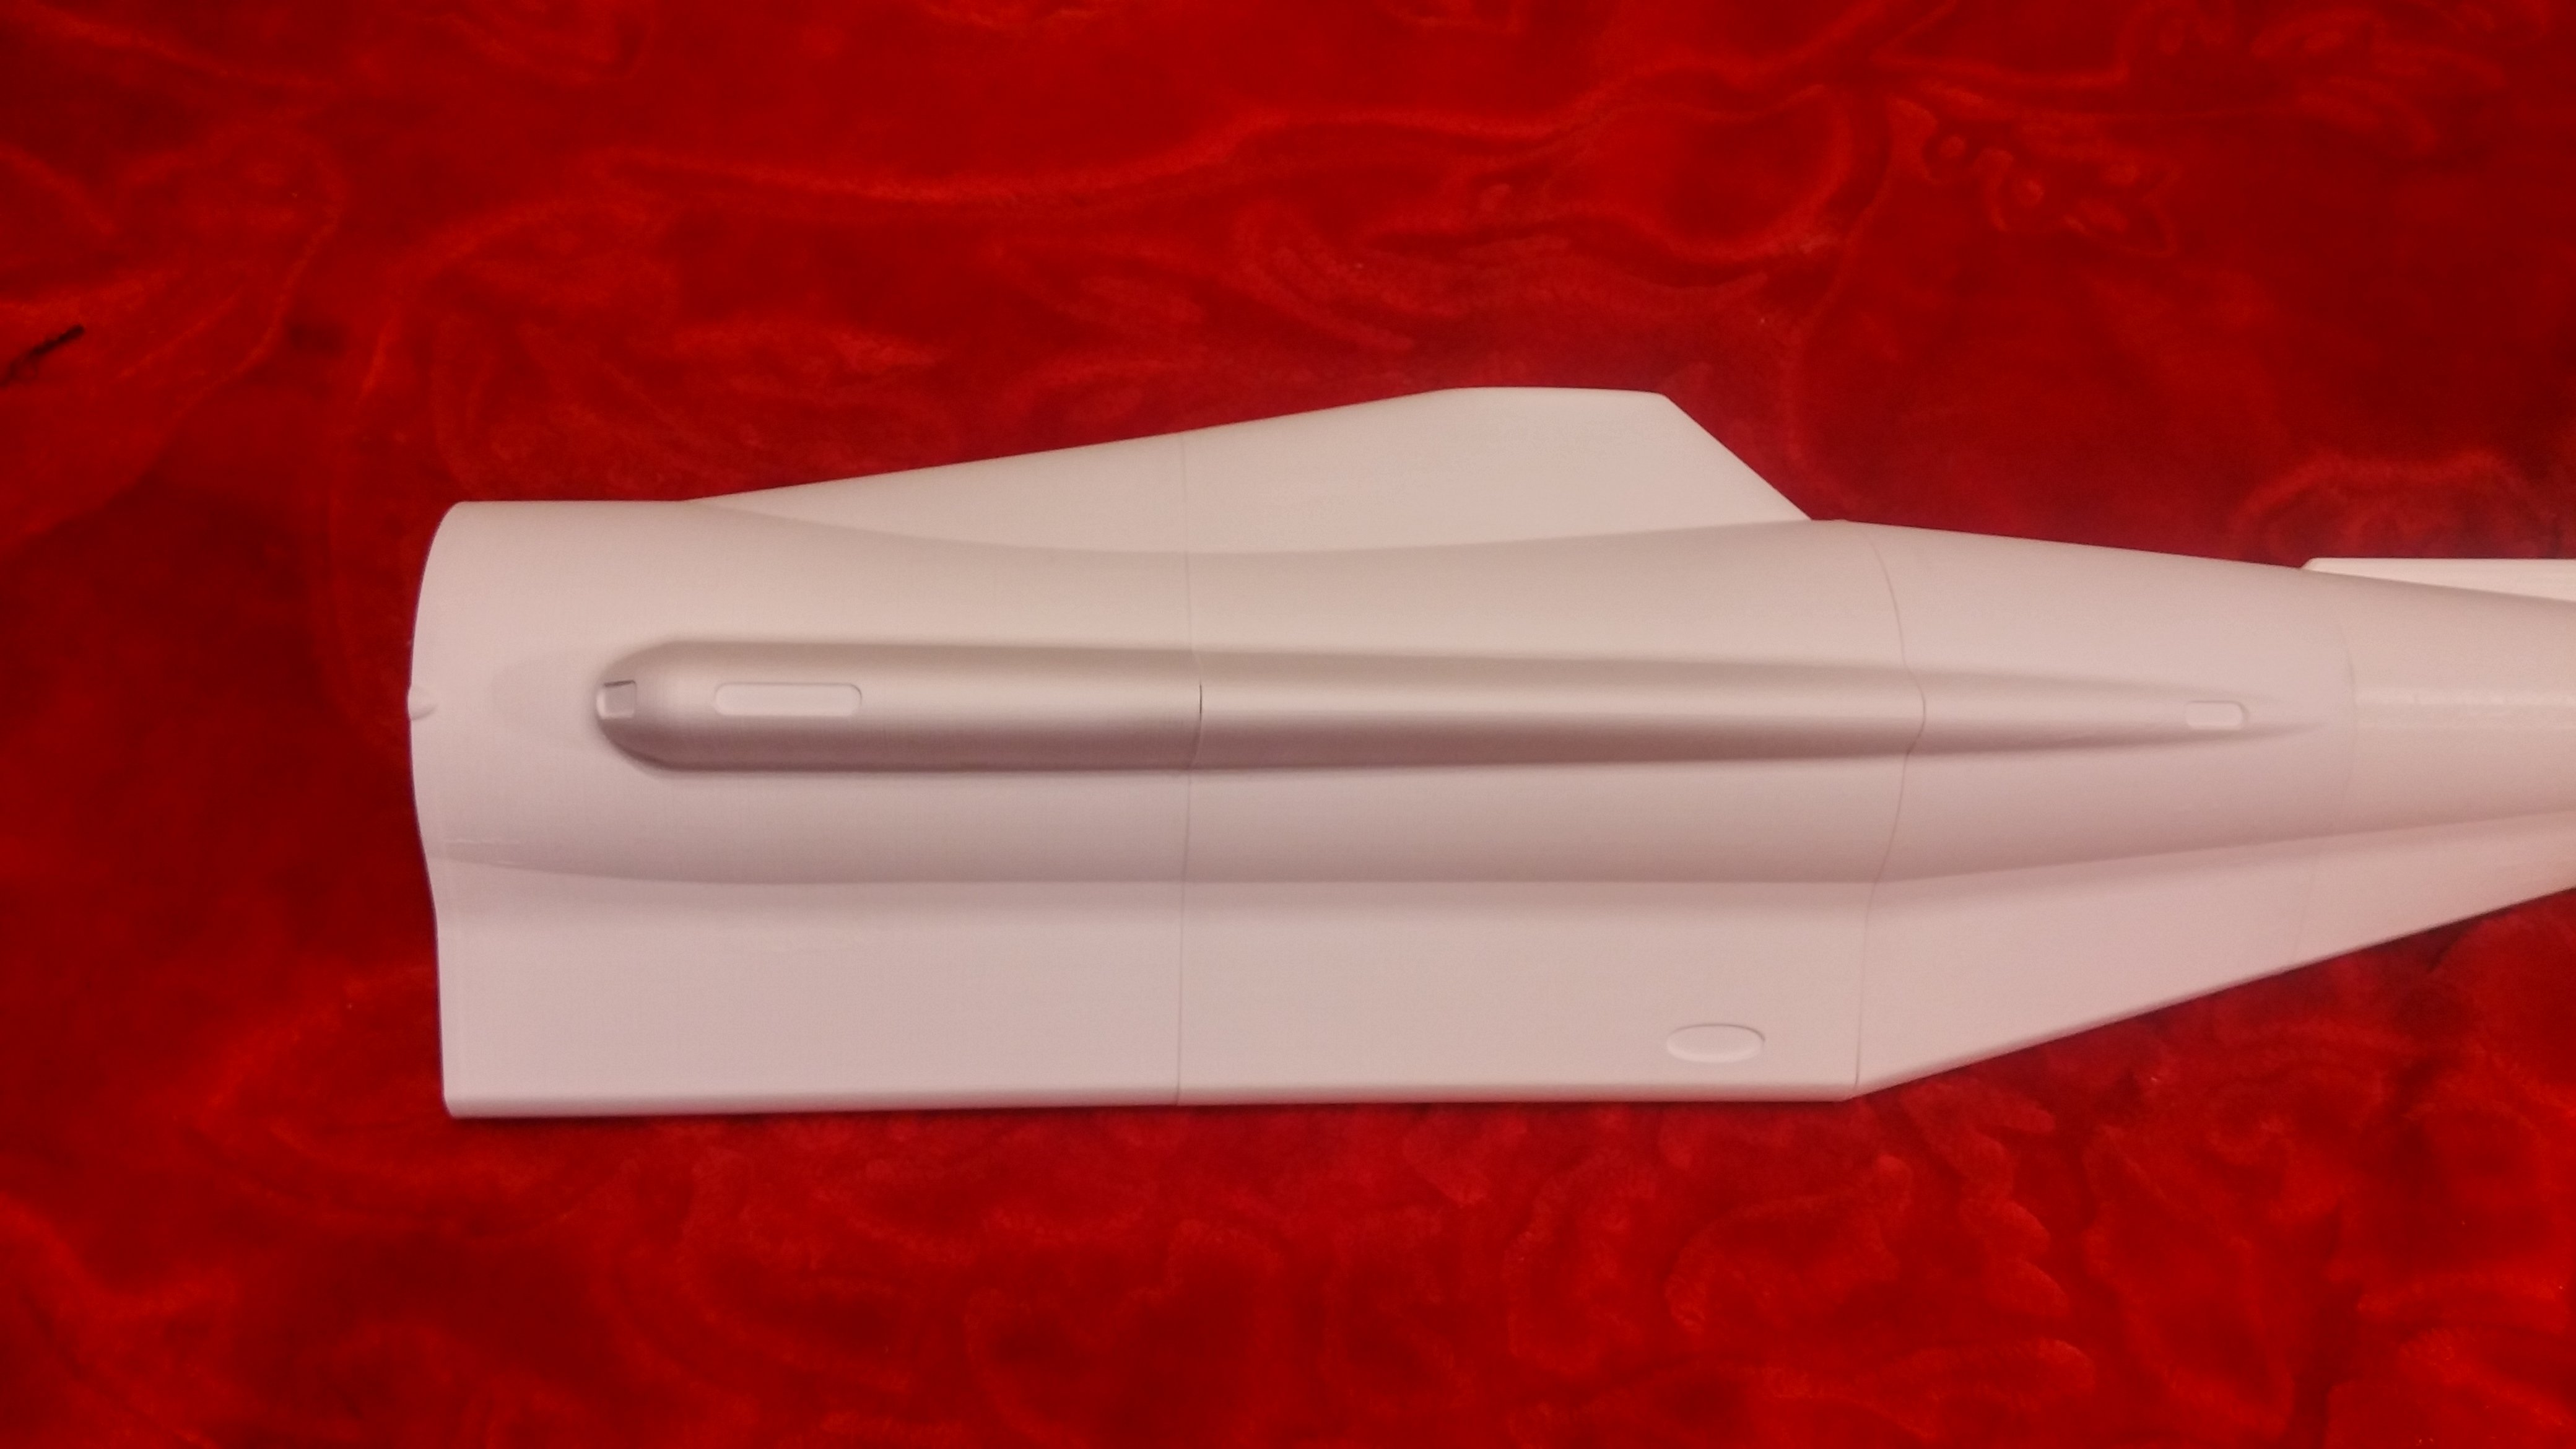
Then I split it into printable parts and after several hours voila - here You have it:
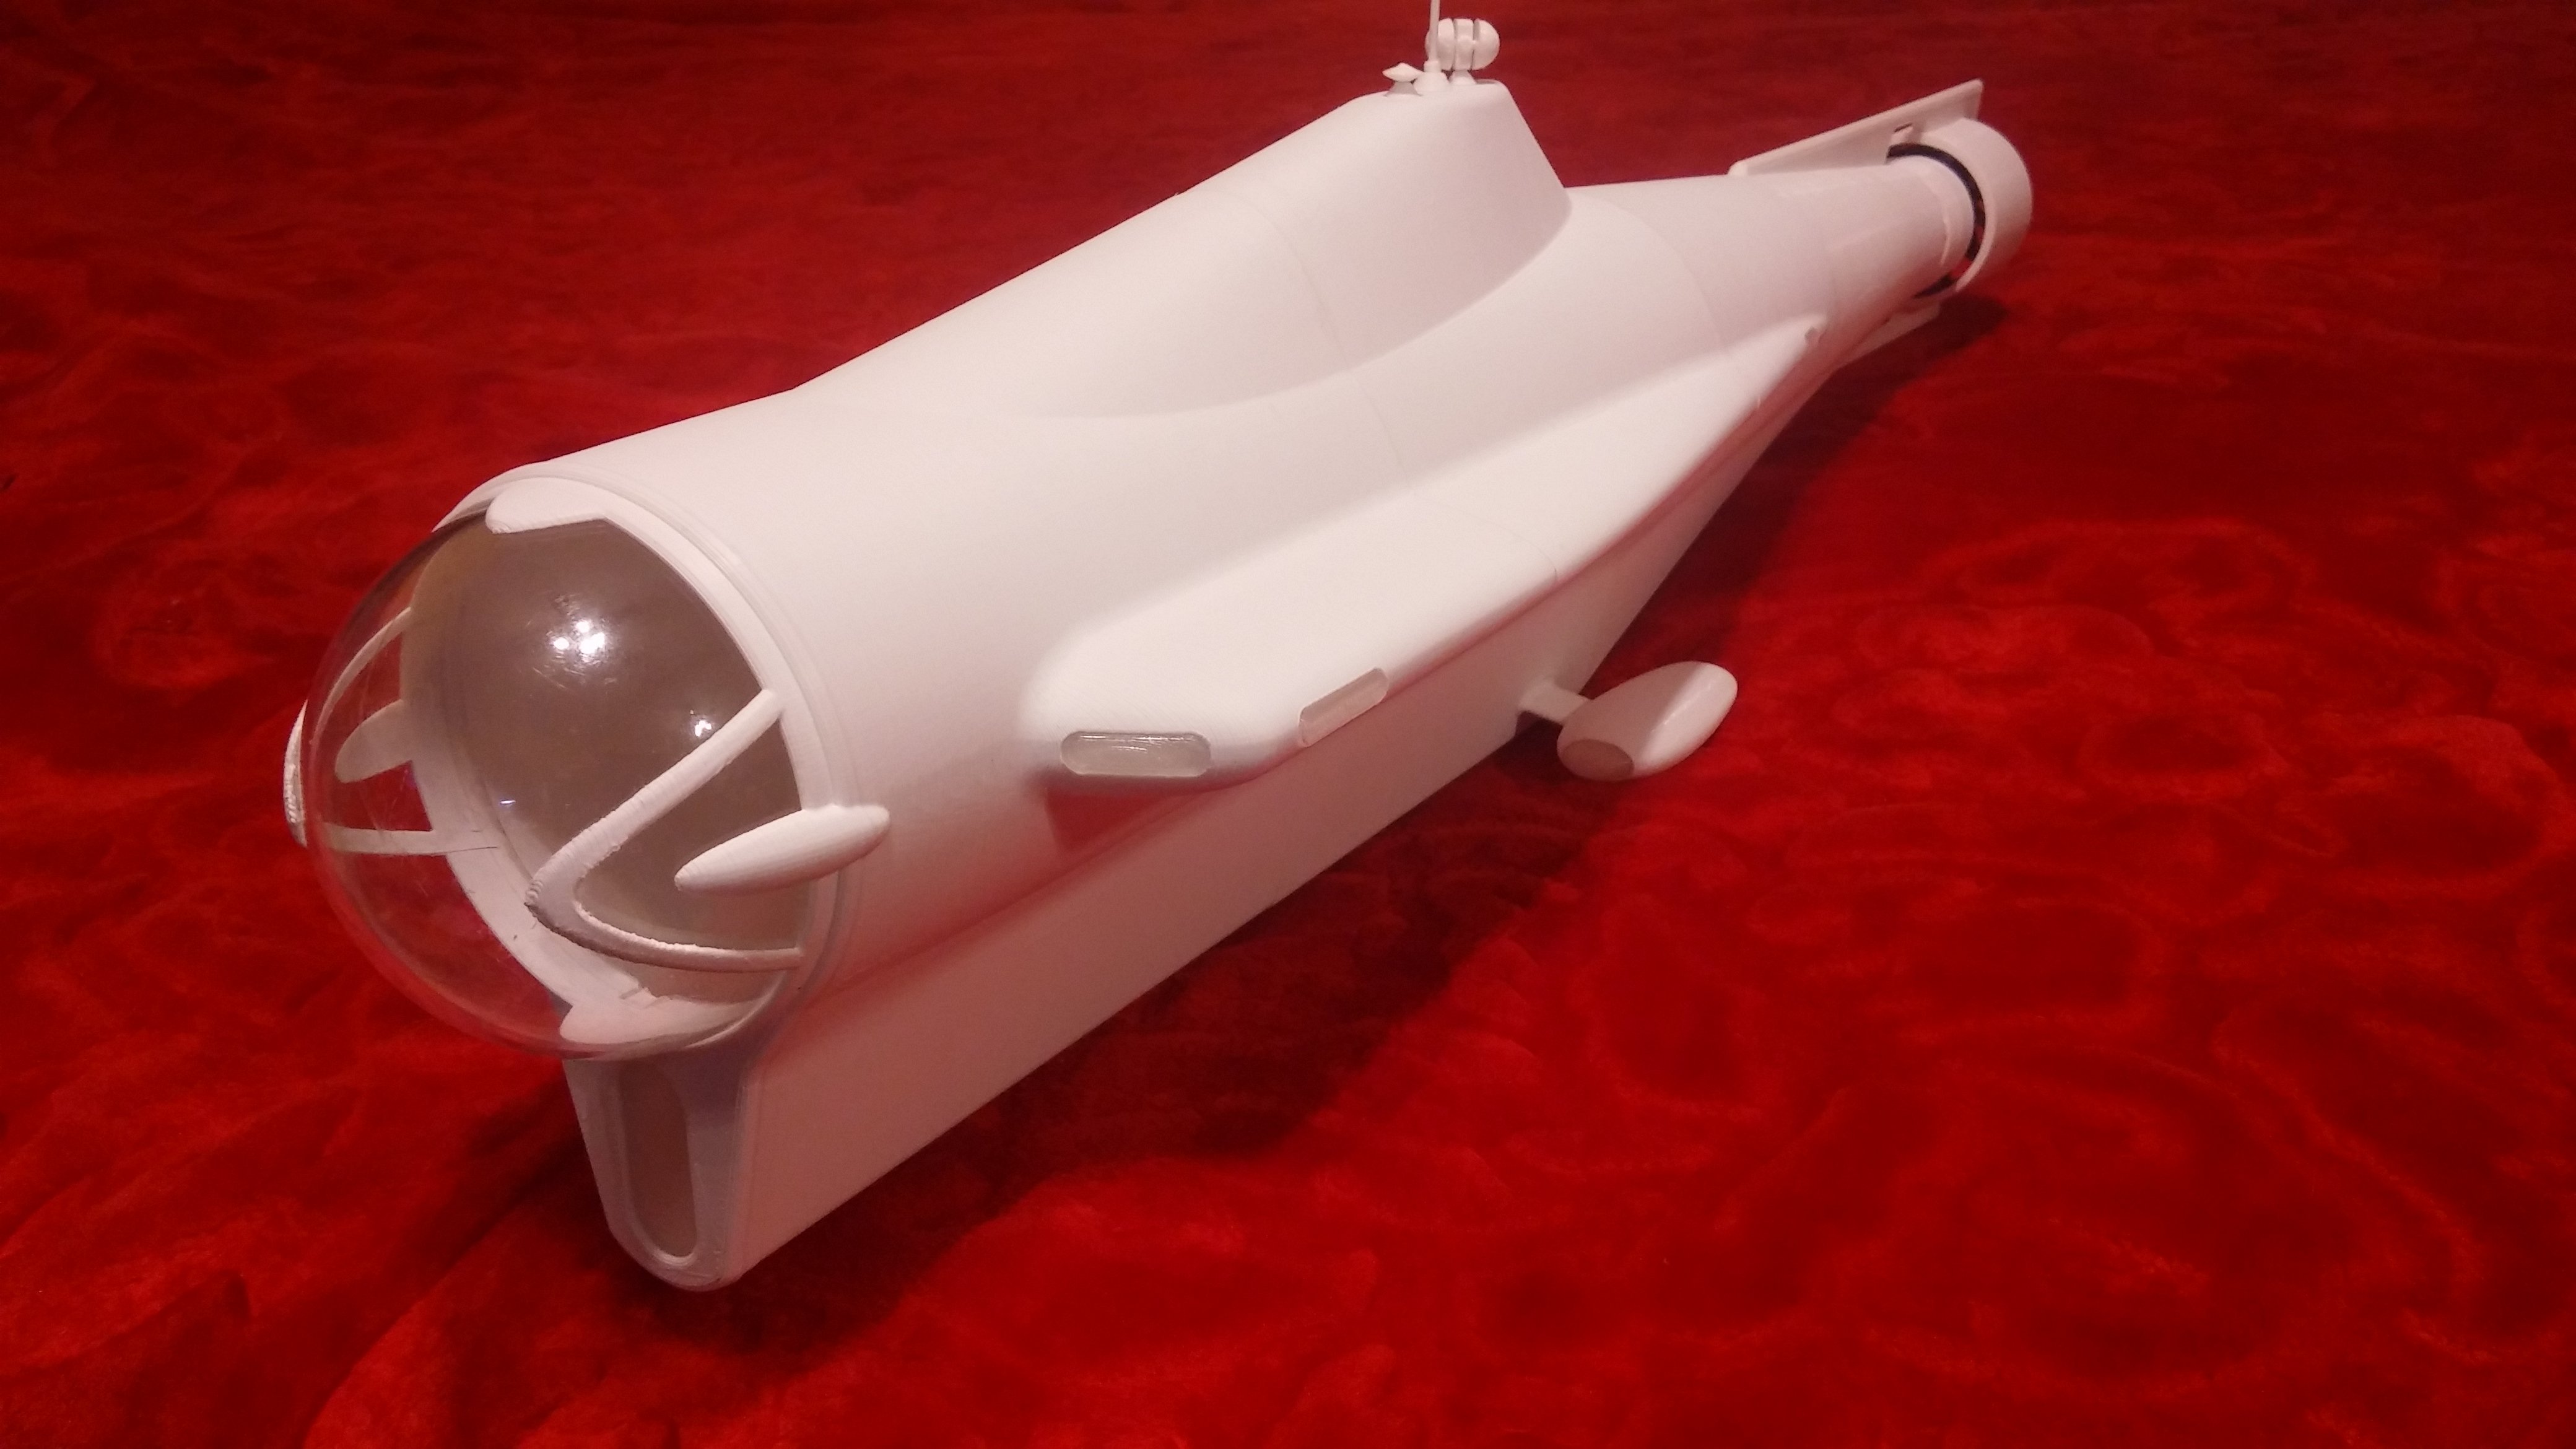
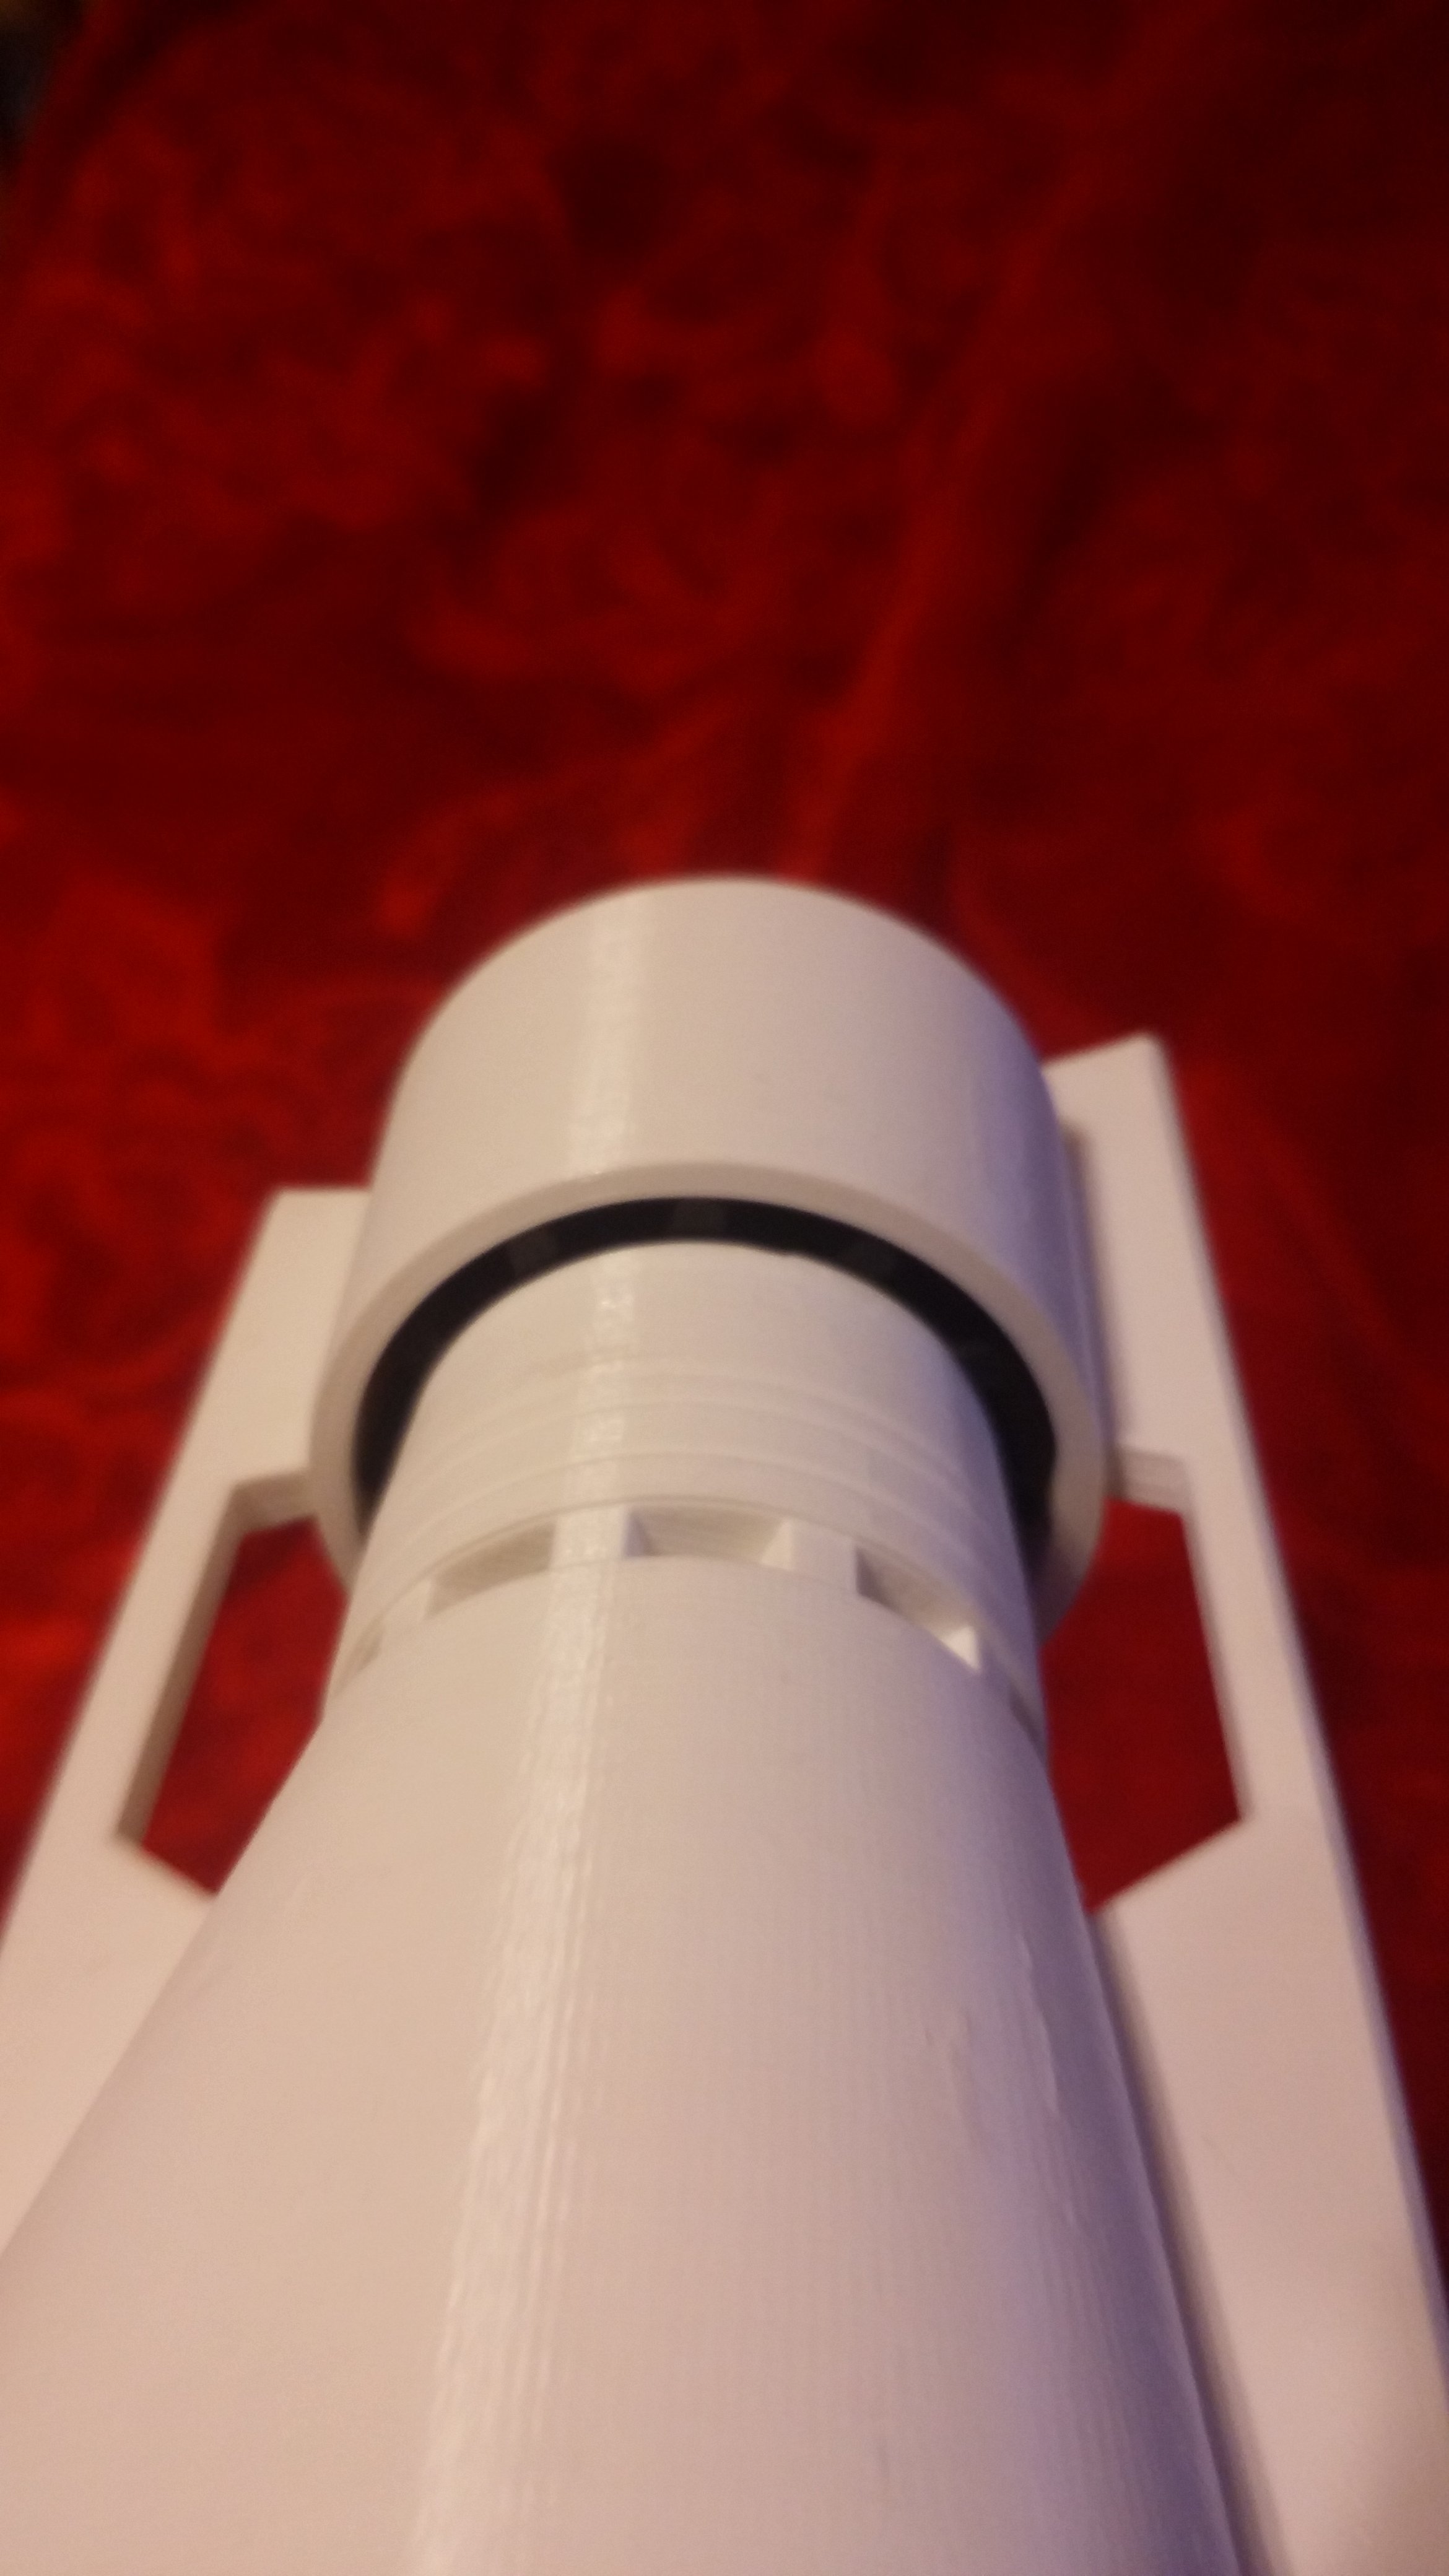
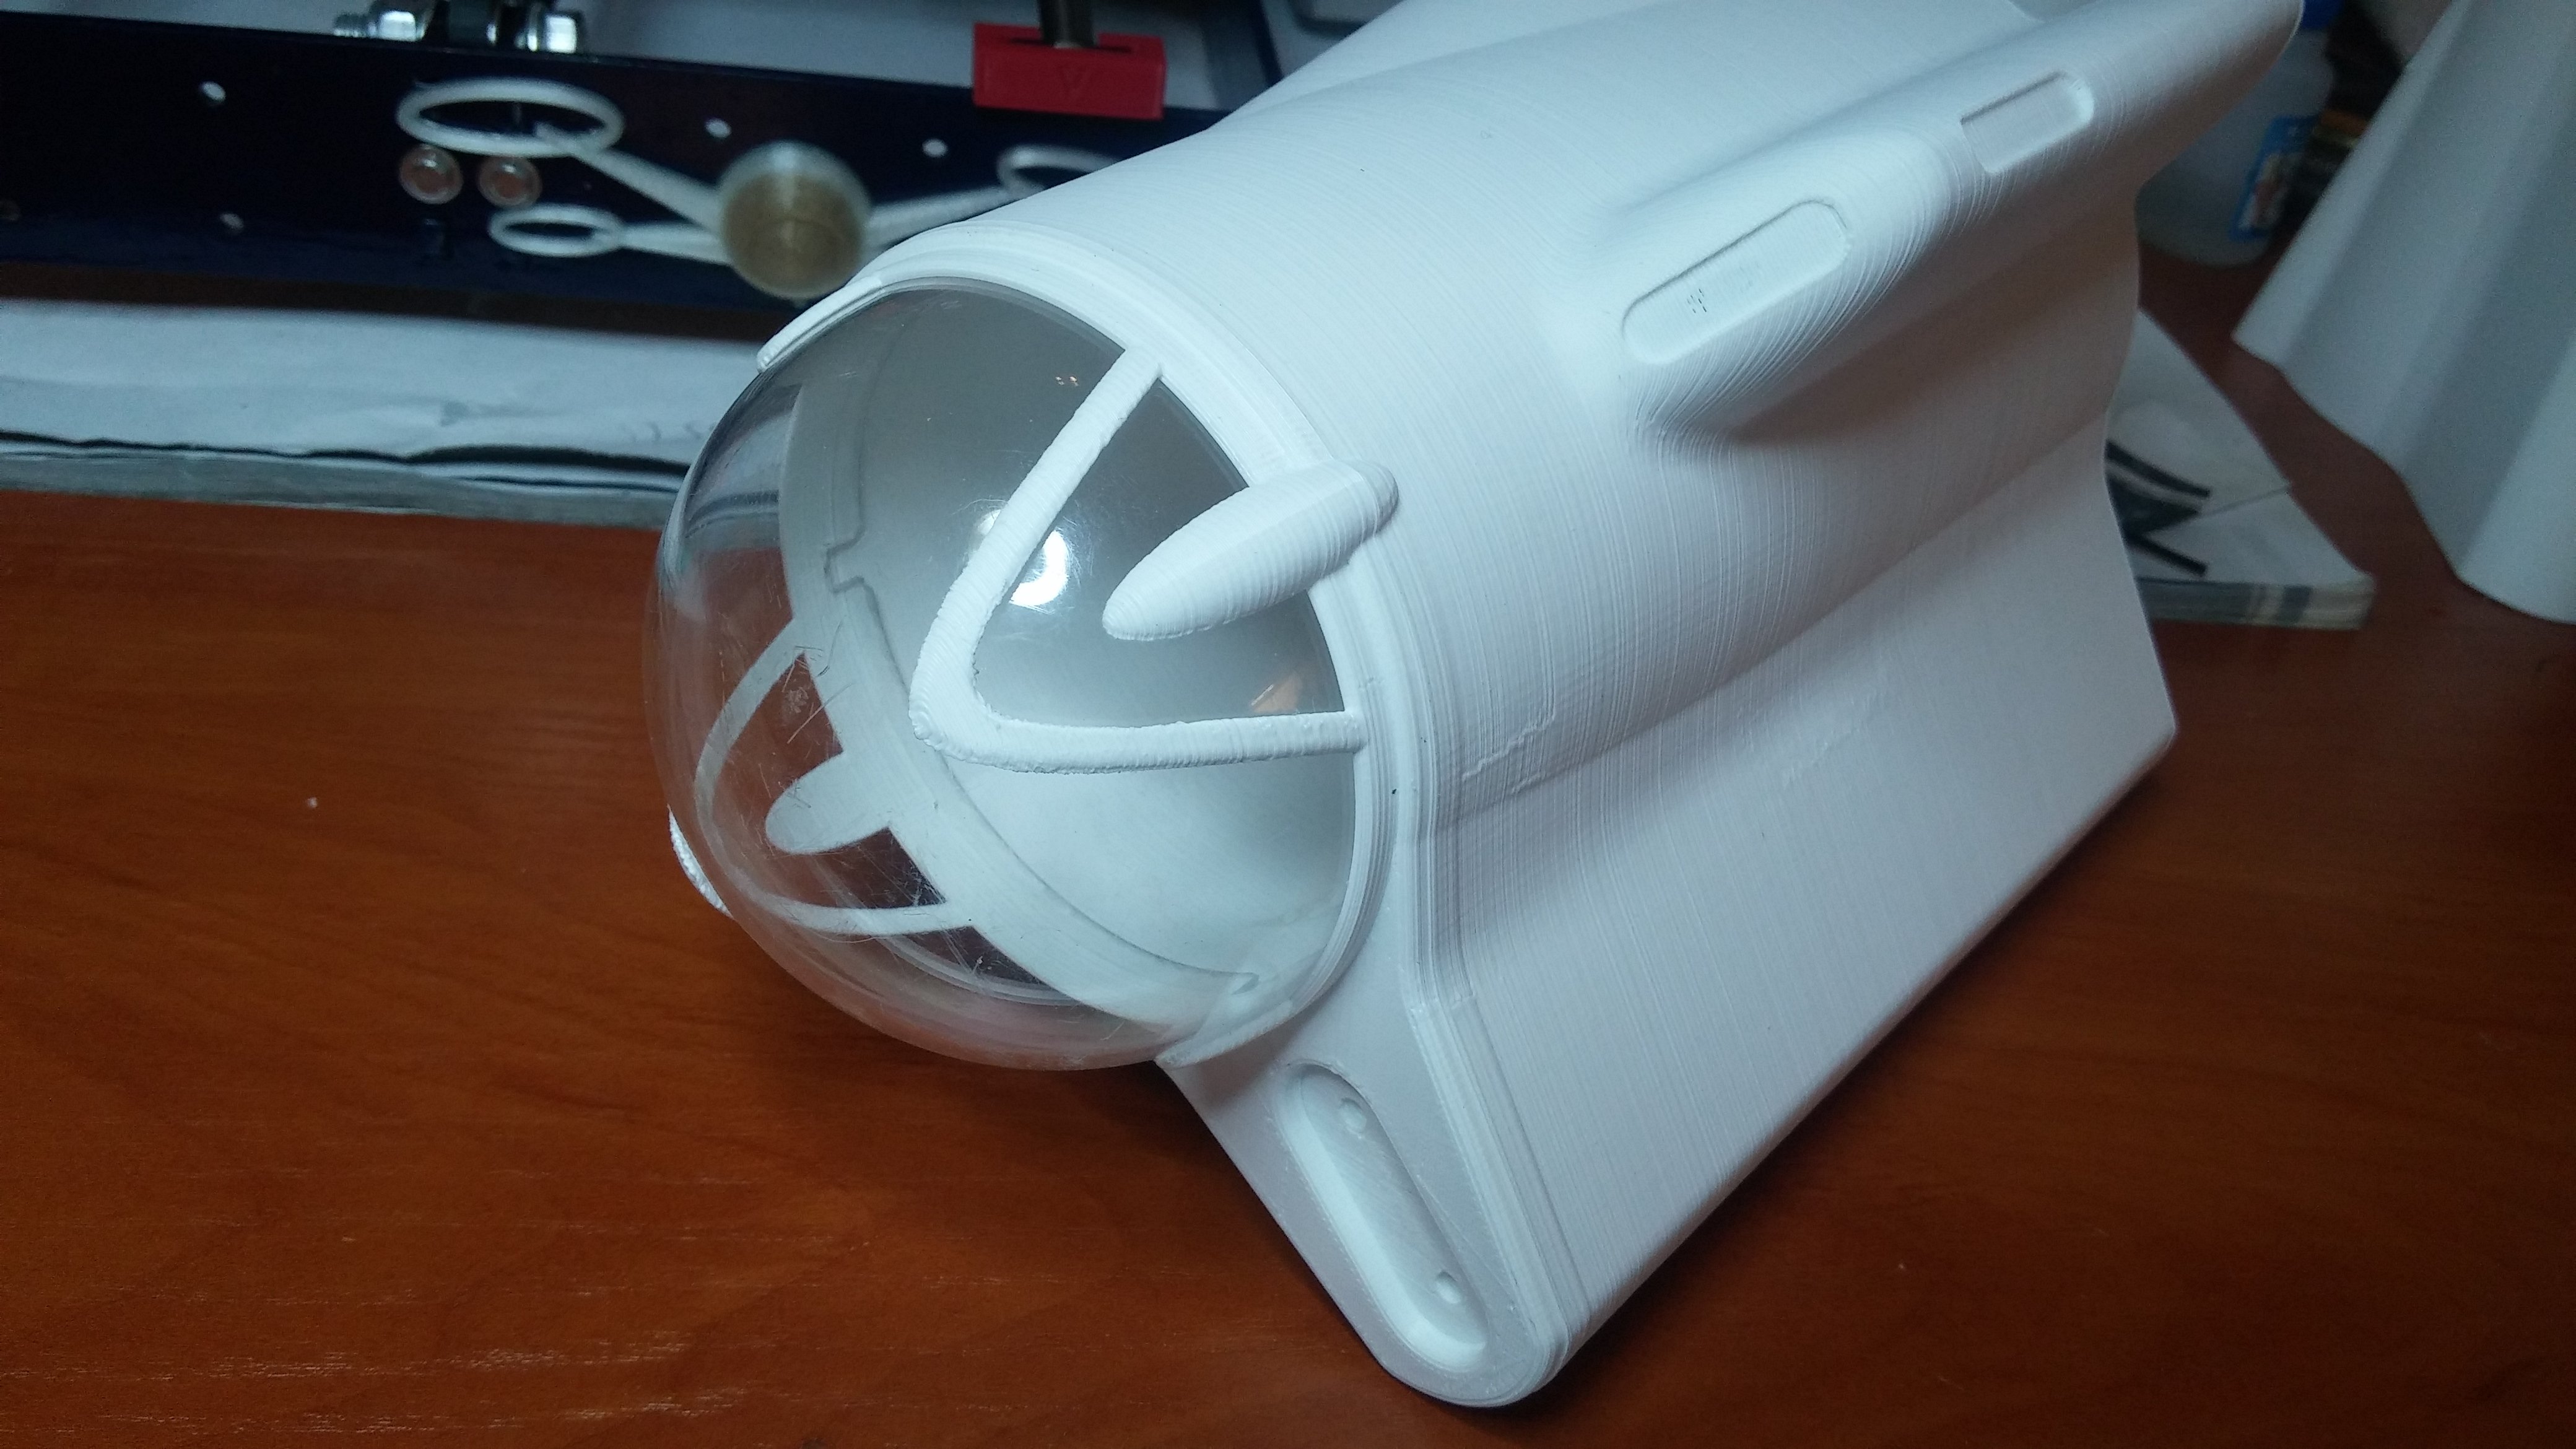
Assembly is pretty straightforward - take four parts of the hull and glue them together. Then glue the coupling to the tail end of the hull.
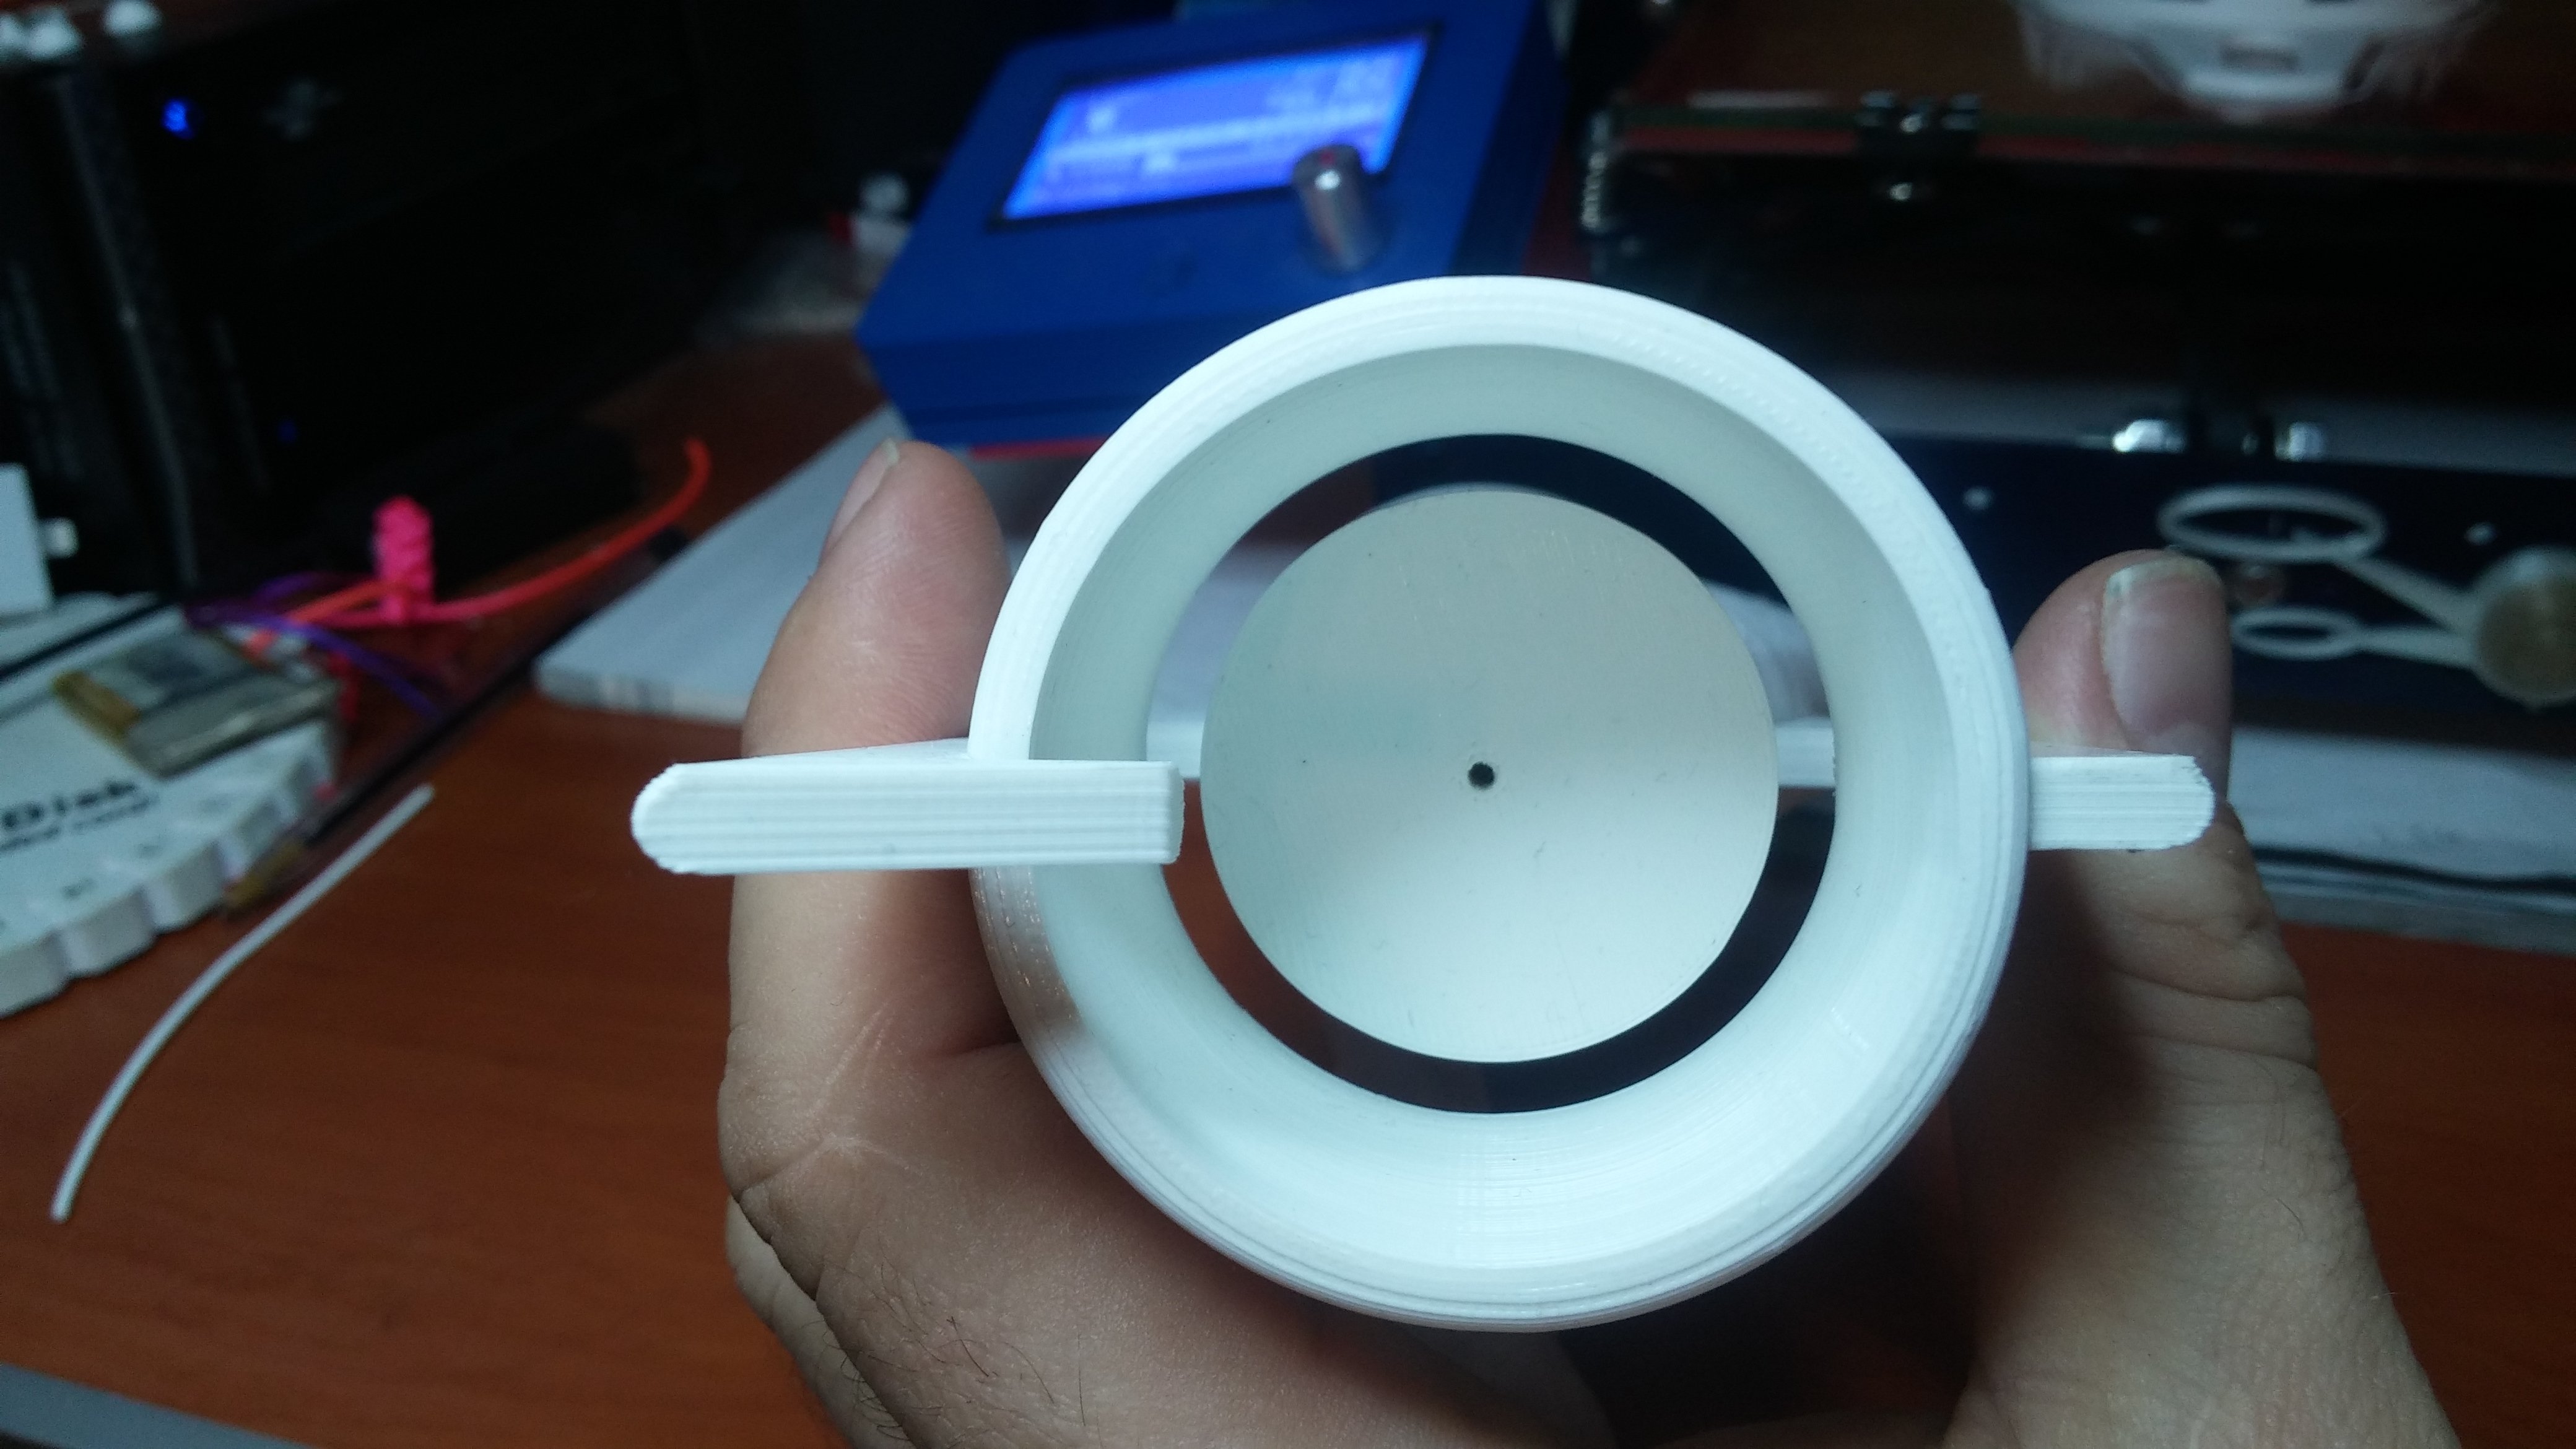
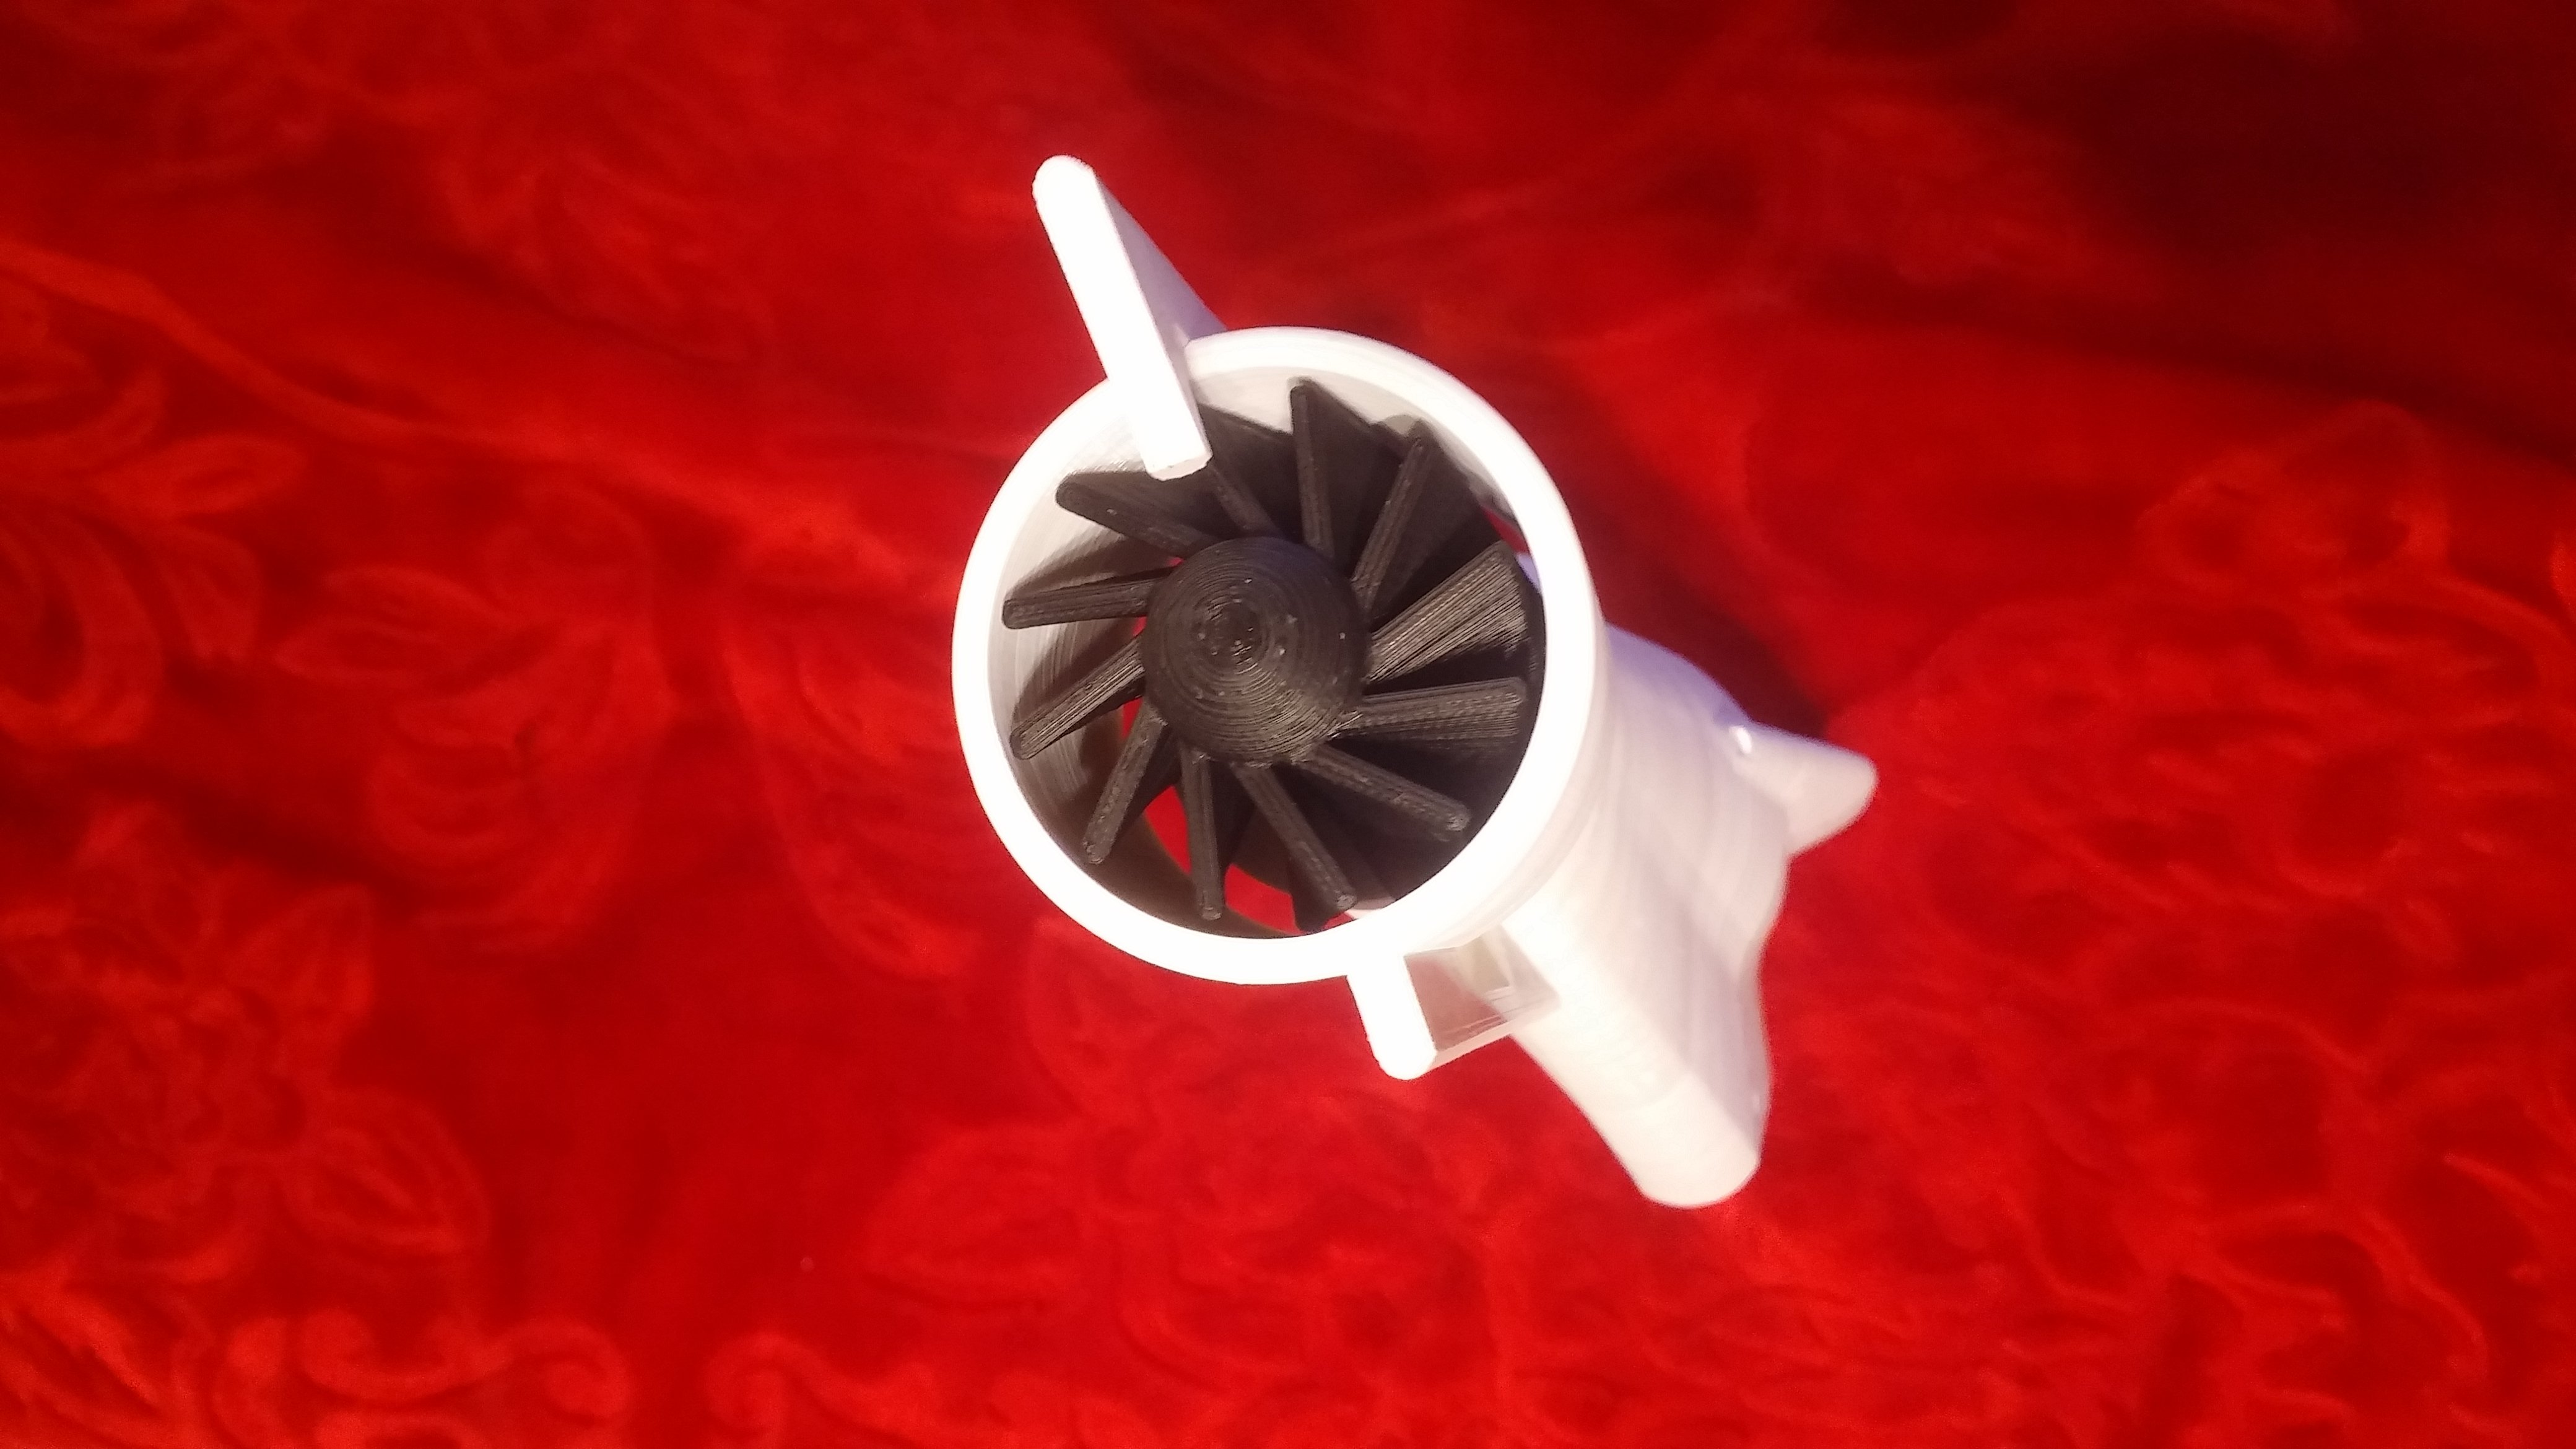
There's a hole in the coupling - You can put small piece of 1.75mm filament inside to act as a shaft for impeller rotor, use the hole as a guide to drill bigger one for real shaft (if You want to add motor) or just ignore it and glue impeller directly to the coupling.
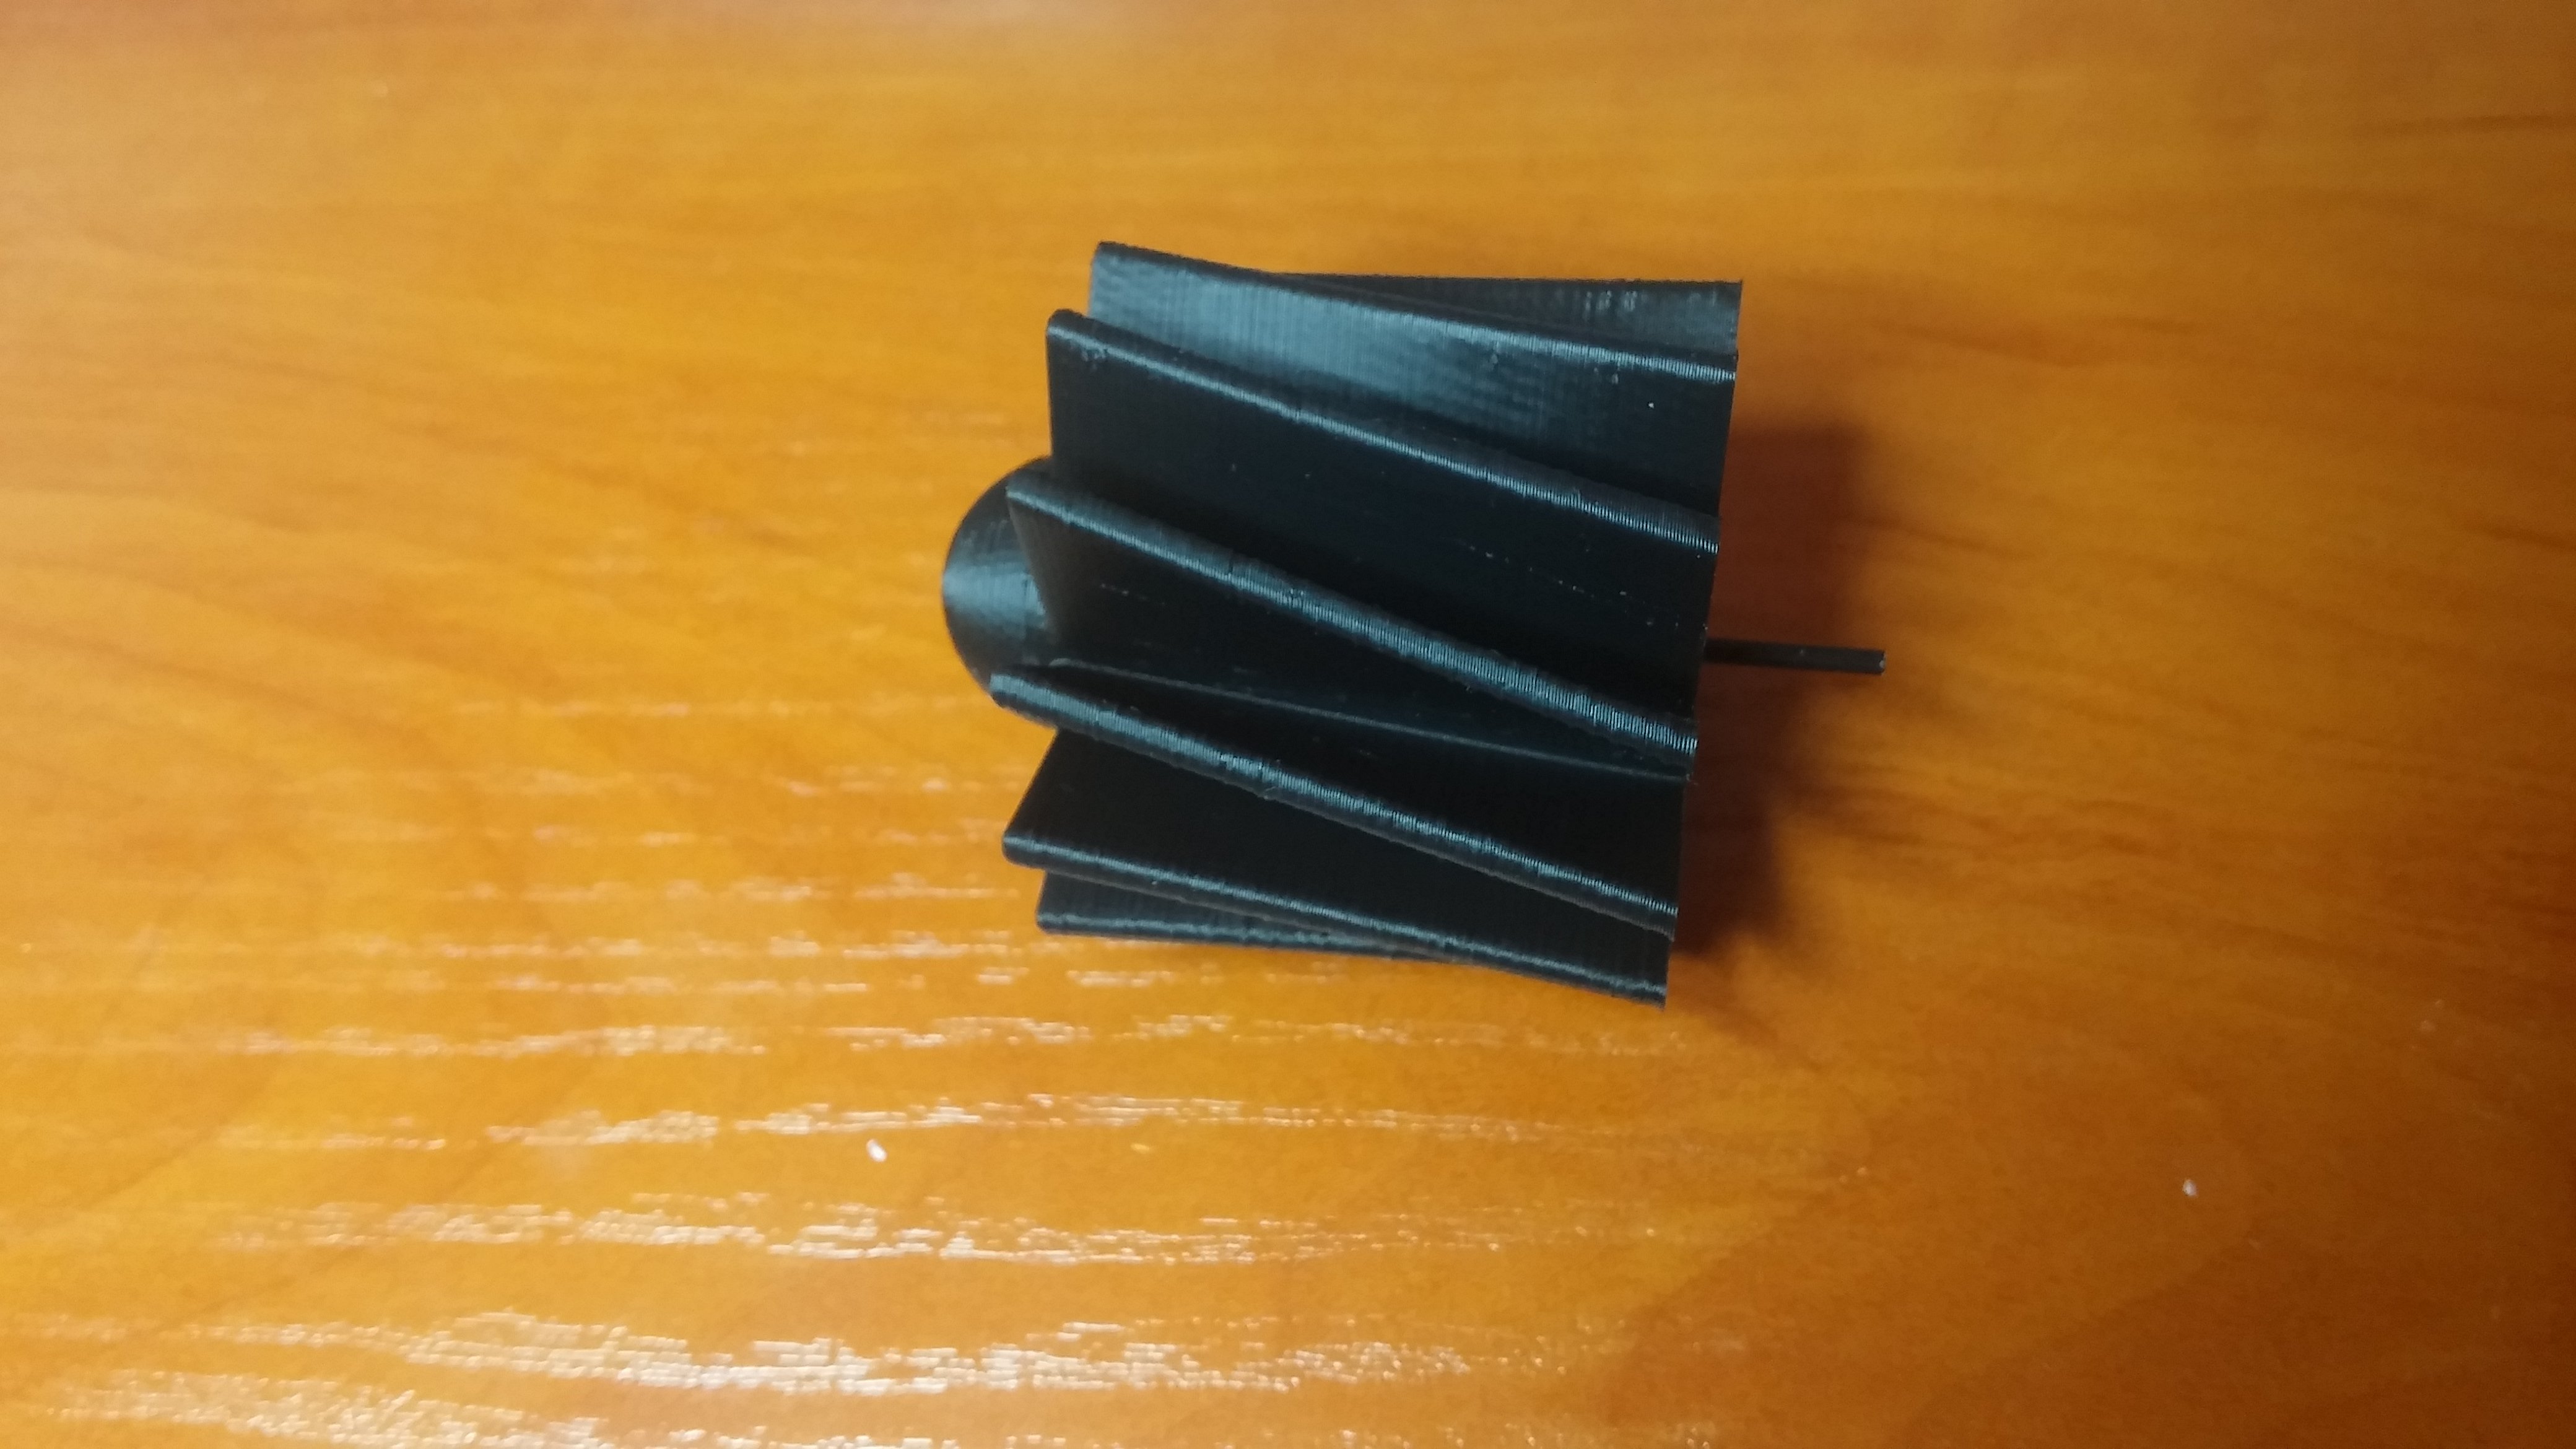
Then glue bottom fin to the hull, put impeller cover onto impeller rotor and glue it to the bottom fin. Then add upper fin. Don't worry if You make a mistake and glue fins and impeller cover first (like I did). Impeller rotor will fit anyway, just slide it carefully in.
Motors:
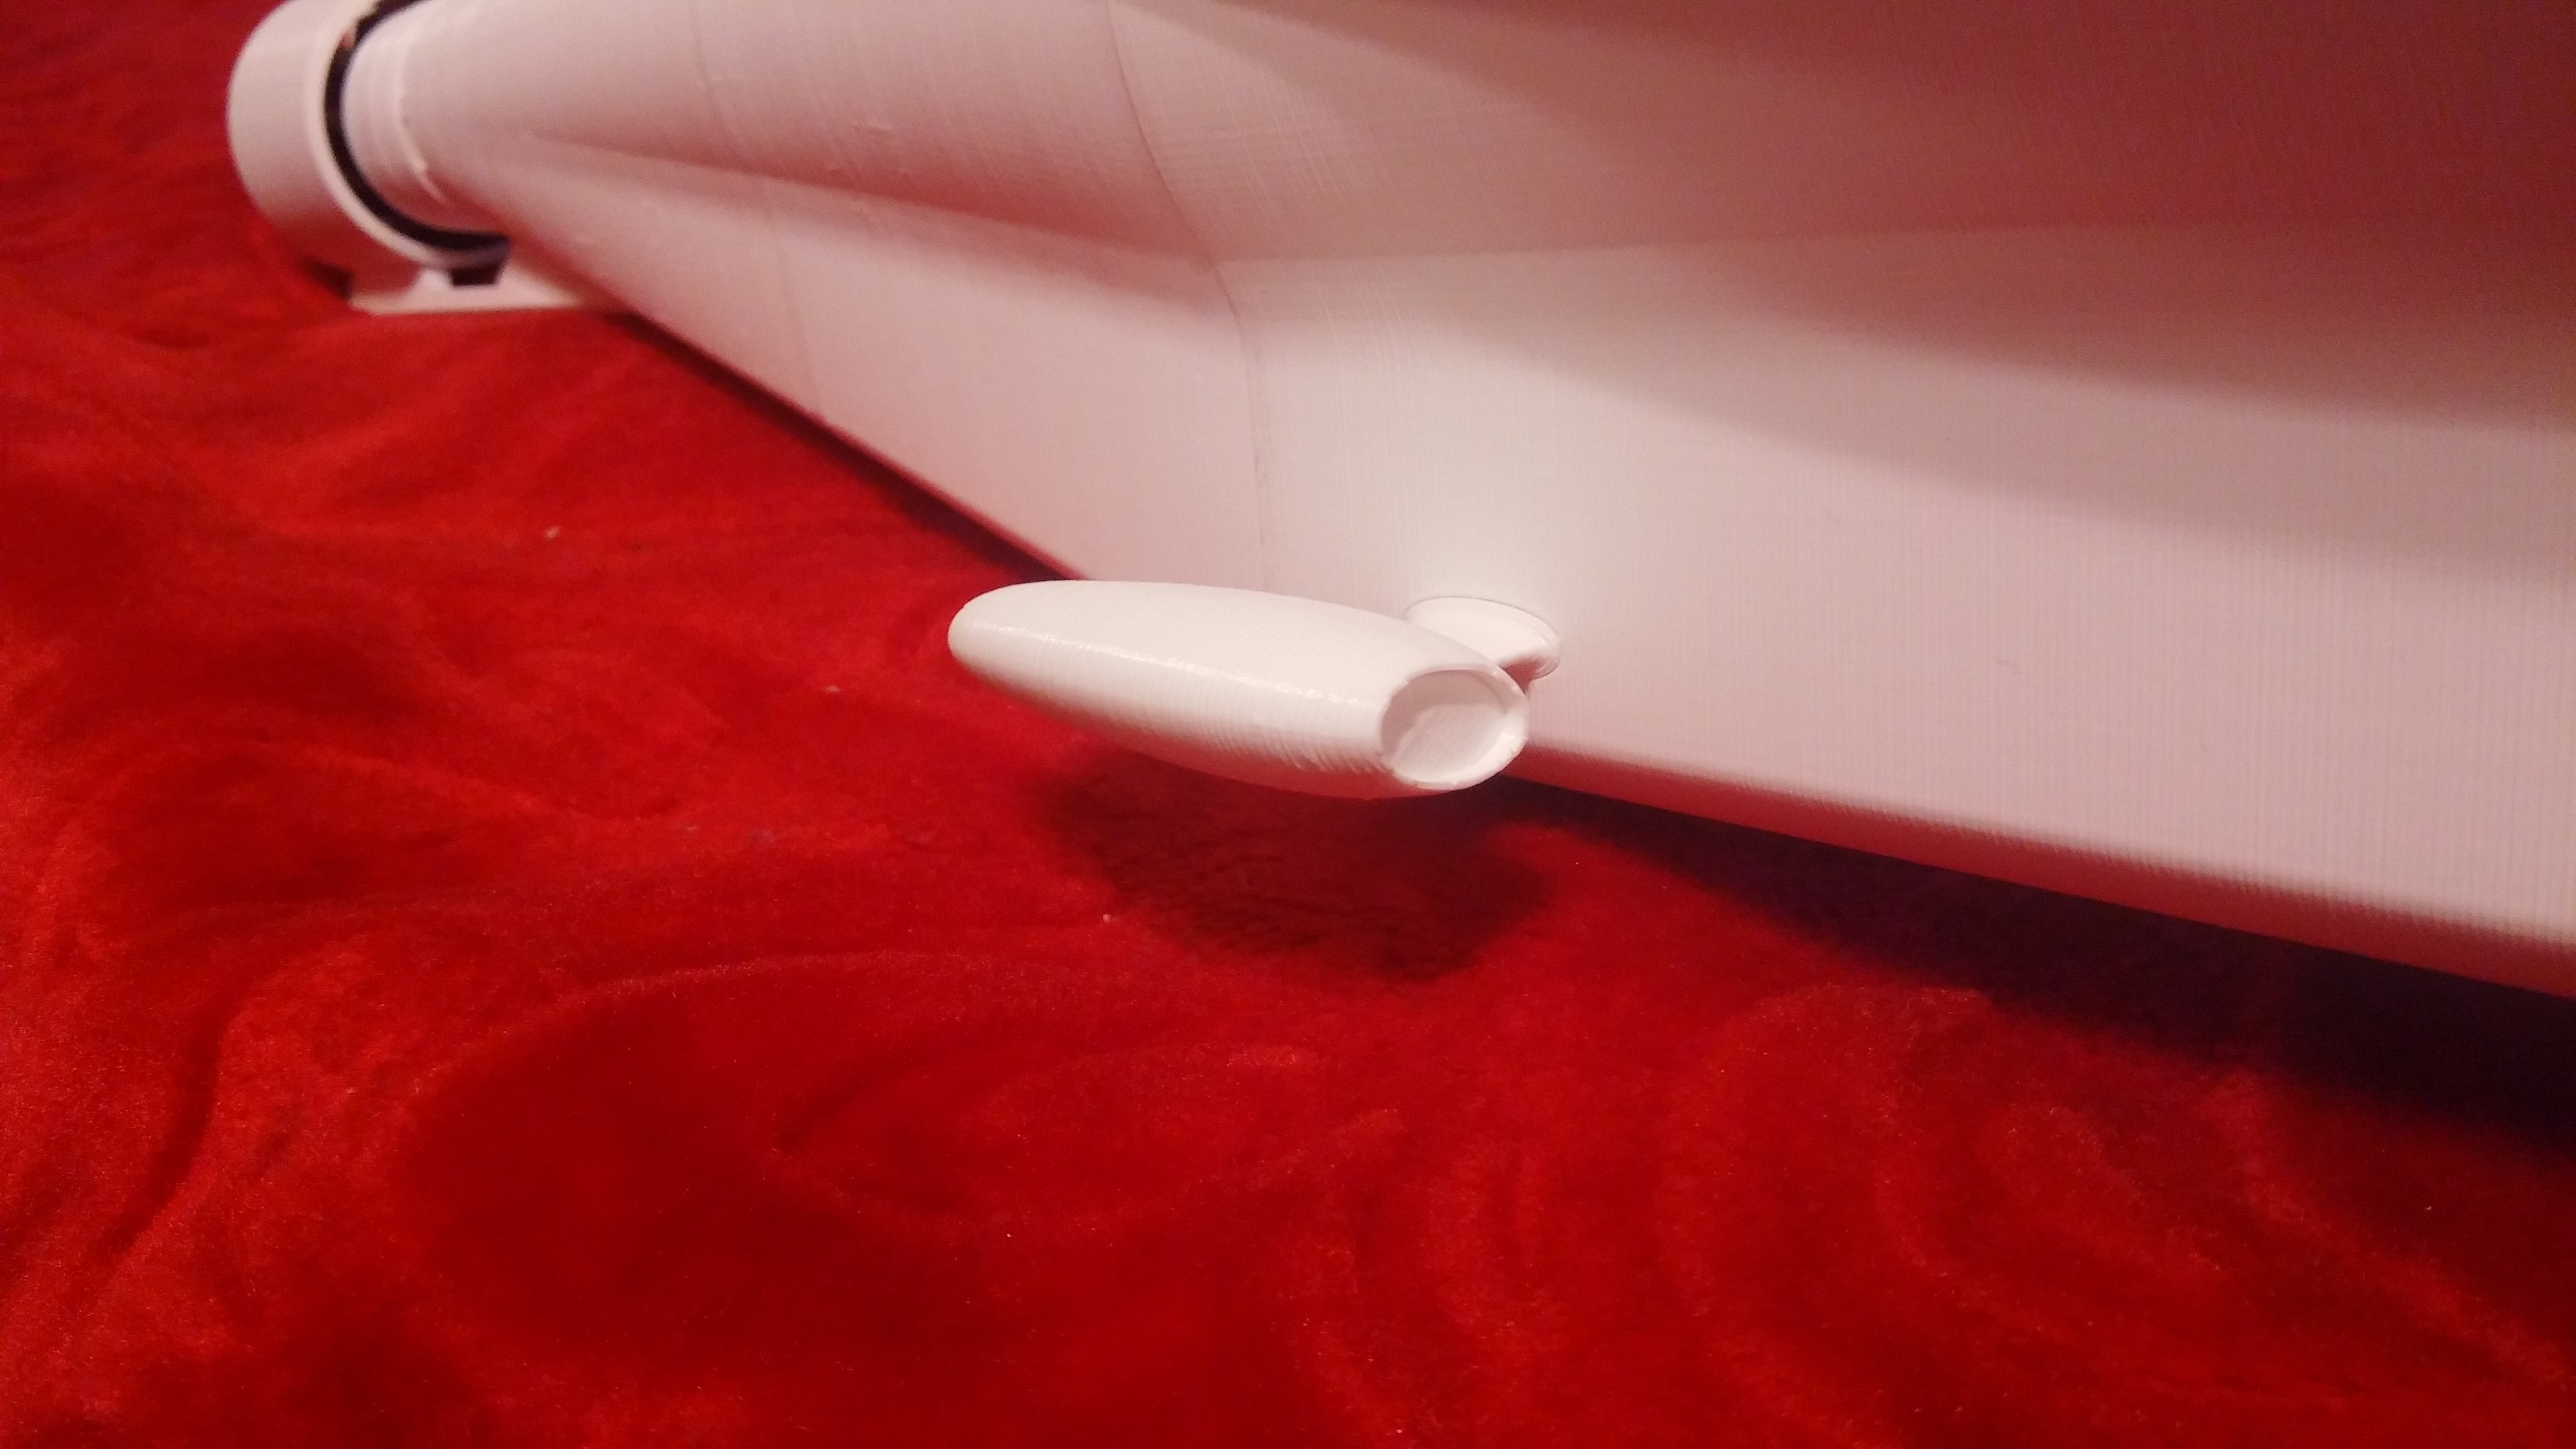
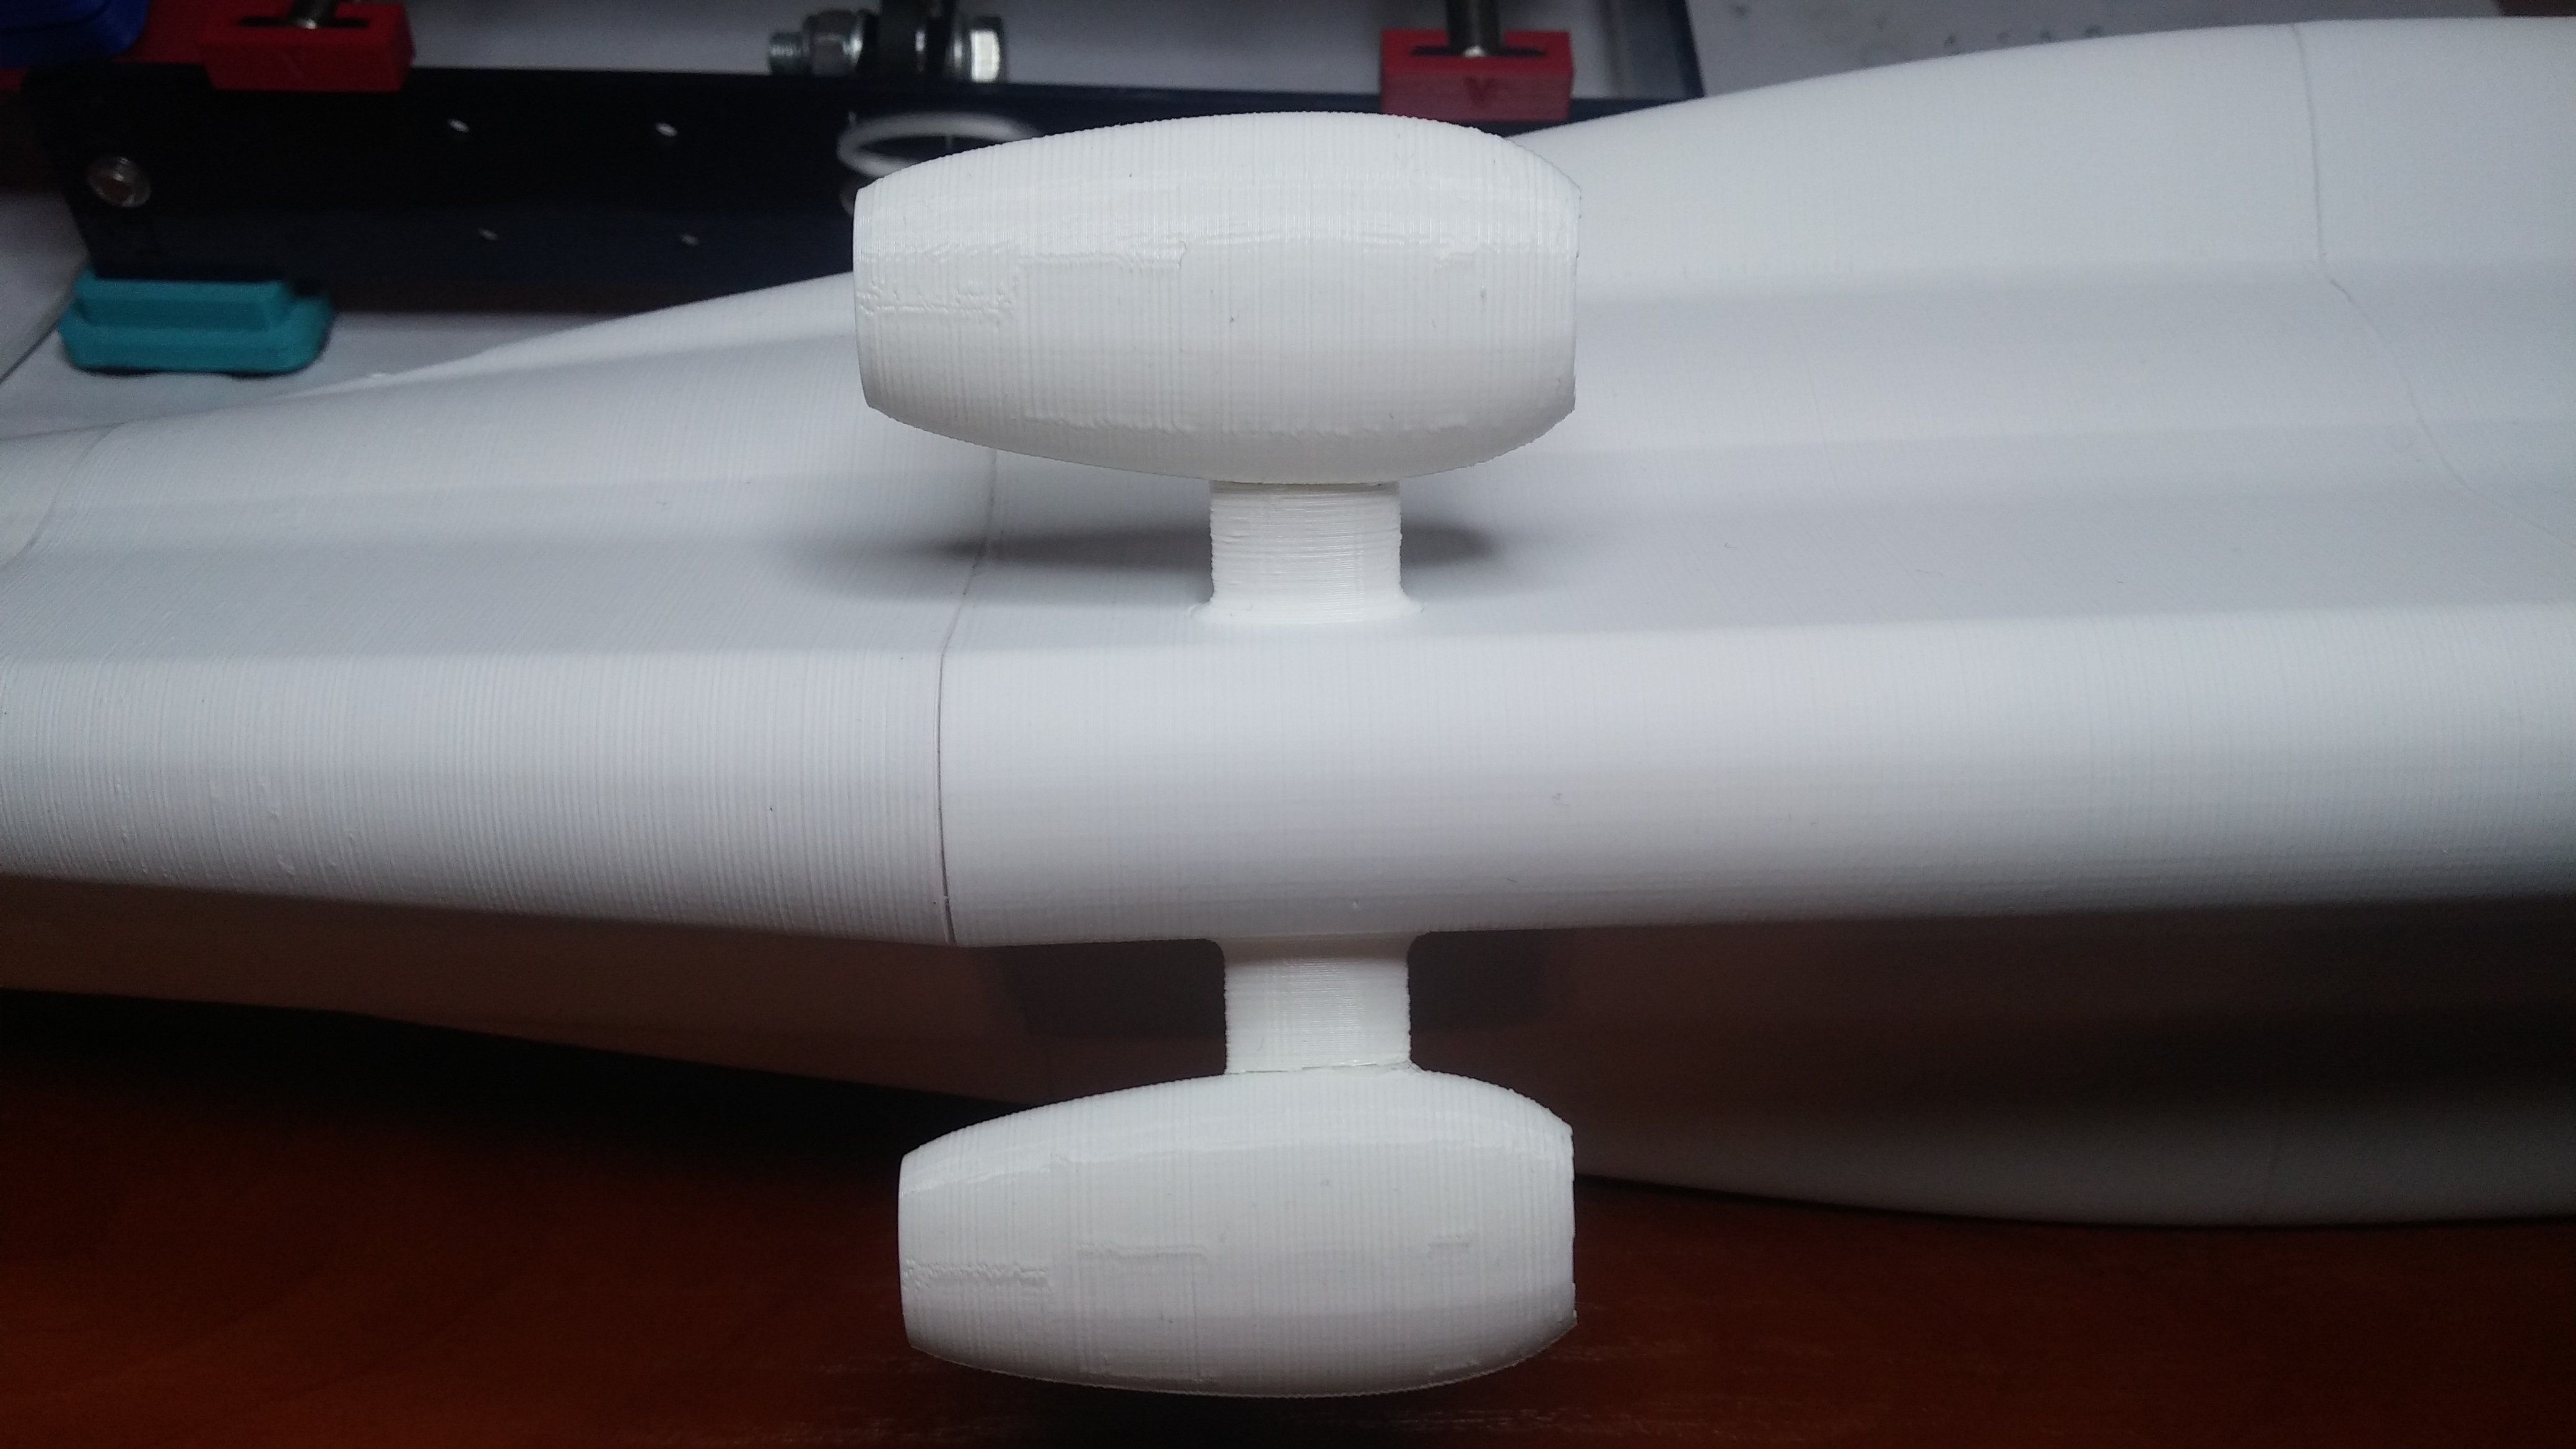
Nothing extraordinary here - just glue pylons to the hull

Then add motors and that's it
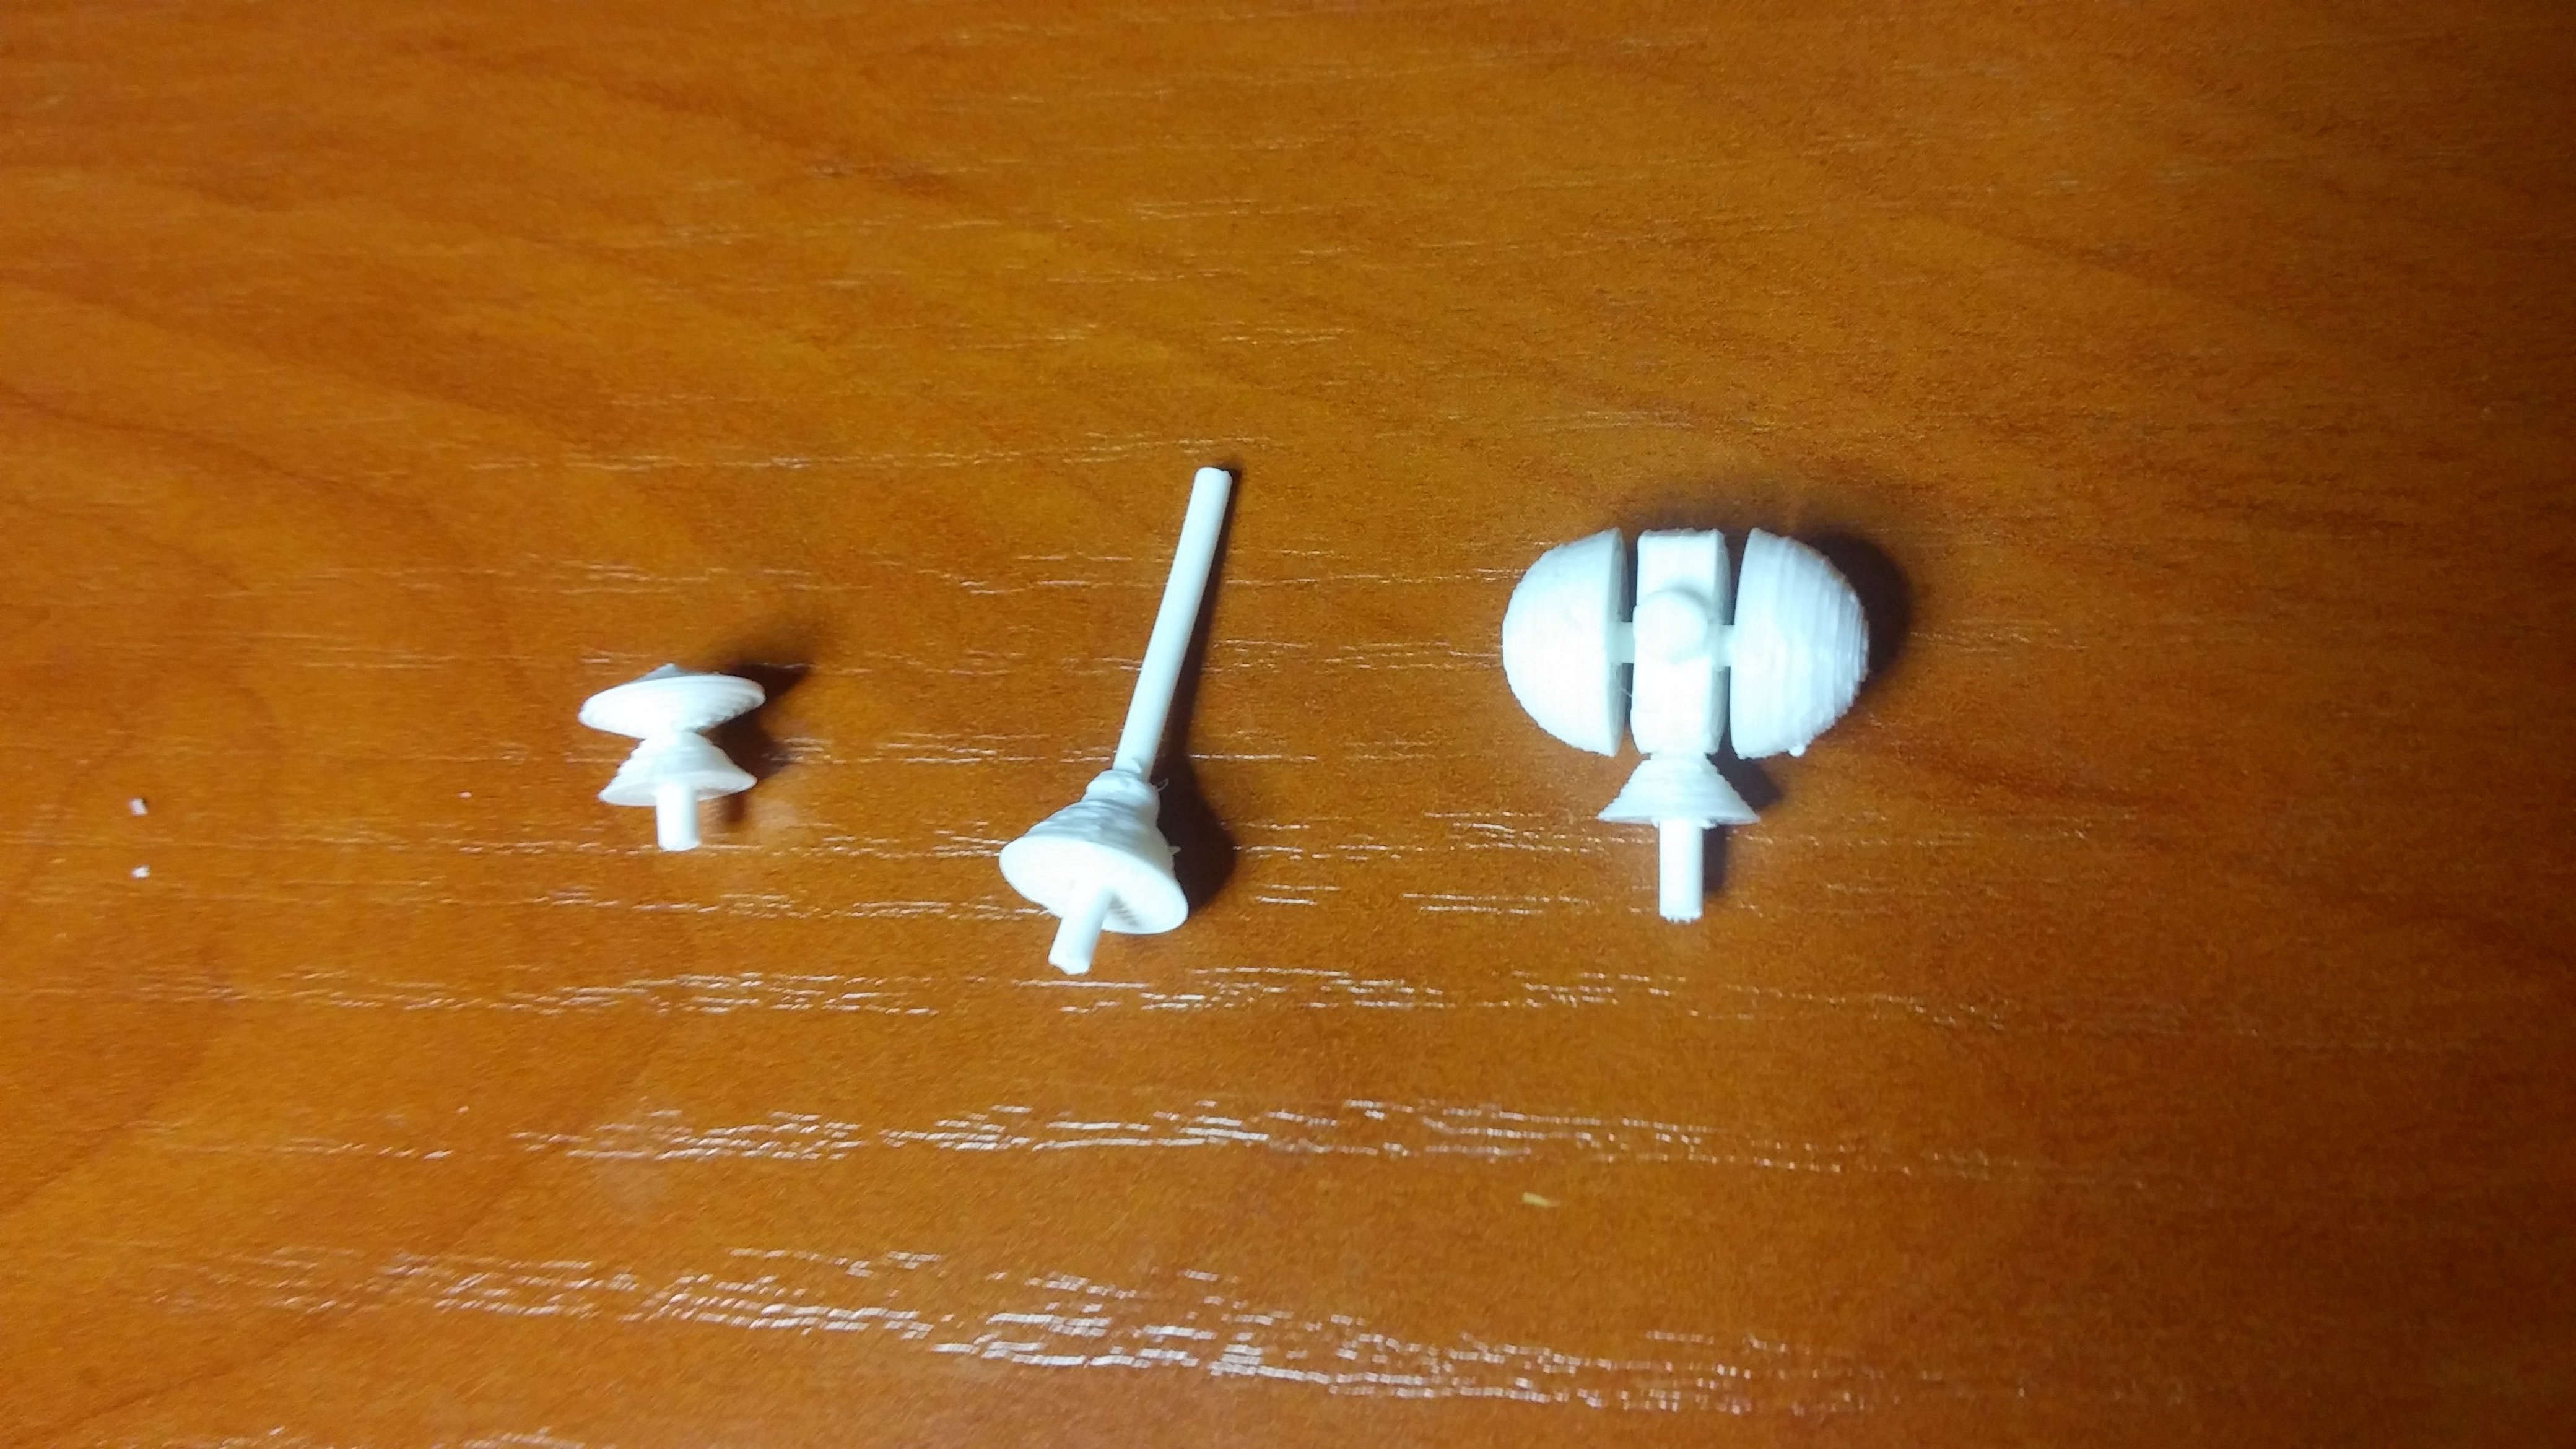
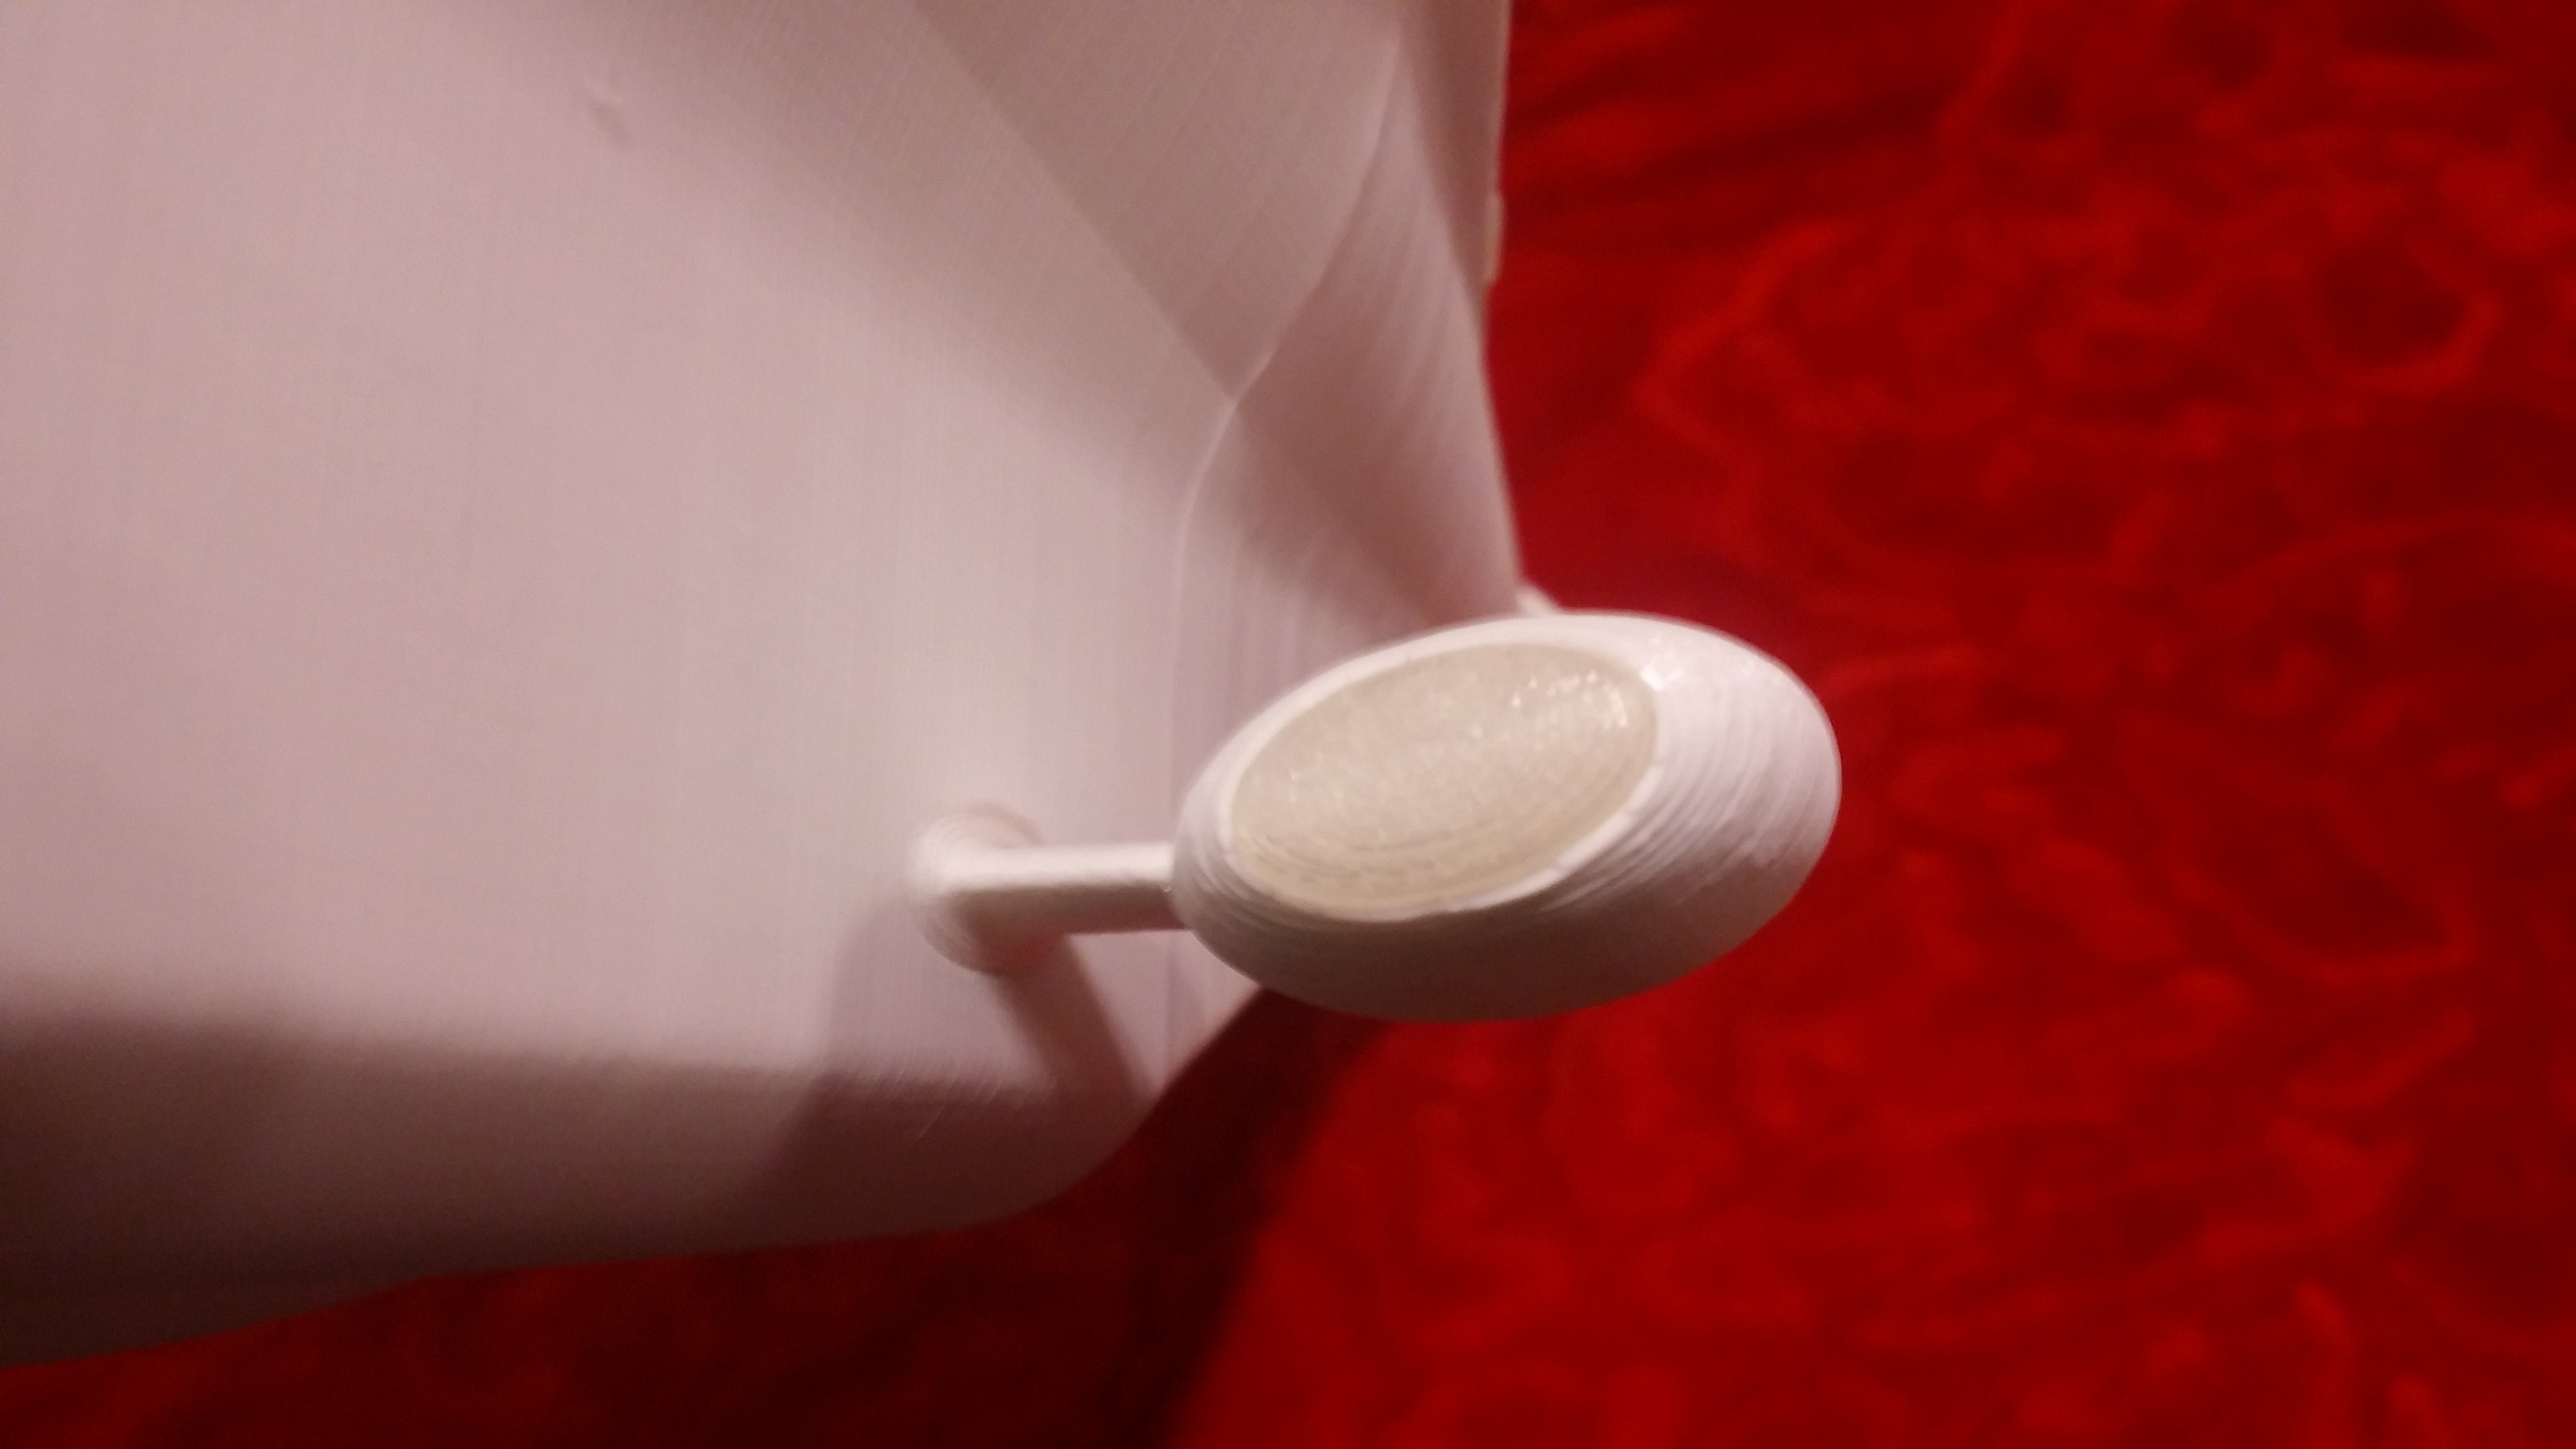
Kiosk
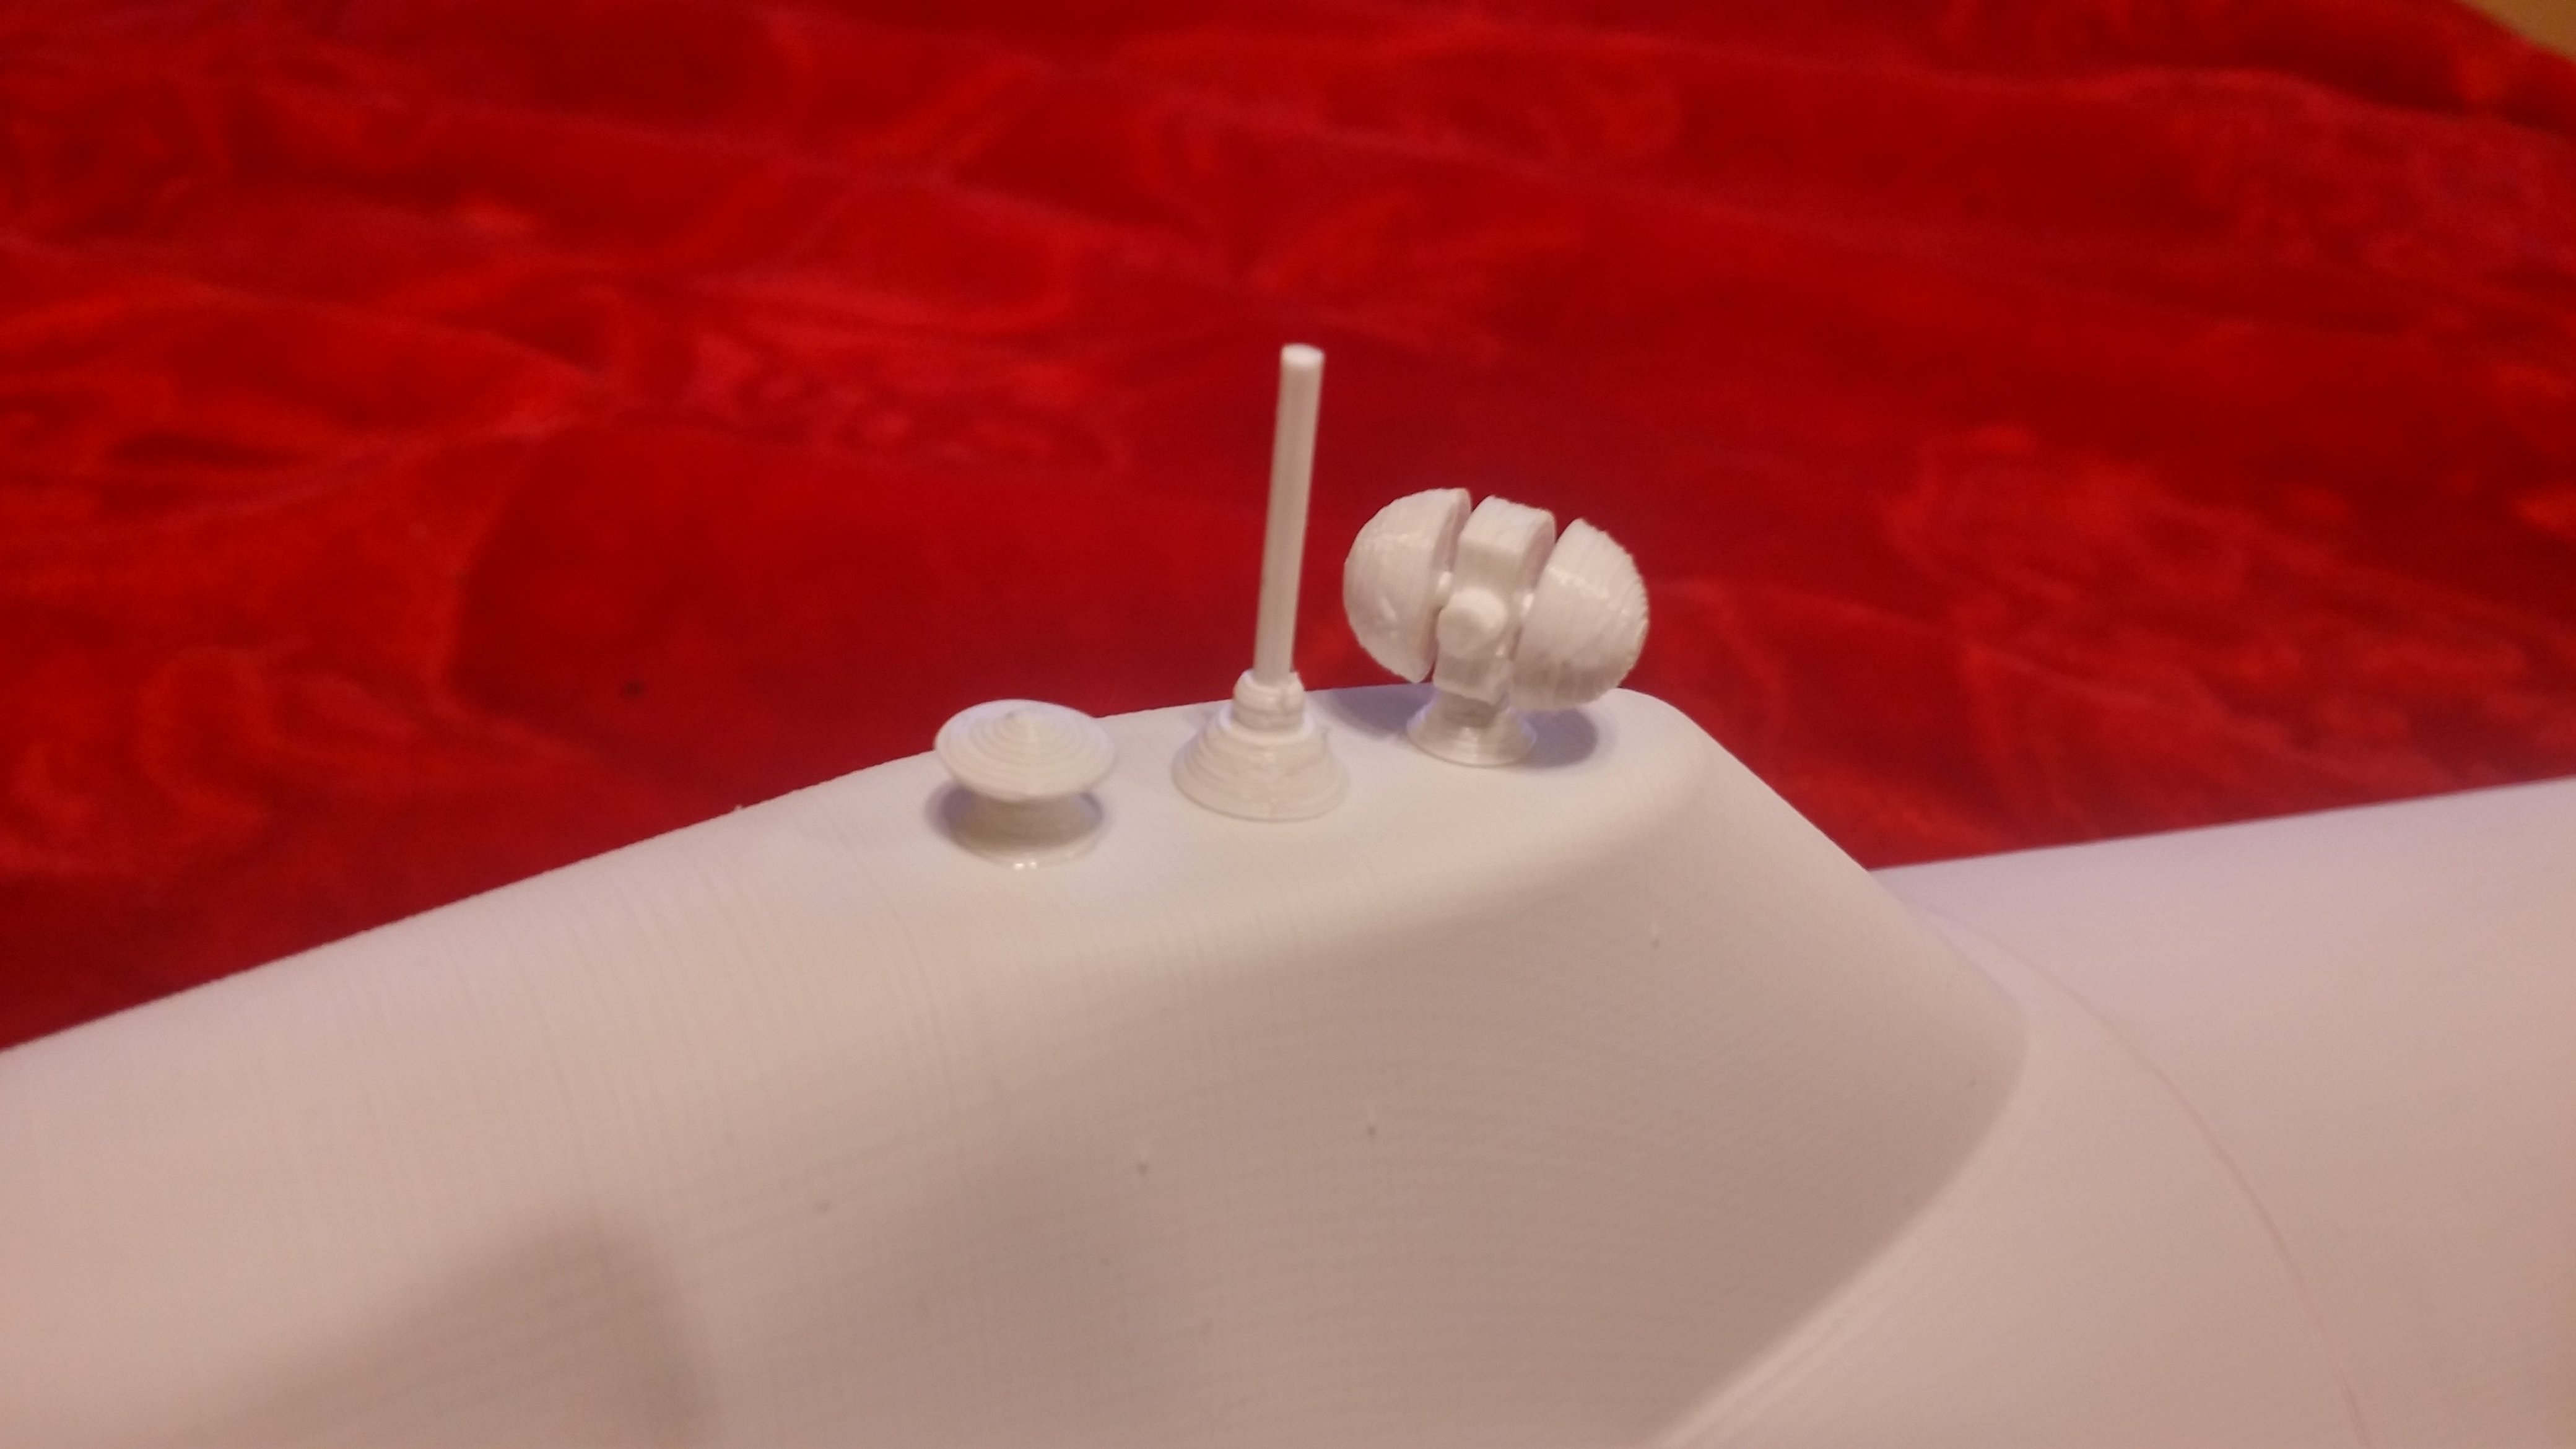
There are 3 items on the kiosk - radar/sonar, antenna and camera. Use pieces of 1,75mm as shafts for everything and as the antenna.

Front - acrylic dome has 77mm outer diameter. You can get one from Aliexpress, Ebay or some security store.
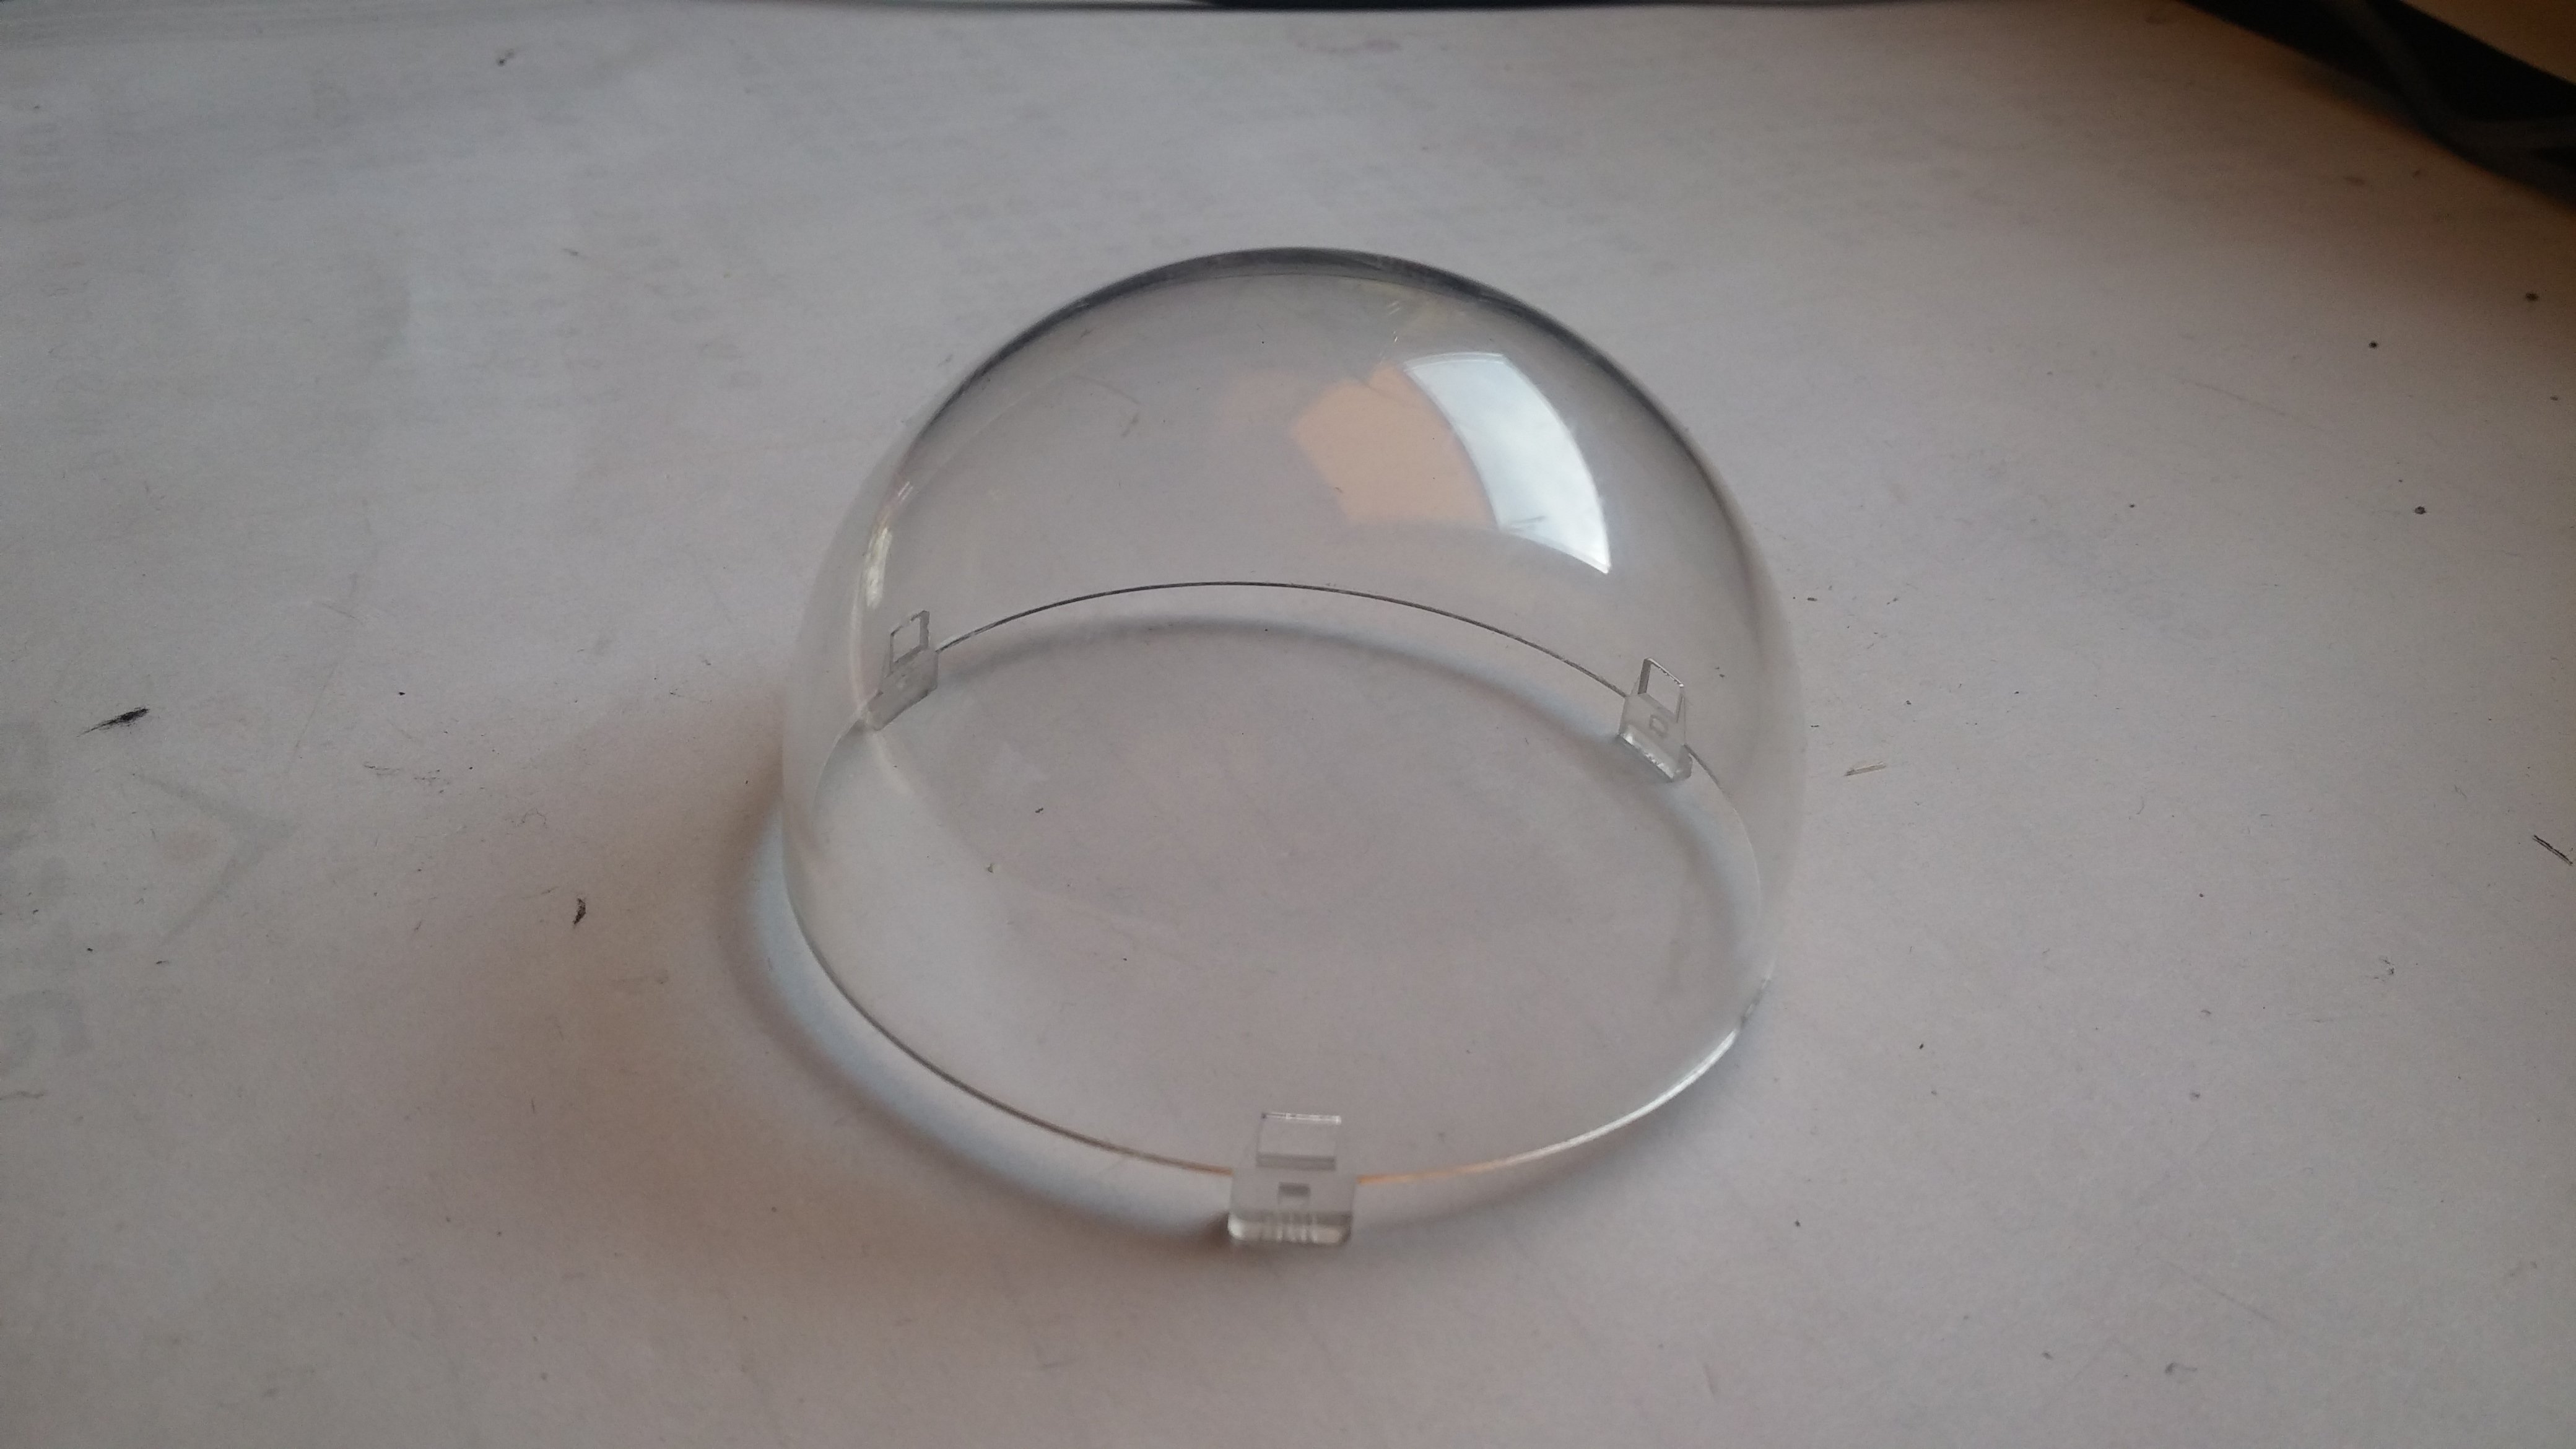
Alternatively You can print shelled hemisphere (file attached) with transparent filament.
Glue it inside front part - careful, I've set very small tolerances. It will fit but very tightly.
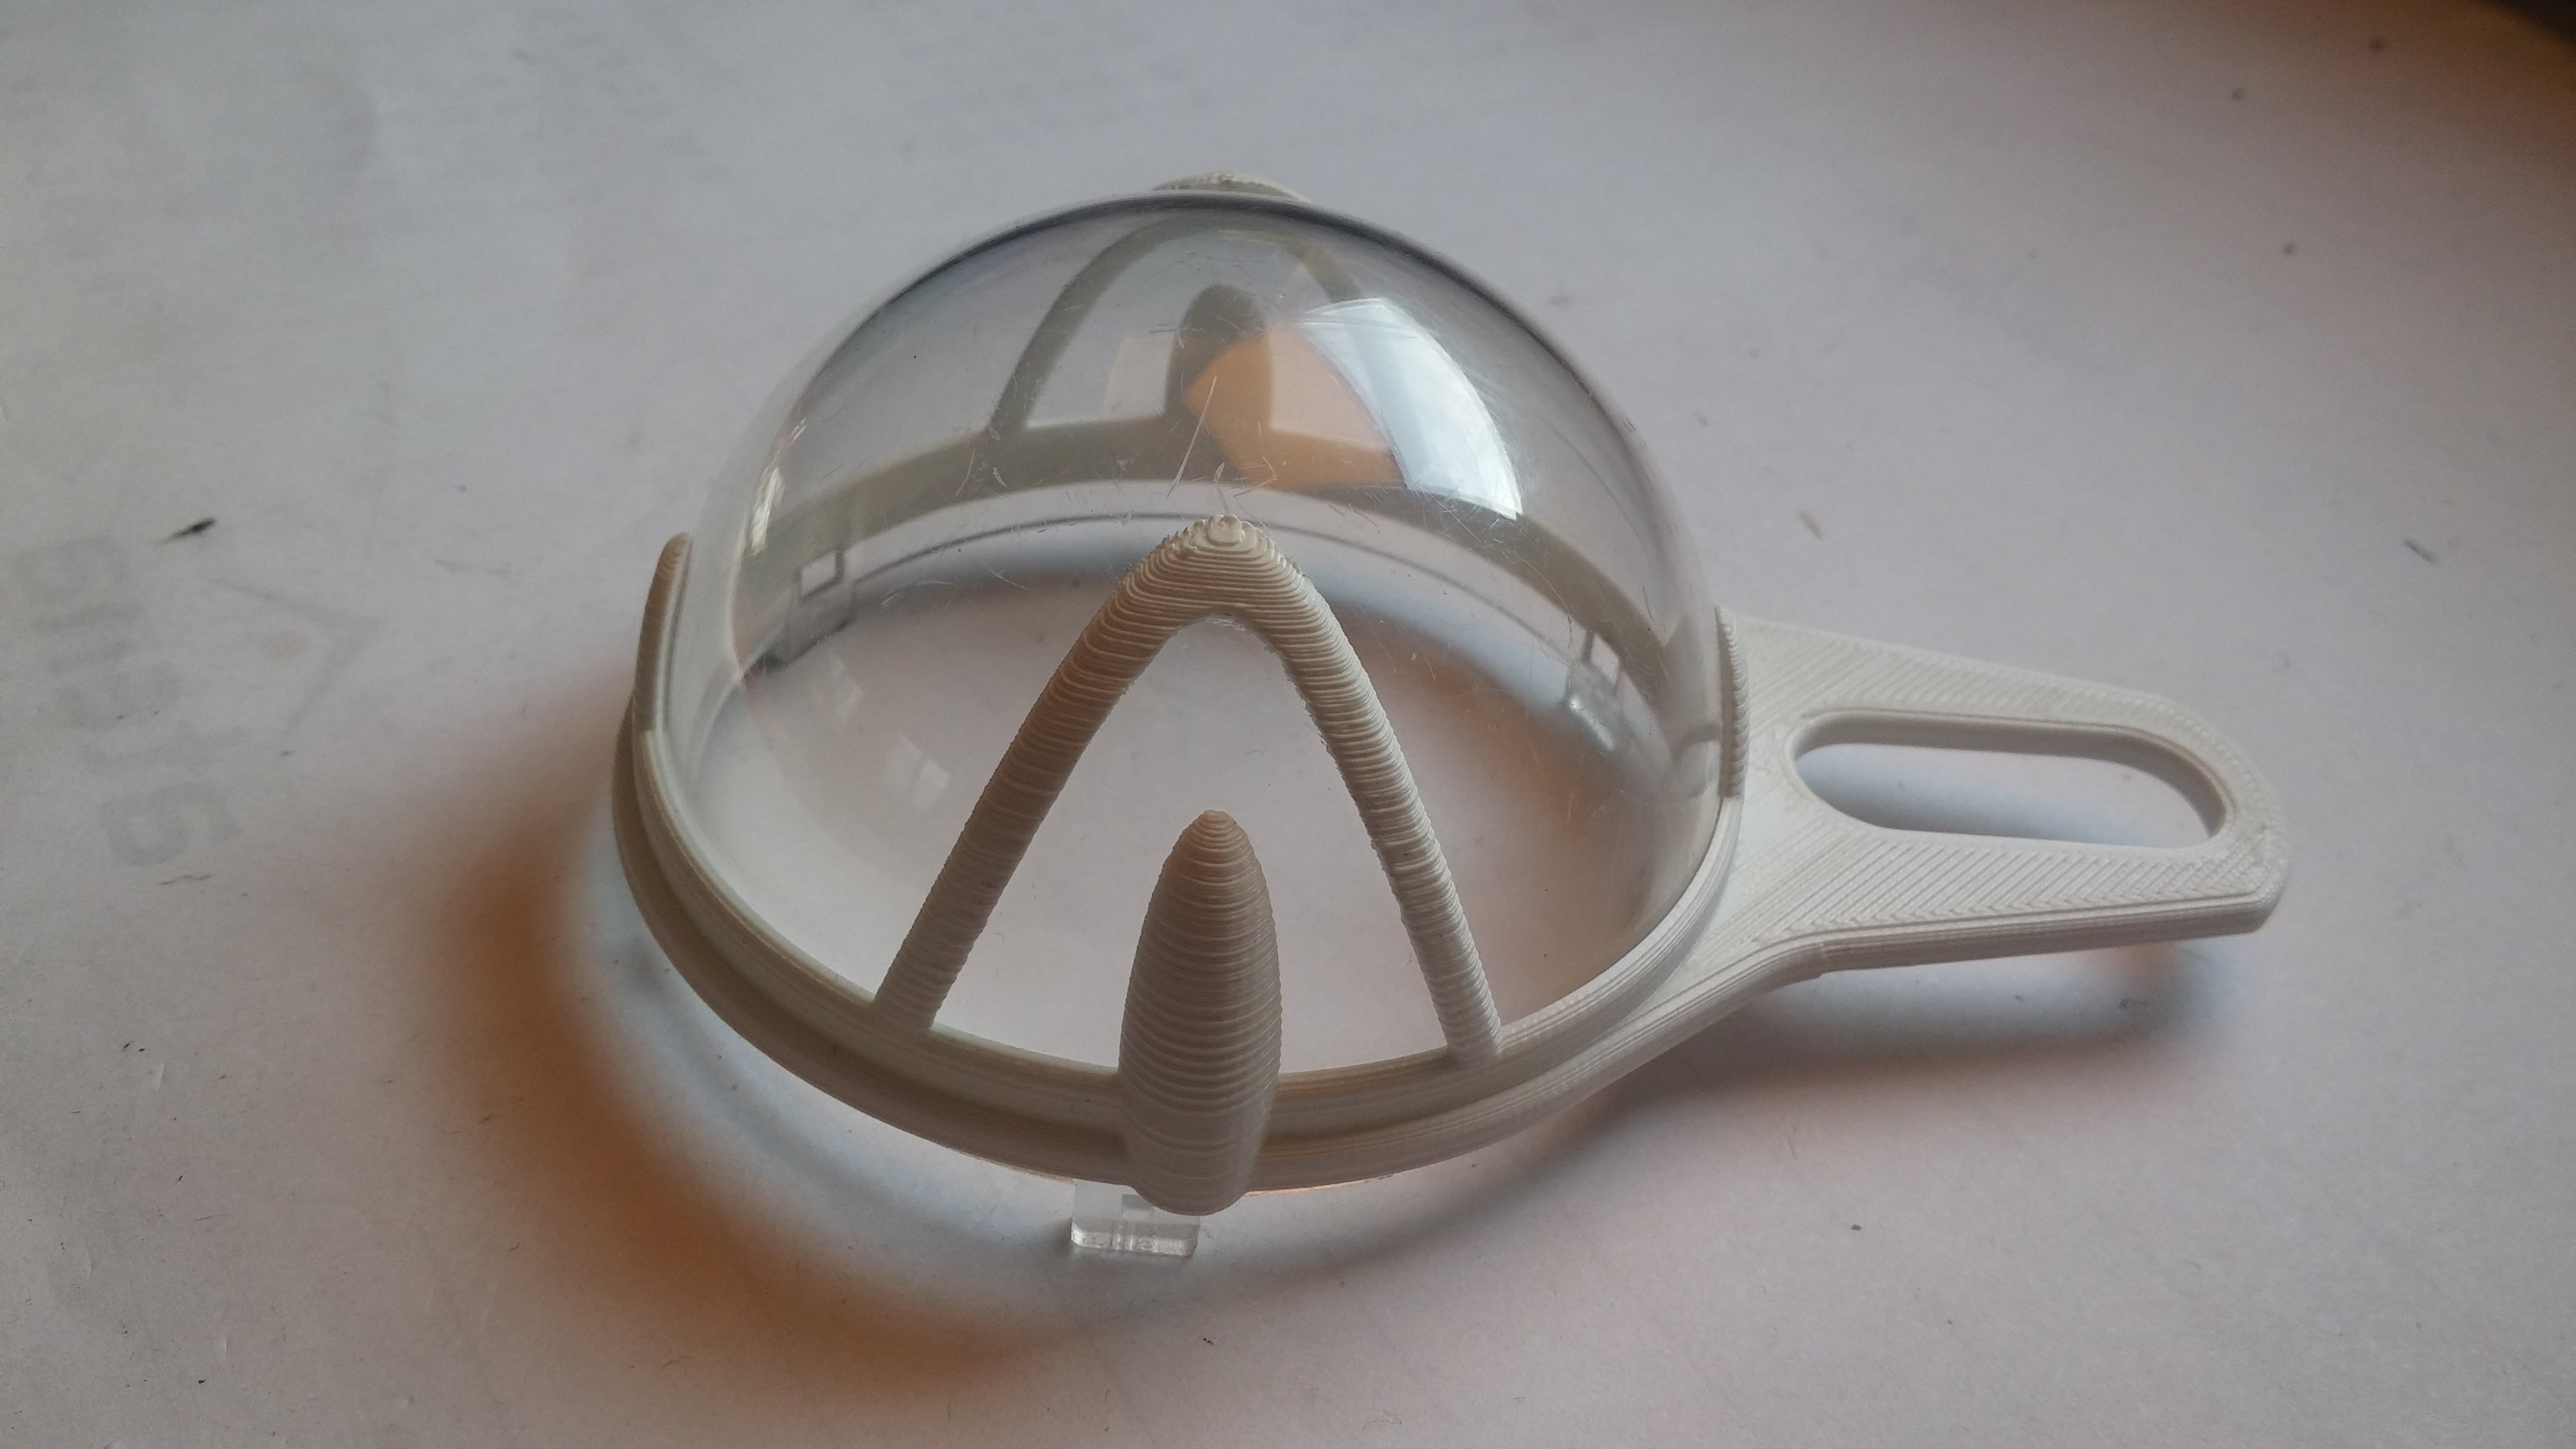
Then fit everything onto the hull - don't glue it to retain access inside.
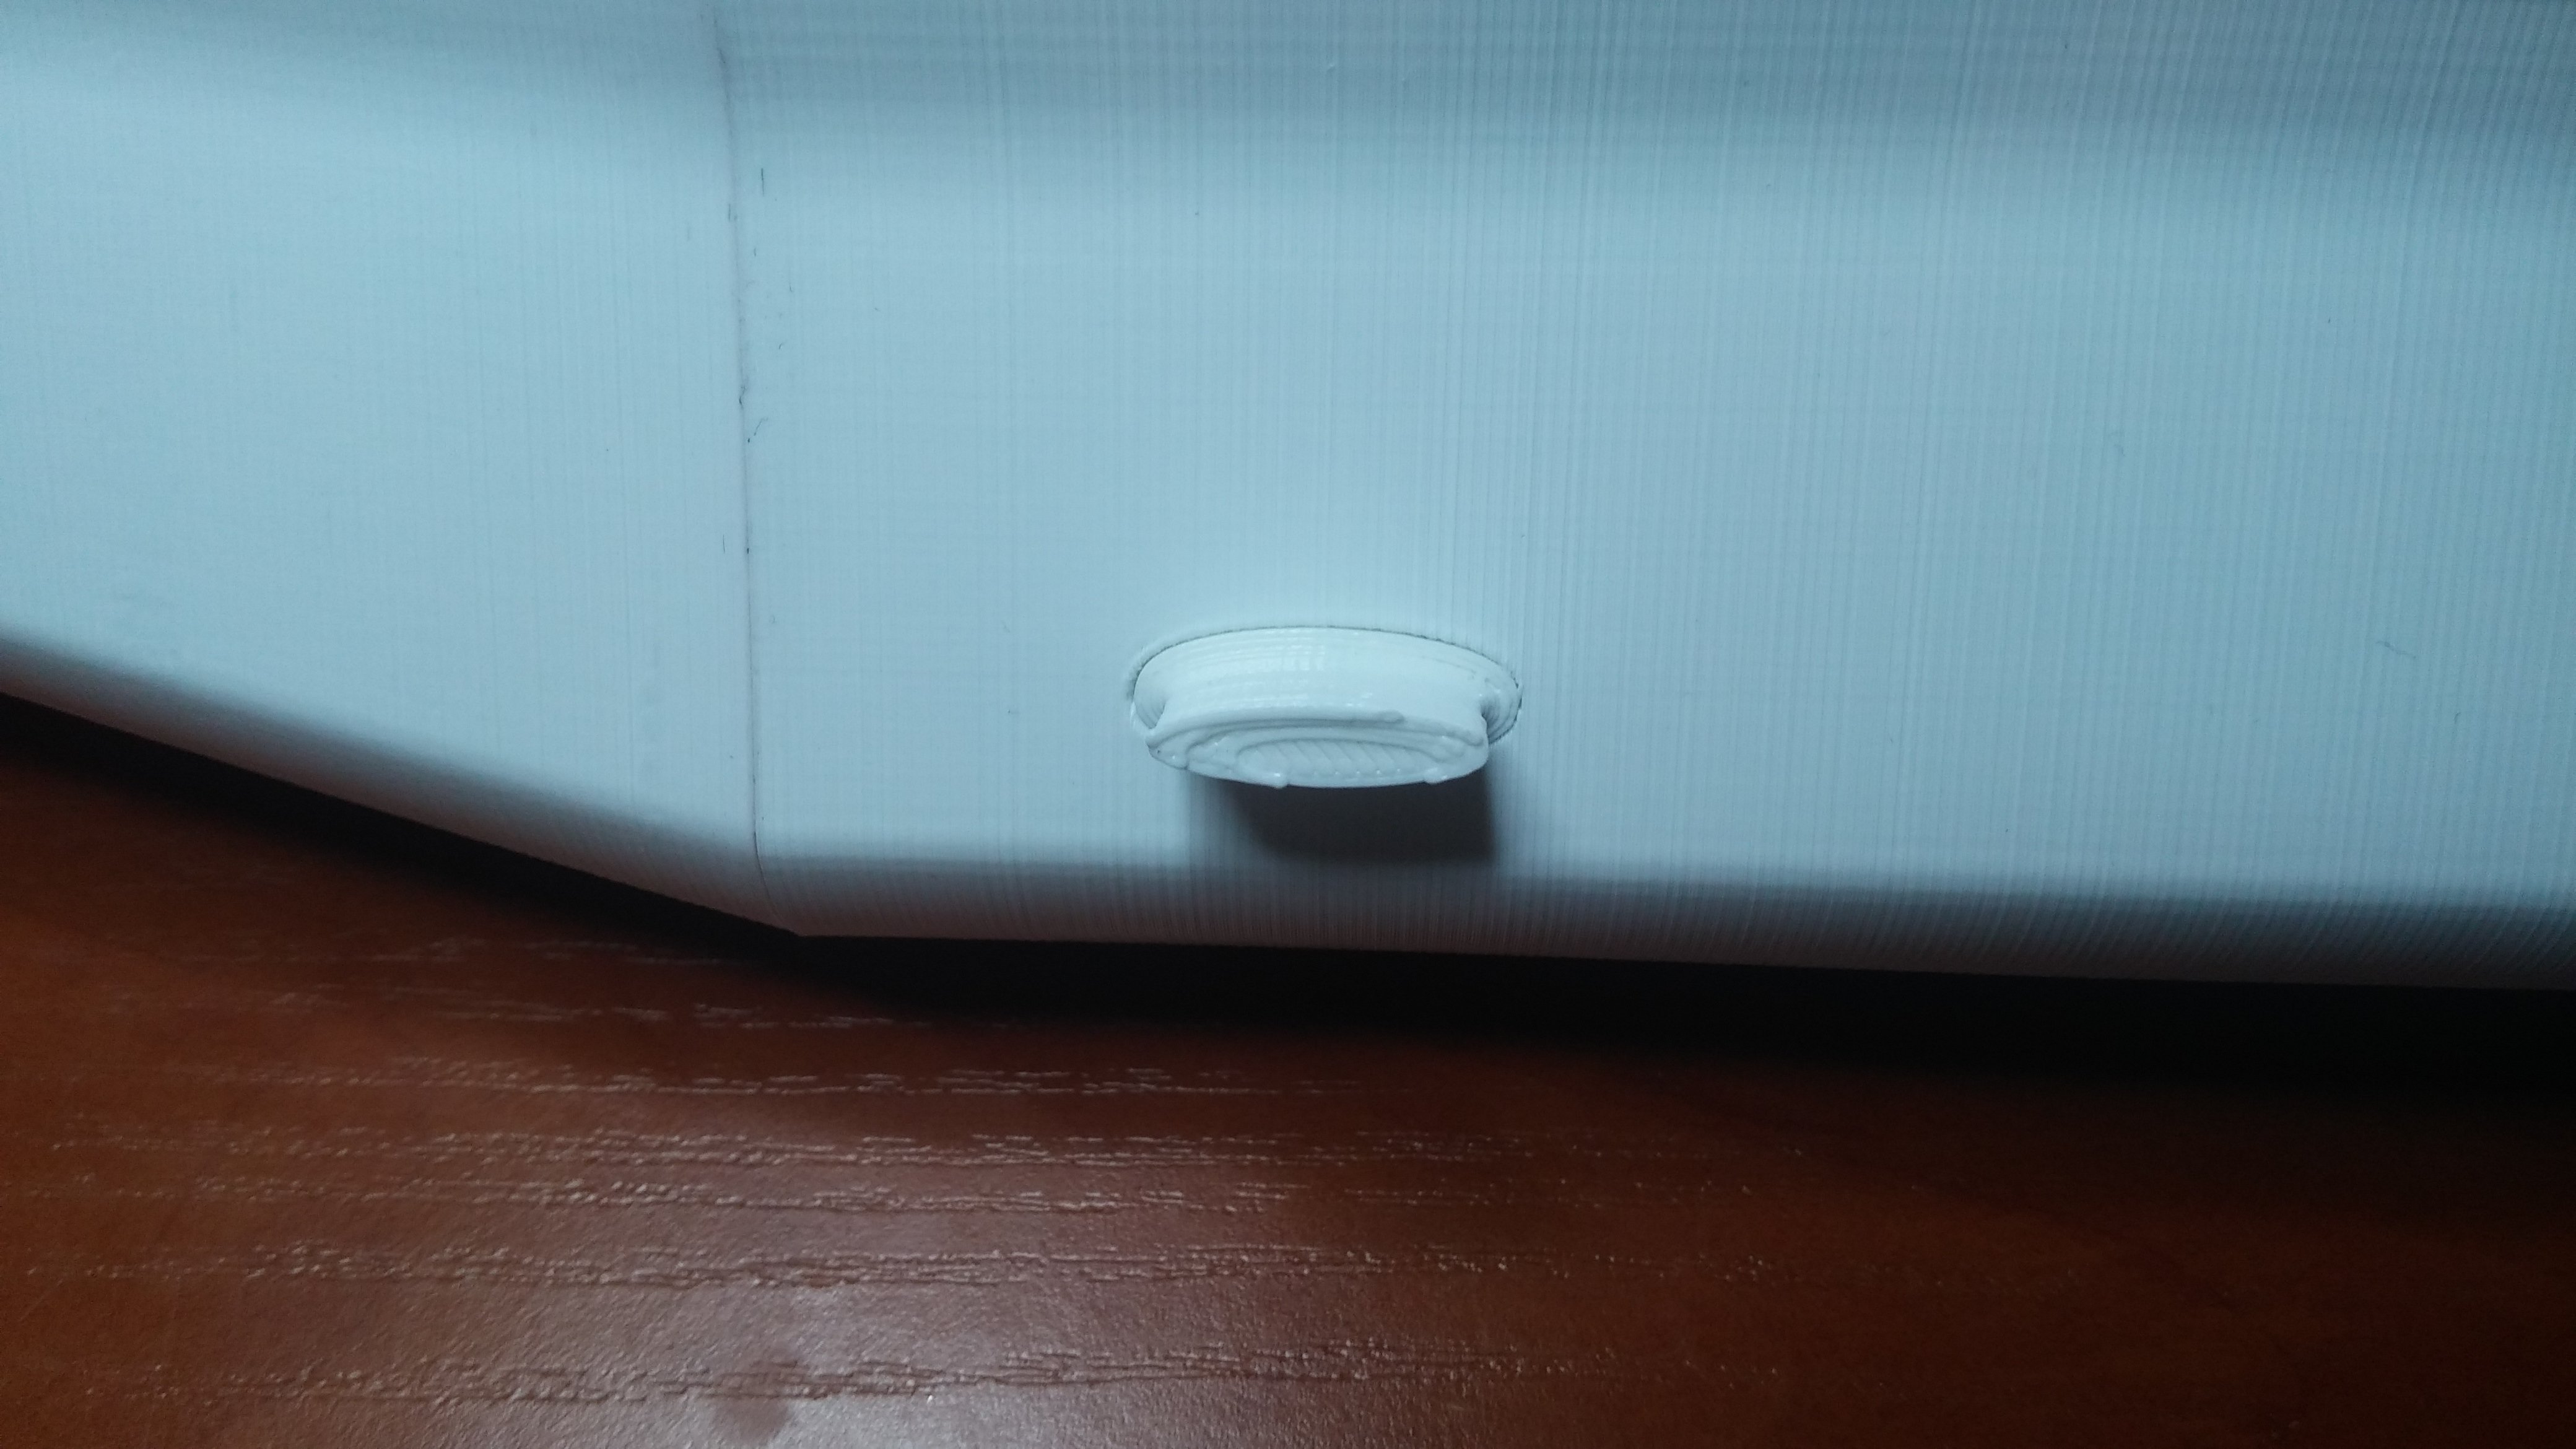
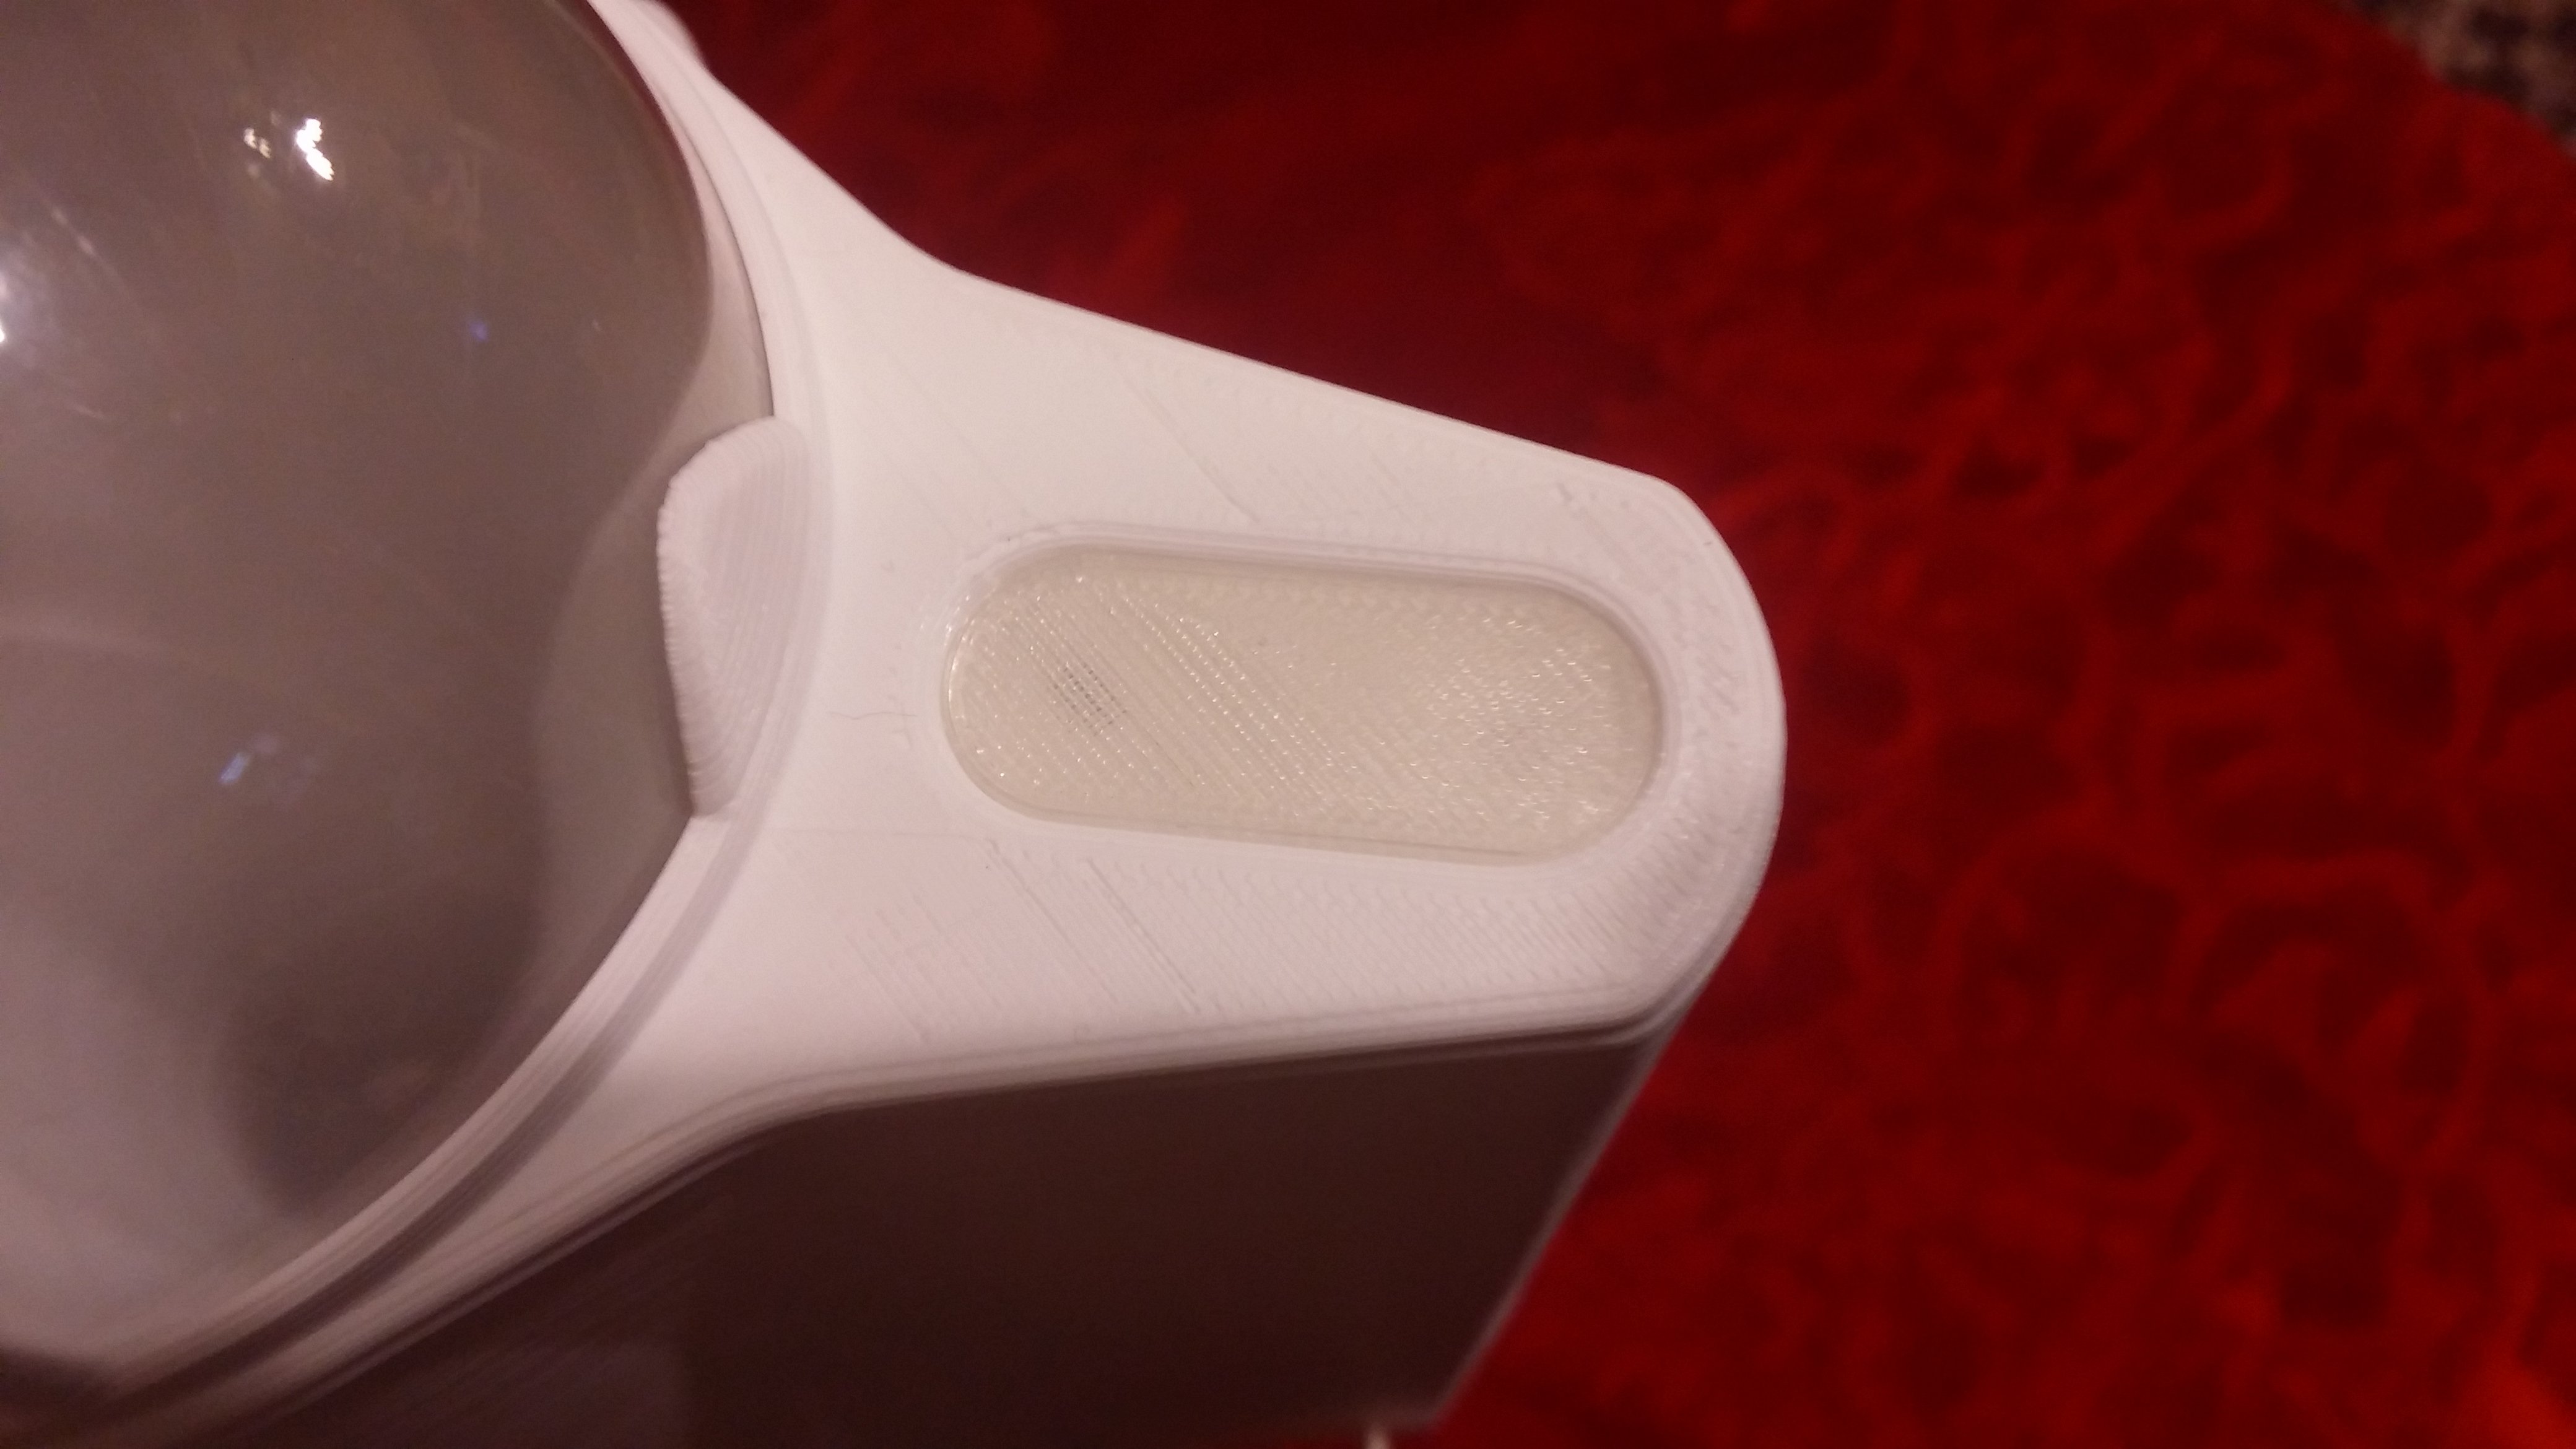
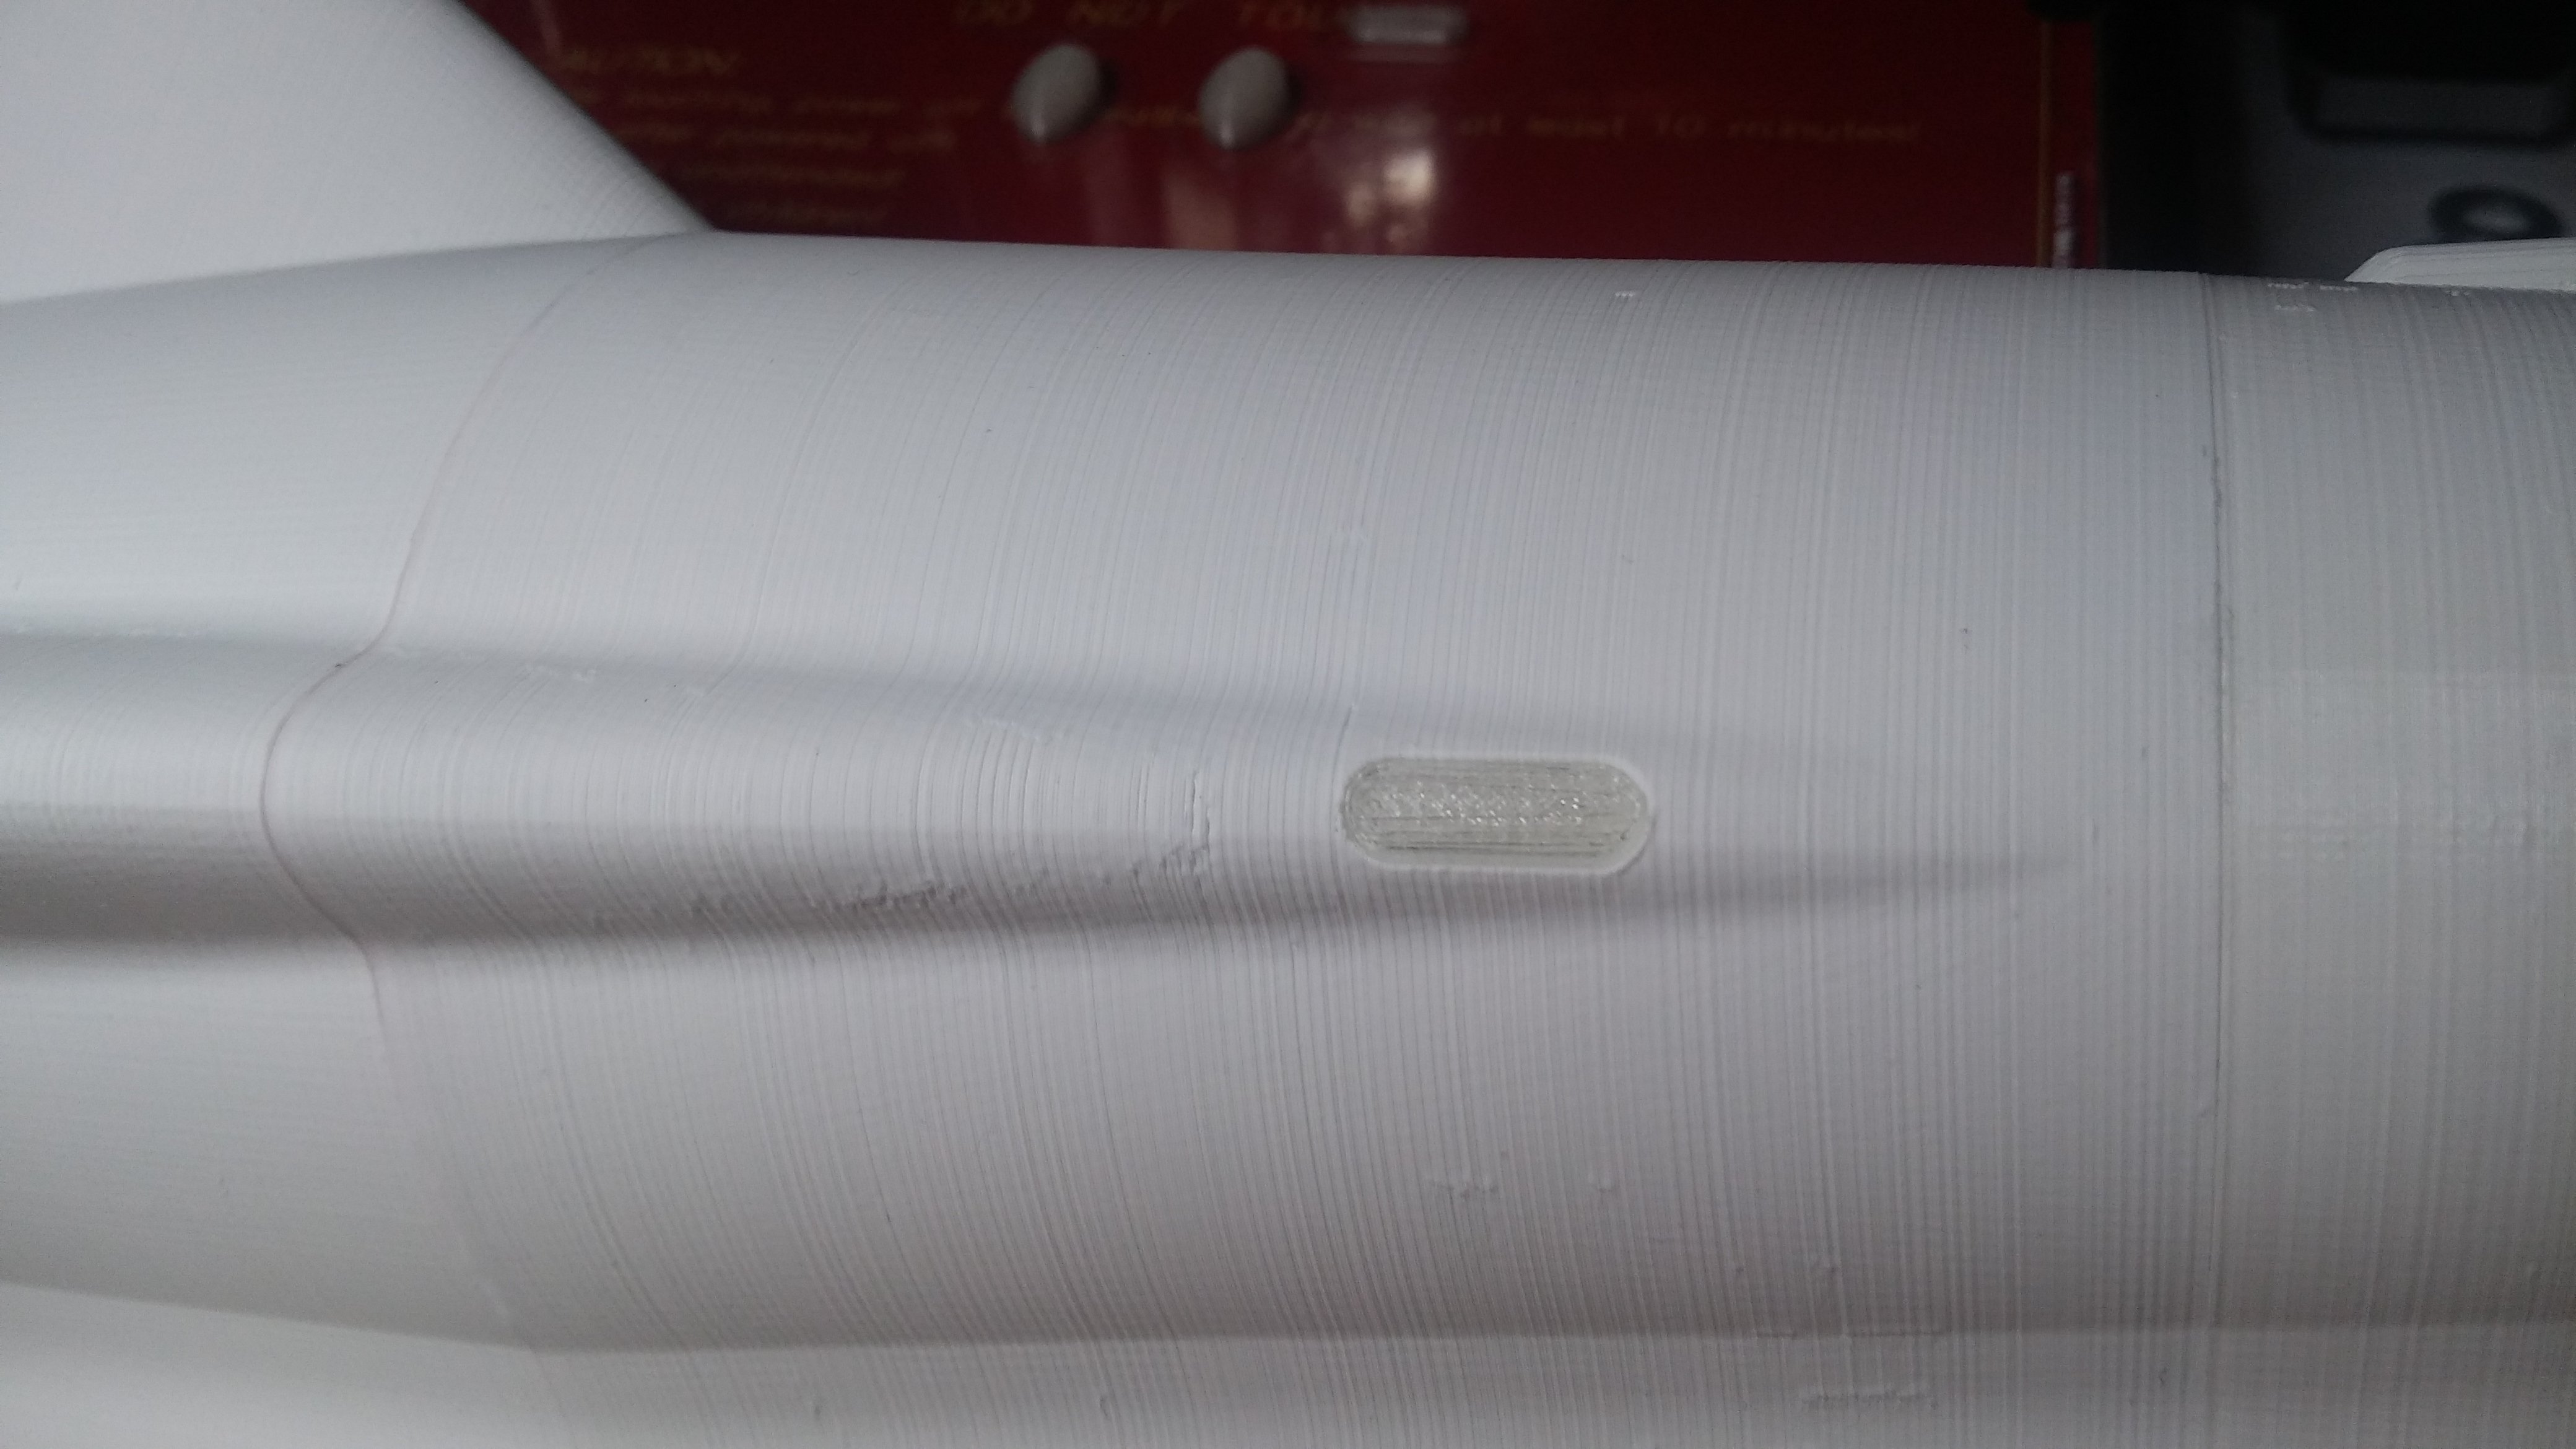
Last thing to do is to glue lights' covers. You might want to drill some holes in the recesses before that to add some LED illumination :)

And that's it - welcome aboard captain, all systems on-line. :)
Now You can paint it, add some LED's, motor, sound modules...whatever You want.
TIP - if something does not fit, help it with XACTO knife... :)
TIP - You might want to add some support for front part and hull_1 part if Your printer has weak cooling.