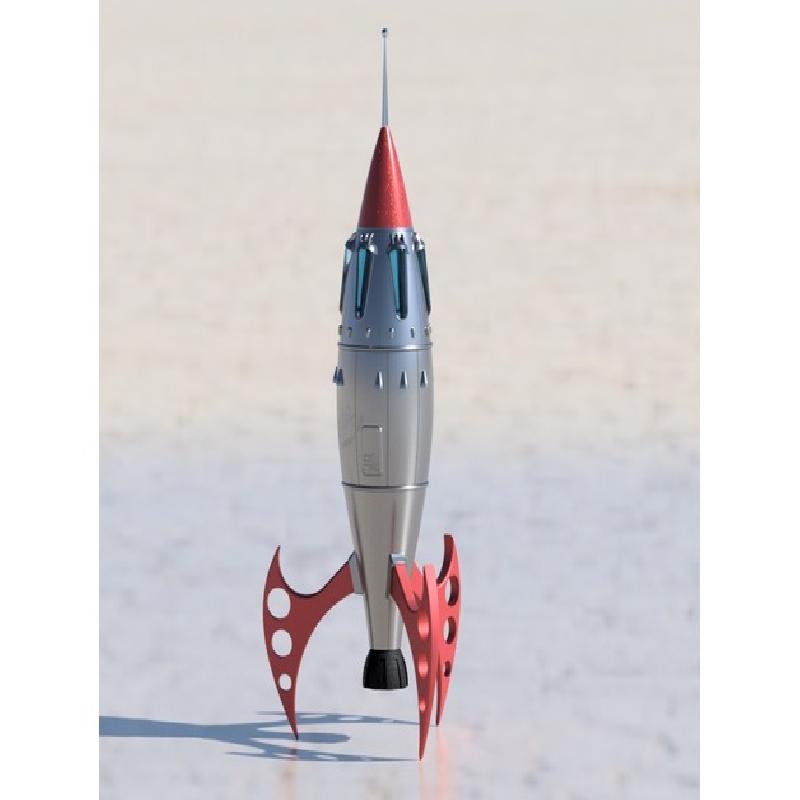
Print your own sci-fi space rocket kit.
This craft is designed to carry a family on to the frontier of strange new worlds.
Playing by the rules of classic pulp sci-fi:
Long distance travel takes months, not millenia.
There's always gravity.
Aliens understand English. (Unless you need miscommunication for a plot point).
Fuel takes very little space.
No one ever goes to the bathroom.
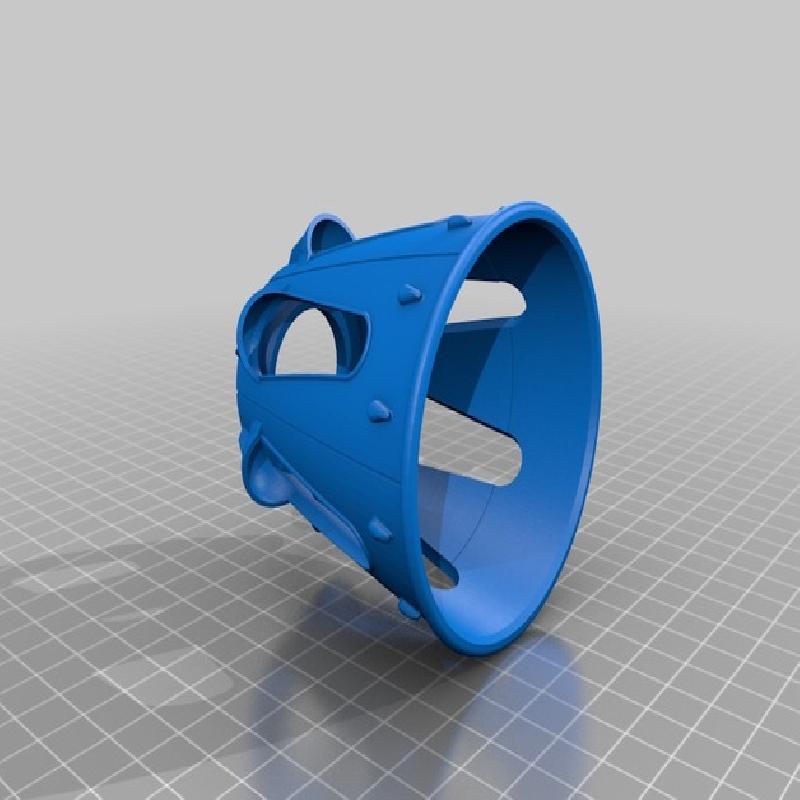
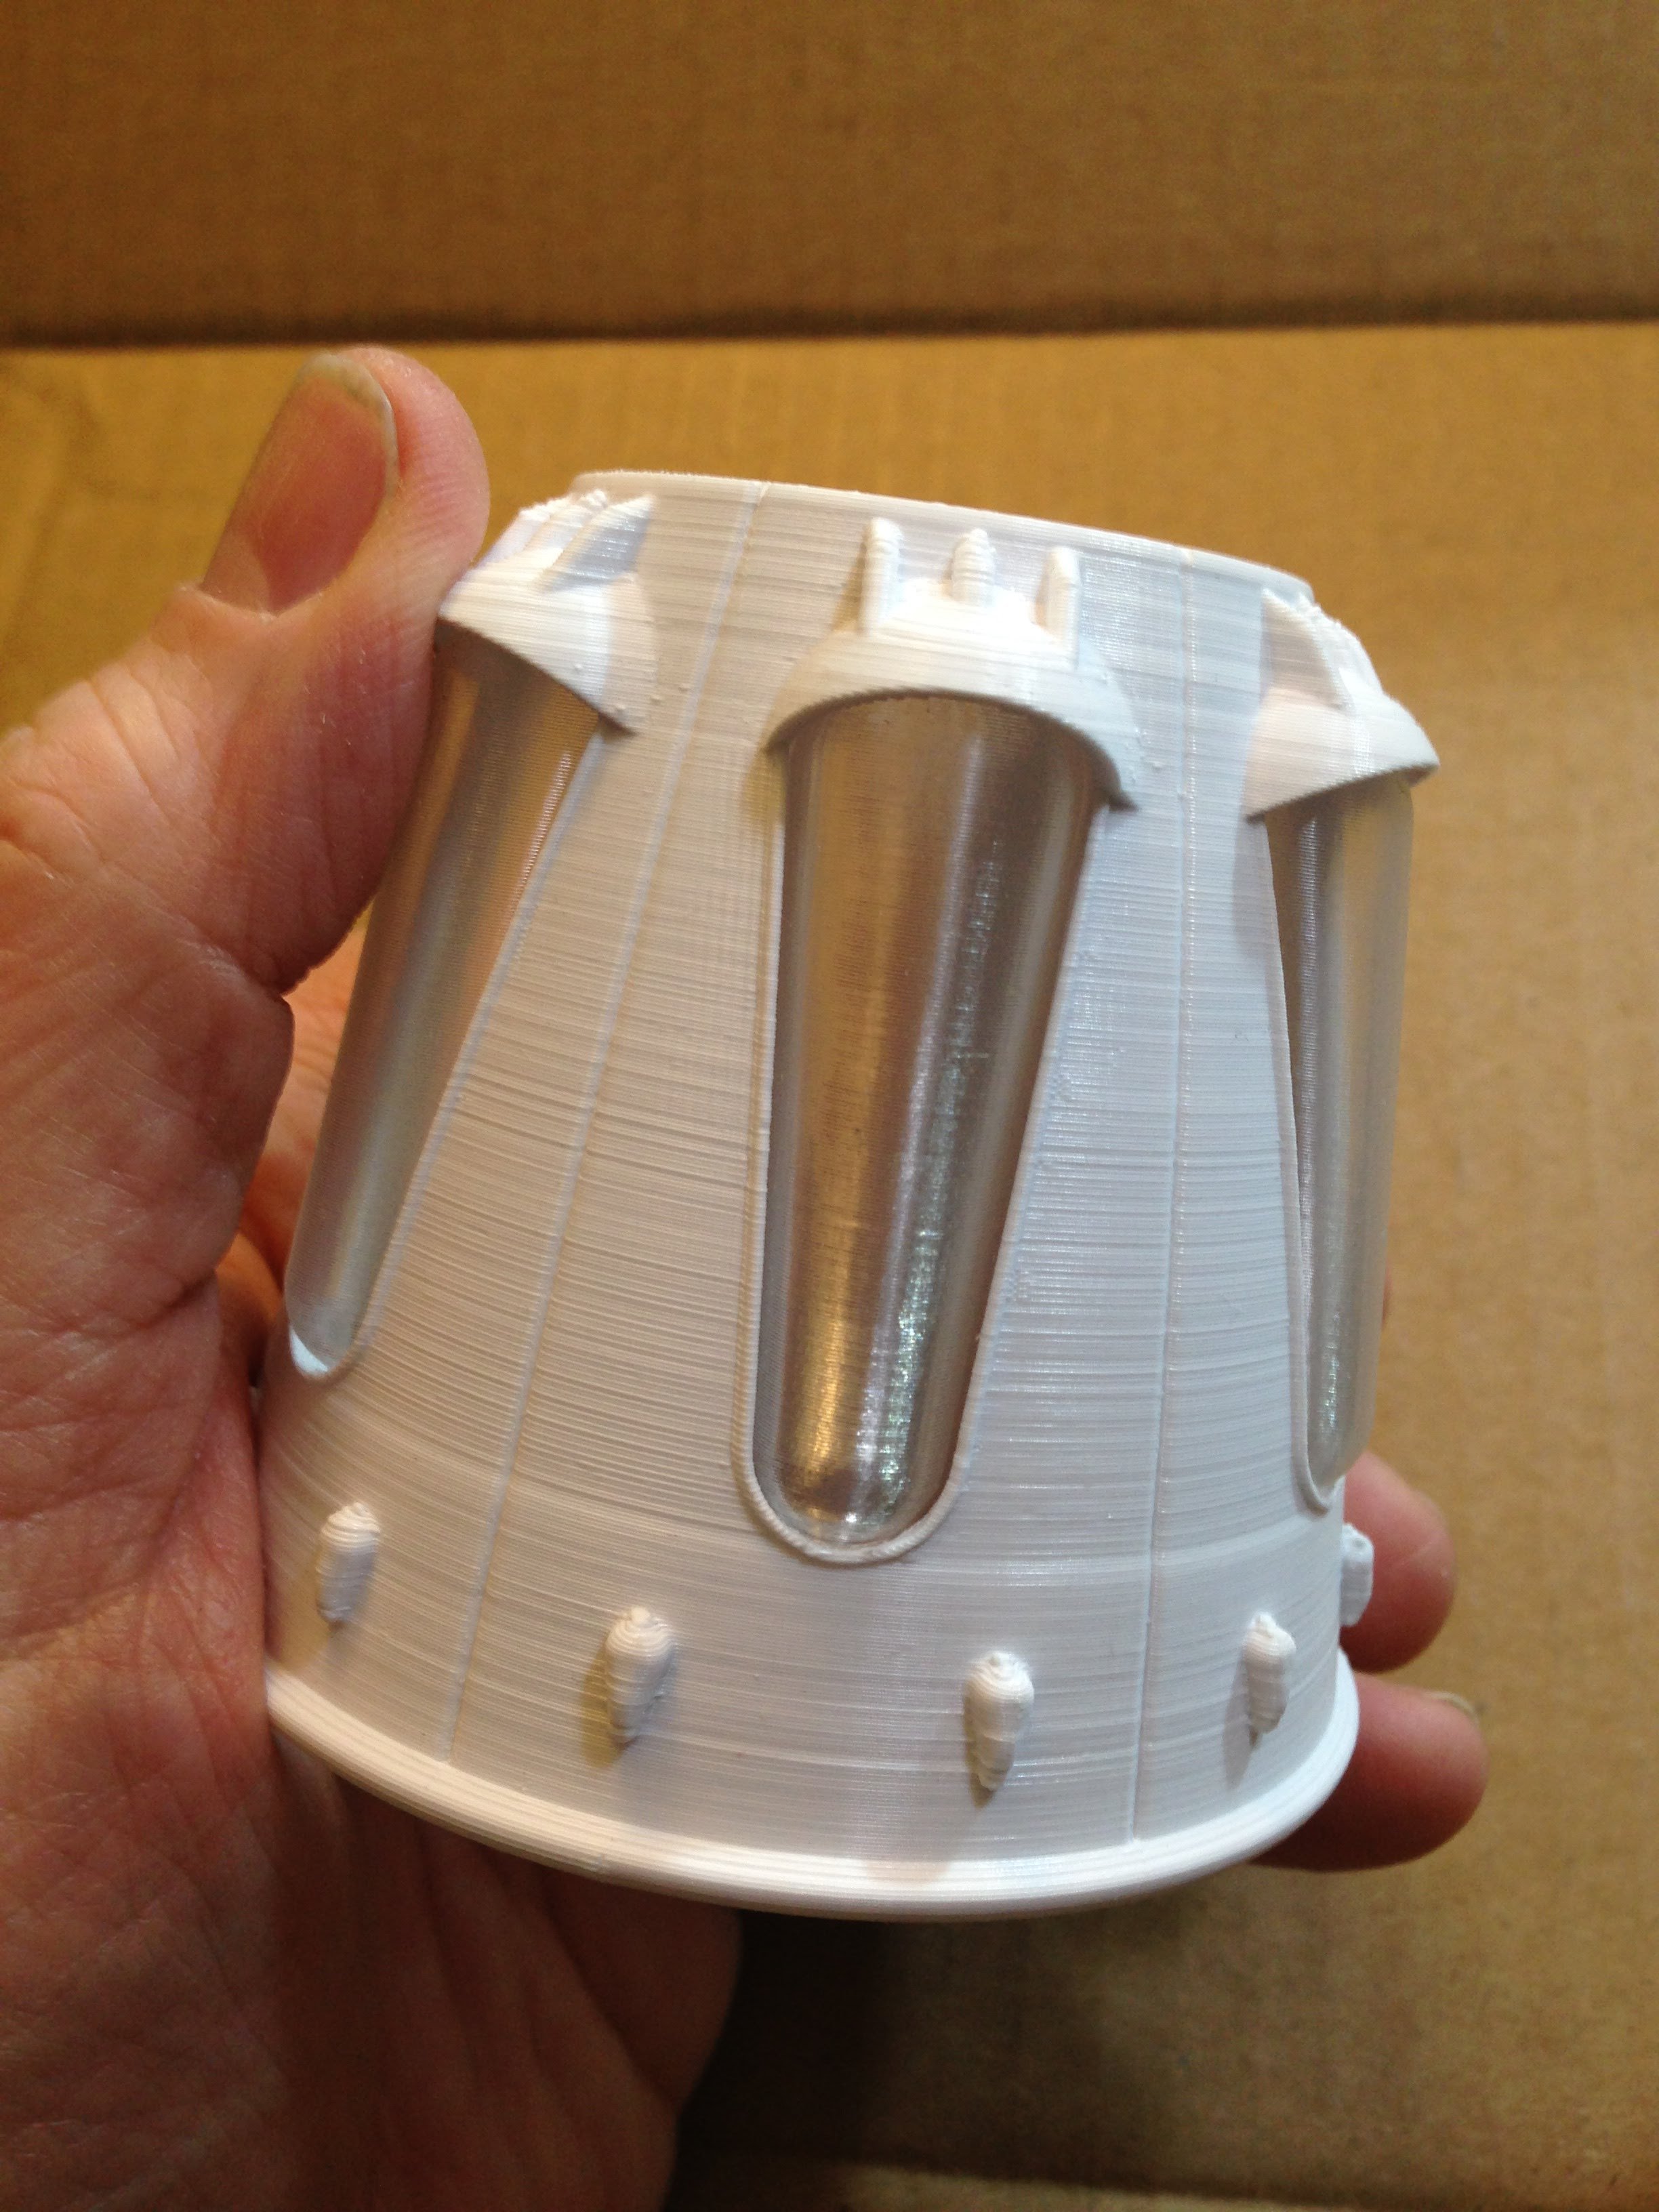
In this space-faring RV, we have fancy clear panels instead of the little riveted portholes often seen in this style.
I recommend you print the windows in a transparent plastic.
Printer Brand:
Creality
Printer:
CR-10S
Supports:
No
Resolution:
variable
Infill:
15%
Notes:
For best results, different parts are printed with different settings.
Most of the sections are printed with a standard
.2mm layer height
3 perimeters
3 top and bottom layers
15% rectilinear or hex infill with at least 20% overlap with perimeter (if your slicer supports that)
I generally print with a skirt to make sure of bed placement and to check that all-important first layer height
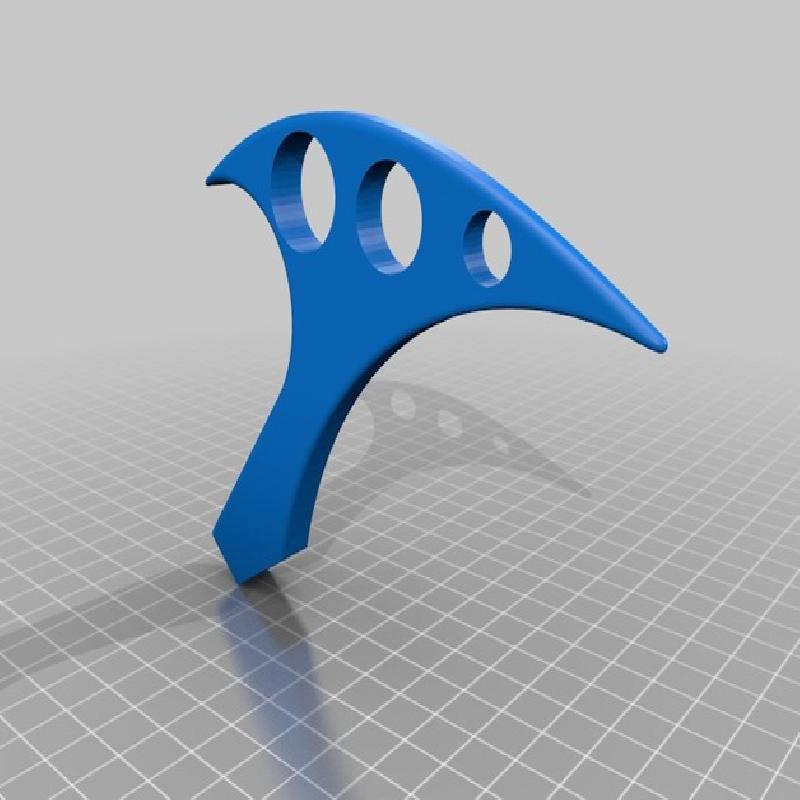
From the bottom, up:
Print right-side up, no supports with the default settings.
You will need to print 3 of these.
If you plan to sand and paint the model, I recommend you print the fins on their side with an extra top layer (for a total of 4). That will let you sand out the stair-step from the tapering fins.
If you are just going to print and assemble the model, you may want to print the fins on their edge with supports. This avoids the stair-step effect but means you have to remove the supports.
I've had good results with both methods.
You could, of course, print with a much smaller layer height and smooth out the number of steps. But I don't have that kind of patience.
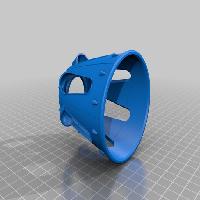
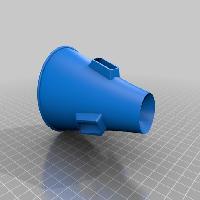
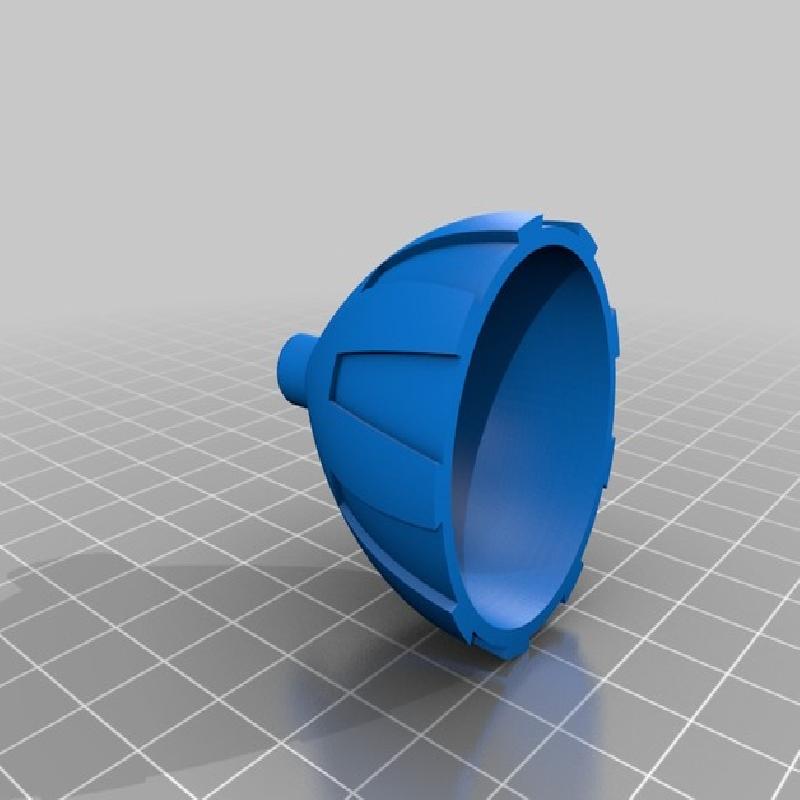
Print upside-down with the default settings.
There are internal bridging structures to eliminate the need for supports.
Because there is a small amount of area touching the bed, you may wish to use adhesive on the bed (the solution I used for my prints) or add a small brim.
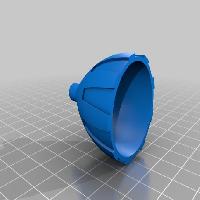
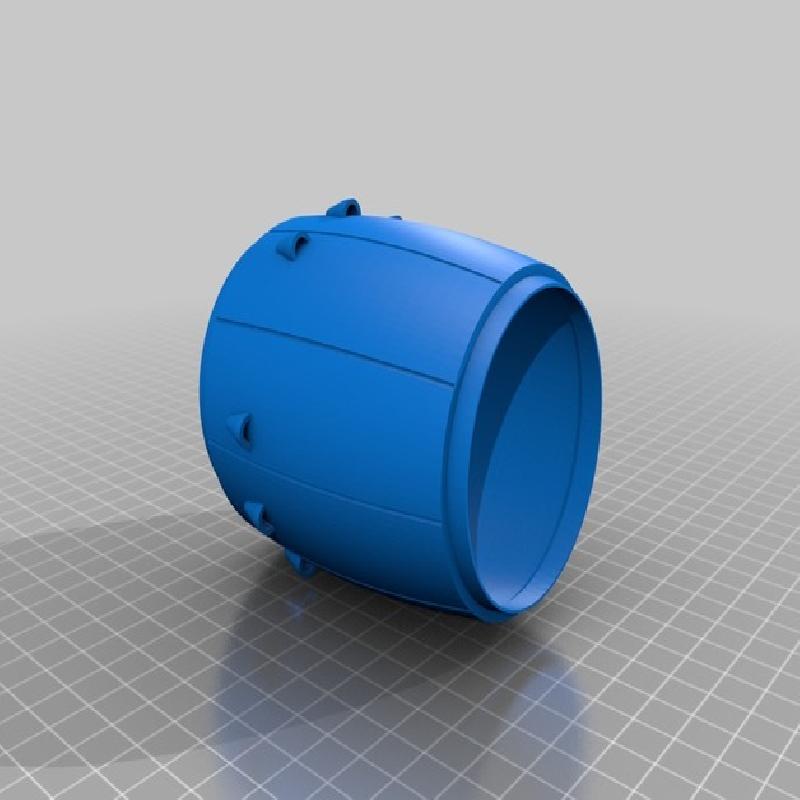
Again, just print upside-down with the default settings.
The model contains a small built-in brim to help with bed adhesion.
You know the drill by now, juse print upside-down with the default settings.
Ah... here we get interesting.
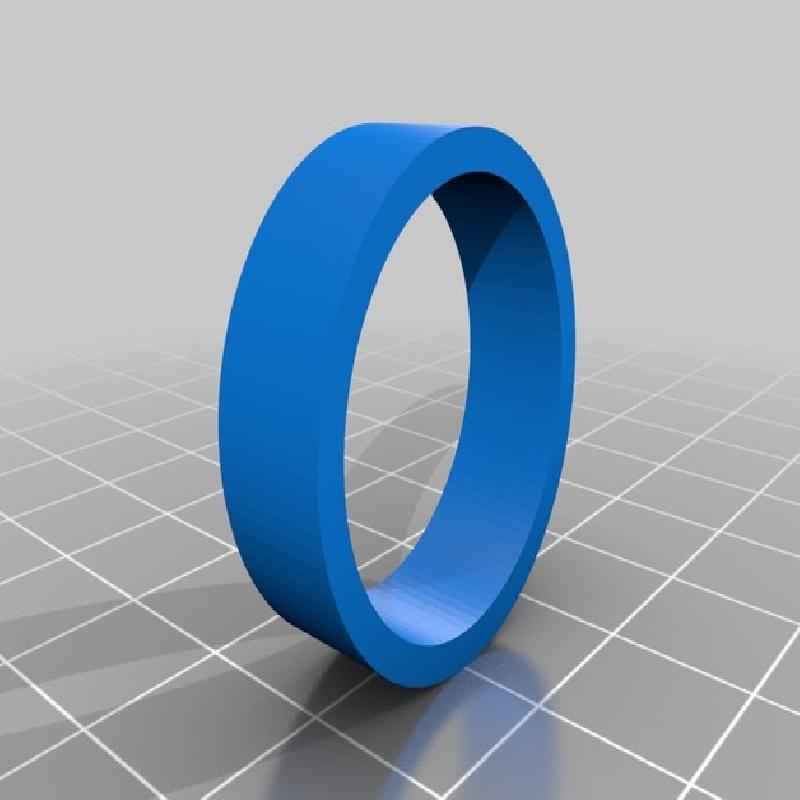
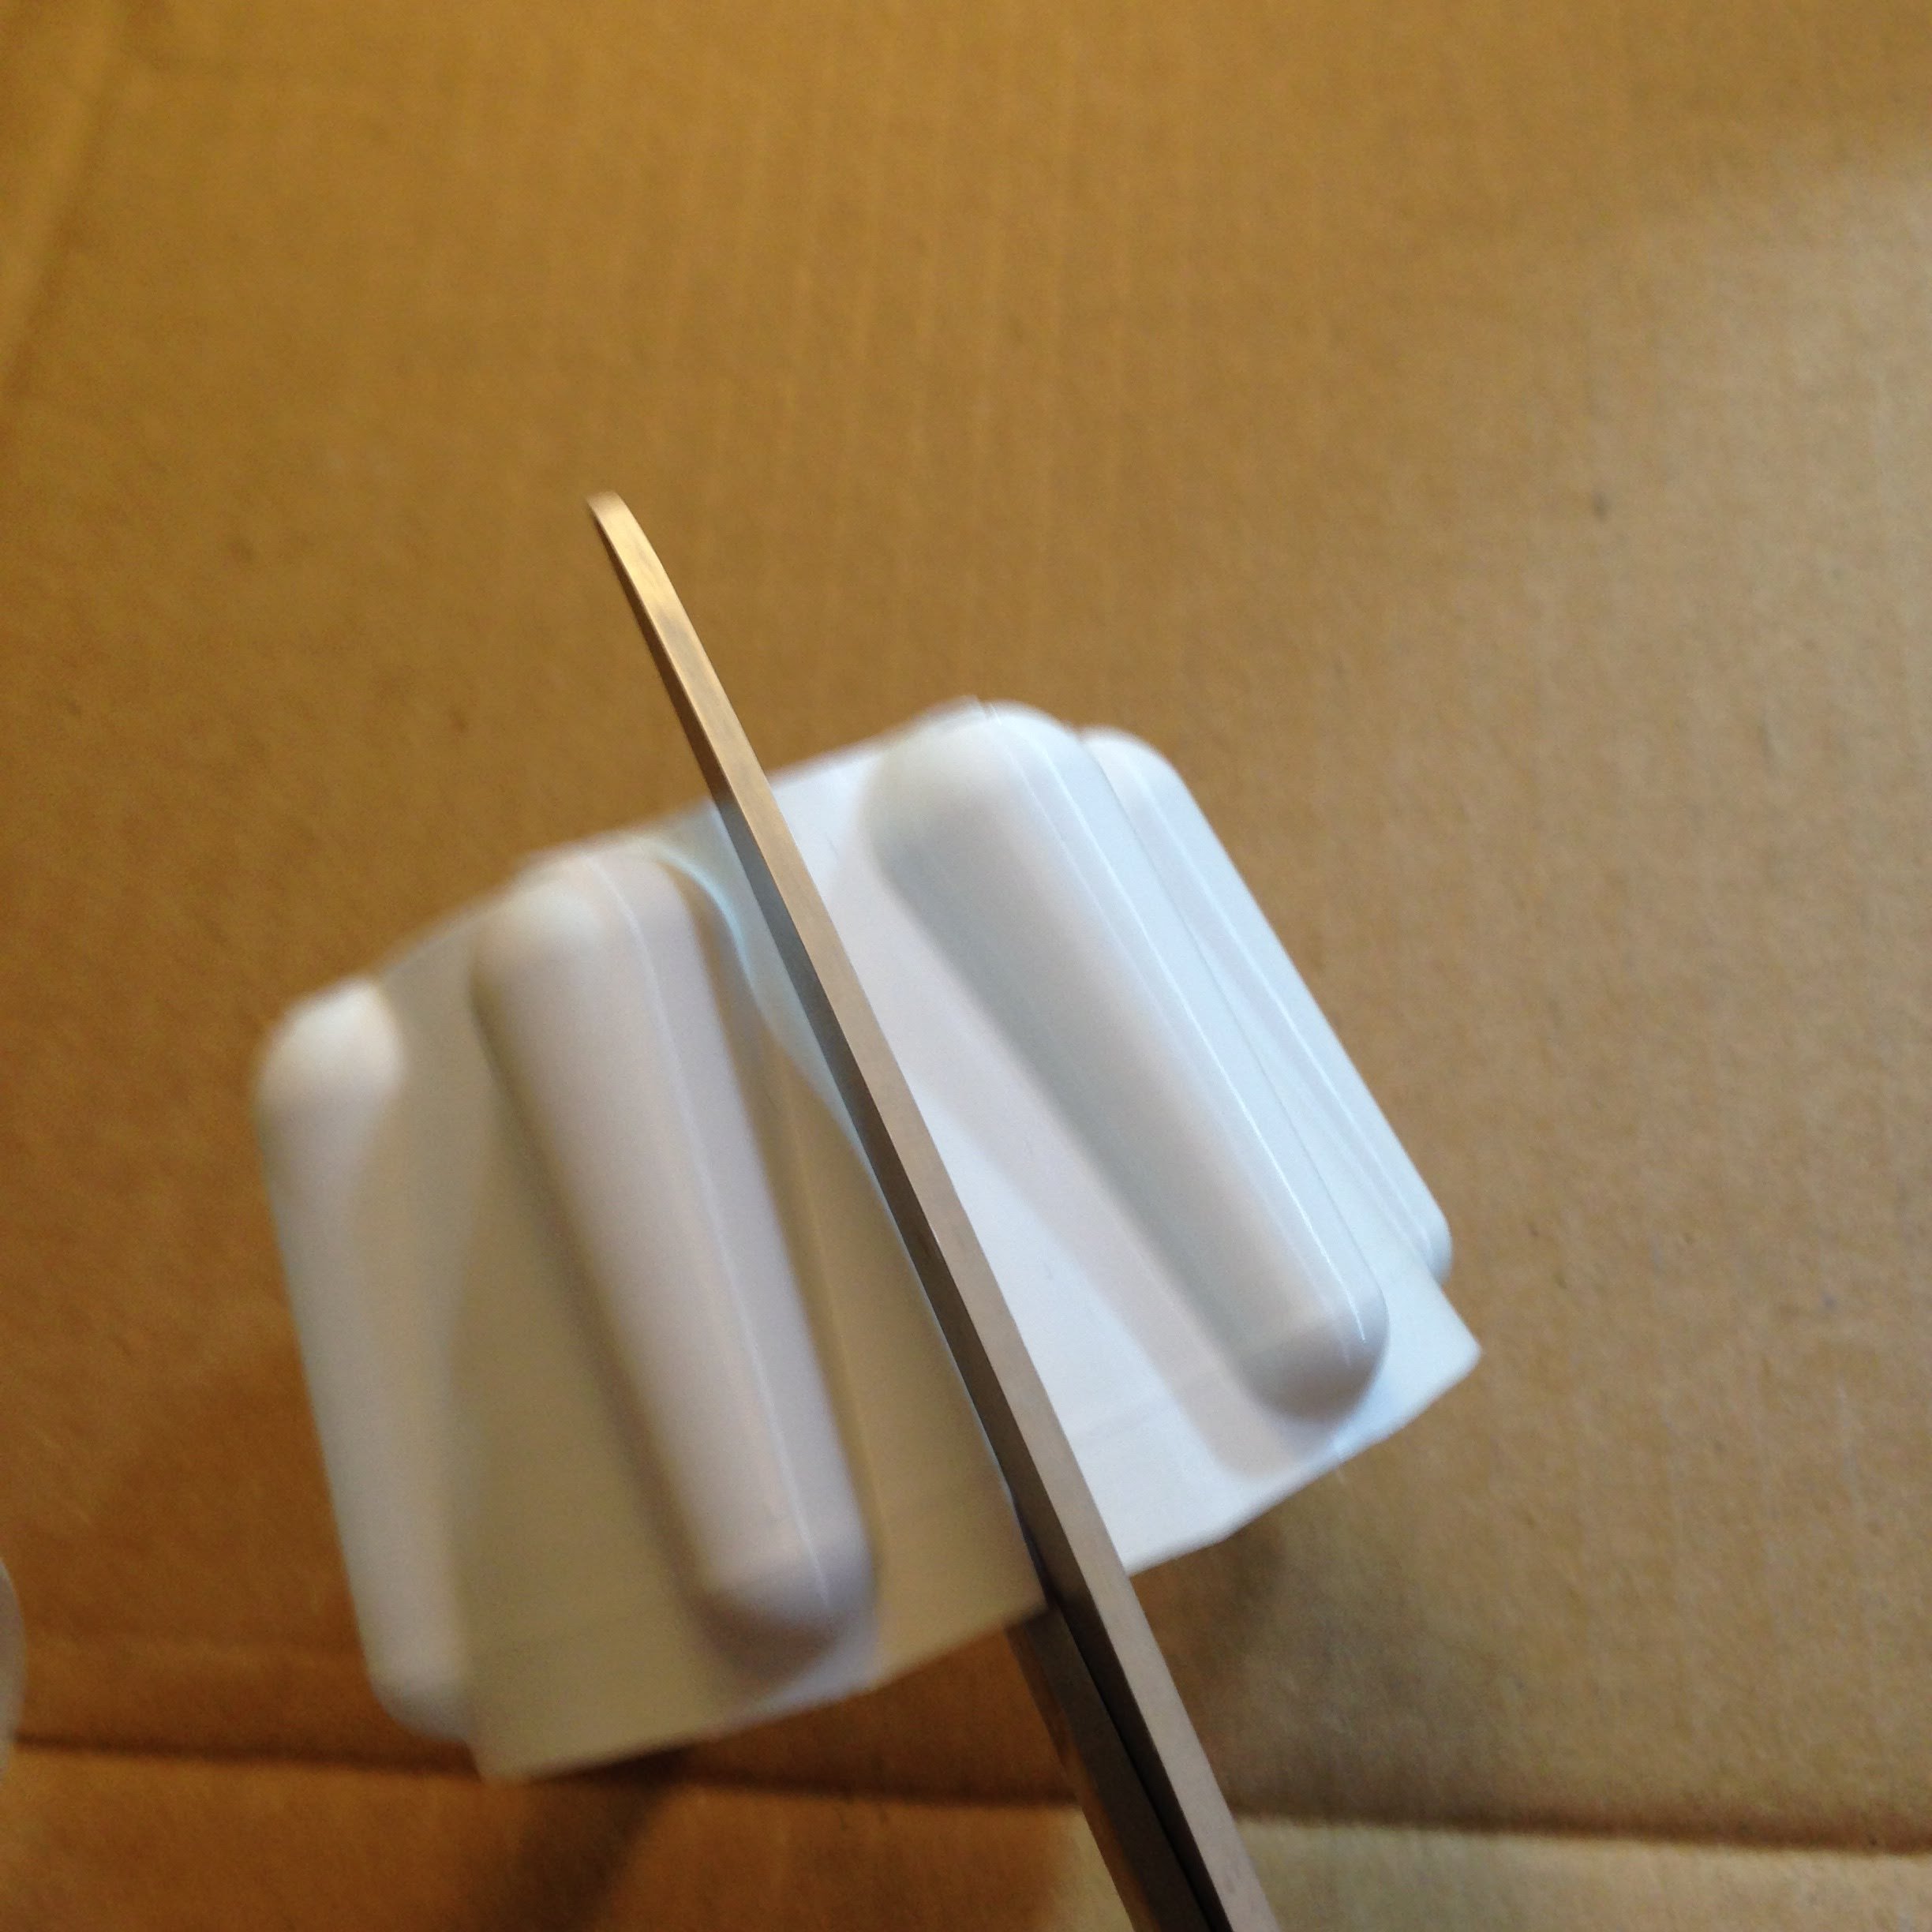
The windows are a solid block designed to printed in vase (spiral) mode.
Use whatever your favorite settings are for vases. And, for the best effect, use a transparent plastic.
0 bottom layers
(At least) 6 perimeter attached brim for bed adhesion since we're not printing a bottom
0 top layers
Print right-side up (!) with default settings
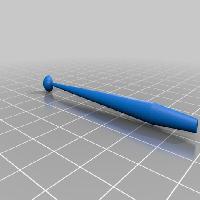
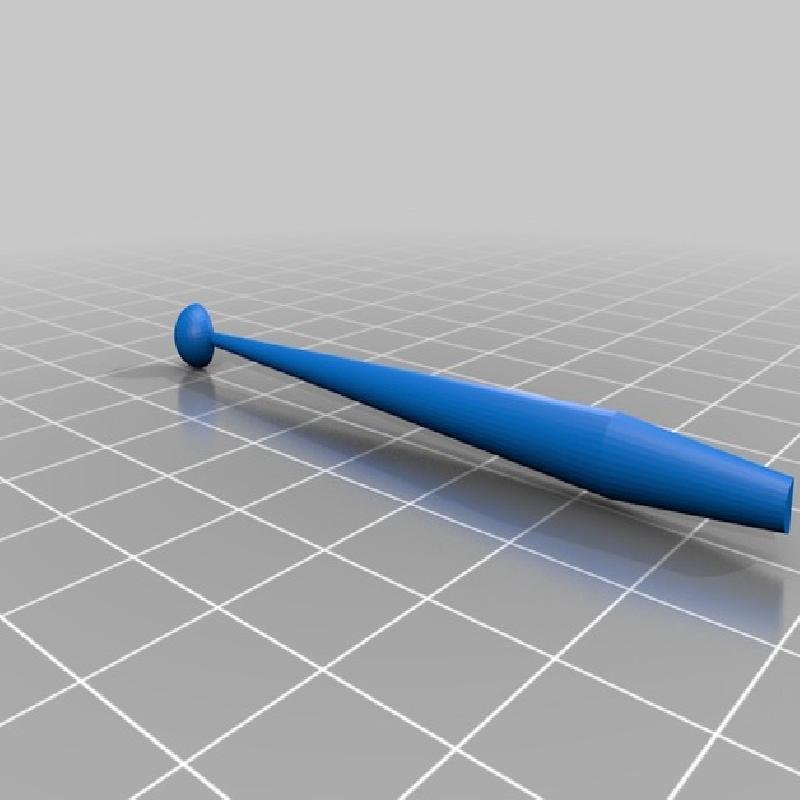
The printable antenna works fine, but feels very delicate. Mine has traveled a bit and remains intact, but you may want to just epoxy some wire and a bead.
Should you choose to embark on the printed version:
Print 2. It's labeled "left," but both sides are the same
Use a fine layer height. (As low as is feasible for your printer)
Solid infill
No brim. Because the part is so delicate, you're likely to destroy it removing the brim
No extra "squish" on first layer. The halves need to mate together.
On my glass build surface, I used 3M 77 to stick the PLA parts down. To remove the delicate antenna parts, I let some isopropyl alcohol seep under the edges until the parts slid off the bed without resistance.
Let's start with the trickiest part.
I carefully sanded the bottom sides with 400 grit sandpaper on a hard, flat surface until the halves mated together.
You need to be very careful as the mast is only half of its diameter at this point and you can easily twist the ball end off.
After you have good mating surfaces, tape the assembly together to keep everything aligned and apply some thin CA glue.
Now that you have an assembled antenna, check the fit with the socket in the tip of the nosecone. If, like me, you weren't perfect in your alignment of the two halves, you may need to sand the base of the antenna slightly to make sure it sits straight in the socket.
Using a scissors, trim away the brim that we used to get this to stick to the bed.
Then (again with scissors), make one vertical cut in-between any set of windows.
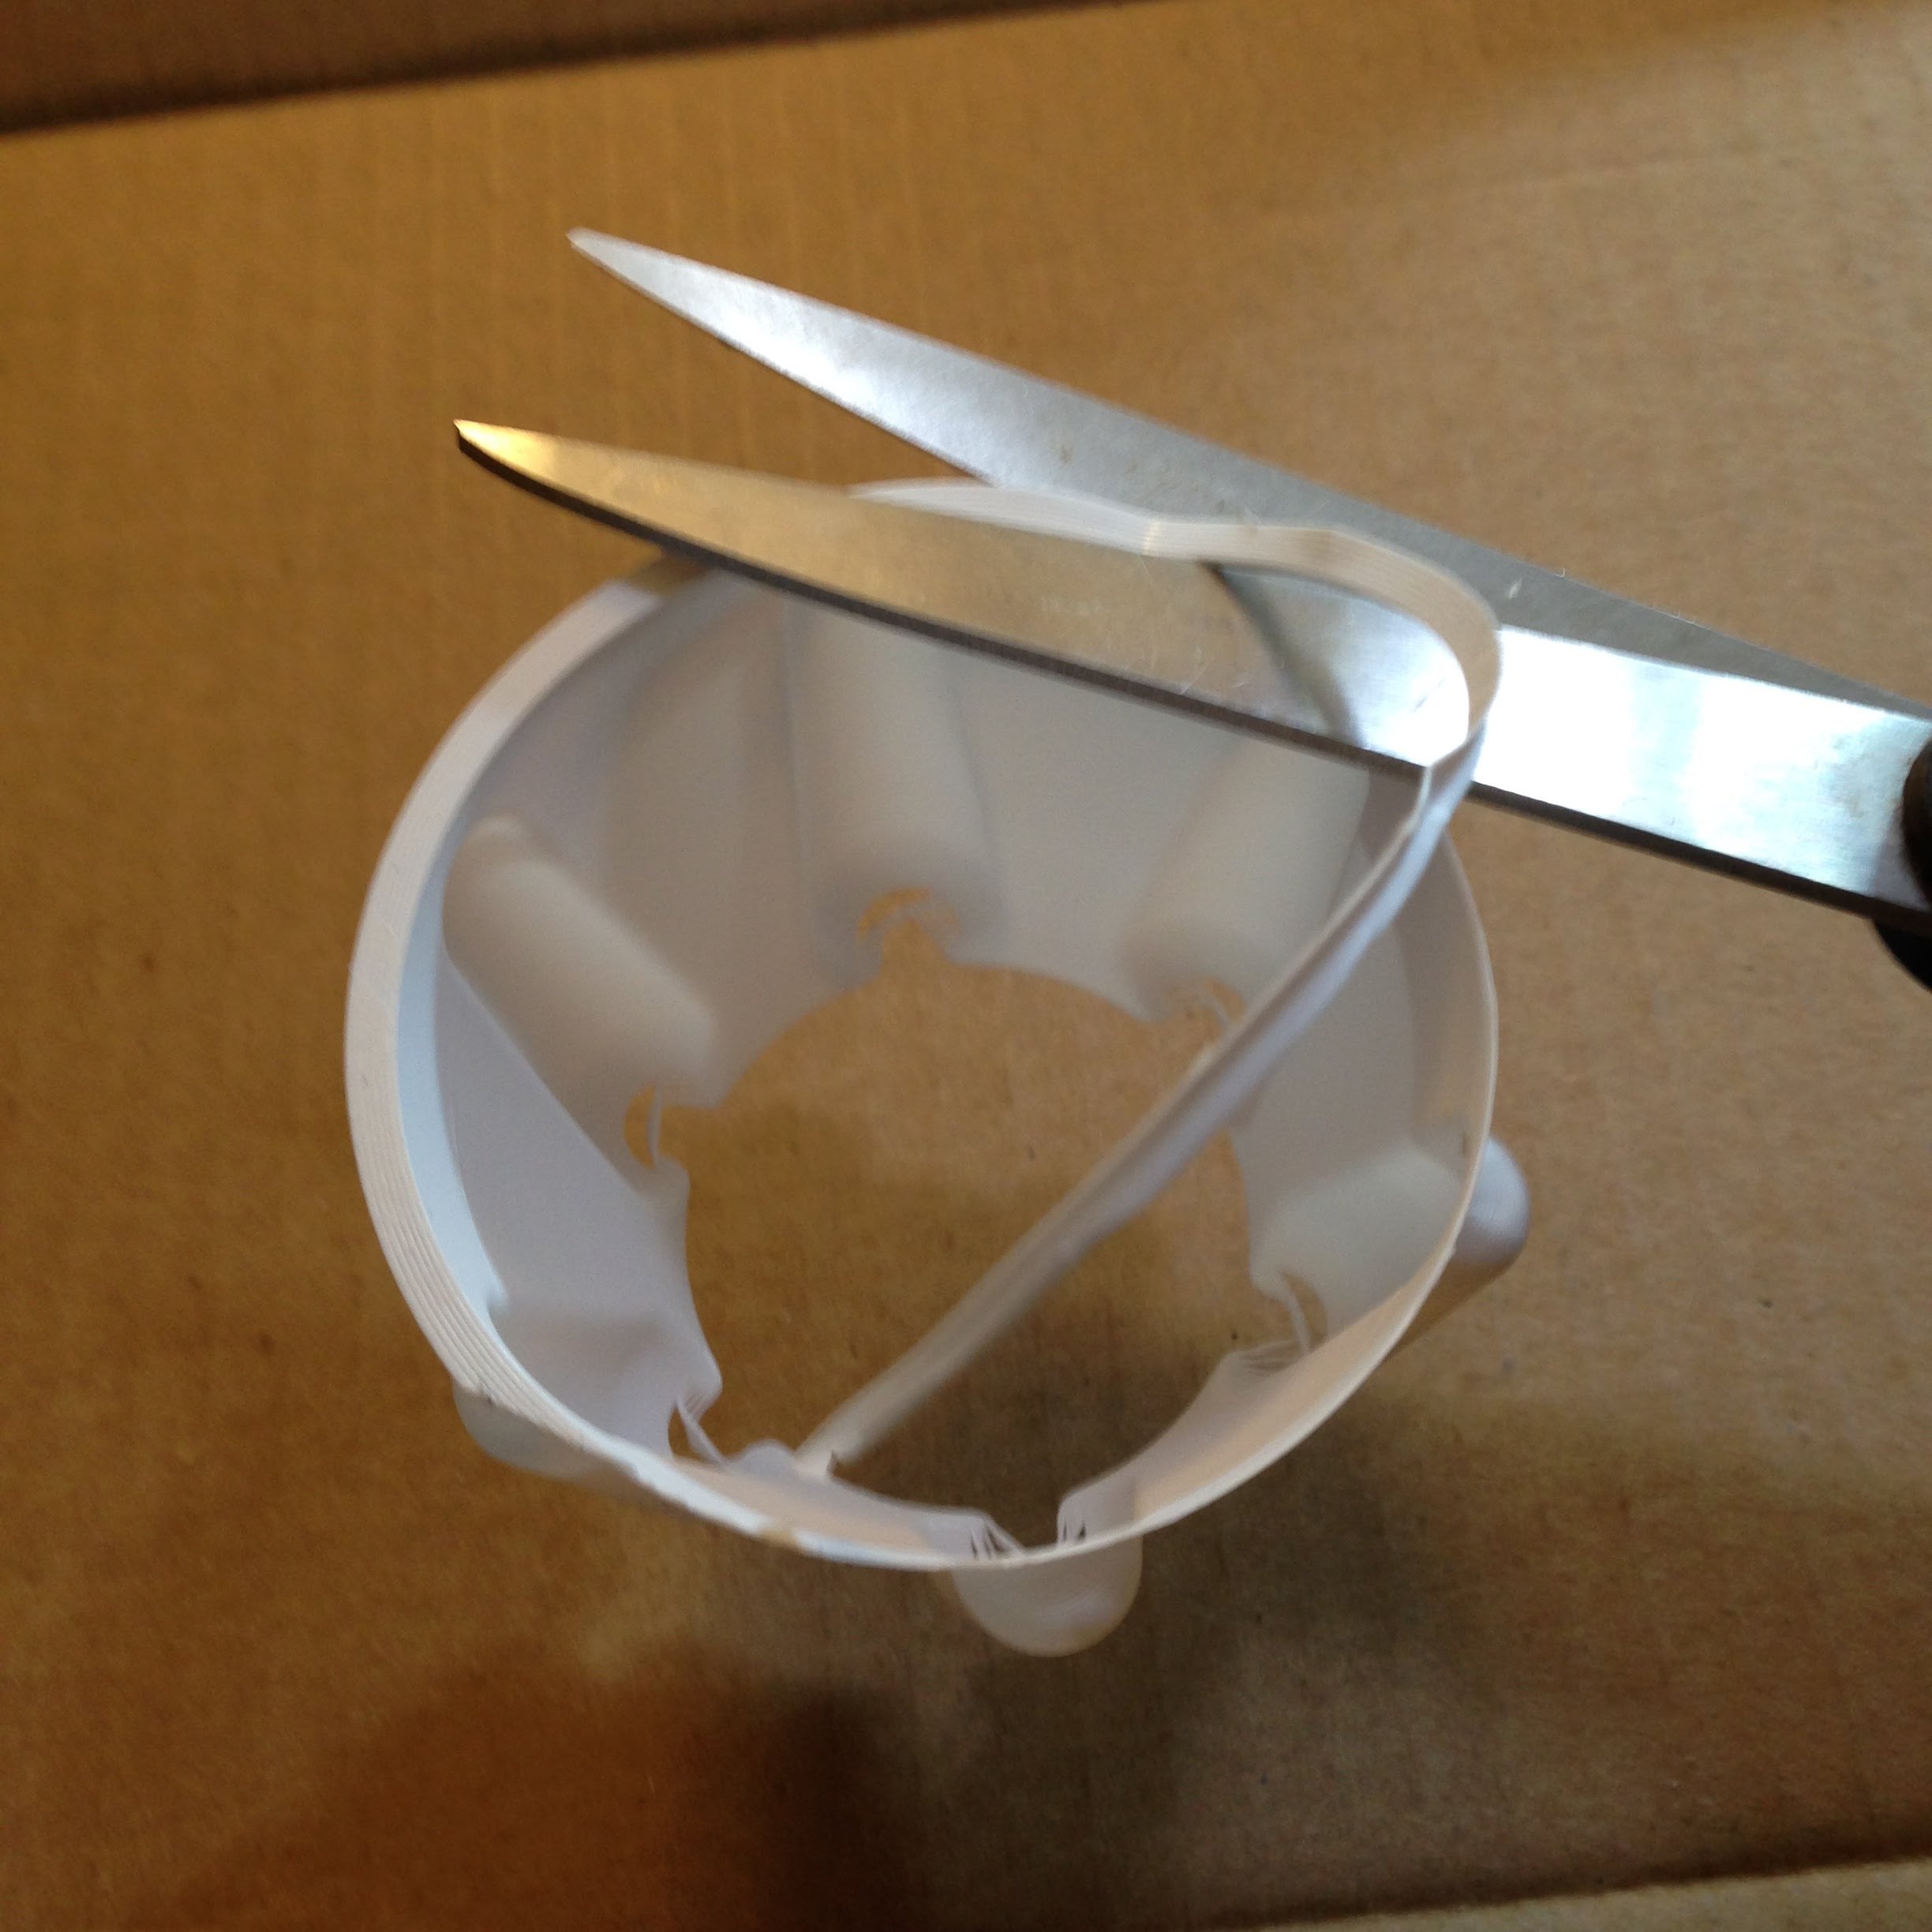
Trim away brim
Slice the windows
If you are going to sand and paint the model, it is much easier to do so before gluing up.
All the parts have built-in alignment structures.
I printed in PLA and used medium CA glue for the main assembly.
Dry-fit all the parts together.Depending on how much sagging occured in the overhangs, you may need to lightly sand some of the connecting sections.
Glue the nose coupler to the nose cone. Make sure it projects from the bottom. It is used to make sure the nose stays centered when you attach it.
Glue the bottom onto the center
Glue the bottom to the center section. It should only fit one way
If you're going to paint the model, now is the time. Before you assemble the main components
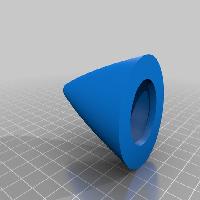
Glue the thruster cone into the bottom section. The pin is mainly there for alignment - the mating surfaces provide the gluing surface
Glue the nosecone to the top section using the coupler to help keep everything aligned. Again, the glue goes on the mating surfaces for maximum strength
Roll the window assembly into a tighter tube so it fits inside the top section. Then carefully pop each window into place.Depending on your printer, you may need to sand/file the bottom of the window openings slightly to assure a perfect fit
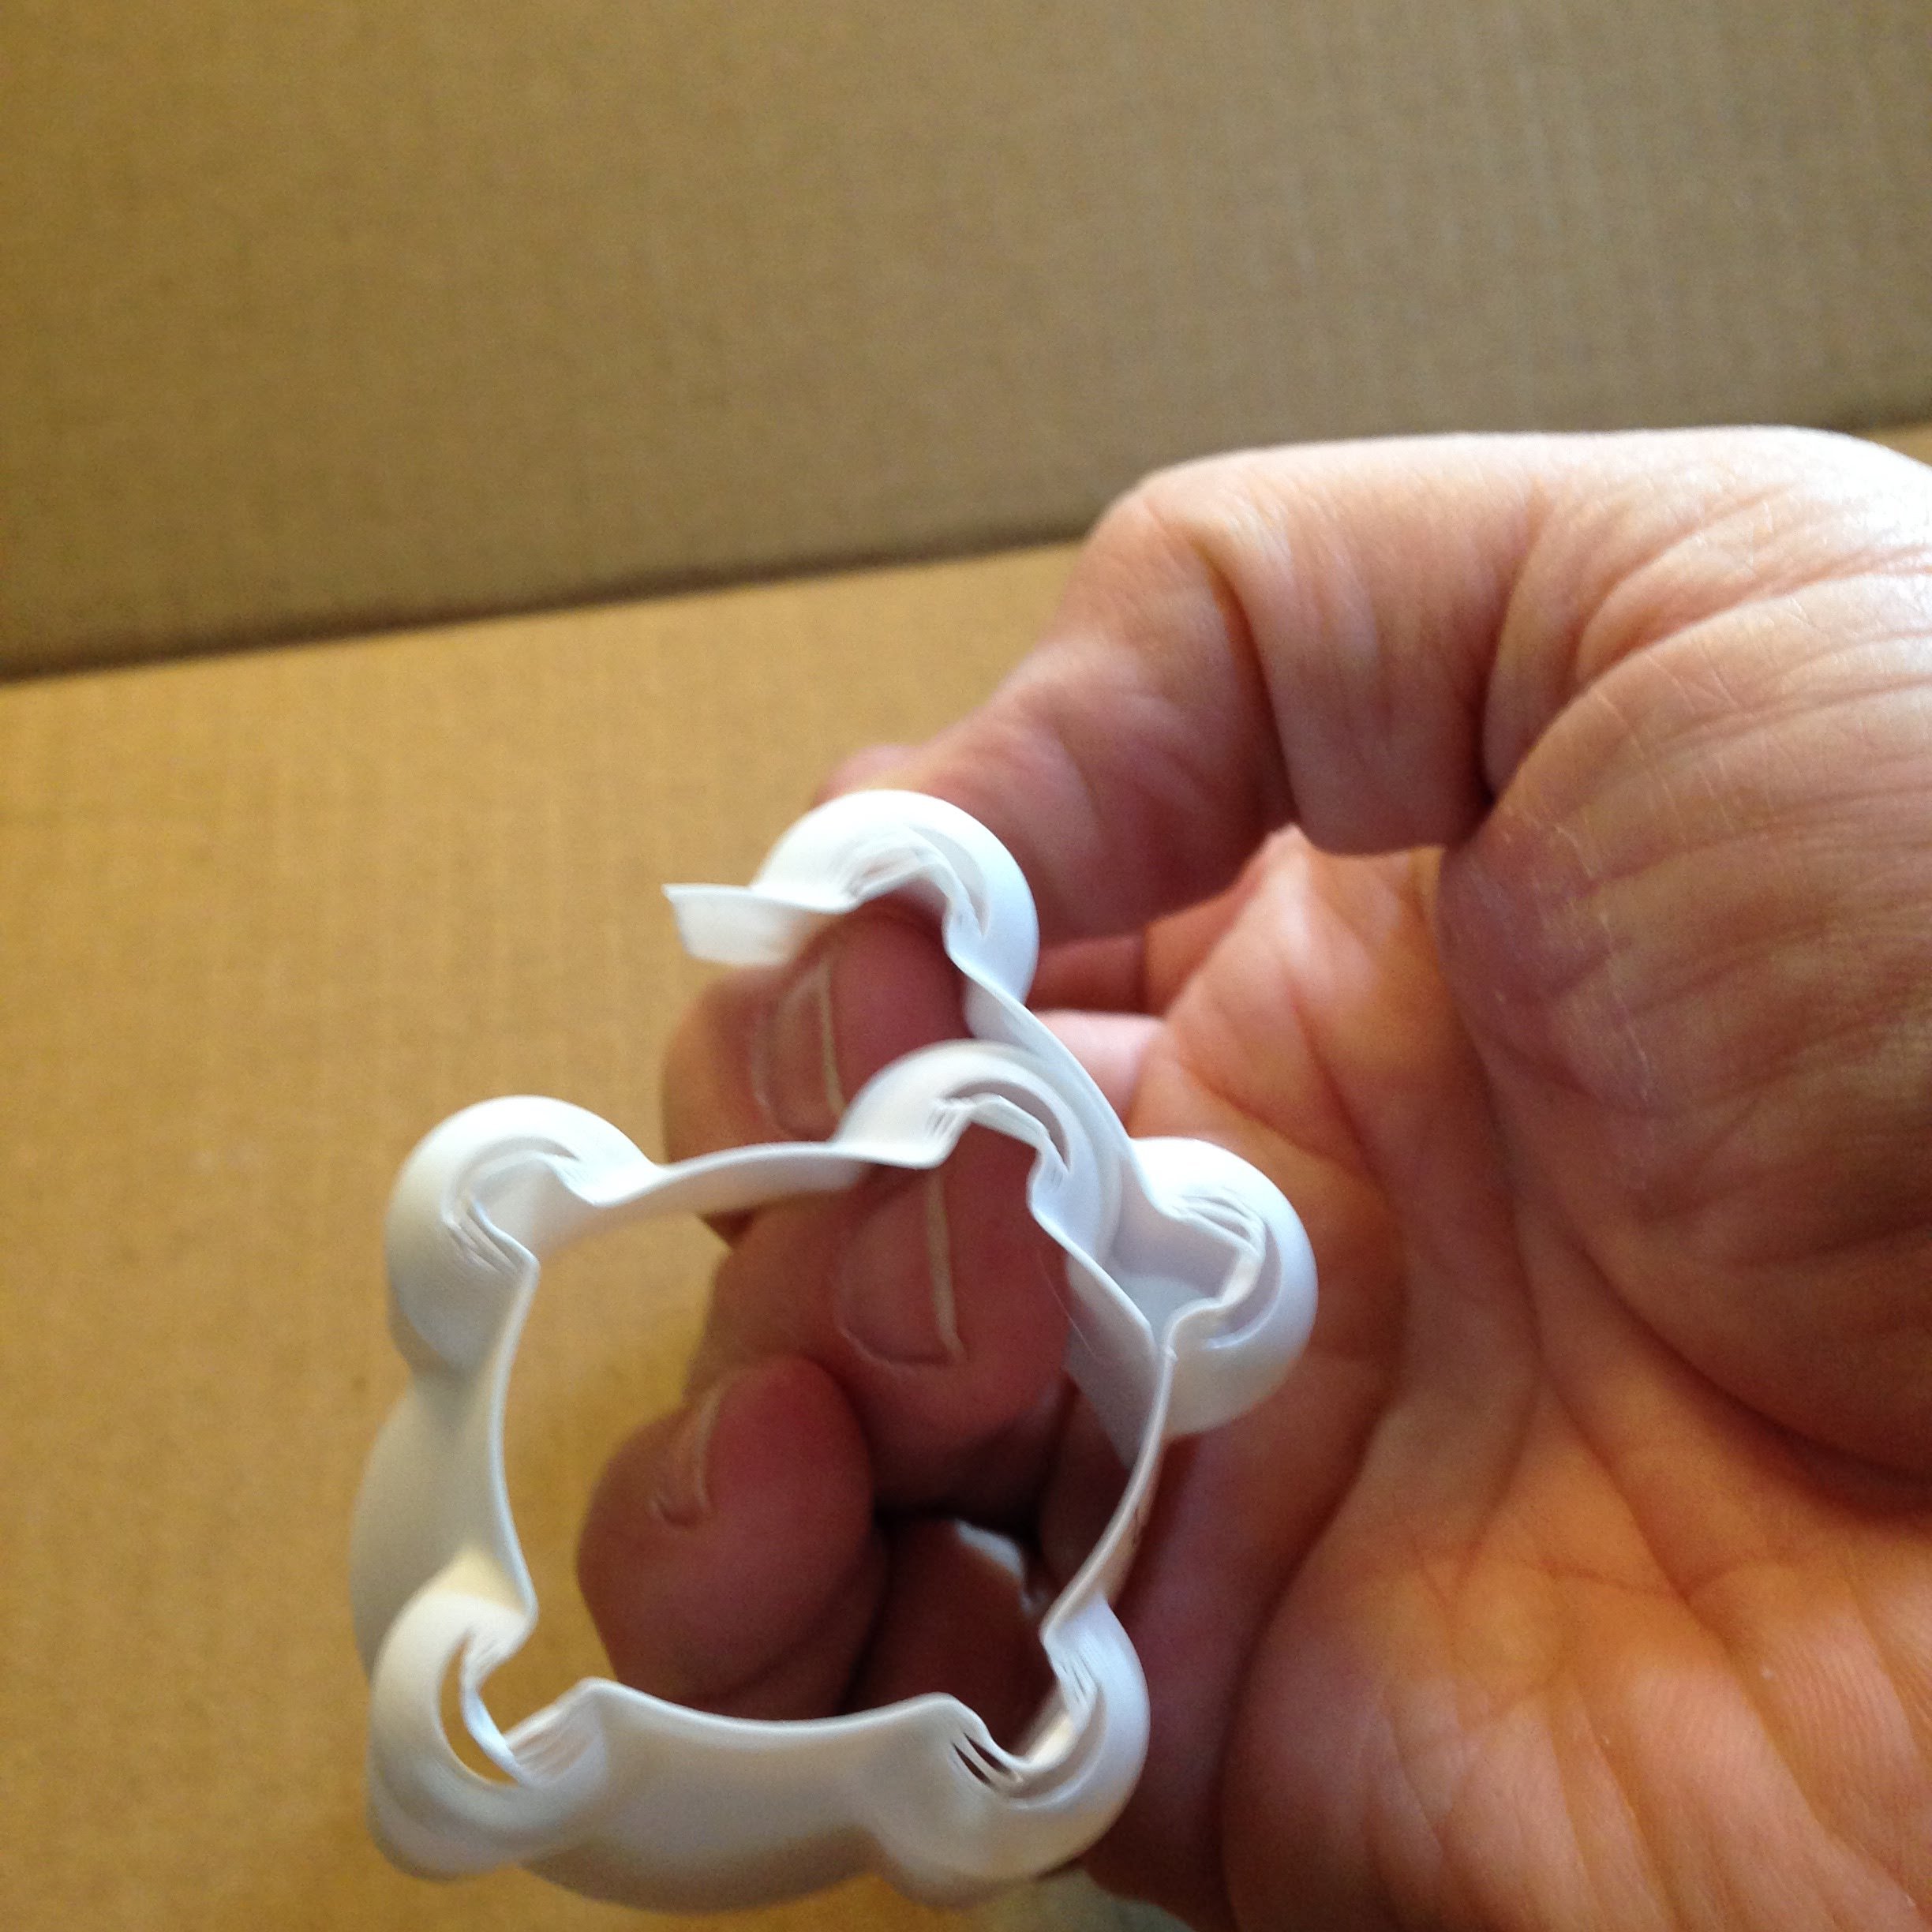
Once you're comfortable with installing the windows, remove them and apply glue. I recommend using a non-clouding glue like E6000. CA glues will fog transparent plastic and also leave limited time for assembly. Lay a narrow bead down the center of the gape between the windows. If you get off center, it's easy to smear glue onto the actual window canopies.
8 . Apply a little glue inside each fin pylon and attach the fins
9 . Glue in the antenna and you're done!