

by Toranado3D, published
V1.1 Printing @ 85mm/sec and 500mm/s^2 default acceleration
Hardware Kits - v1.1 Tornado Kits
Expect 4-7 days for handling on all kit orders as I continually replenish stock
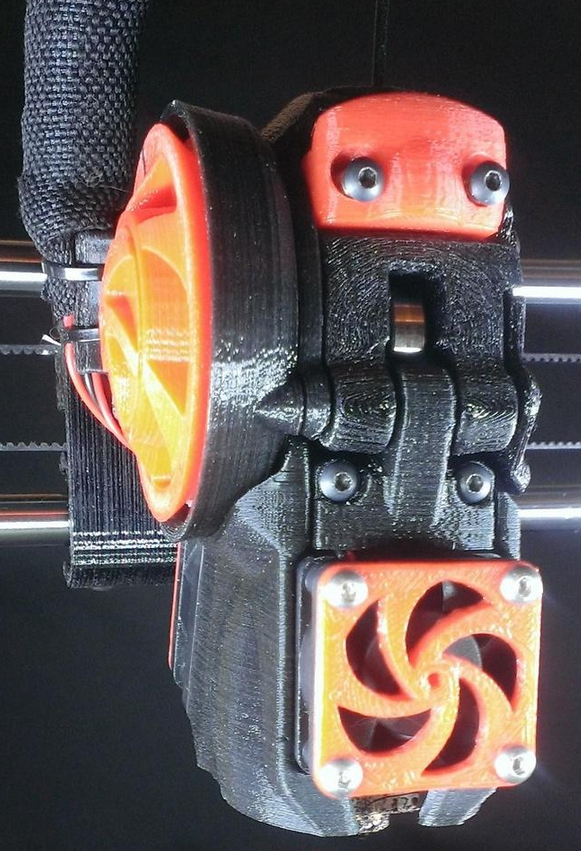
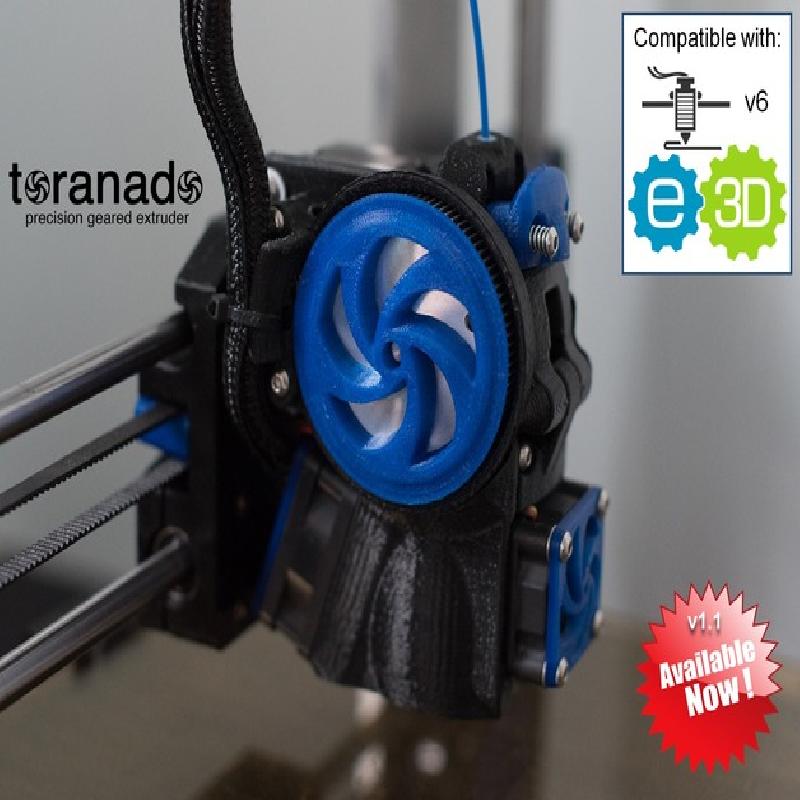
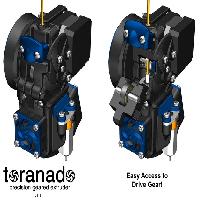
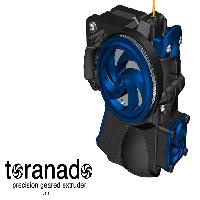
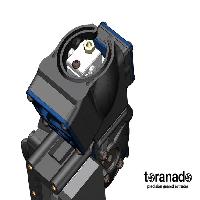
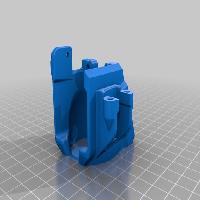
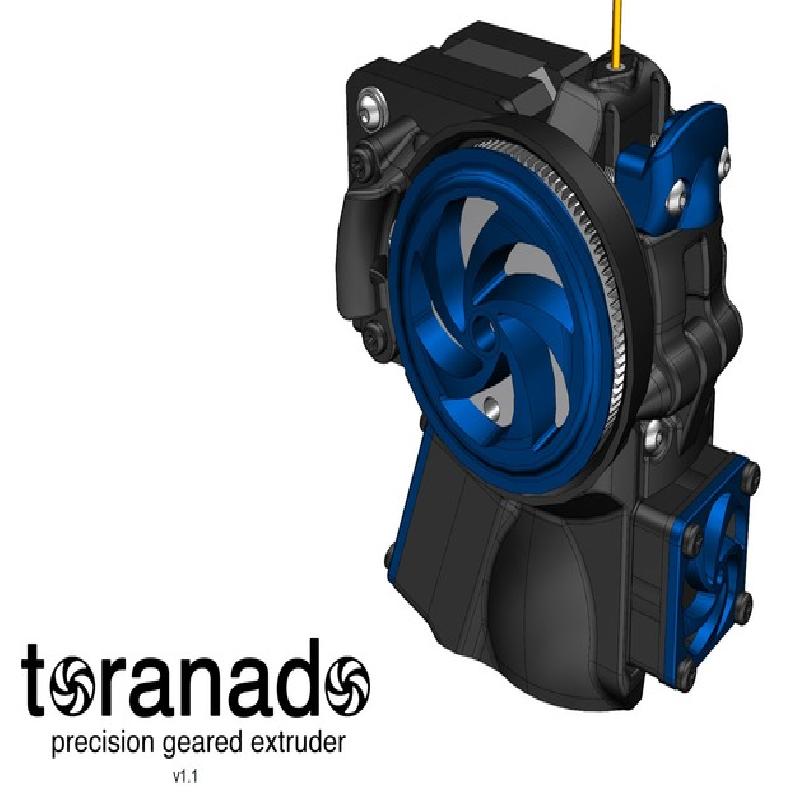
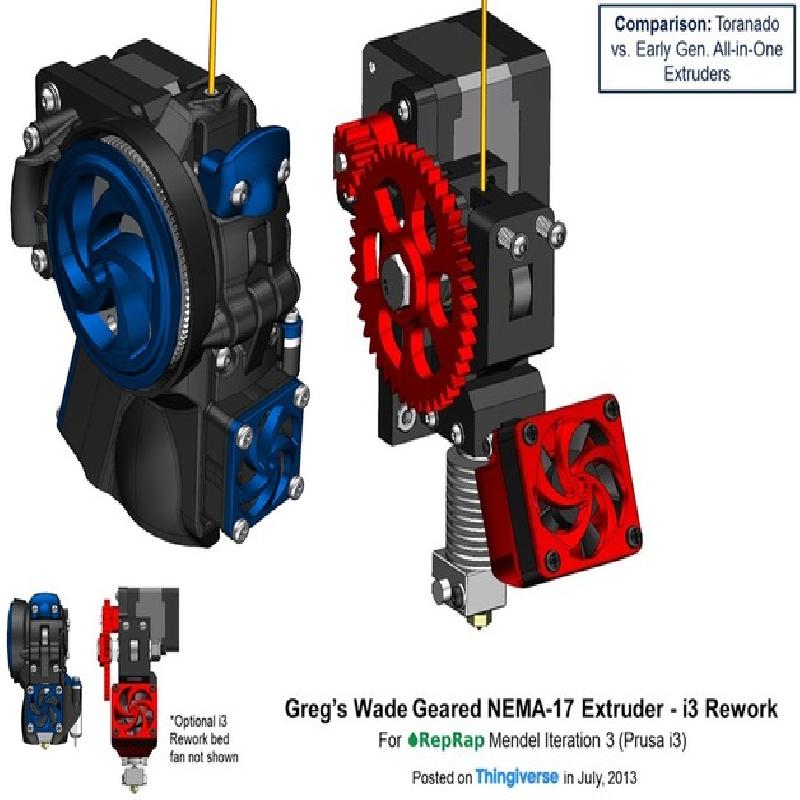
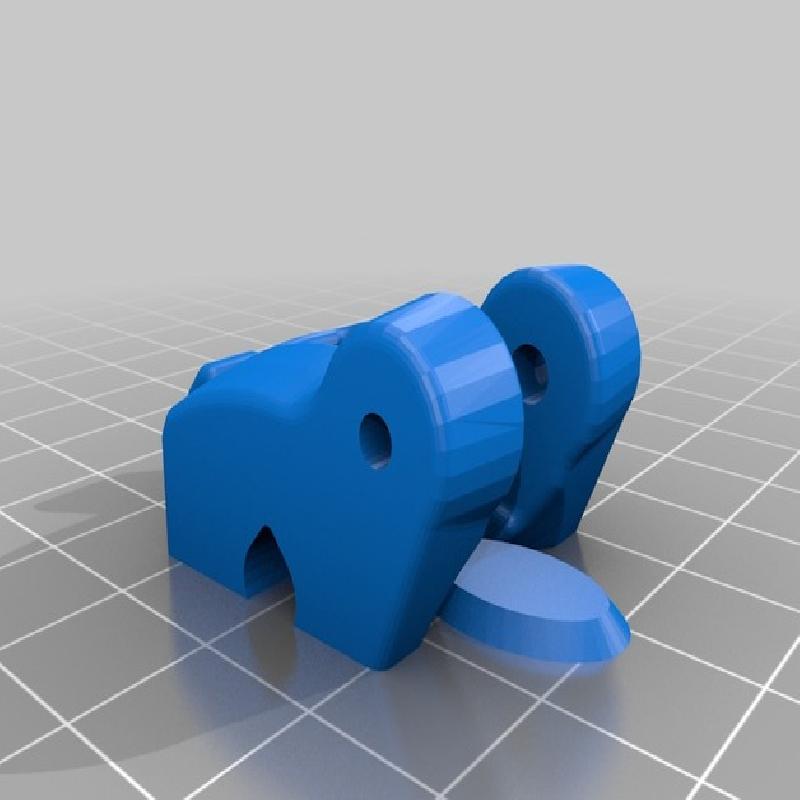
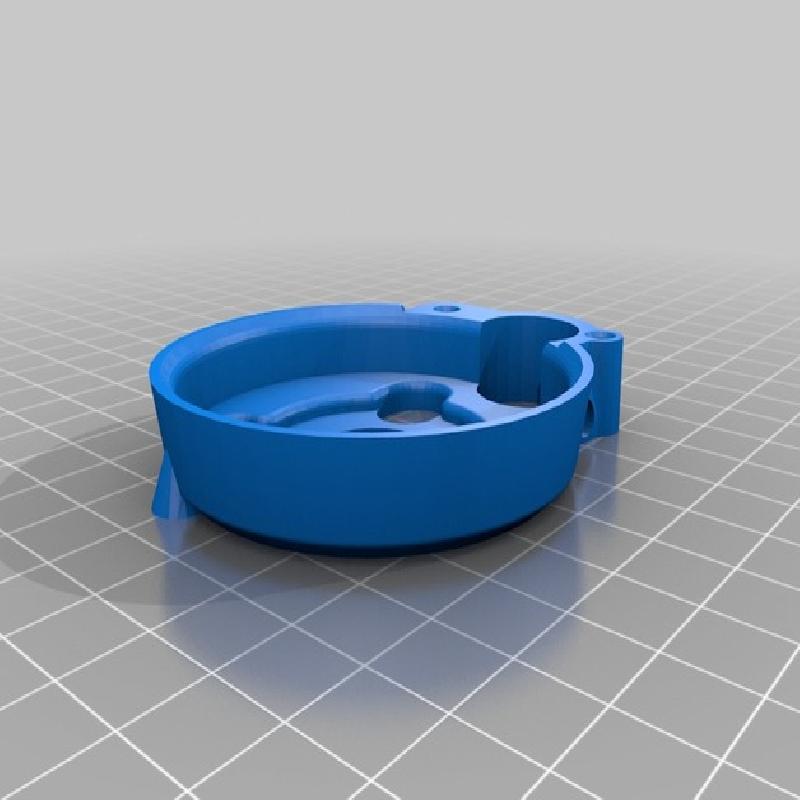
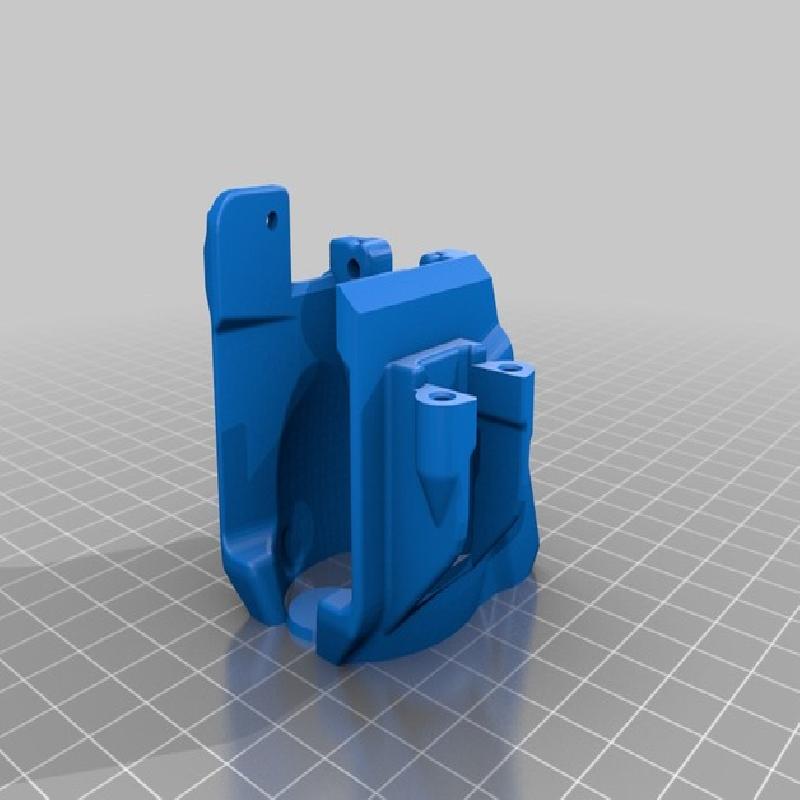
The Toranado Precision Geared 1.75mm Extruder - Current Build v1.1
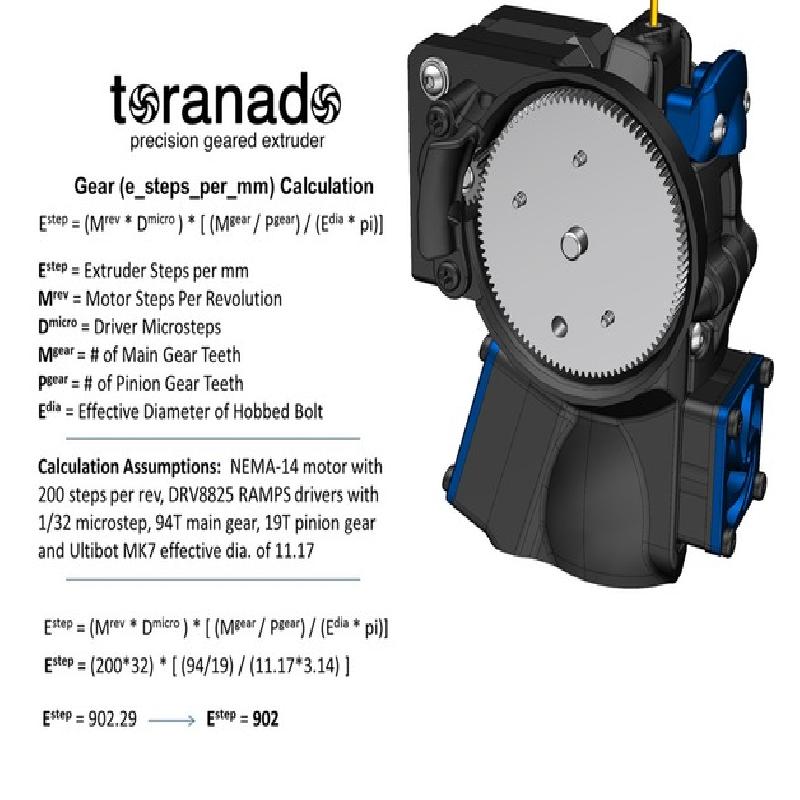
e_steps_per_mm Gear Calculation
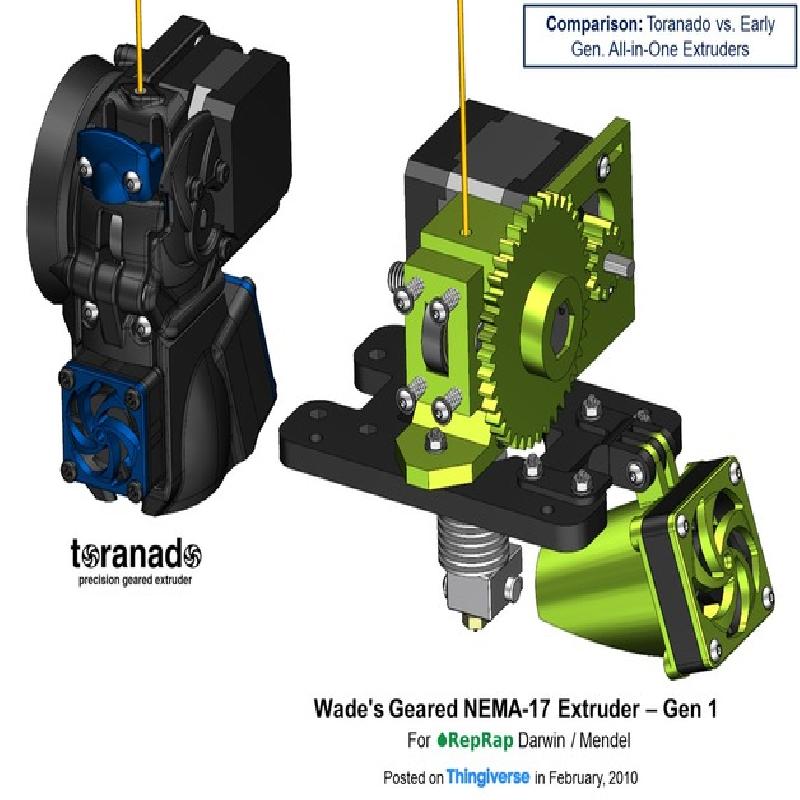
Significantly lighter than NEMA-17 geared Extruders
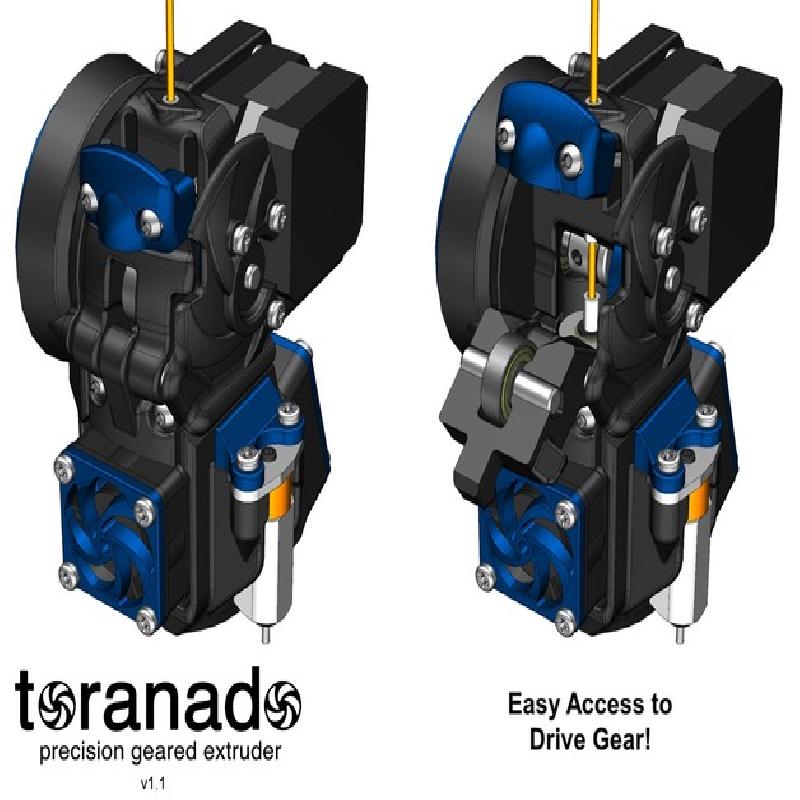
All-in-one
Precision Geared
Uses Ultibot's High Performance MK7 Drive Gear
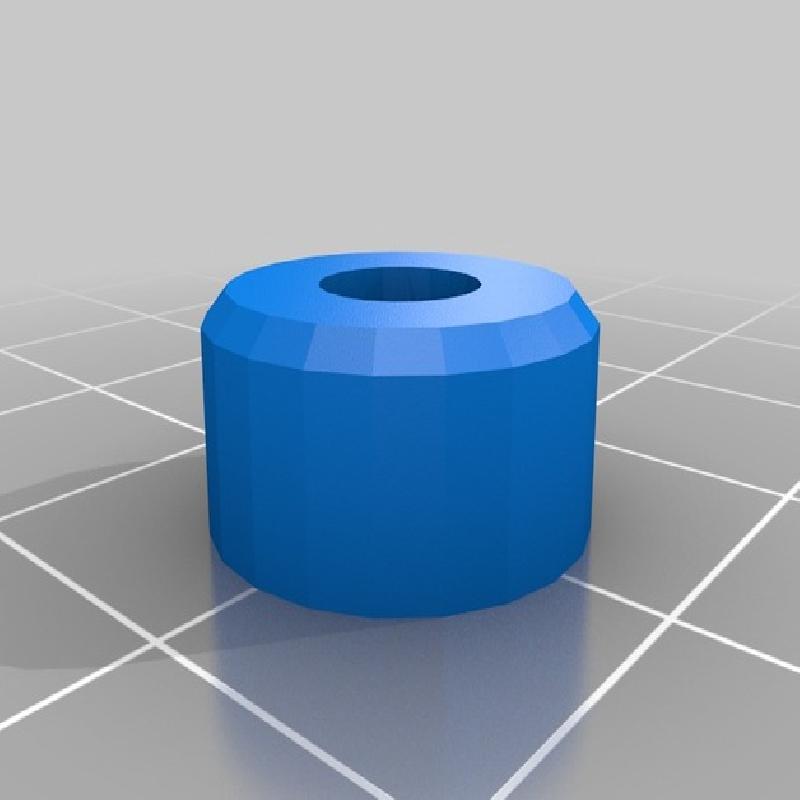
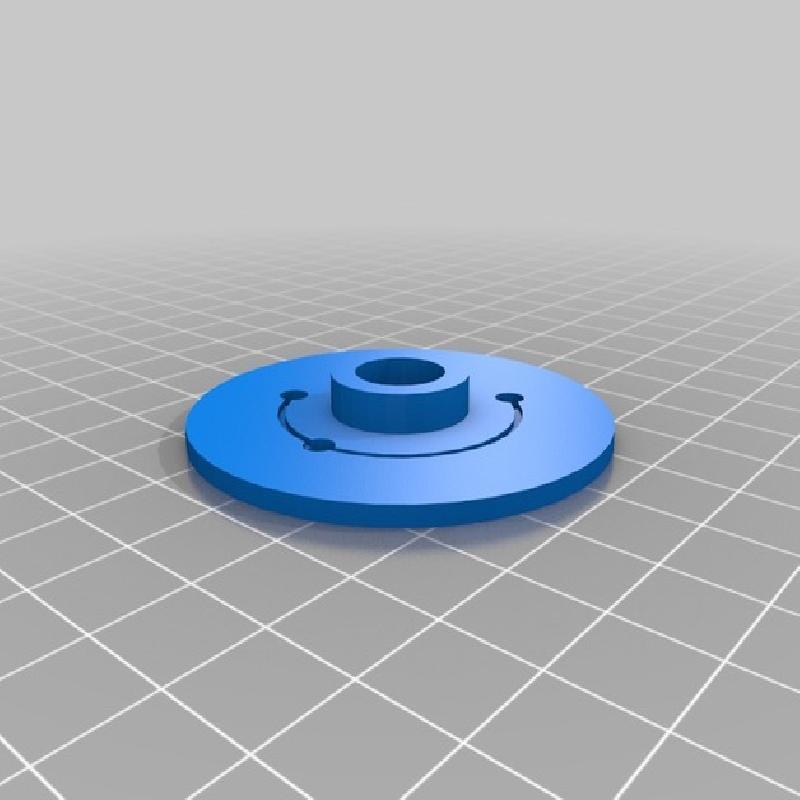
Modular Design - All parts are easily printable without structure and in your material of choice (PLA/ABS/PETG).
Designed for use with E3Dv6 1.75mm Universal
Attractive (like the one who designed it*).
*Note: There is still some minor discussion as to the validity of the designer being attractive.
Update 4/6/2016 - Version 1.1 of the Toranado is Released! This update includes:
An all-metal Toranado Gear-Set. The 94T Precision Main Gear is now made in the USA and precision cut from 2010 aluminum. It is now a 1-piece solution with an integrated hub with a 5mm bore - perfectly sized for the 50mm precision shaft and made to eliminate gear wobble. The gears are precision cut in the United States with a "total composite error and TIR of .003" or less."
All of the .STL files are unchanged except the main gear covers. A new .STL file for the aluminum gear tpge-v1.1-gearcover.stl replaces the v1.0 gear cover .STLs. Using the new aluminum gear also eliminates the need to use the tpge-spacer-wprintpad.stl, so it has been moved to the legacy zip file.
New v1.1 build instructions are available here
All legacy v1.0 files and build instructions are available here
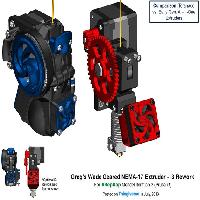
Once v1.2 is complete, most of this technology will be integrated to the ongoing Tornado Dual Extruder design.
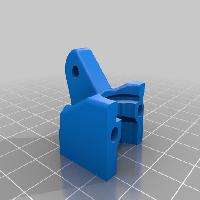
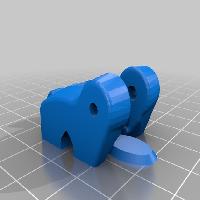
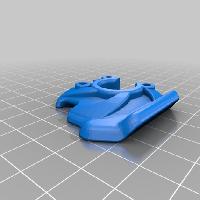
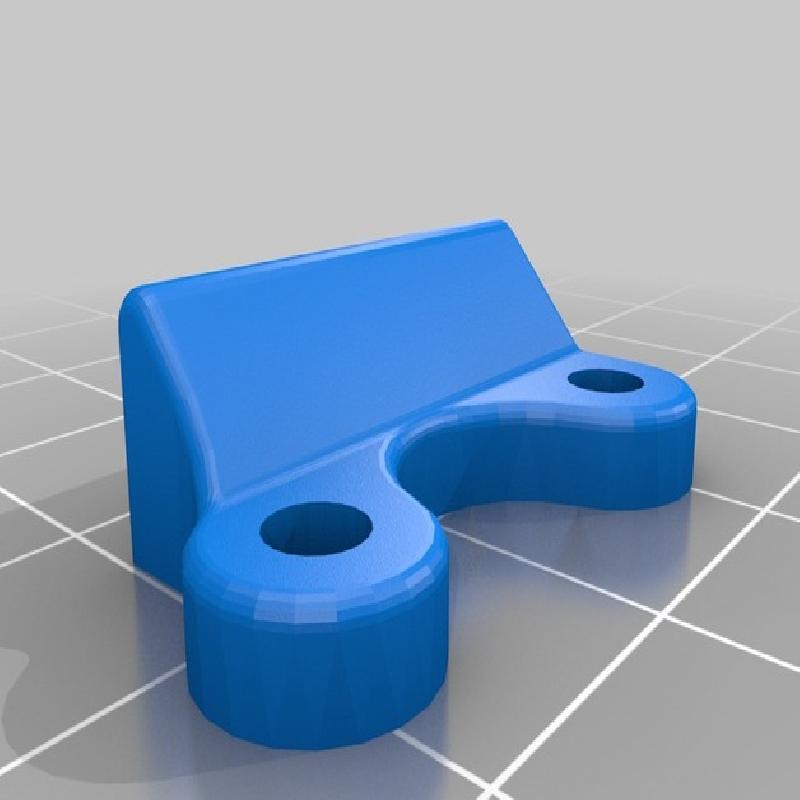
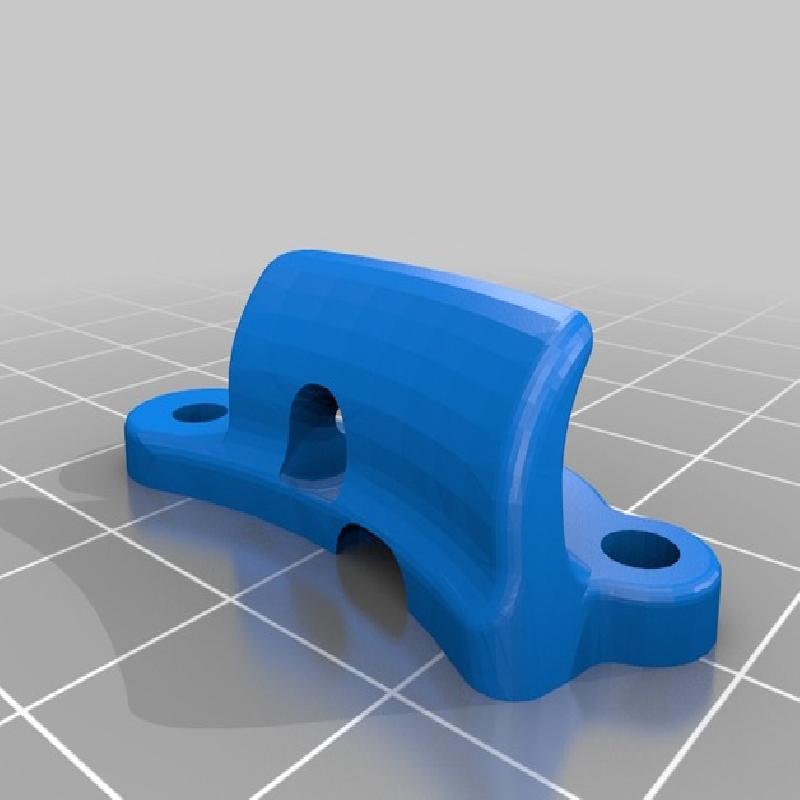
AVAILABLE TORANADO X-CARRIAGE MOUNTS
i3 8mm X-Carriage Mount
i3 8mm X-Carriage Mount w/ 45mm bearings
i3 10mm X-Carriage Mount
Robo 3D Mount
Also compatible with i3 Rework and typical 23x23mm x-carriage hole patterns.
I met a guy named Big Cooter, and he pushed me over a cliff.
Fasteners, Washers, Nuts, Springs and PTFE Tubing
NOTE: All of these items are included in the Toranado Precision Geared Extruder Fastener Kit
(3x) M3x14 Button-Head Machine Screw
(1x) M3x22 Button-Head Machine Screw
(4x) M3x30 Button-Head Machine Screw
(2x) M3x5 Self-Tapping Screw
(3x) M3x14 or #4-20 x 5/8" Self-Tapping Screw
(12x) M3x18 or #4-20 x 3/4" Self-Tapping Screw
(8x) M3 Stainless Steel Washer
(9x) M3 PTFE Heat- Isolation Washer
(5x) M3x4mm Brass Knurl Nuts
(2x) M3 Nyloc Nut
(1x) PTFE Tubing 4mmOD 1.8mmID - 64mm length
(3x) PTFE Tubing 5mmOD 3mmID - 8.25mm length
(2x) Compression Springs - Available in Toranado Fastener Kit
Precision Gearing and Shafting
NOTE: All of these items are included in the Toranado Precision Geared Extruder Gear and Shaft Kit
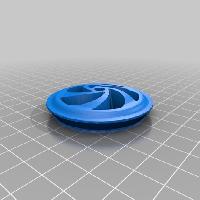
(1x) 94T 48P Aluminum Main Gear
(1x) 19T 48P Steel Motor Pinion Gear
(1x) 5mm Stainless Steel Precision Shaft - 50mm Length - Available in Precision Gear and Shaft Kit
(1x) 5mm Stainless Steel Precision Shaft - 25mm Length - Available in Precision Gear and Shaft Kit
Hardware
(1x) e3dv6 1.75mm Universal Hot End - Full Kit
(1x) NEMA-14 Stepper Motor - 28mm length
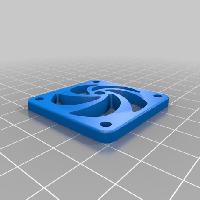
(1x) 40x40x10mm 12vdc Bed-Cooling Fan
(1x) Ultibot MK7 1.75mm Drive Gear
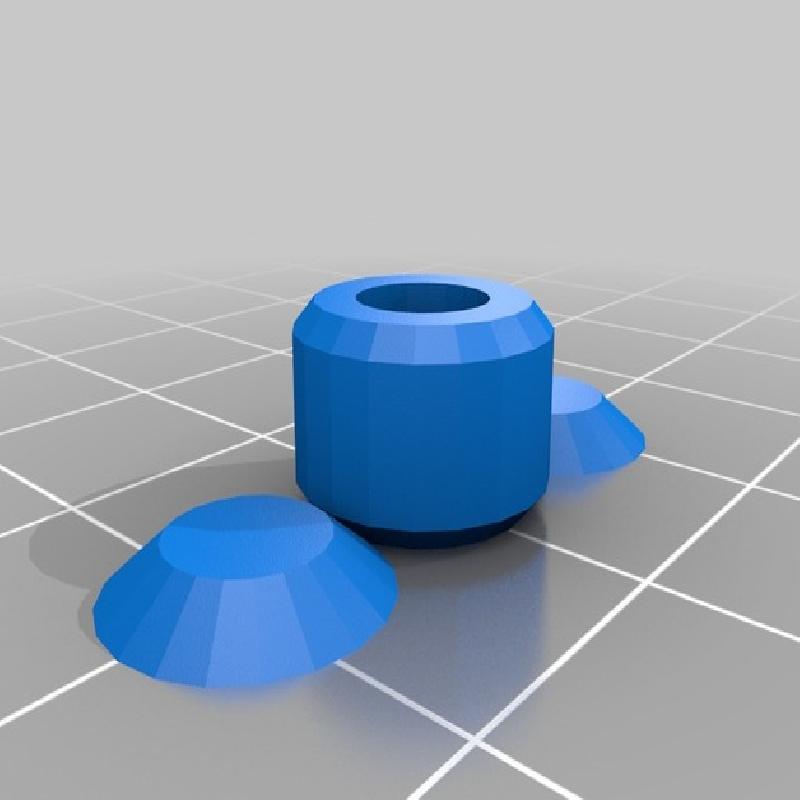
(1x) 5mm Shaft Collar w/ Set Screw, Optionally you can use tpge-shaftcollar.stl with an M3x3 set screw.
(3x) 5x16x5 625zz Radial Bearings
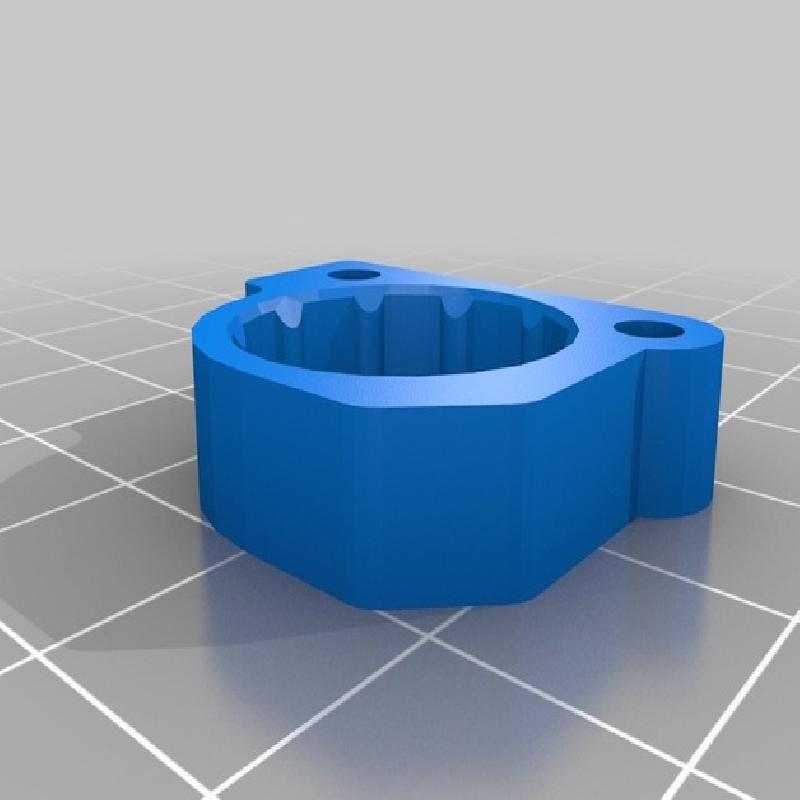
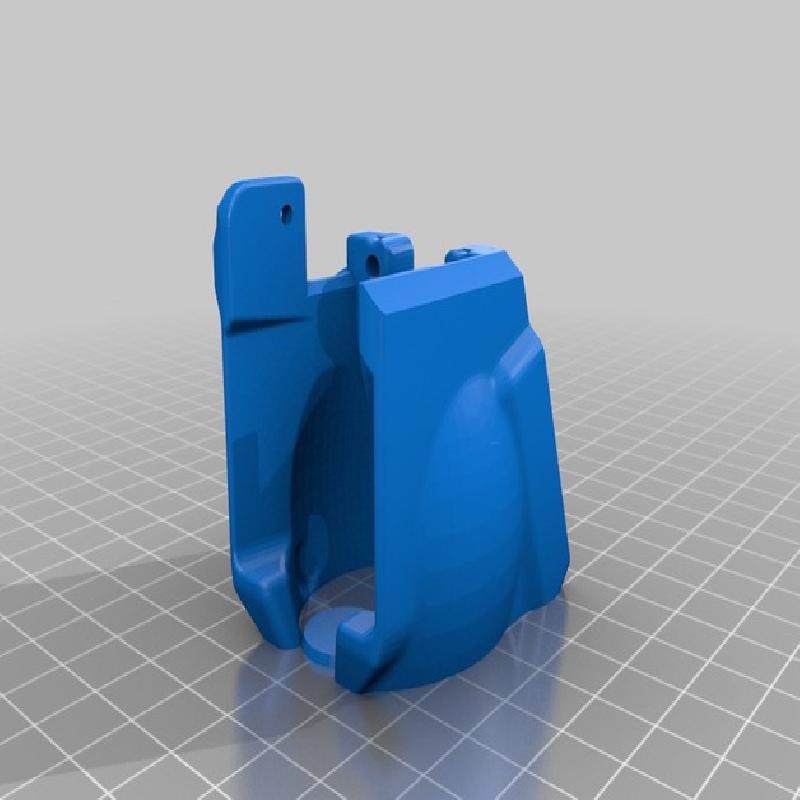
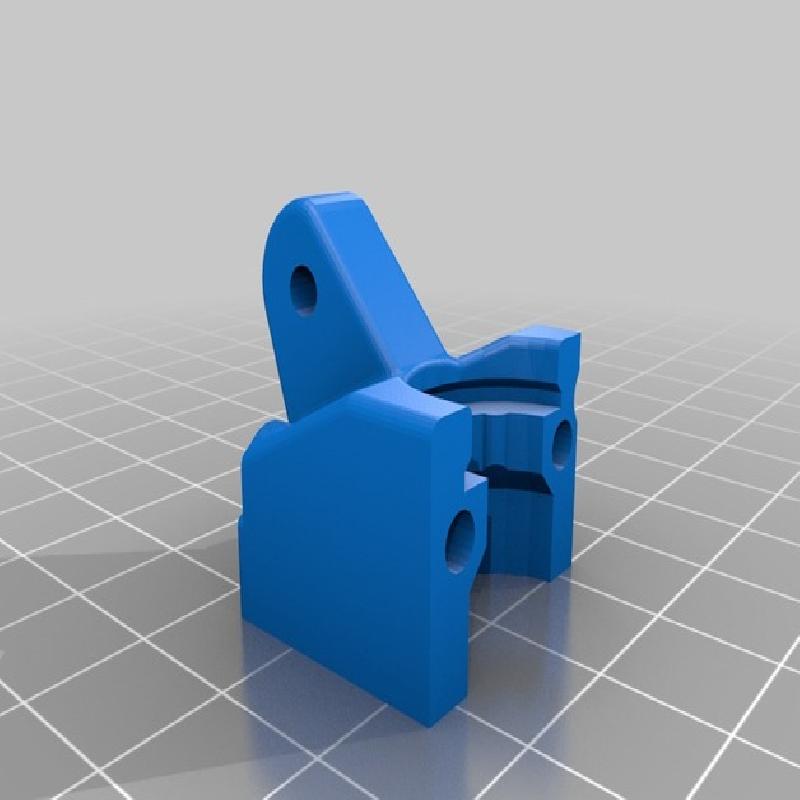
.STL files and recommended print settings (with a 0.4mm nozzle)
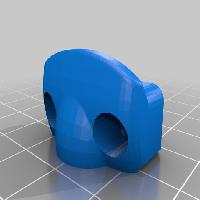
tpge-extruderbase.stl: 4 Perimeters, 0.2mm layers, 25% infill
tpge-gearprotector.stl: 2 Perimeters, 0.2mm layers, 21% infill
tpge-40mmfanduct-wprintpad.stl: 2 Perimeters, 0.2mm layers, 21% infill
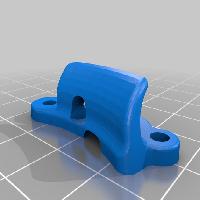
tpge-clamp-hotend.stl: 2 Perimeters, 0.2mm layers, 21% infill
tpge-idler-wprintpad.stl: 2 Perimeters, 0.2mm layers, 25% infill
tpge-decorationcover.stl: 2 Perimeters, 0.15mm layers, 21% infill
tpge-smallgearcover.stl: 2 Perimeters, 0.2mm layers, 21% infill
tpge-bearingcover.stl: 2 Perimeters, 0.2mm layers, 21% infill
tpge-idler-tensioner.stl: 2 Perimeters, 0.15mm layers, 21% infill
tpge-fancover-40mm.stl: 2 Perimeters, 0.15mm layers, 21% infill
tpge-fancover-30mm.stl: 2 Perimeters, 0.15mm layers, 21% infill
tpge-v1.1-gearcover.stl: 2 Perimeters, 0.15mm layers, 21% infill
Fine Tuning Your Toranado Extruder
The NEMA-14 Stepper Motor
The motor I have spec'd is rated at 500mA, and even at the rated voltage NEMA14's run hot - be sure not to exceed the rated voltage. Also, You MUST follow Item #9 of the build instructions as well - isolating the motor heat from the extruder mount is critical.
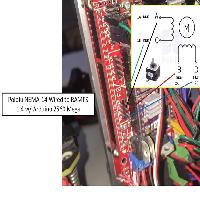
How to set the NEMA-14 properly For the popular RAMPS 1.4 setups:
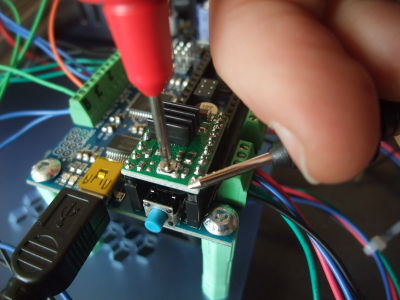
DRV8825 1/32 stepper - you should take a DC voltage measurement exactly like this. To properly set the motor current, you should adjust your potentiometer to get the reference voltage as close to 0.25V as possible. 0.25V = 500mA (0.5A) to the motor. (Any VREF measurement between 0.24-0.26 should work fine). Formula: Measured VREF x 2 = Motor Current
Pololou A4988 Driver - measure to voltage exactly like this. If you are using drivers from Pololou - to properly set the motor current, you should adjust your potentiometer to get the reference voltage as close to 0.2V as possible. 0.2V = 500mA to the motor. (Any setting between 0.19-0.21 should work fine). Formula: Measured VREF x 2.5 = Motor Current.
NOTE: If you are using certain Chinese clones of the A4988 Driver, the formula is different. See This Post about adjusting your voltage setting on the stepper driver, depending on the type of A4988 that you have.


