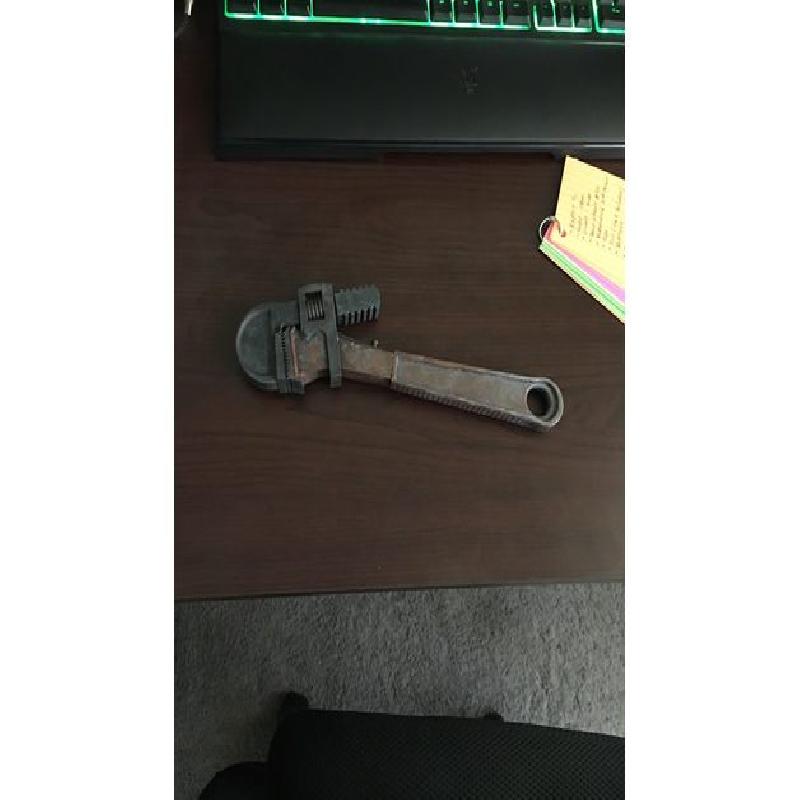
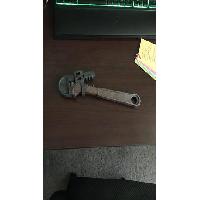
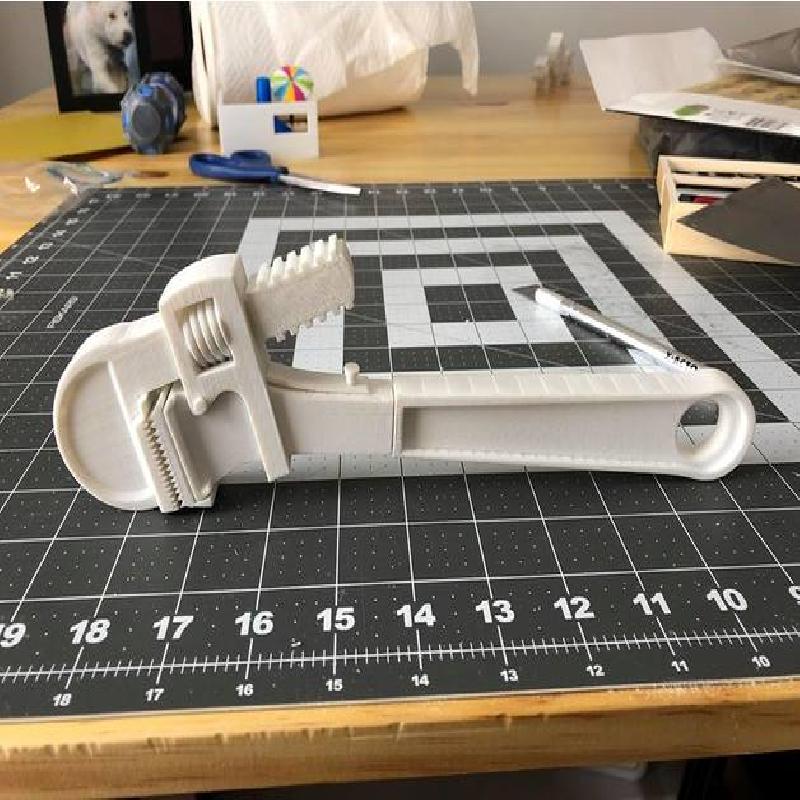
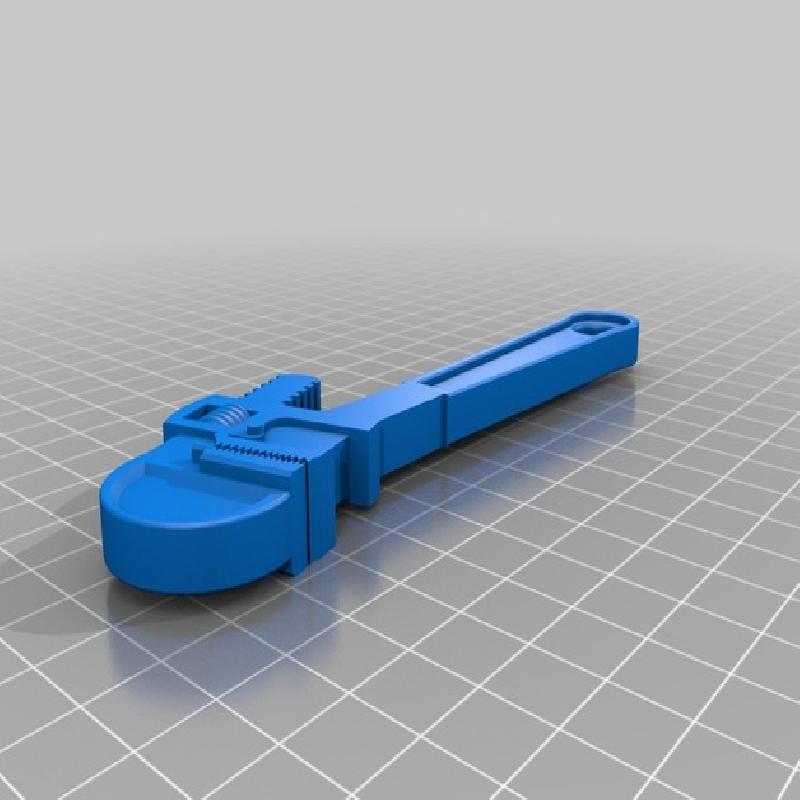
Modeled it off of photo , printed, painted, and sent to a friend of mine. Its not true to scale and is missing the raised lettering and logo details. No photos during process because I was lazy
Printer:
Flash Forge Inventor
Rafts:
Doesn't Matter
Supports:
Yes
Resolution:
High, any will do
Infill:
Default
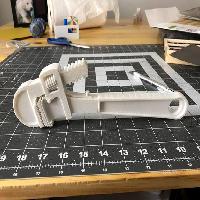
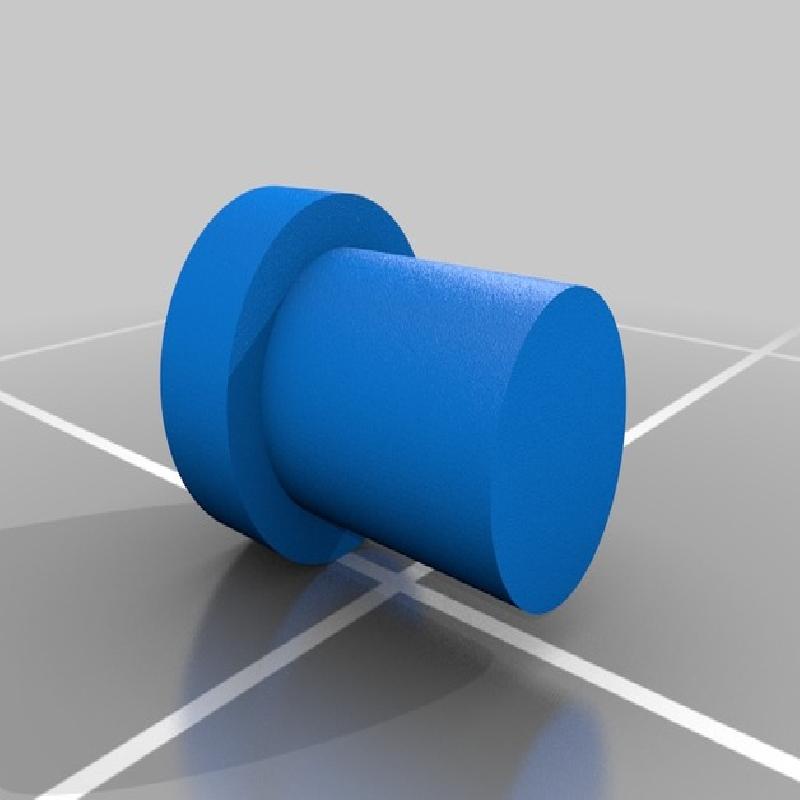
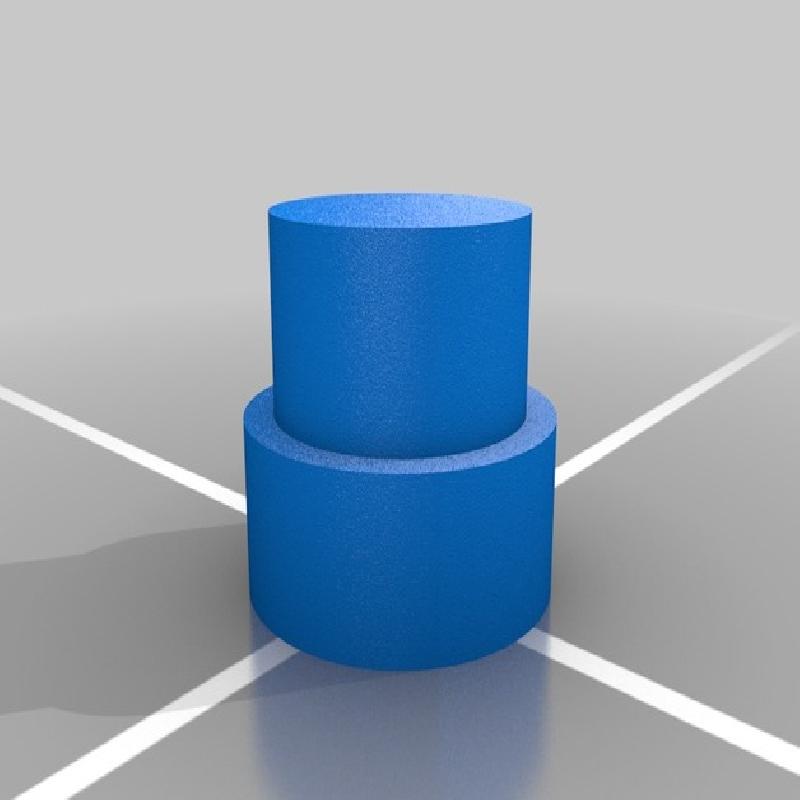
1) Take off supports
Easy enough to do
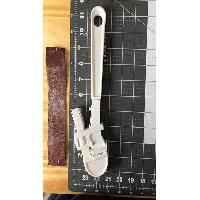
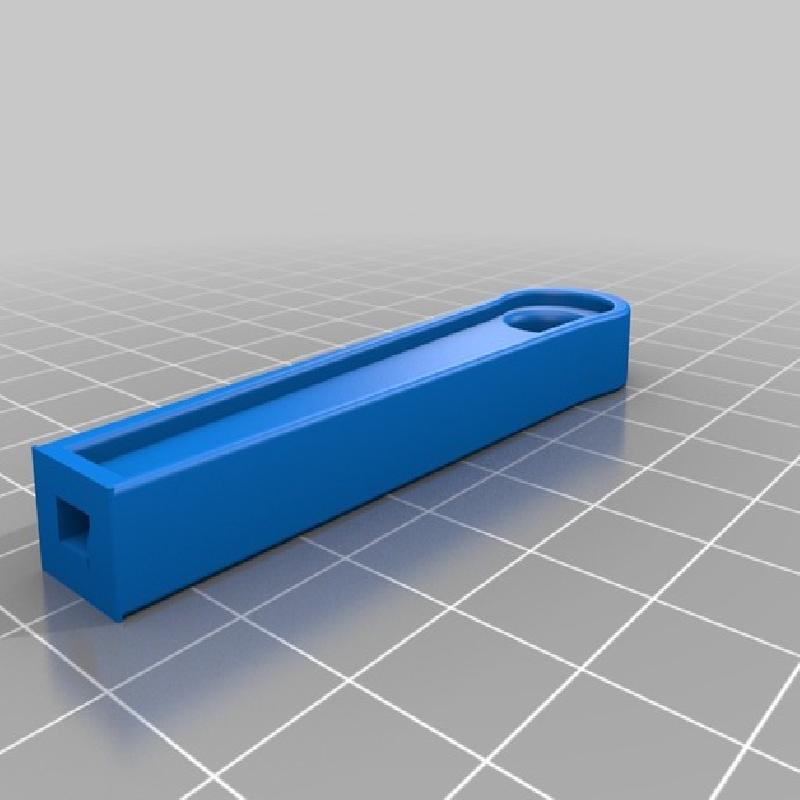
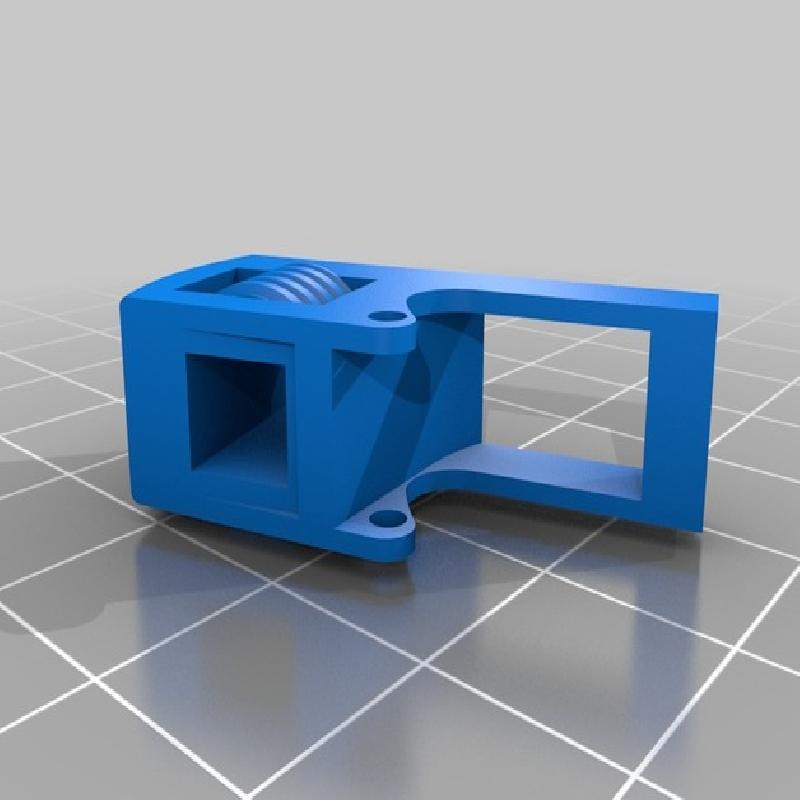
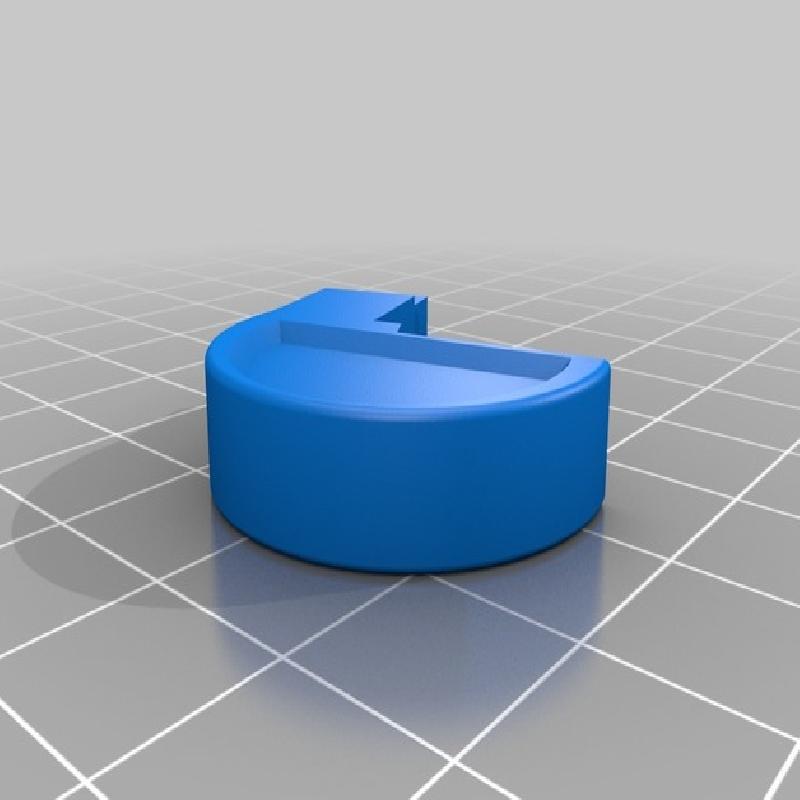
2) Sand well
I found some of my tolerances on all the pieces werent perfect, so a little sanding so that everything could fit together was important. That and it gives it a nice clean finish to paint
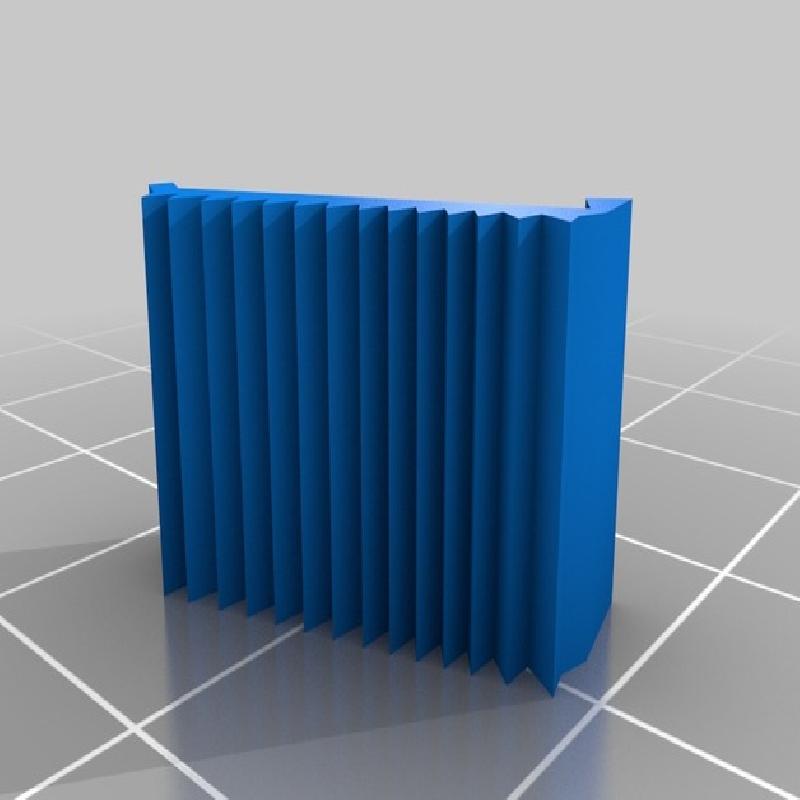
3) Paint some pieces before gluing together.
Learn from my mistakes, paint the teeth of the wrench first before glueing anything together, If you dont you will regret it just as I have.
4) Super Glue pieces togther
A little superglue will go a long way, just put them on both ends of the connections and you should be fine.
5) Paint Certain parts grey, then rust everything
I based my painting off this foam version of the prop, not super accurately, because this isn't super accurate. I used this and the photo that I modeled it from
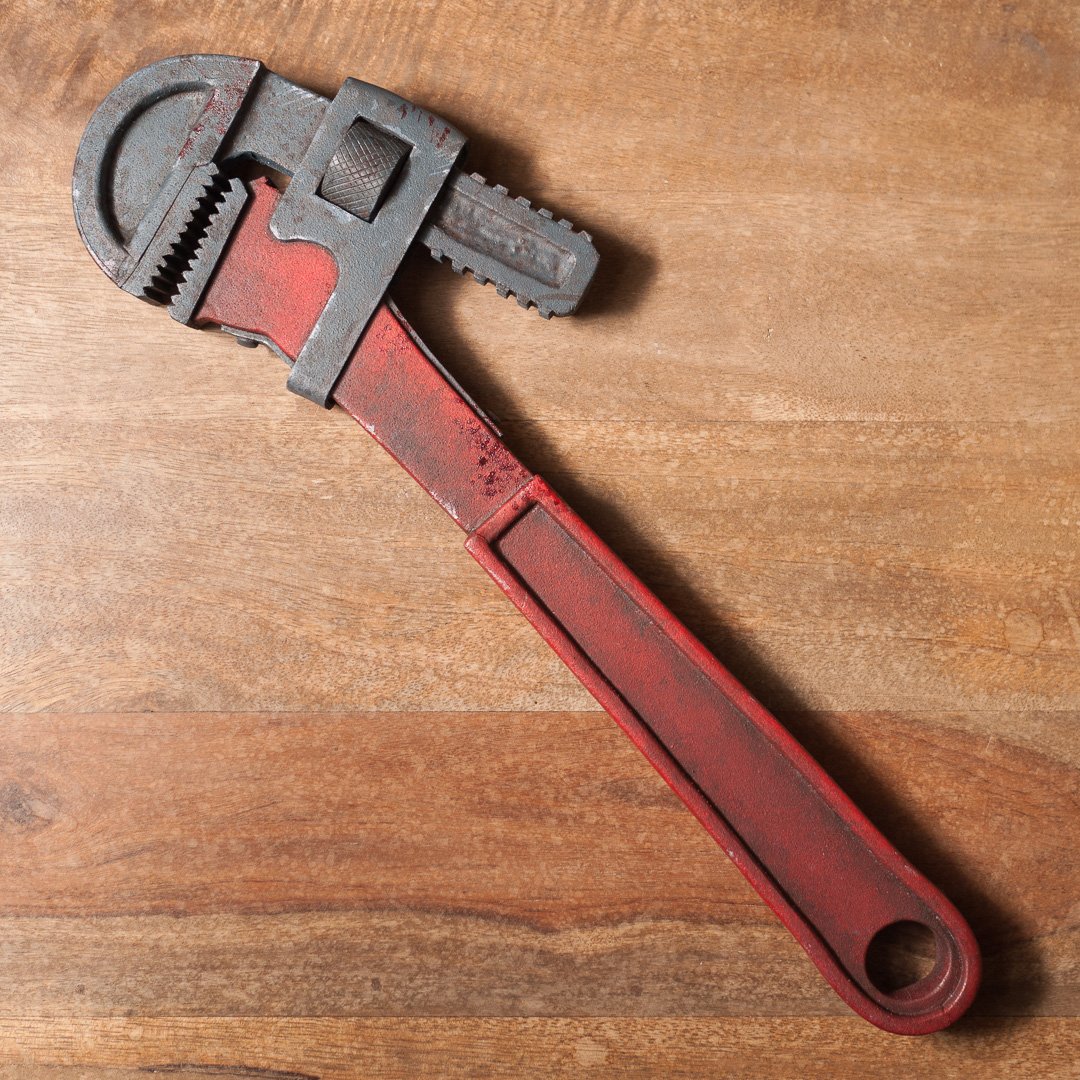
In the real one the bottom handle is a little grey as well, and the middle part is more rusty and less red.
6) Weather your deisgn
I used a couple techniques. colored water (little) and salt get applied after drying it you wipe away the salt and you get little spots that look all rusty and that paint is lifiting up. General washes and dry brushing was also used. Im not an expert, but you can become one by going to youtube.
7) Spray a finish on it
I used a matte finish but a semi gloss or gloss used properly could probably look good. I did this to protect my acrylic paint job and to make it an all even color.
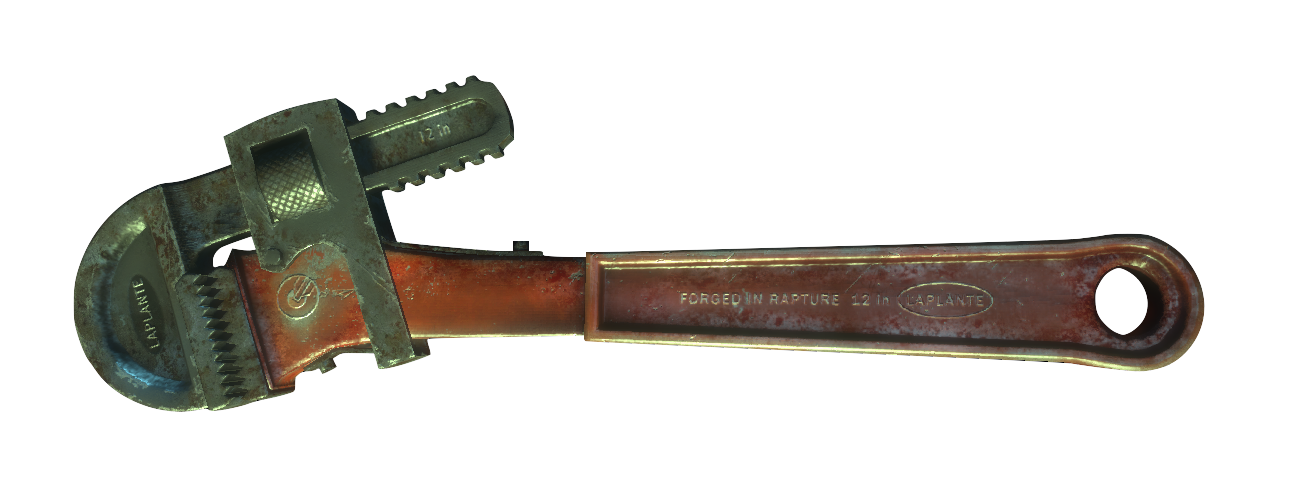
1) Model it after a photo from the game
Try and do it accurately. Thats what i did. Although it is not the full 12in like it is supposed to be in the game.
Support Notice
Make sure your orient your pieces to minimize your support material, cause sanding sucks.
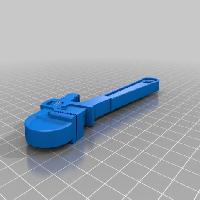
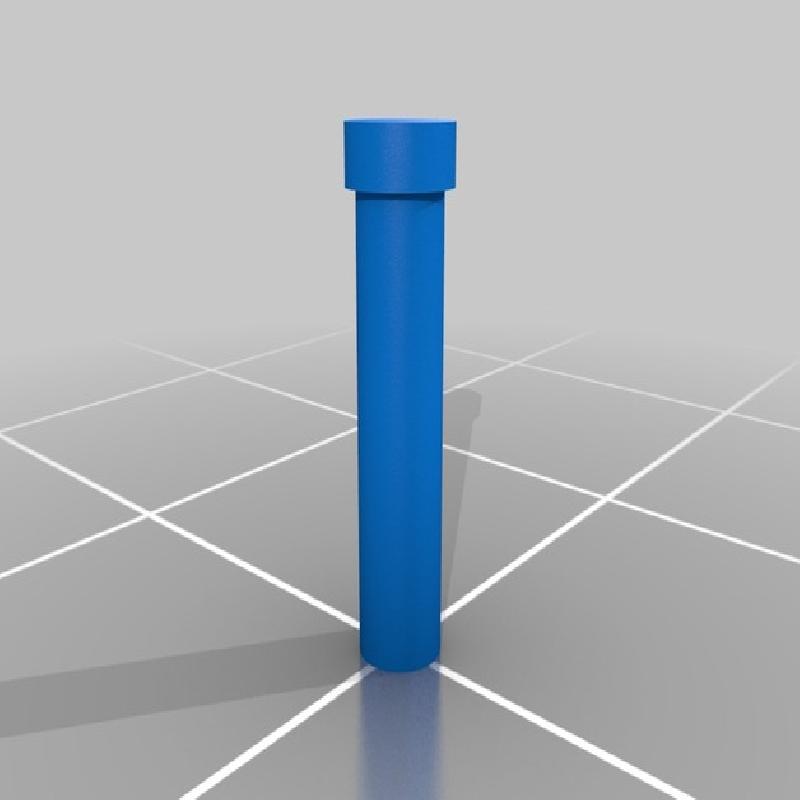
Full wrench
I put a full wrench file, not so much that you can print it all together. But mostly for reference of how all the pieces go together. If you do print the full wrench without attaching everything piece by piece Id love to see it.