I had to dust off my physics textbook for this one...
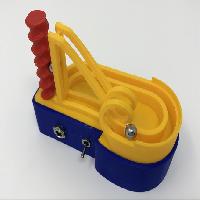
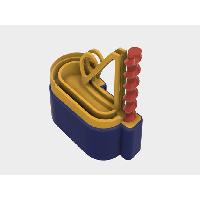
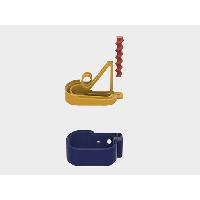
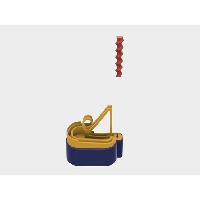
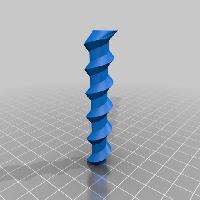
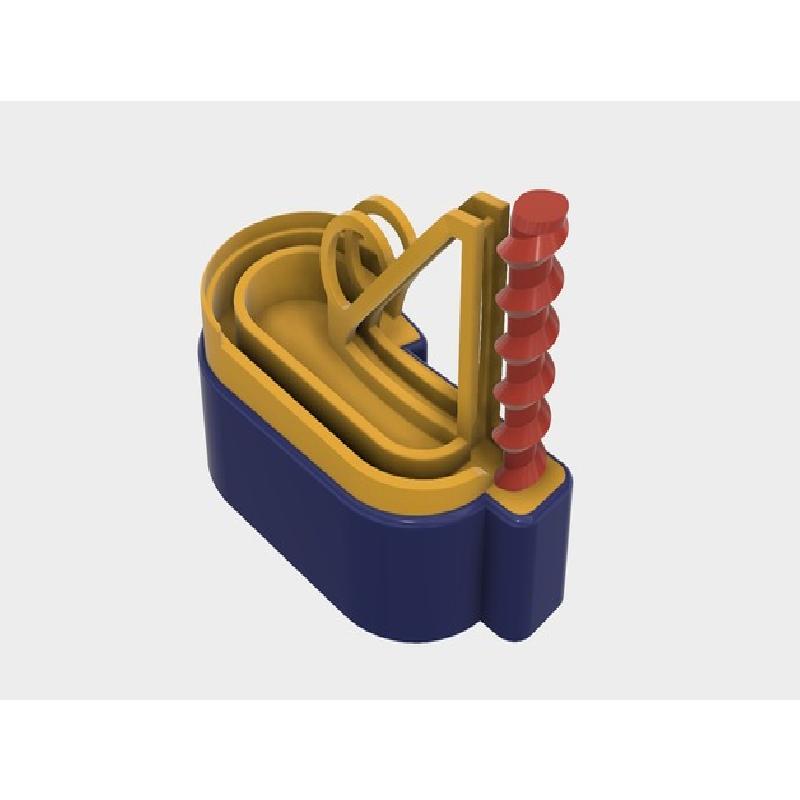
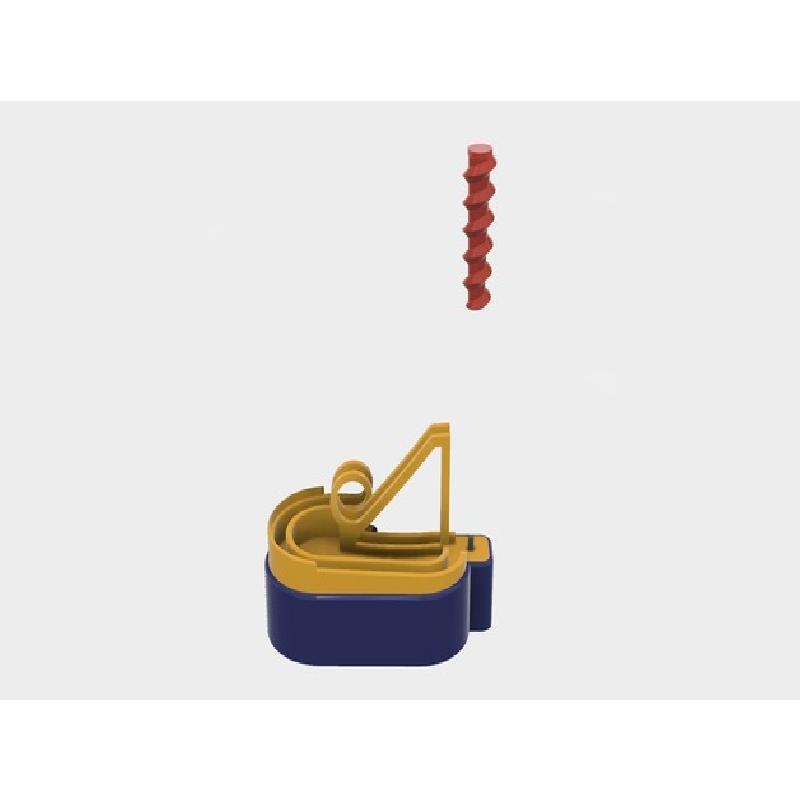
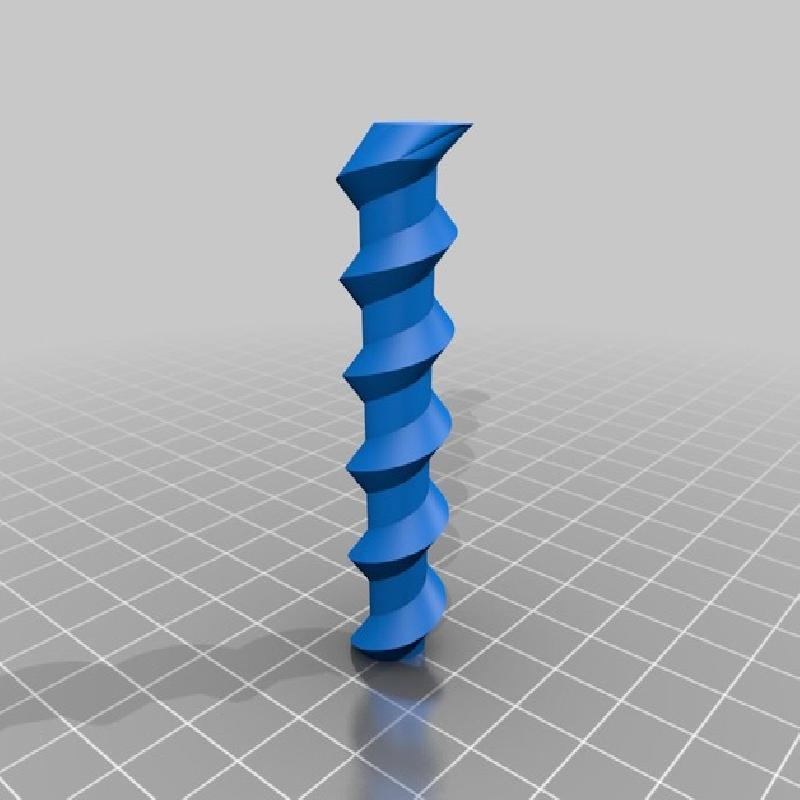
"Marblevator Mini, Loop" is not quite as "mini" as my previous Marblevator Mini designs, but is still quite small, and features a 7.5mm radius loop with a tapered auger lift. Using a few relatively simple physics equations, the height of the entrance ramp (H) is determined by the simple equation H = 2.7R (where R is the radius of the loop). My desire to keep the model small determined the loop radius (7.5mm) and ball bearing diameter (8mm). And to add friction compensation, especially for a 3D printed track printed in this orientation, I increased the height of the ramp over the calculated height of (2.7 * 7.5mm) or 20.25mm.
A video of Marblevator Mini, Loop stress test is here: https://www.youtube.com/watch?v=-RsX8fvJLVE and in action here: https://www.youtube.com/watch?v=8Ve0sO8ITDM. In the video "Marblevator Mini, Loop Stress Test", the stress test ran over 29 hours and is still running. The auger rotates at approximately 75rpm which in this test translates to 75 marble runs per minute. At this rate, Marblevator Mini, Loop has executed (29 x 75 x 60) or 130,500 marble runs without loosing a marble.
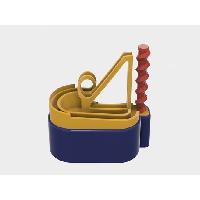
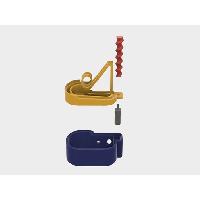
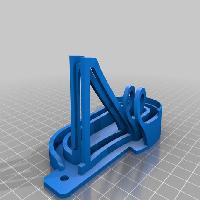
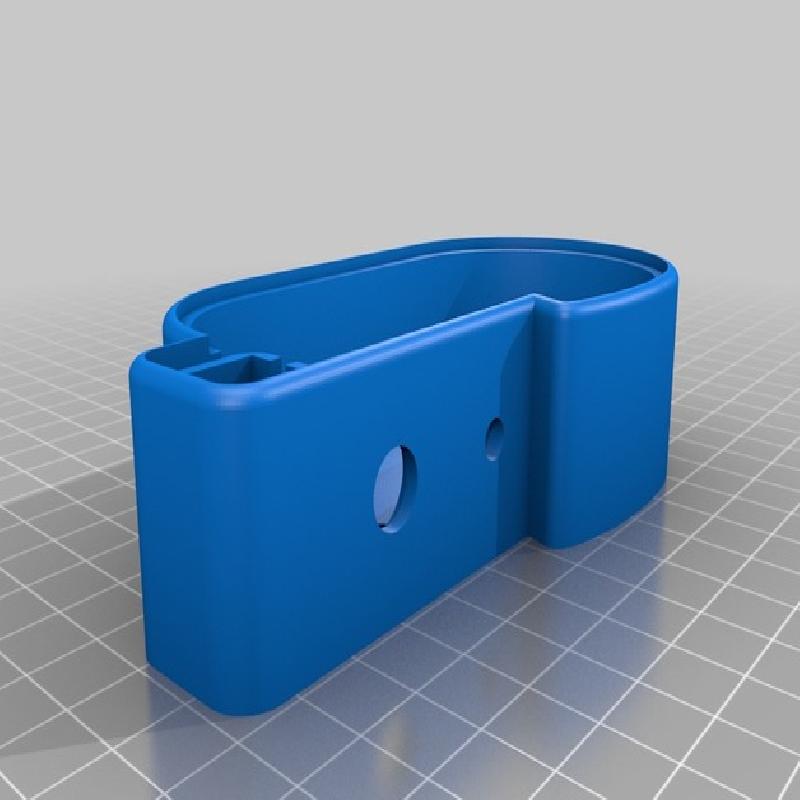
Requiring only three 3D printed parts (base, track and auger), the track part may indeed test the limits of your 3D printer. I've printed the track both with PVA support and without support at .15mm layer height and discovered that with PVA support no filing or sanding of the track was required. If no support material is used, you most likely will need to file and sand the inside edges of the track until reliable operation is obtained.
As usual, I probably forgot a file or two or who knows what else, so if you have any questions, please do not hesitate to ask as I do make mistakes in plenty.
Designed using Autodesk Fusion 360, sliced using Cura 3.3.1 and printed in PLA on both an Ultimaker 2+ Extended and an Ultimaker 3 Extended.
Marblevator Mini, Loop requires a 300 rpm gear motor (33x12mm 300RPM Metal Mini DC 6V Gearbox Gearwheel Motor Mini Reduce Speed Geared Electric Motor), a 1.5 vdc power supply, and an 8mm (3/8") ball bearing. Optionally, I also used a single AAA battery holder, a coaxial panel mount power jack for a 9mm hole, and a miniature SPST switch for a 5mm hole in my Mablevator Mini, Loop to allow it to operate on battery, solar and/or mains power.
I printed "Base.stl" and "Auger.stl" at .15mm layer height, 20% infill and no supports. I printed "Track.stl" at .15mm layer height, 20% infill with PVA support material.
Prior to starting assembly, test fit and trim, file, sand, etc. all parts as necessary for smooth movement of moving surfaces, and tight fit for non moving surfaces. Depending on the colors you chose and your printer settings, more or less trimming, filing and/or sanding may be required. Carefully file all edges that contacted the build plate to make absolutely sure that all build plate "ooze" is removed and that all edges are smooth. I used small jewelers files and plenty of patience to perform this step.
For this marble machine to operate reliably, make sure the track fits tightly in the base, and make sure the base remains stationary. Use tape or other adhesive materials to keep the track and base from moving when the ball bearing enters and exits the loop.
For the simplest of wiring, solder the power supply wires to the motor such that the motor runs clock-wise when viewed from the motor shaft end.
Optionally, I desired to use my Marblevator Mini, Loop with multiple power sources, so I wired my Marblevator Mini, Loop for operation on battery, solar and/or mains power as follows.
Solder a wire between the motor minus terminal to the coaxial power jack "center" terminal.
Solder the red wire from the battery holder also to the coaxial power jack "center" terminal.
Solder the black wire from the battery holder to to the coaxial power jack "switch" terminal.
Solder a wire from the "shell" terminal of the coaxial power jack to either of the terminals on the micro switch.
Solder a wire from the remaining terminal of the micro switch to the motor plus terminal.
This wiring allows the Marbelvator Mini, Loop to be turned on and off, and will disconnect the battery when a 1.5 VDC power supply or solar panel connector is plugged in.
Press the motor into "Base.stl".
If you used the optional coaxial power jack and switch, then secure the coaxial power jack in the 9mm (larger) hole, and the switch in the 5mm (smaller) hole, on the rear of the base. I secured the battery holder to the interior bottom of the base using double sided tape.
Press "Track.stl" into "Base.stl". Again, make sure this is a tight fit.
Press "Auger.stl" onto the motor shaft. Make sure the auger is straight on the motor shaft.
Apply power to the motor and place the 8mm ball bearing at the top of the track then release it.
The ball bearing should reliably traverse down the ramp, through the loop, and return to the auger. If you notice anywhere during the trip around the track that the ball bearing hops, rattles or leaves the track, carefully examine the area near where the problem occurred and carefully file and sand the inside corners of the track until the problem is resolved. The smoother the track, the more reliable Marblevator Mini, Loop will operate.
That's how I printed and assembled Marblevator Mini, Loop!
Hope you enjoy it!