by keeganhennis, published
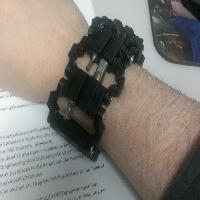
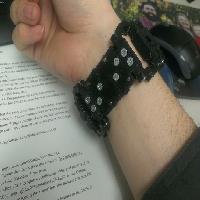
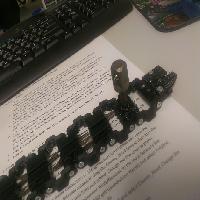
Not just a holder for extra bits. This is designed to be a driver tool that is easy to carry with you. People keep messaging me saying I made the holes too small and that the bits are hard to take out. The bits shouldn't come out, that's on purpose. It's not a failure, it's a feature.
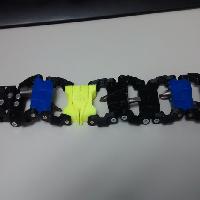
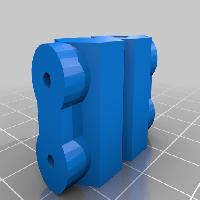
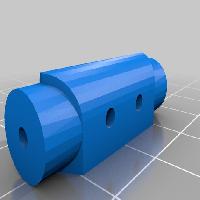
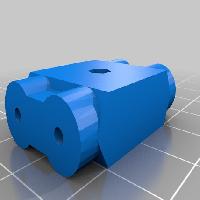
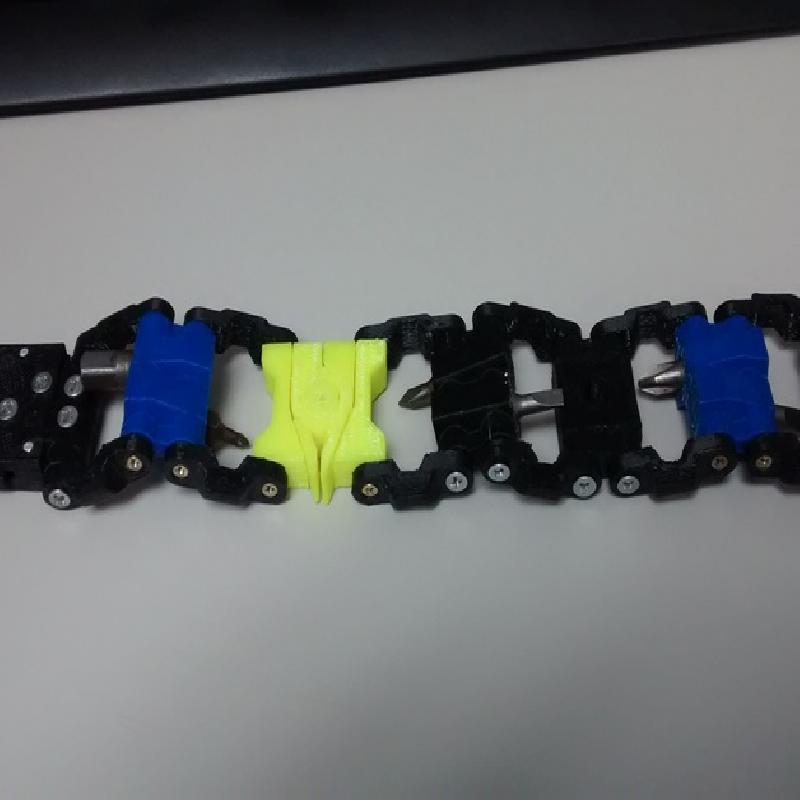
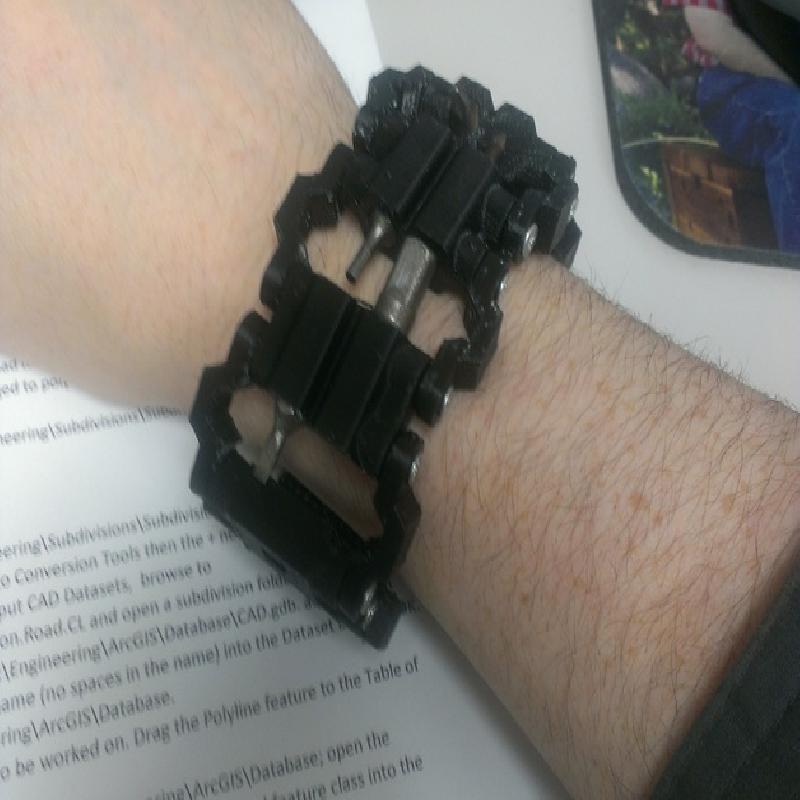
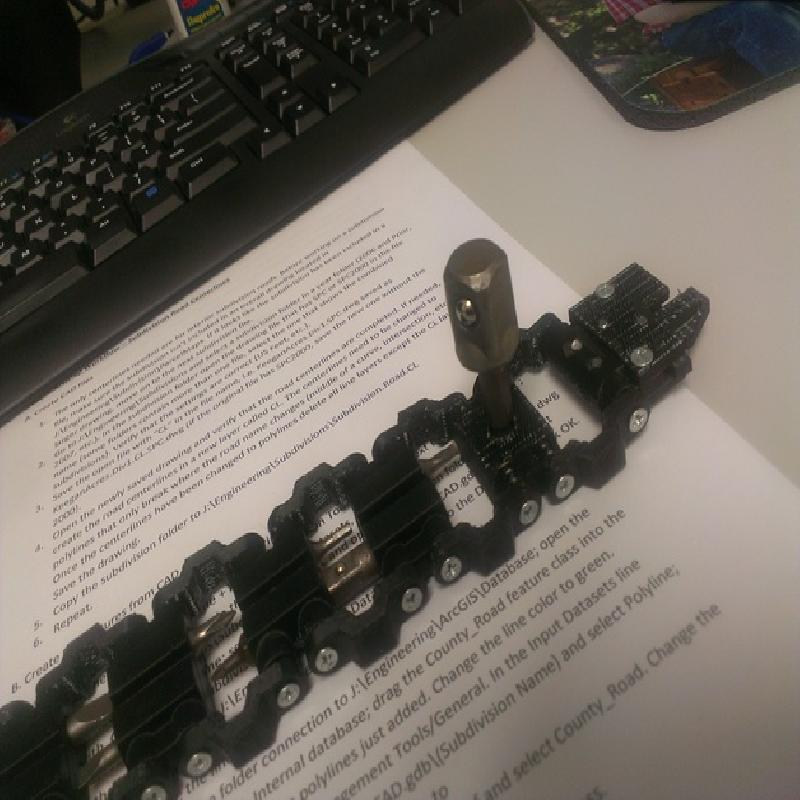
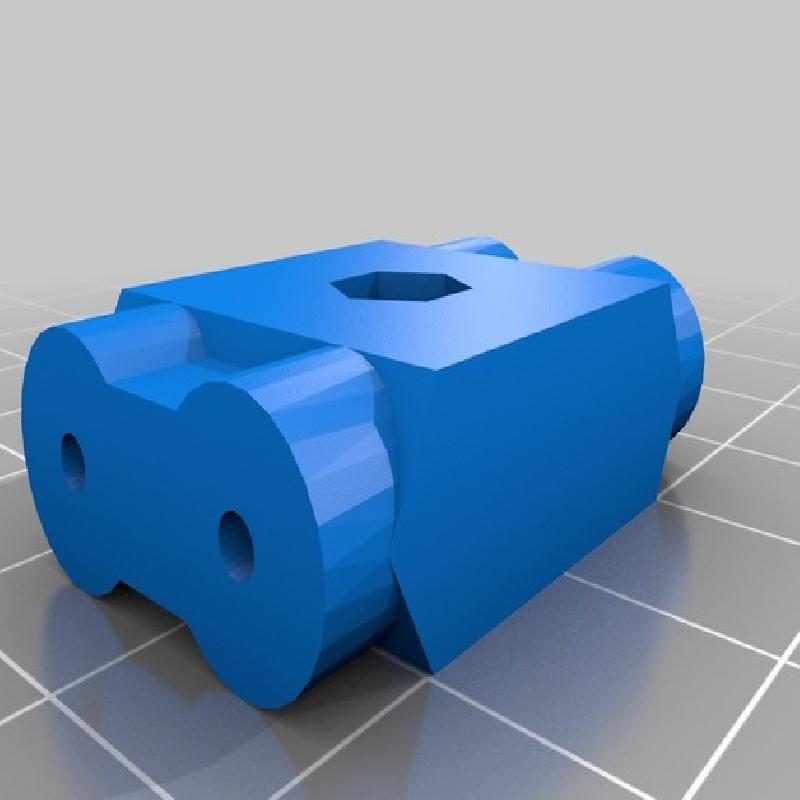
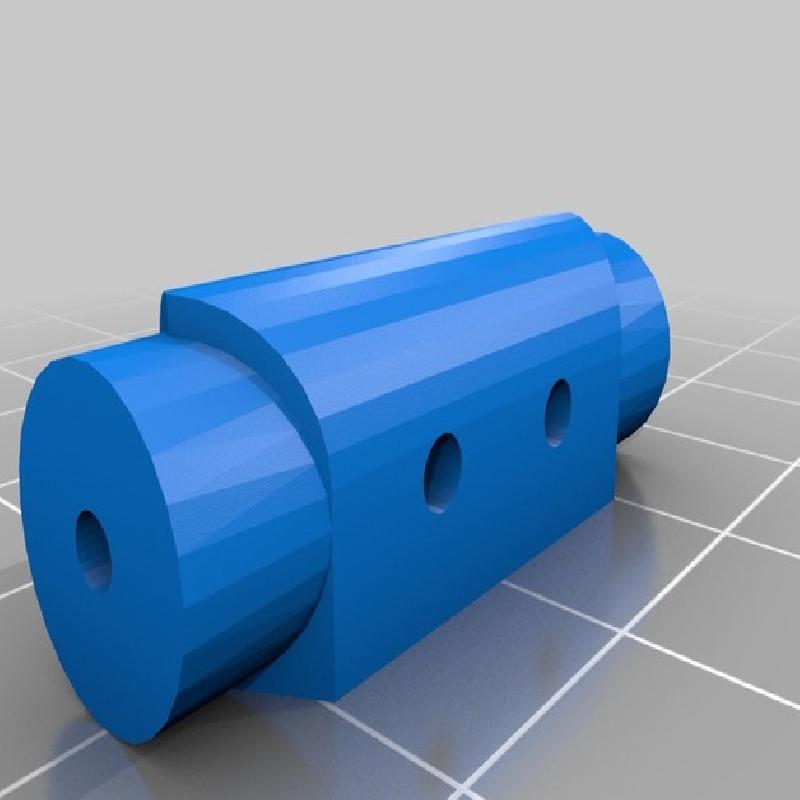
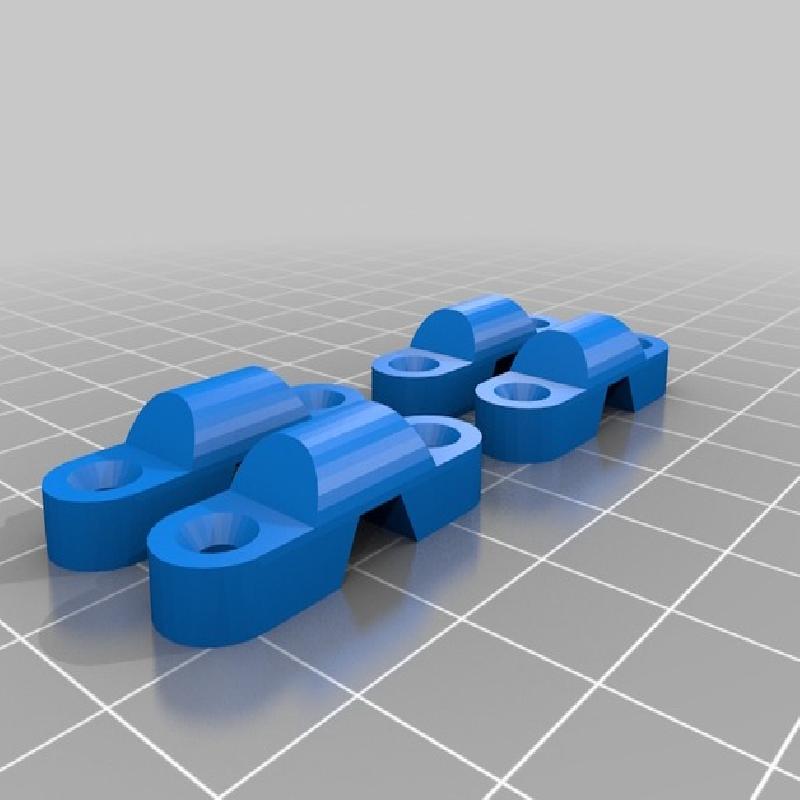
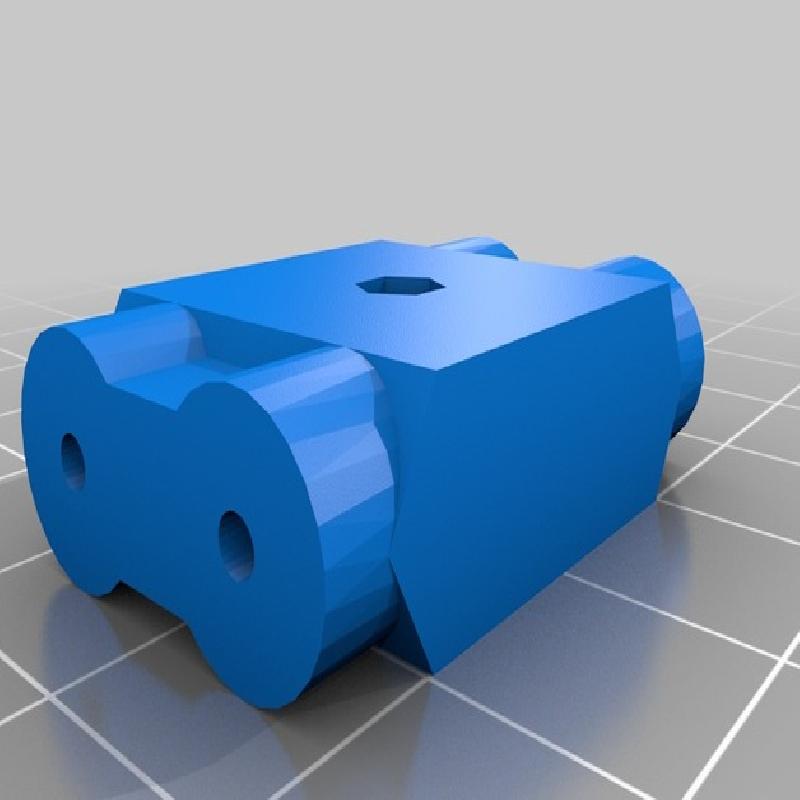
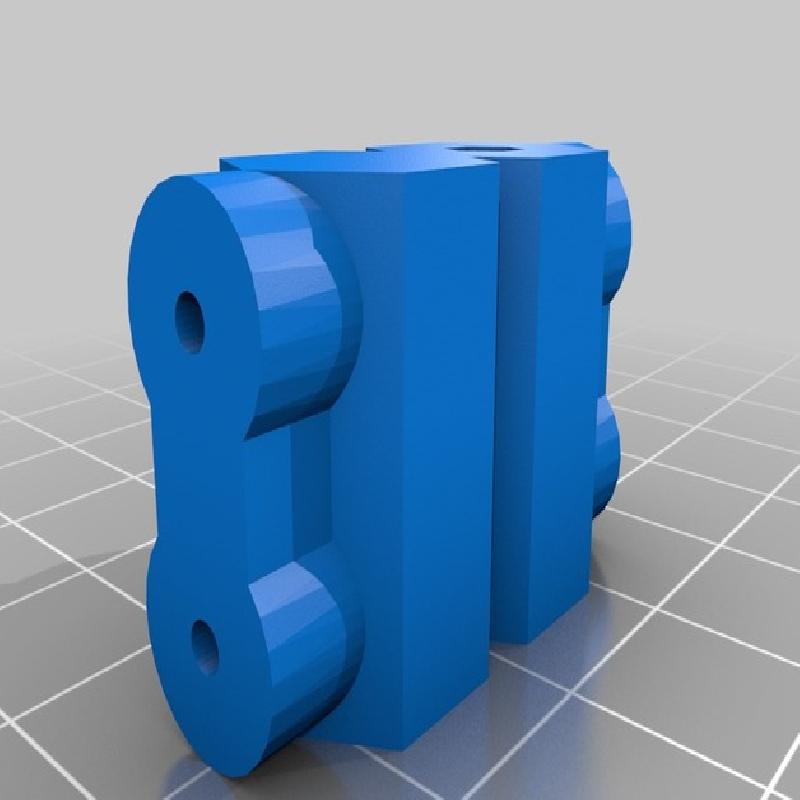
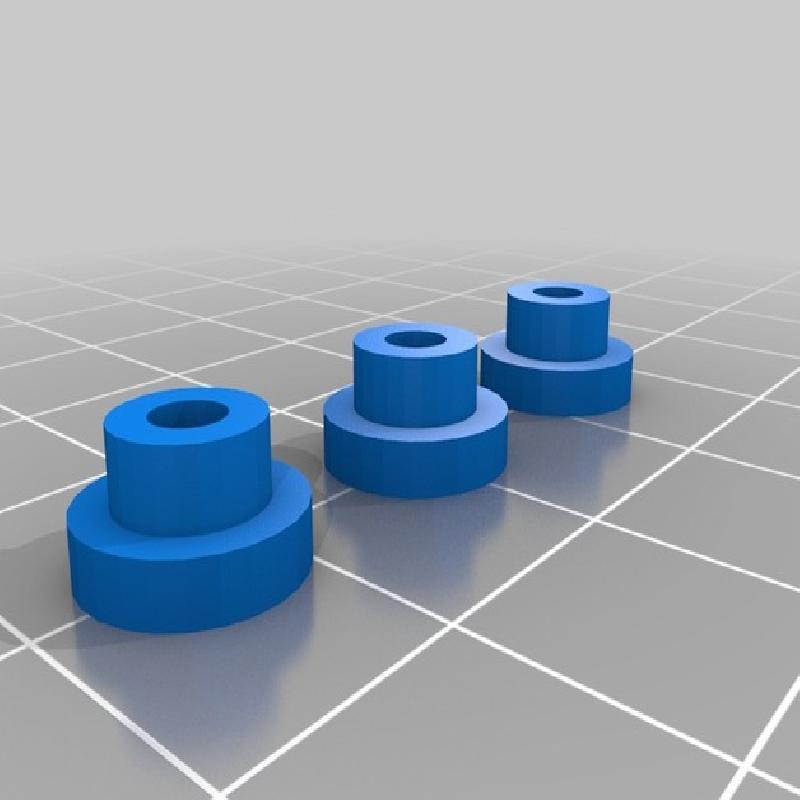
Designed in a few hours to be similar to the new Leatherman Tread tool bracelet, but not to cost their $150-200 MSRP. You supply the hex bits. i saw the article on Engadget.com yesterday (january 22nd 2015) about the new Leatherman Tread. I read the back story and knew i had had a similar experience (identical, really) so i decided to make something similar for me, that would fall far short of their $150-200 MSRP. I took a few hours to design and produce it. it works for me. If you would like to suggest mods, or better yet, post mods you've done, by all means, go ahead. i made a link that fits two normal 1/4" hex bits, a link that holds a 1/8" and a 1/4" bit, and a link that holds two 1/8" hex bits (because i have a few of those too). plus i made a link that can work as a changeable hex-driver.
The links are hot when they come off the build platform. I press the bits into the linkage, and as the plastic cools, it shrinks and bonds to the bit, making it quite difficult (almost impossible without destroying the linkage) to remove it again. But in case you need a bit you don't have pressed in, there is the open linkage.
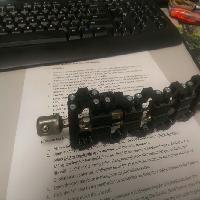
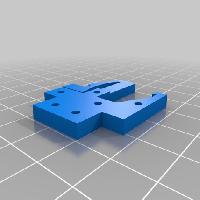
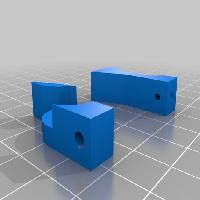
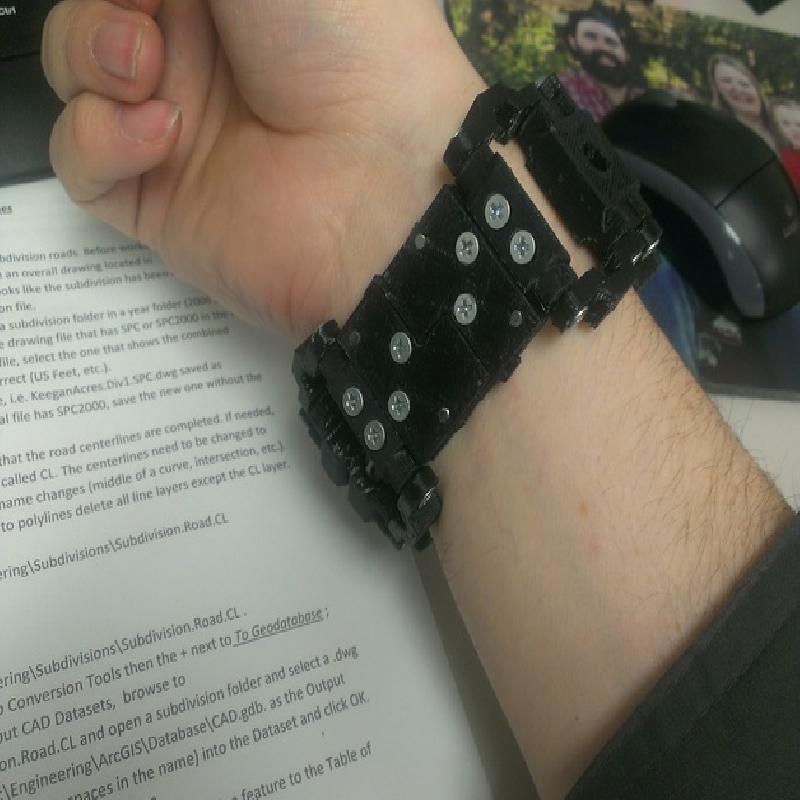
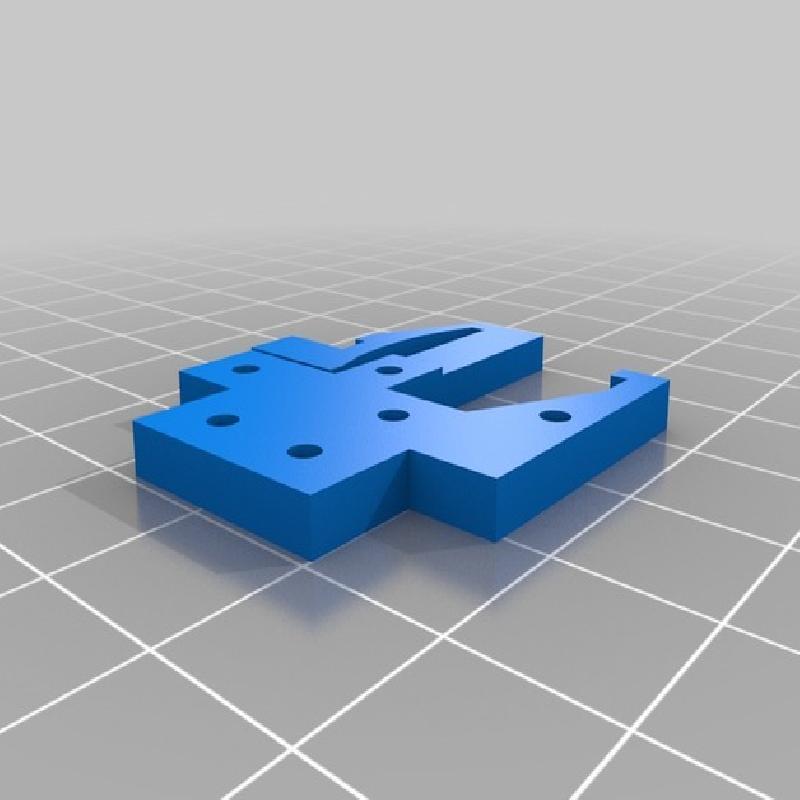
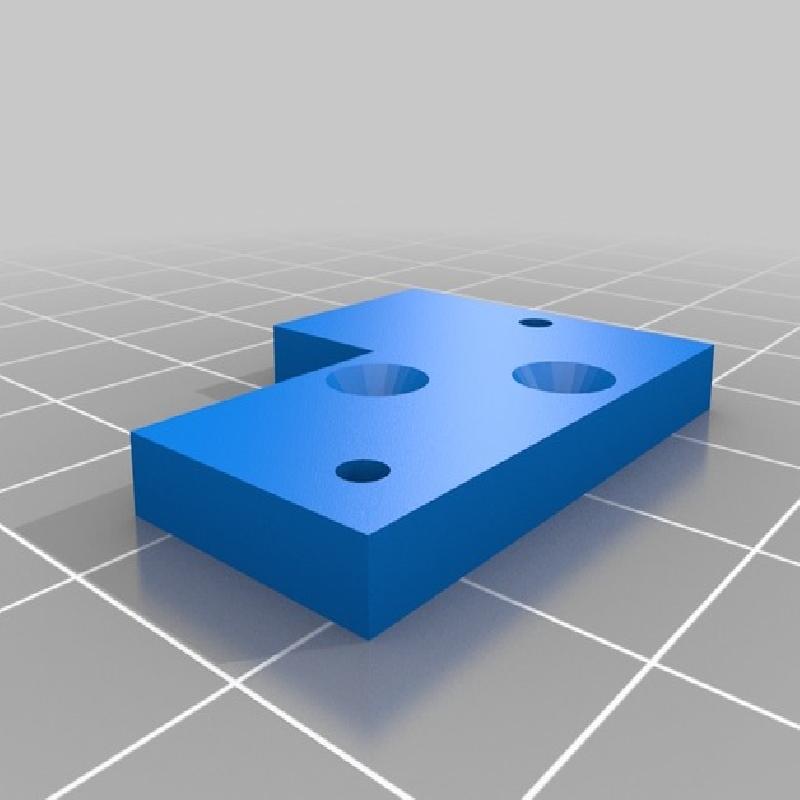
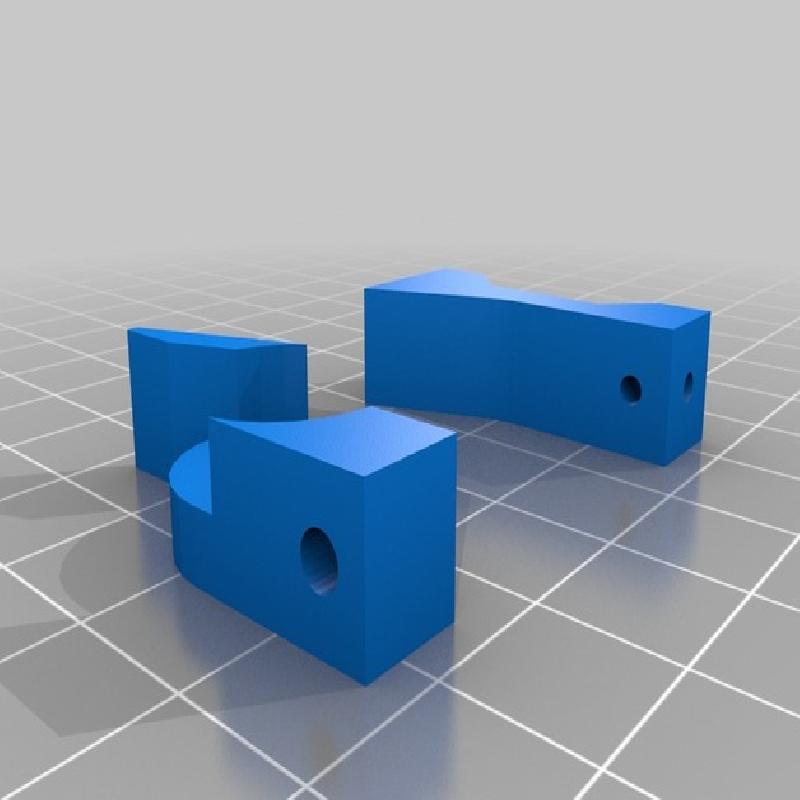
I also designed a reversible clasp for mine that took more work to get right than it needed. I made the screw holes small, so they will need to be drilled out slightly for your screws, which I bought at lowes. Mods welcome.
UPDATE-4/6/2015
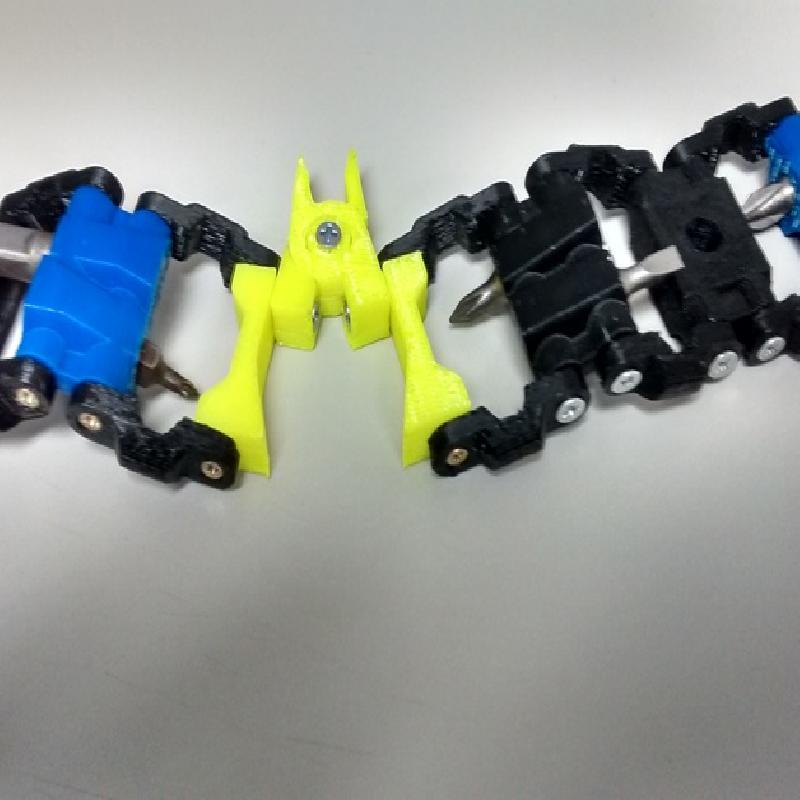
After going back and forth on a reason to do it, I decided that this update should be filed under "because it's possible". I added a pliers segment to the folder. Just in case you need some really ugly, likely unhelpful and difficult to effectively use pliers (that can't handle any dangerous heat) on your Braceletool, here you go. Files added, with three types of pivot pin halves depending on the type of screw you might use to hold it together. The pliers segment is wider than a hex-bit holder, so it will adjust your overall band length.
UPDATE-3/3/2015
After visiting an international airport, I have good news! The TSA operators I spoke to about this object, with model in hand for their investigation, said that it should have no problem getting past security as long as there are no knives and the screwdrivers are shorter than 5 inches (he guessed on that number), as long as it's removed from the arm and put through the bucket scanner.
Also, I'm considering a method for making a modified pliar that will match the layout and assembly.
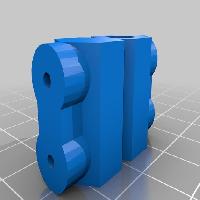
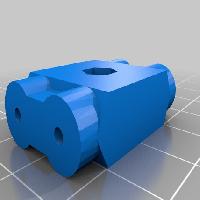
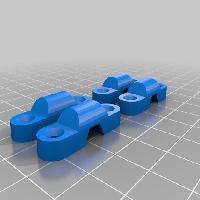
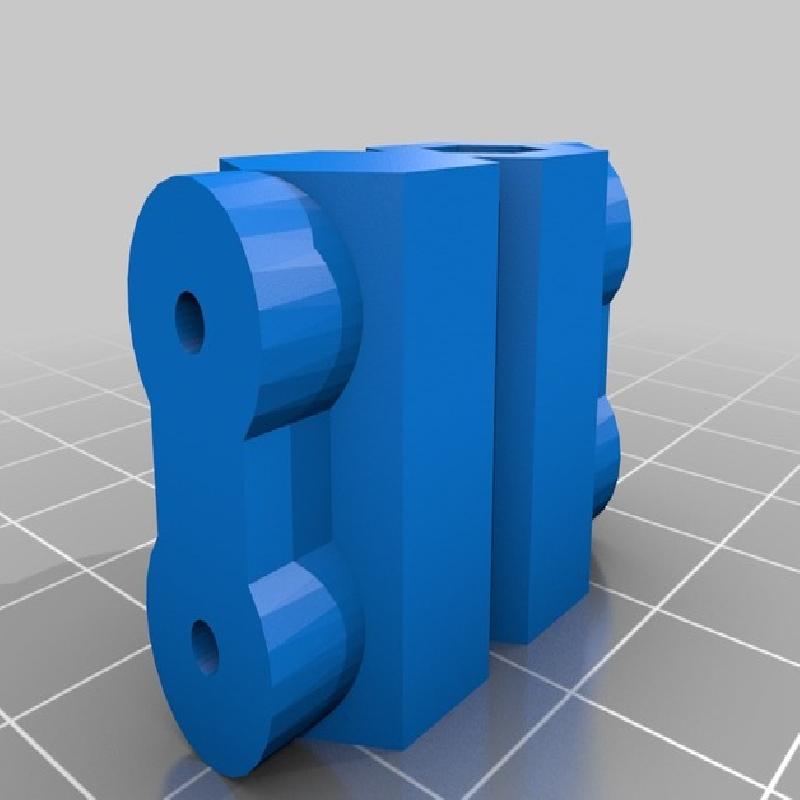
For assembly, choose which segments you want to make, pick out the hex bits you want to press in before you print. once the plastic is cooled, it's too tight to get them in. the bits have to be pressed in when the plastic is still hot and pliable. each segment is separate, but the linkage file prints four at a time. i rounded the sides off because they were chafing on my wrist in the first day of wearing it.
the clasp was designed by me. the parts are reversible. print 2 of the inner layer, and for each half of the clasp, two of the outer layer and one end cap. it's how i could make it best with as little trimming as possible. i can open it with one hand, which is handy for a bracelet.
i beveled the edges of holes for the screws i used, small wood screws from lowes. about 1cm long. they came in a small plastic box with a few other sizes. for the clasp, the screws went out the other side, so i ground them smooth and flush with a bench grinder after they poked my wrist a few times. i tried to arrange the parts in the STLs for optimal strength when using. my print method FFD is strongest in the XY plane, so i printed the parts to give it that strength to hold the bits. there is only a very slim chance of print failure in my experience.
feel free to design your own segments, a new clasp that works better for you.