by F_Lab_TH, published
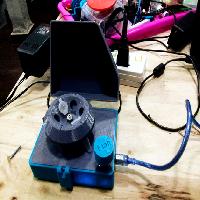
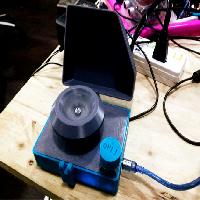
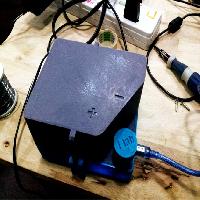
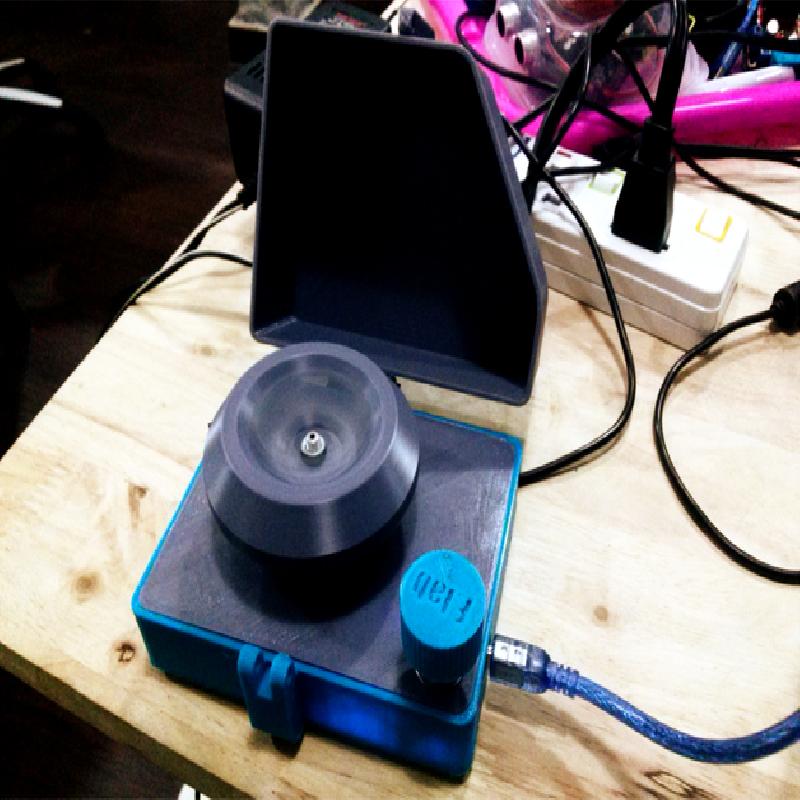
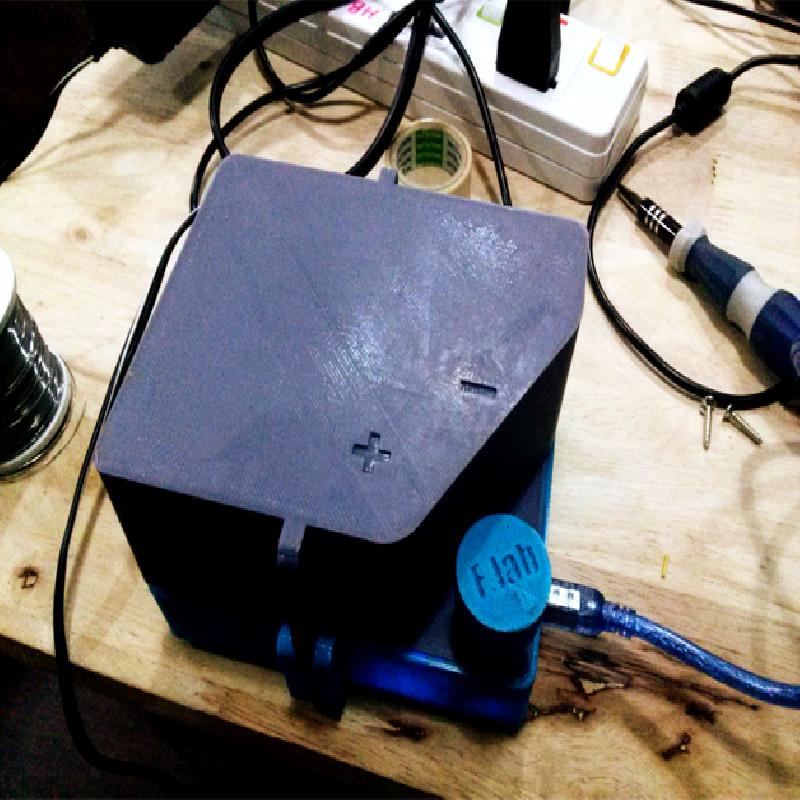
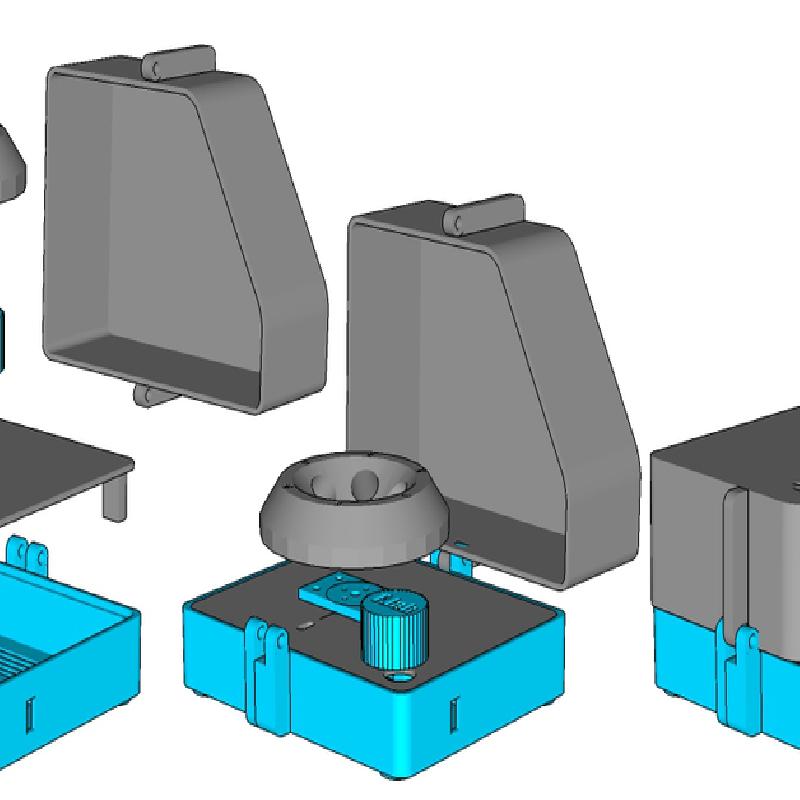
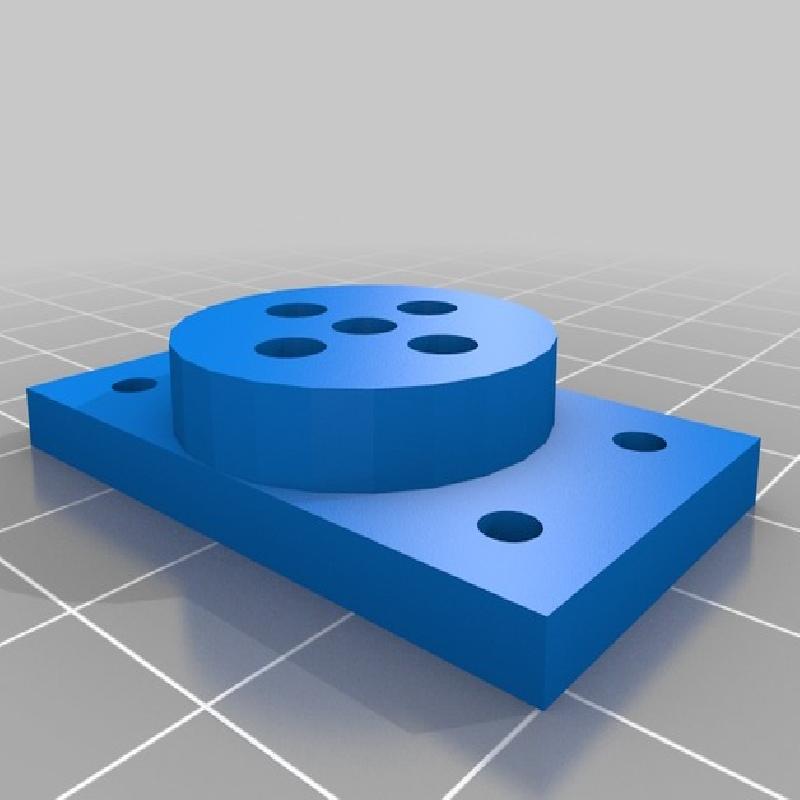
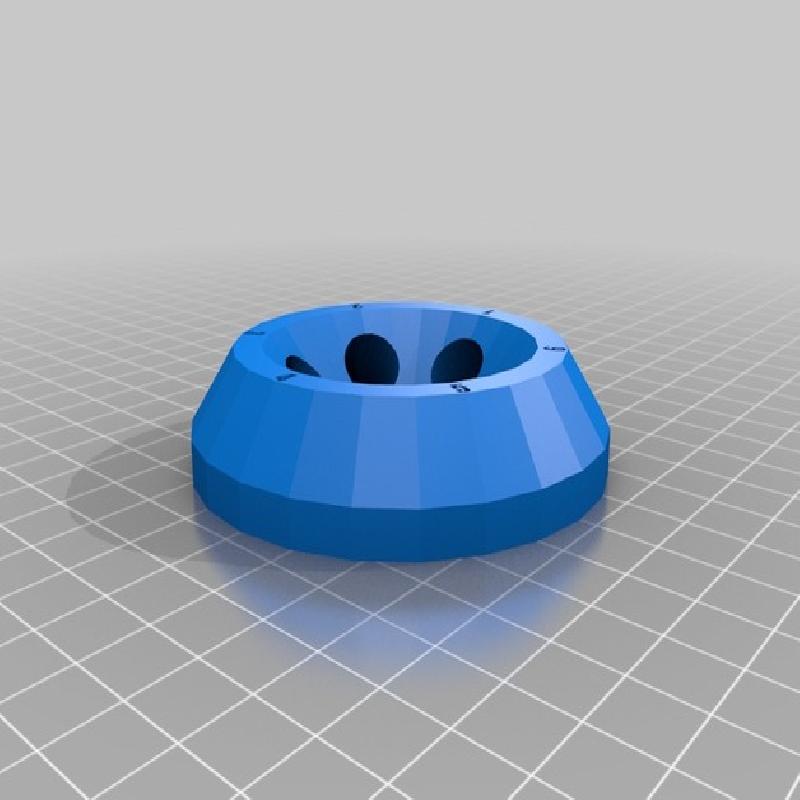
This is our DIYbio 3D printed centrifuge.
We have instructions below, but you can also check out our Instructables via ProgressTH here: http://www.instructables.com/id/3D-Printed-DIYbio-Mini-Centrifuge/
We are currently using it for DNA extraction. If built and operated carefully it is a safe and fun piece of lab equipment. Just by building it you can learn a lot about how it works and perhaps get inspiration to design your own lab equipment in the future (and hopefully share it with others!)
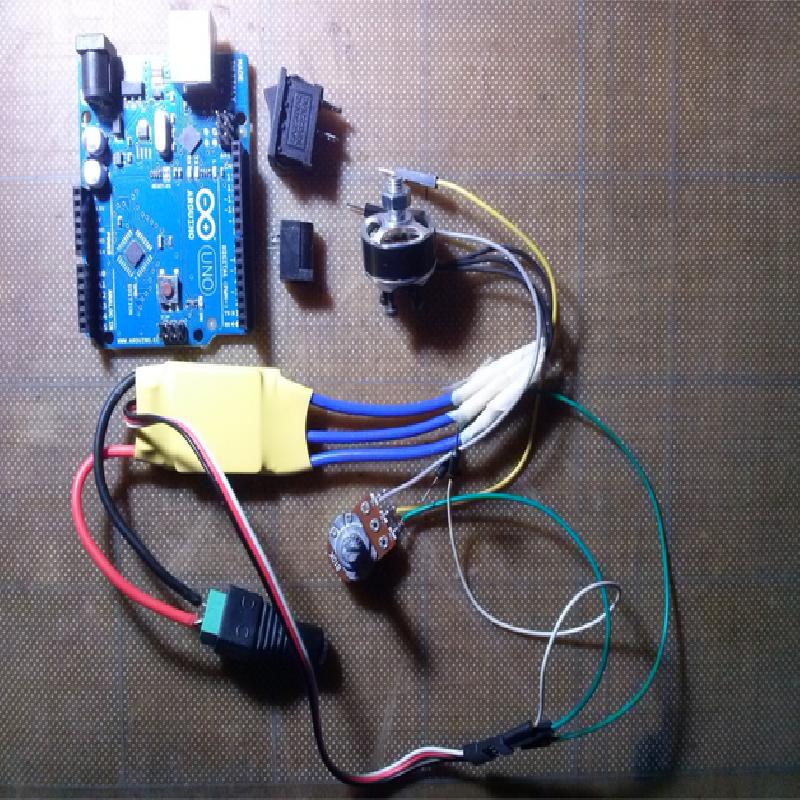
It uses a 1806/2400 brushless DC motor taken from a drone and its accompanying ESC (electronic speed control), an Arduino Nano, and some other parts common at makerspaces. It is a great project to build at a makerspace. See the custom section below for instructions, parts, and more details.
We've also included a SketchUp 8 file so you can easily edit it to meet your requirements (like making the case taller to hold a larger Arduino board).
See it in operation here: https://www.youtube.com/watch?v=LXfSYA7idDM
Printer Brand: MakerBot
Printer: MakerBot Replicator 2
Rafts: No
Supports: No
Resolution: Low
Infill: 10%
Notes:
10% infill seems to have worked well. Please make sure the print comes out well, at least for the rotor, because it will be spinning at high speeds and needs to be strong.
SktechUp Design Tips
We use SketchUp almost exclusively. It is easy to teach, intuitive, and very flexible. With experience there is almost nothing you can't do.
For this project, we used a caliper to carefully measure the parts. We gave each part 0.3mm tolerance to fit together. That means if you are using an 80x80 mm computer fan, you must create a space that has an extra 0.3mm on each side, or an 80.6x80.6 mm space.
When designing anything, especially a case for electronics, it helps to build a case-less prototype to see how everything is assembled.
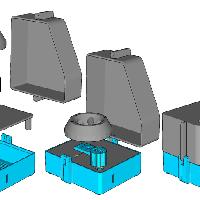
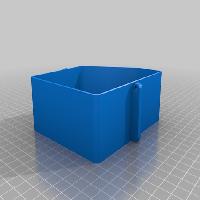
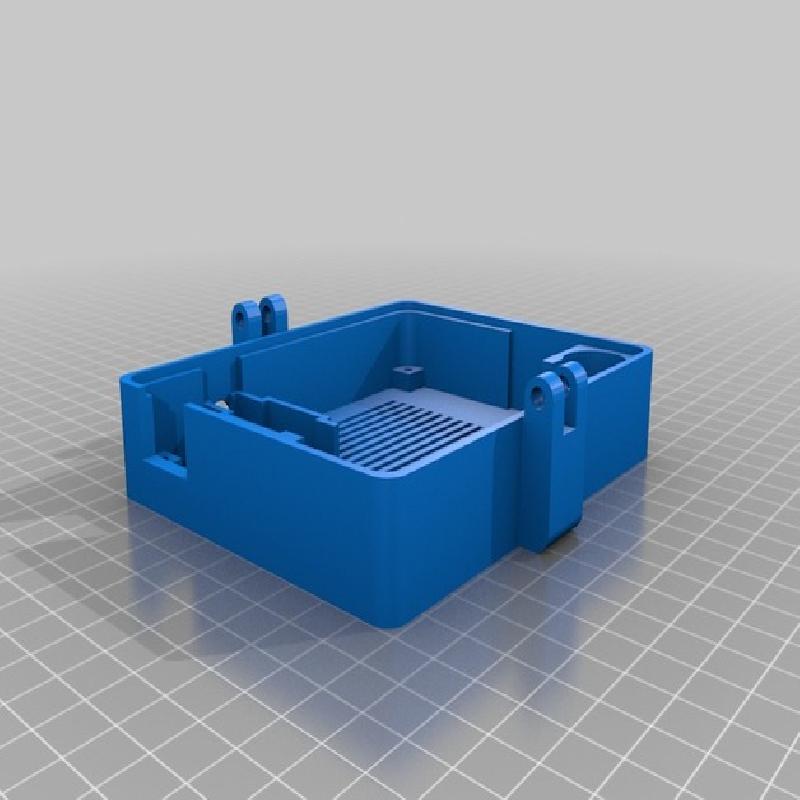
Our centrifuge project had two versions. The first failed to account for how we would actually mount the motor. When it was printed out and in the process of assembling we realized it was impossible to do! The second version fixed this problem.
It is not enough to make a case that fits your components well, you must also consider what order and how it will be assembled! Keep in mind wire lengths and tolerances needed to account for pins, connectors, and other parts. Measure carefully and double check everything.
And remember -- it takes experience and lots of failures before you become good at this -- so don't be afraid to try, and especially don't be afraid to fail. We have a mountain of failed projects we use for spare parts and prototyping!
Project: Build your own DIYbio Centrifuge for DNA Extraction
Objectives: Learn how basic lab equipment works by building it yourself, then use it to explore the process of DNA extraction, perfect for DNA barcoding. The centrifuge serves as a perfect example of how 3D printing enables regular people to create otherwise very expensive and inaccessible scientific equipment.
Audiences: High School or above. Perfect for makerspaces with an abundance of spare parts from drone and Arduino projects.
Preparation: People should be familiar with how to use an Arduino and basic electronics.
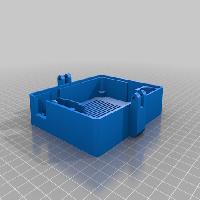
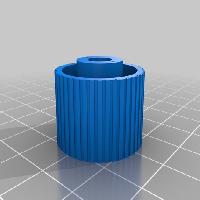
Steps: Print out the components using 10% infill, no supports required. Make sure that the print comes out properly. The spinning rotor may fail if layers are not properly fused.
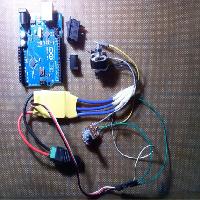
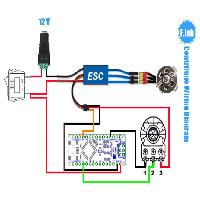
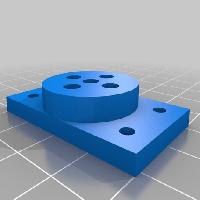
Assemble the necessary electronics (see picture) which include -- Arduino Nano or microcontroller of similar size, a brushless DC motor (used with drones) and accompanying ESC (electronic speed controller), a DC adapter, a 12V wall adapter, hobby potentiometer. and hobby electronics toggle switch (optional).
NOTE: You can use any Arduino for this project to test it, but only a Nano or smaller will fit in the case.
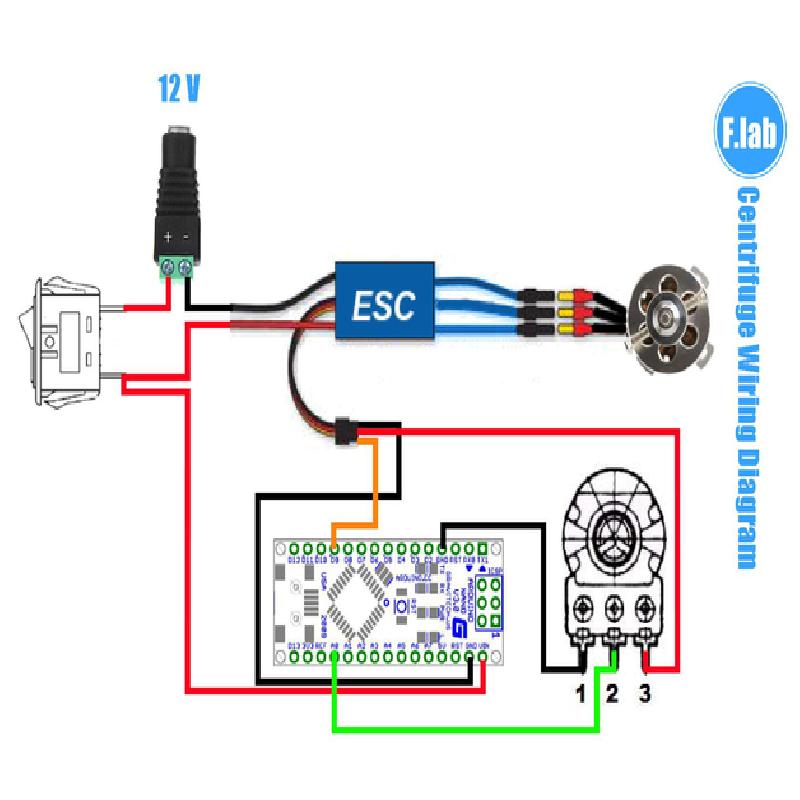
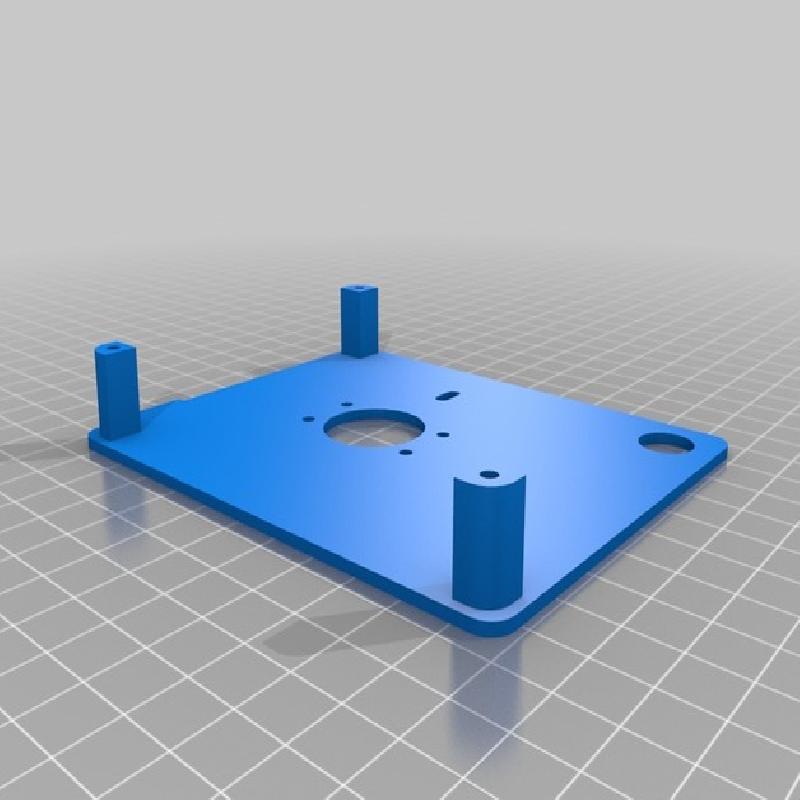
Assemble the electronics. The ESC has a positive and negative (red and black) wire which must go to your power adapter's '+' and '-' terminals. It also should have 3 wires to connect with your 1806/2400 brushless DC motor. Mount the motor using 4 screws (usually come with the DC motor) before hooking up the ESC wires which must run through the case of the centrifuge. There is also a positive, negative, and signal cable leading out of the ESC. These go to your Arduino's 5v, GND, and pin 9 (see wiring diagram above).
Upload code to your Arduino (See here: http://83.56.32.125/sierrademesaI.html).
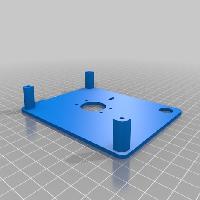
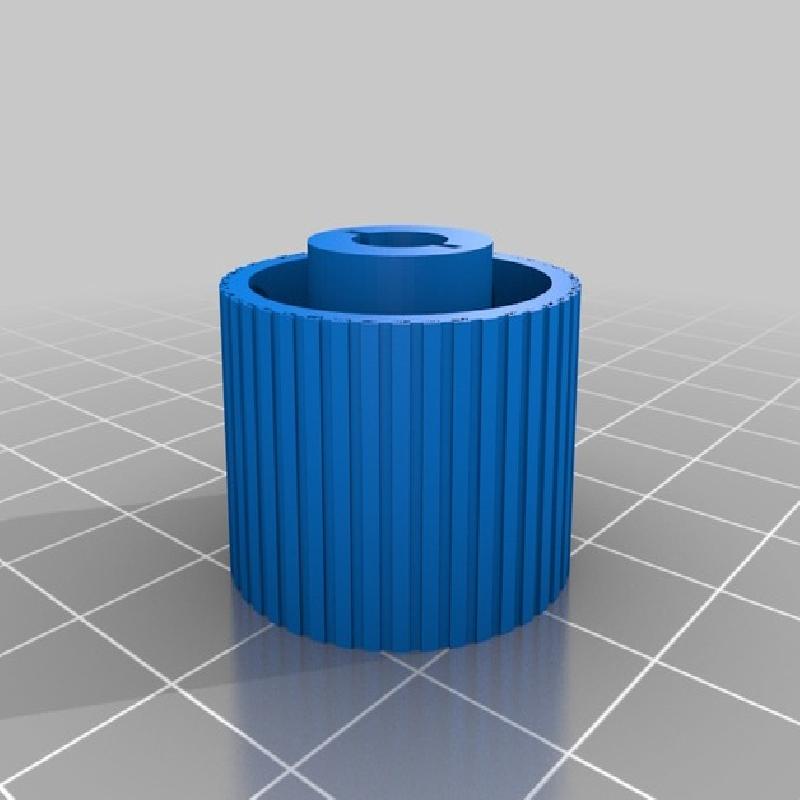
Fasten your project together using screws through the bottom, a nut to secure the rotor onto the DC motor, and another nut and bolt to secure the cover on the back. The knob that affixes to the potentiometer has a few ways to secure it. Gluing it is not recommended in case you need to open the centrifuge in the future. Instead, use a piece of cardboard, cut and folded aluminum (be careful of sharp edges).
We also friction welded the feet onto the bottom before applying a ring of hot glue to the bottom of the feet. You can superglue the feet as well if you think that is easier. The hot glue, when cooled, acts like "rubber feet" to keep the centrifuge stable when in operation.
Operation -- ALWAYS make sure the lid is fully closed and secured with a 3-4mm bolt before turning on your centrifuge. When first testing it, go as slowly as possible in case you assembled it incorrectly and something is not balanced or one part is making contact with another. Our centrifuge is well-balanced, vibrates very little, and no part makes contact with another. If yours is not like this, please double check your connections, bolts, alignment etc.
The ESC, because it is supposed to be used with RC aircraft, goes through a quick, automatic calibration when first switched on. After this, you can go ahead and use it, but wait for the beeps indicating the calibration process stop before turning the potentiometer.
Results: Your working centrifuge is now ready for use. Following this basic protocol () using items you can find at your local store, you can extract and see DNA from virtually any living organism including yourself!
Follow this protocol available on F.Lab's blog: http://f-labth.blogspot.com/2015/12/basic-dna-extraction-protocol.html