by bpitanga
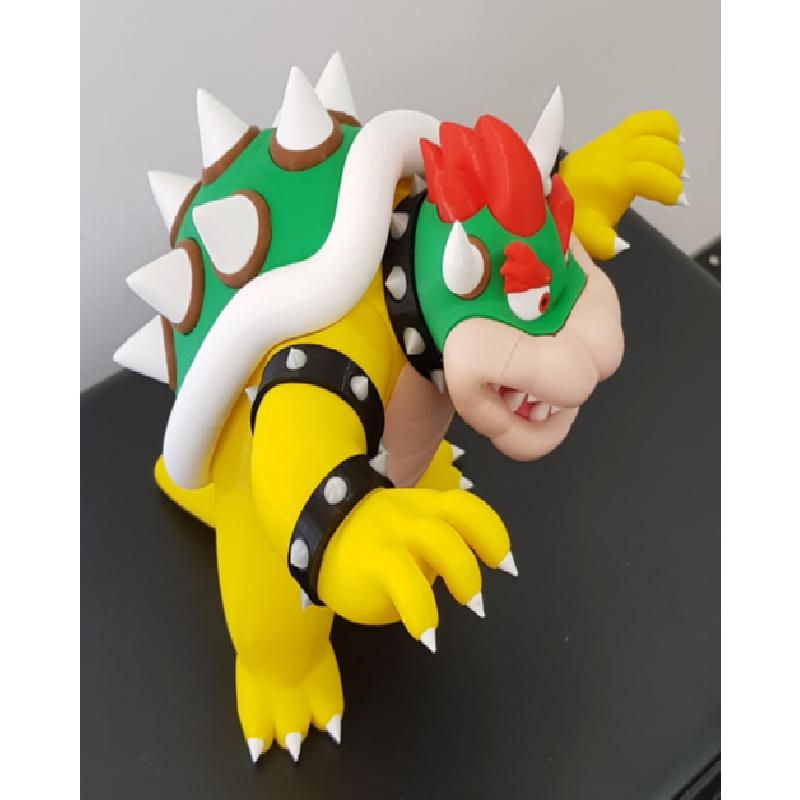
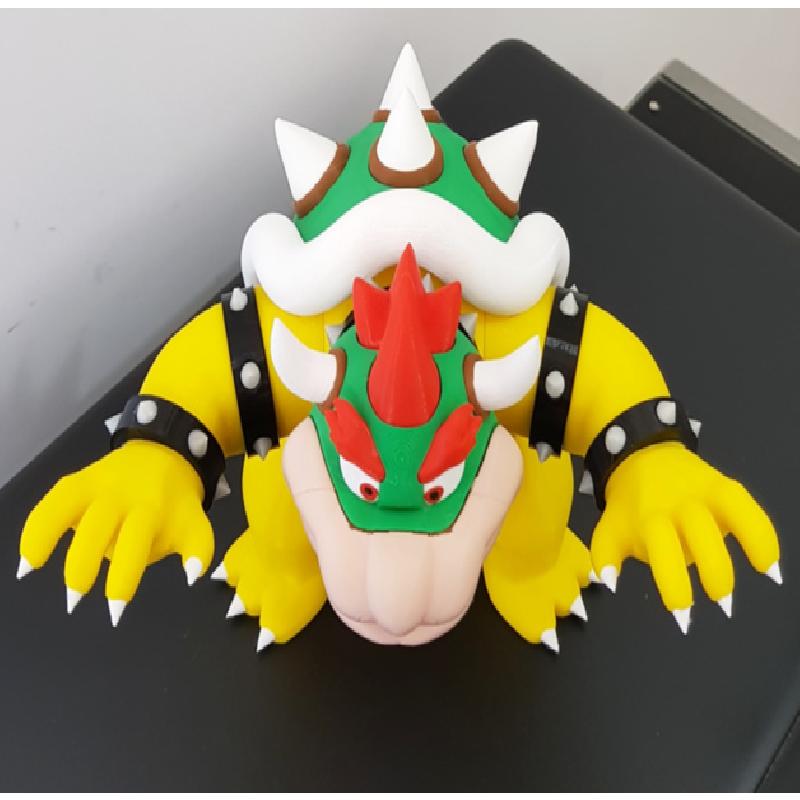
"Bowser, sometimes known as King Koopa, is a major character and the main antagonist of the Mario franchise. Bowser is a large, powerful, fire-breathing Koopa who leads the Koopa Troop, an antagonistic organization of turtle-like creatures, and has been the archenemy of the Mario Bros" - from https://www.mariowiki.com/Bowser
The file bowser.zip contains all the STL files necessary to print this thing. if you have problems with the "body" file inside the zip, use the one outside.
Due to a large number of spikes and pointy things, I do not recommend this action figure to be used as a kid’s toy.
This is a multi-color print. Print each part in the right color and glue then afterward. There is no need to paint anything.
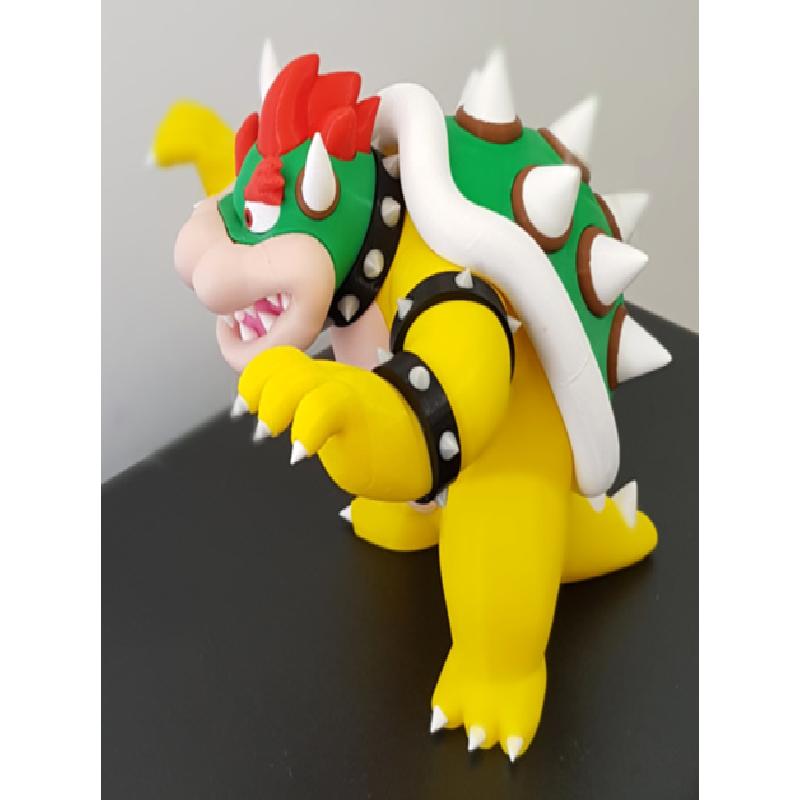
The model is 18 cm high. Note that this is higher than all my previous models. Save some space on your shelf for this.
This is mostly support free. Some pieces will require a bit of support, but they are sparse and barely affect the aesthetics of the part.
First, let’s identify where all those spikes go.
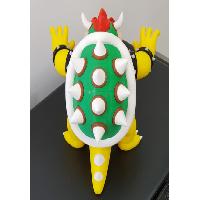
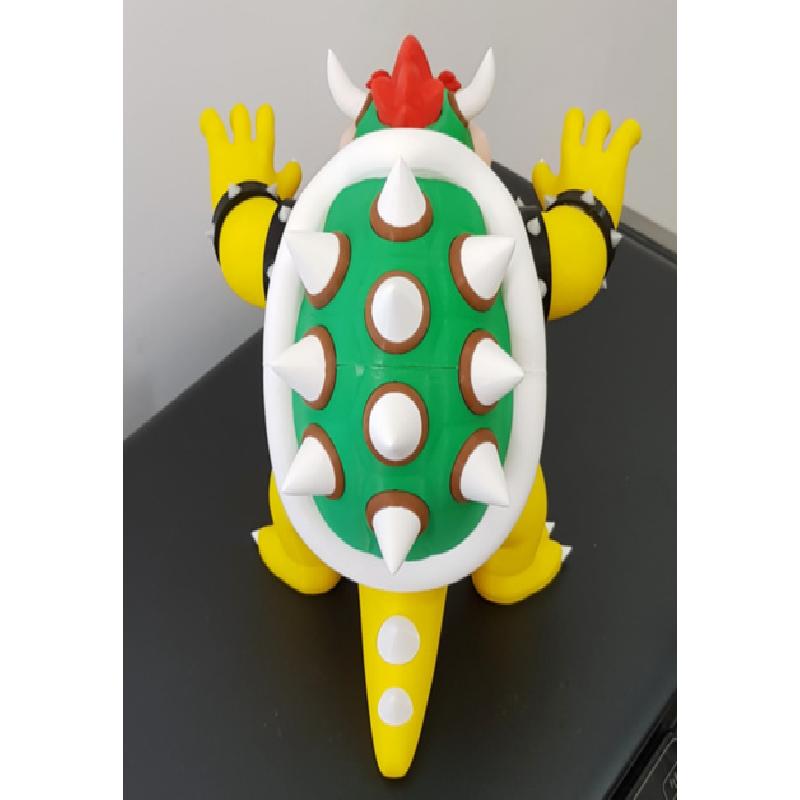
1 - On the back:
The center line, from up to bottom, are the four files “shell_spike_1” to “shell_spike_4” (in the White folder).
The lateral left line, from up to bottom, are the three files “shell_spike_A_left” to “shell_spike_C_left”. You’ll have similar files for the right side, but with suffix “right” instead of “left” (also in the White folder).
All of the above are accompanied by the base pieces in the Brown folder. Those have almost the same name as the spikes’ files but with the prefix “spike_base”.
2 - On the body (in the White folder):
“tail_spike_back” and “tail_spike_front” go over the tail.
The four files “hand_nail_1_left” to “hand_nail_4_left” are the left-hand nails beginning from the thumb, and going sequentially until the outermost finger. There are similar files to the right hand. (I know, those aren’t technically spikes).
The files with the prefix “toe_nail” are, of course, the toe’s nails. From A to C equivalent to the innermost toe, up to the outermost.
3 - The rest:
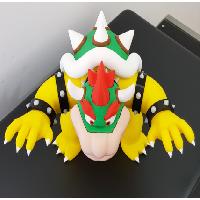
The teeth, horn, bracelets and collar spikes’ files have self-explanatory names (I hope so). If you have problems to fit these (this can happen especially with the bracelet spikes), scale them down a bit.
The mouth can be quite tricky to assembly if you don’t use the correct sequence. Do the following:
Glue “mouth_back” to “mouth_bottom”.
From the back slit on those two pieces, insert and glue the tongue.
Glue the bottom teeth on those parts.
Glue the top teeth to the “mouth_top” piece.
Glue “mouth_top” to “mouth_back”.
The shell pieces and the head are in separate folders, dark green and light green. This is due to how Bowser is usually depicted. In my print, however, all of those parts were printed using the same green tone. Up to you to decide what colors to use here.
Let me know if you have any questions.
Enjoy!