by Moby_Inc, published
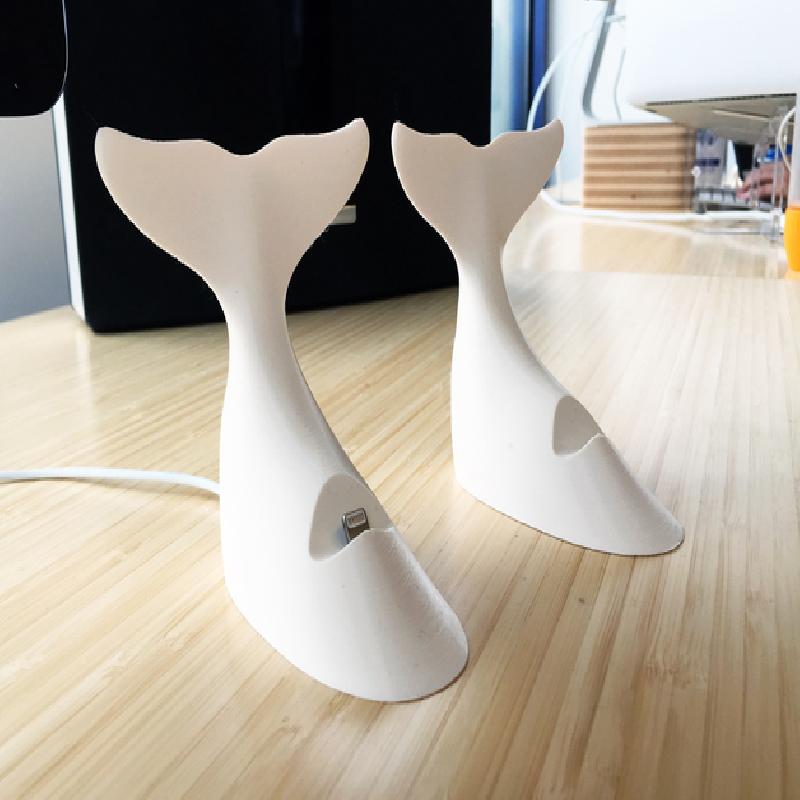
Of course after creating such a nice printable version of our mascot the next logical step was to make it into something a bit more useful.
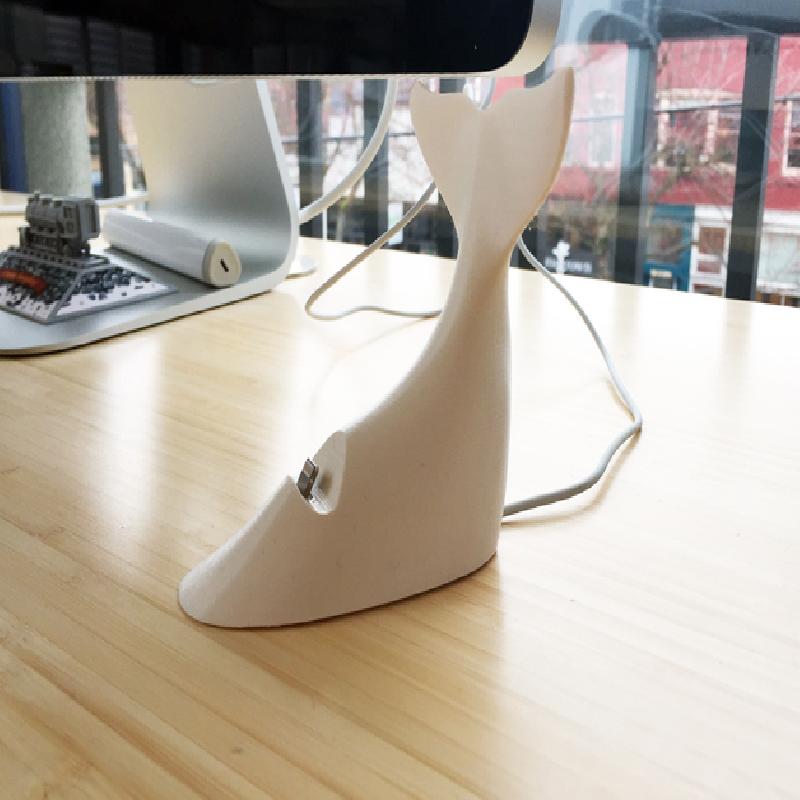
While there are a lot of great iPhone docks out on the market I wanted to make something a little more fun. A lot of our employees were using (and loosing) bare lightning cables which adds a bit to the perceived clutter of the office. Plus, I love the idea that on an employee's first day they arrive at their new home and are treated with a nice, functional, piece of Moby swag mounted to their desk.
I've included two source files:
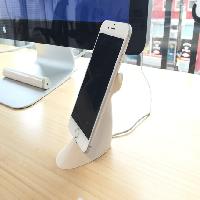
No Case perfectly follows the contours of the iPhone 6 series
Thick Case adds much more space behind the lightning connector to accommodate a wide range of cases. We've, of course, tested with the Apple provided cases, and a few of 3rd party ones that are in the same vein.
Rafts: Doesn't Matter
Supports: Doesn't Matter
Infill: 10%+
Notes:
I've printed this in everything from 0.04 to 0.2 and it turns out well. Of course 0.1 is the sweet spot on our printer, but yours may vary.
Finishing: Cut out the bottom channel
In the .stl I've included a 0.2mm solid bottom before it moves on to printing the channel. This makes the print look a bit more finished, and I like to ensure great adhesion to the build plate.
You'll need to use a razor blade to remove this from the bottom channel. I recommend placing the dock with the front edge and tail resting on the cutting board and then running the razor down the channel away from your hand and toward the board.
You definitely don't want to hold it in one hand while cutting out the channel with the other, but seriously, who would do that?! (um, yeah....)
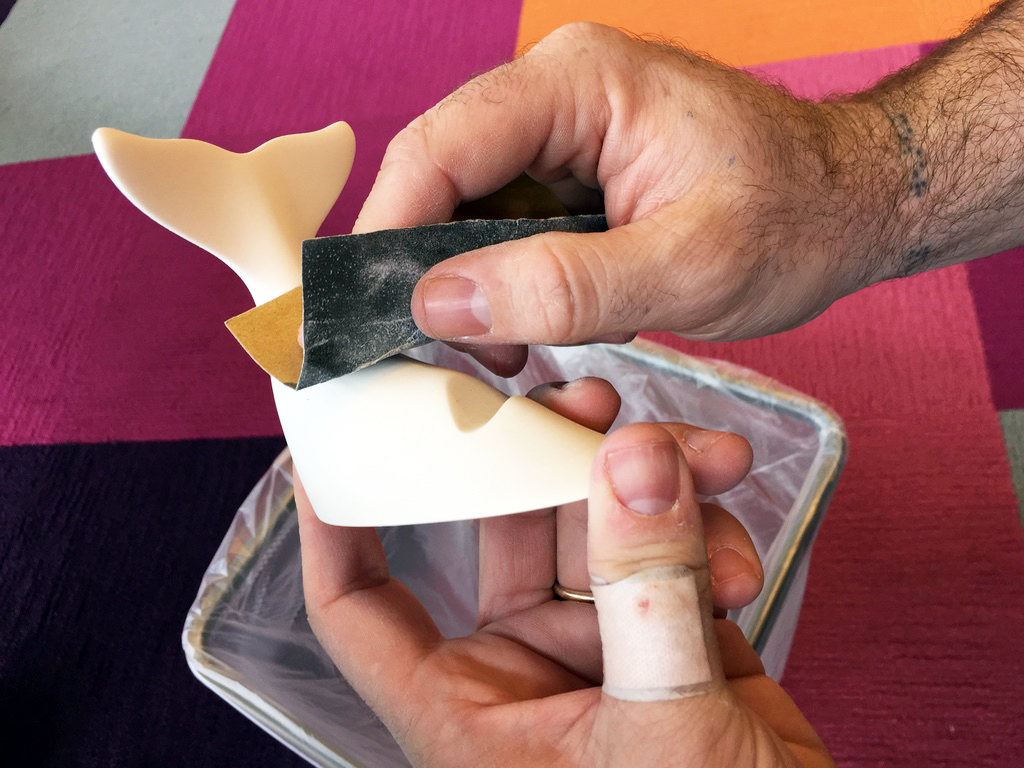
This one only takes a few hours to get silky smooth. That bandaid totally was from a different razor accident...
Finishing: Adding the cord
This is modeled to be used with Apple's default lightning cable. However, to get it to make the turn you'll need to carefully cut off the cord stress relief rubber.
Please note that the cable will not just slip merrily into the base (depending on the shrinkage of your particular PLA). You need to use a file to hollow out the hole until the connector fits very snug.
I super-glue the cord to the top of the channel, and add a big glob on the bottom of the connector to keep it in place in the dock. If your phone is in a case you'll first want to test-fit it to make sure the lightening connector sticks up off the ledge enough to sit correctly when docked.

Finishing: Mount it.
While this dock can be used stand-alone I find that mounting it down to the desk makes it really great to use.
We've been using a generic "mess free" mounting tape, and haven't had it leave any marks after removing and re-sticking docks.