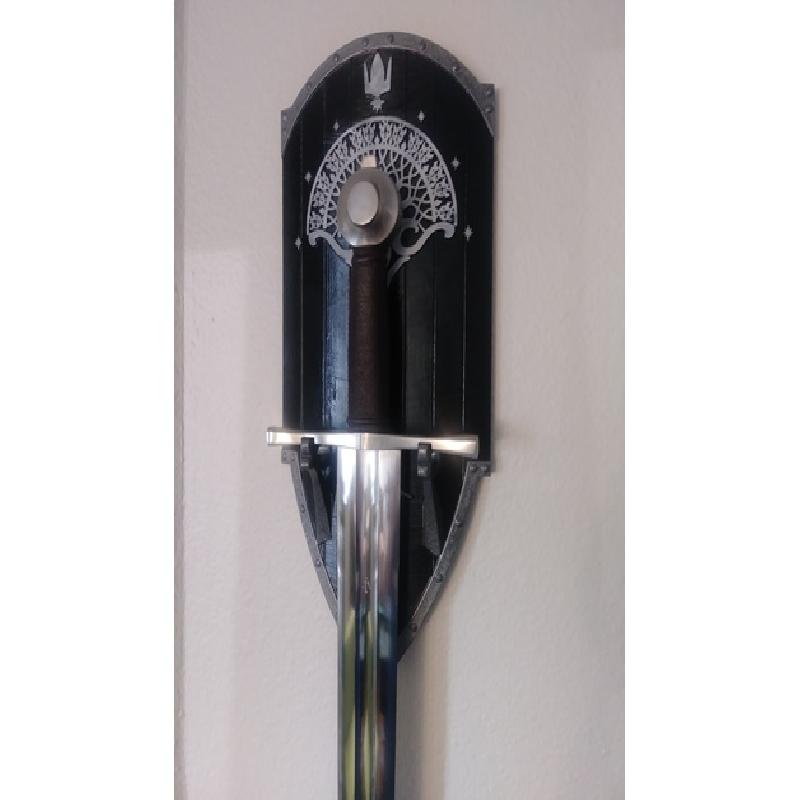
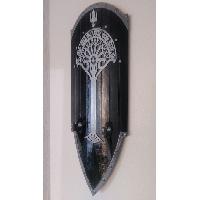
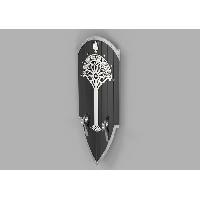
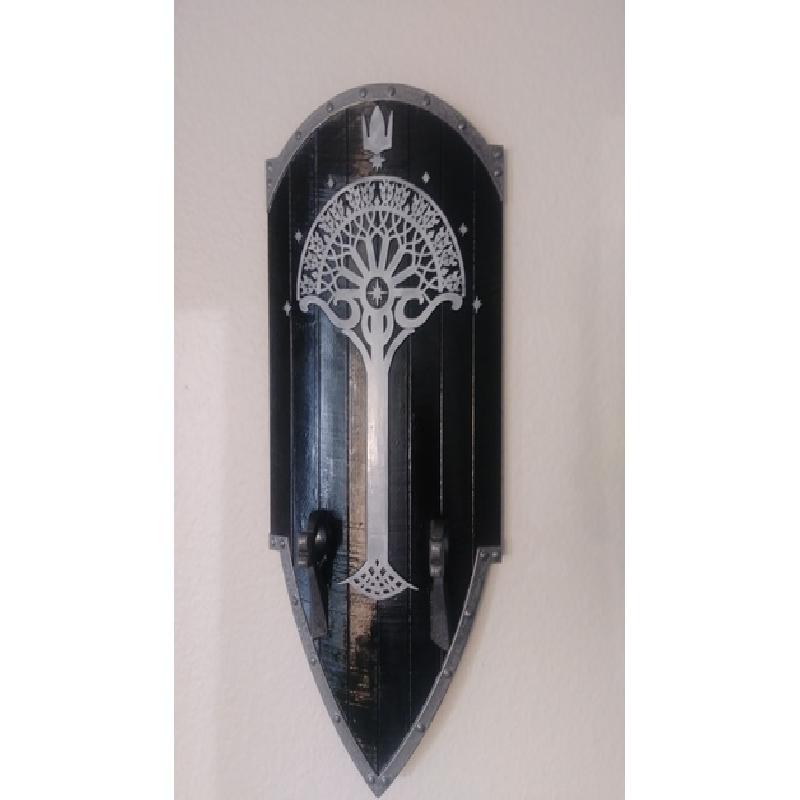
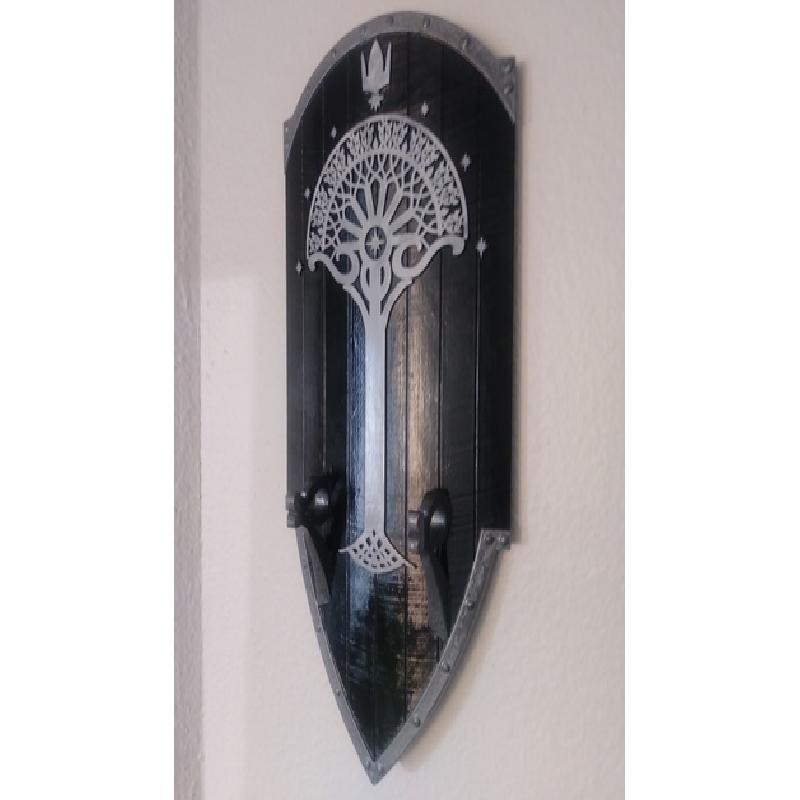
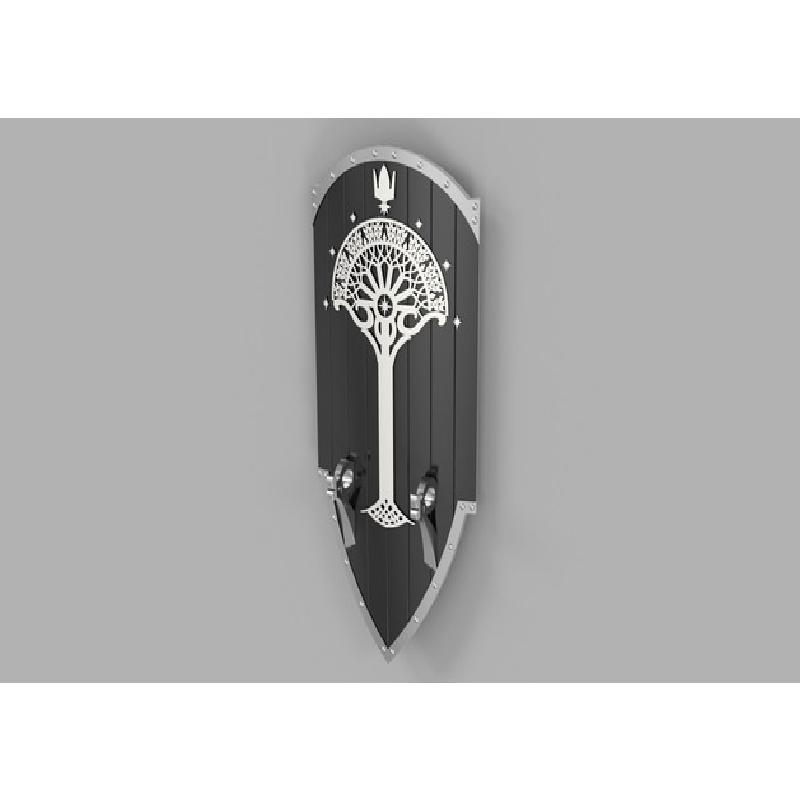
Sword wall mount based off of the tower guard of Gondor form The Lord of the Rings trilogy. This model is designed to print with the included custom supports in one piece on the CR-10. There are 5 variants included in case you don’t want certain features. Files are included of the shield without supports if you need to break it into smaller pieces for other printers.
Printer Brand:
Creality
Printer:
CR-10
Rafts:
No
Supports:
Yes
Resolution:
.2mm
Infill:
25%-50%
Notes:
General Settings:
Wall Thickness: 1.2mm
Top/Bottom Thickness: 1.2mm
Infill Density: 25%-50% (I used 30%)
Infill Pattern: Zig Zag (I used this to provide better support to the surface details)
There are 5 variants of the model included, 2 with custom supports designed to fit on the CR-10 and 3 with no supports.
With supports (CR-10 friendly): Shield_Support_Holes , Shield_Mount_Support_Holes
Place lower corner point of shield on one corner of the build plate.
Support Over Hang Angle: 50.5
Support Placement: everywhere (if sliced correctly, there should be no generated supports touching the build plate. If there is, move the model slightly until fixed)
Without supports: Shield, Shield_Holes, Shield_Mount_Holes
Model is provided without supports to allow for easy division in file editing software like Meshmixer.
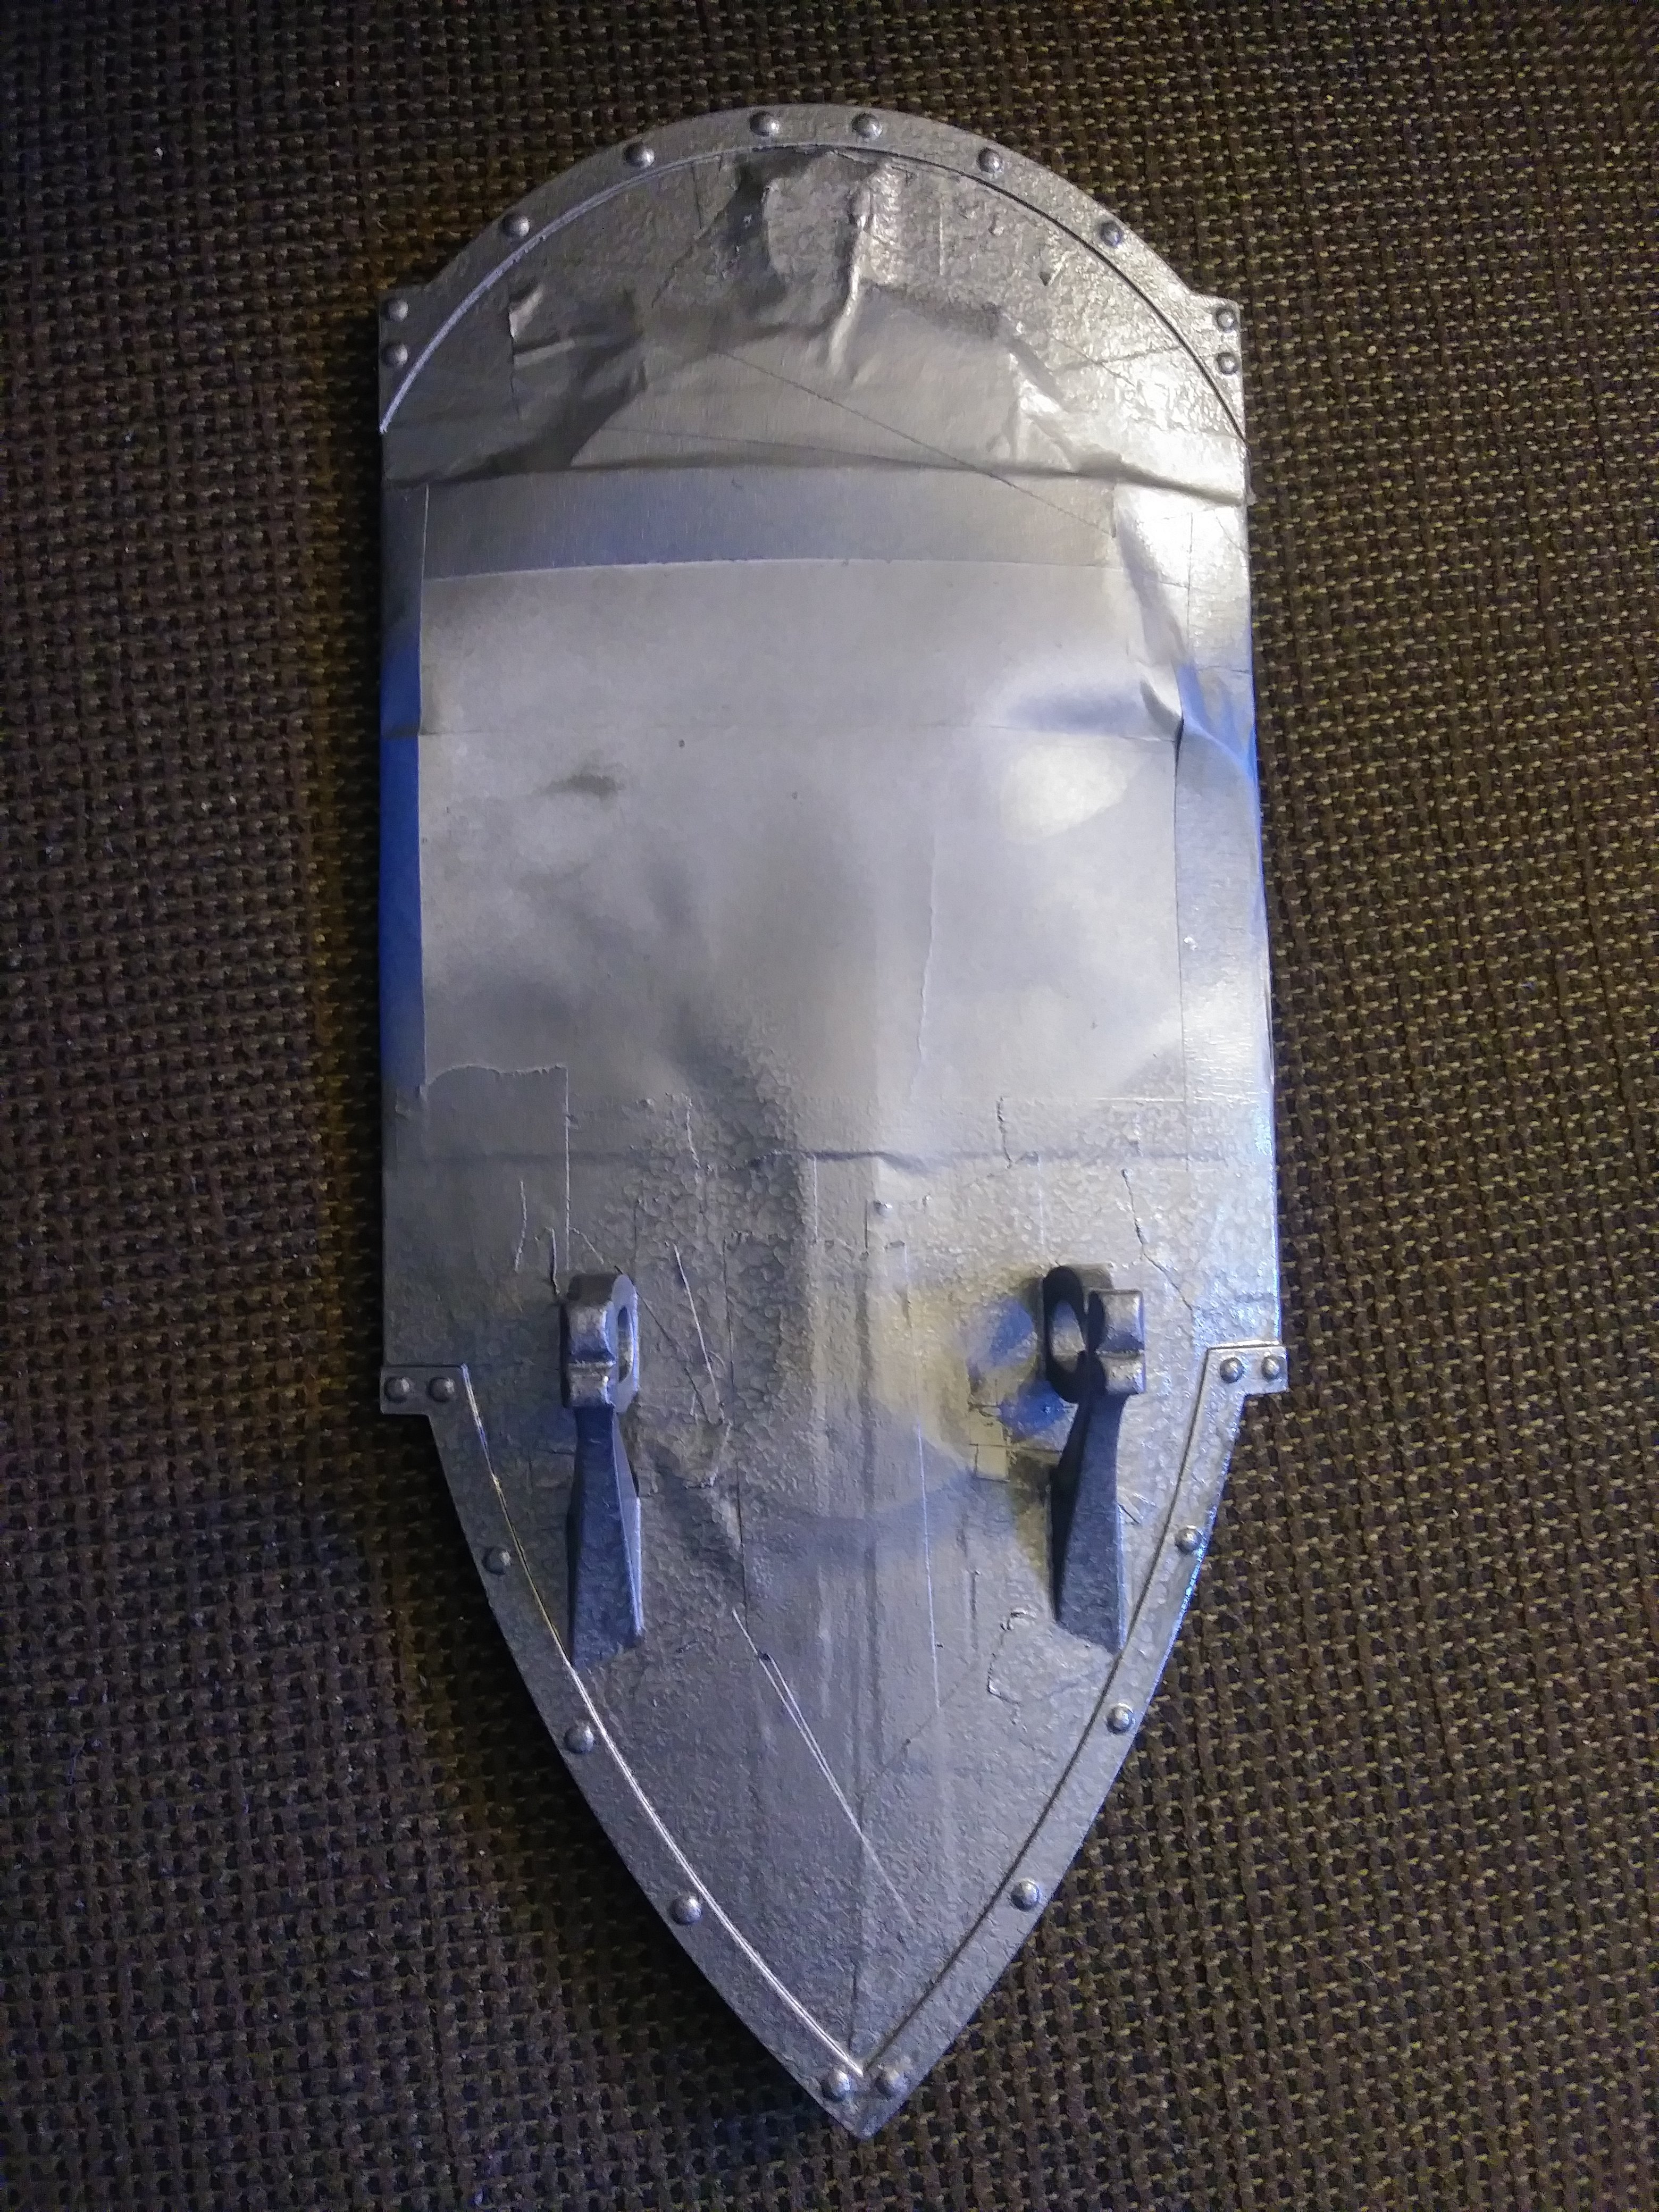
Post-Production
For reference I have included the method I used for post-production:
-Sand thoroughly to smooth surface and prepare for paint
-Use black craft paint as needed not worrying about painting over the tree.
-Sand the surface of the white detail to remove black paint
-Paint surface with mottled gray paint
-Use painters’ tape/paper to cover over everything that won’t be getting a metal finish and spray plastic grade metallic paint on all exposed parts
-Remove tape and do final touchup on surface
-Spray several coats of varnish to seal and protect the surface