by toddsplod67, published
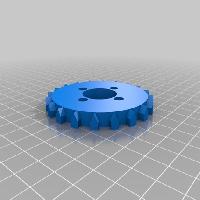
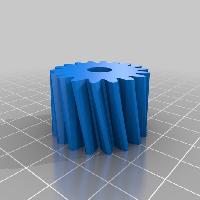
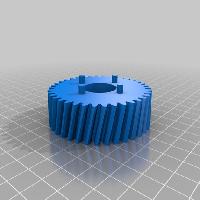
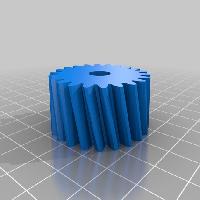
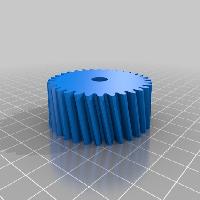
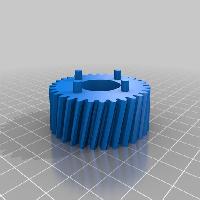
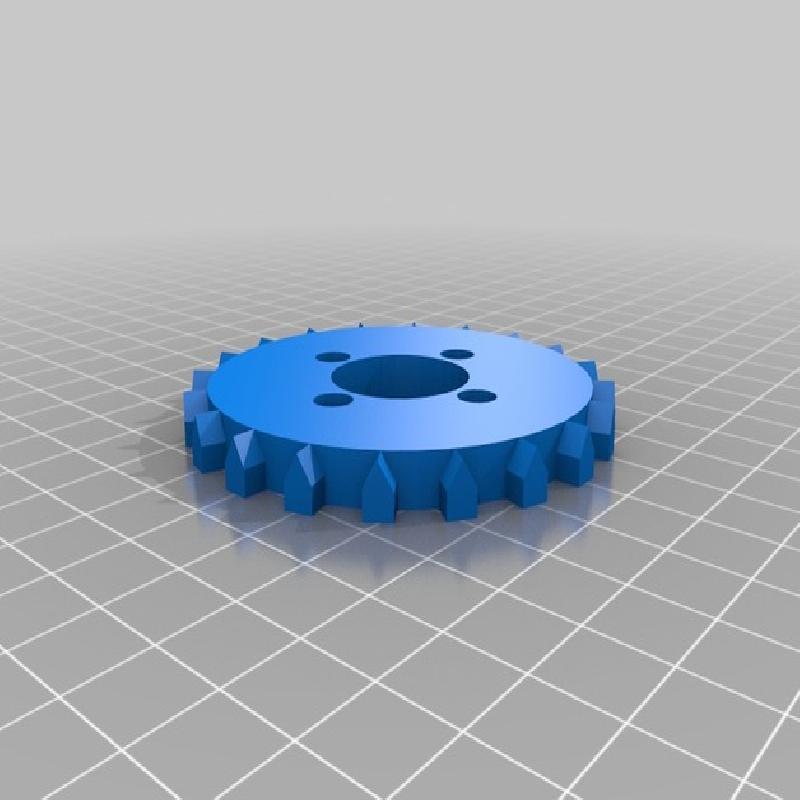
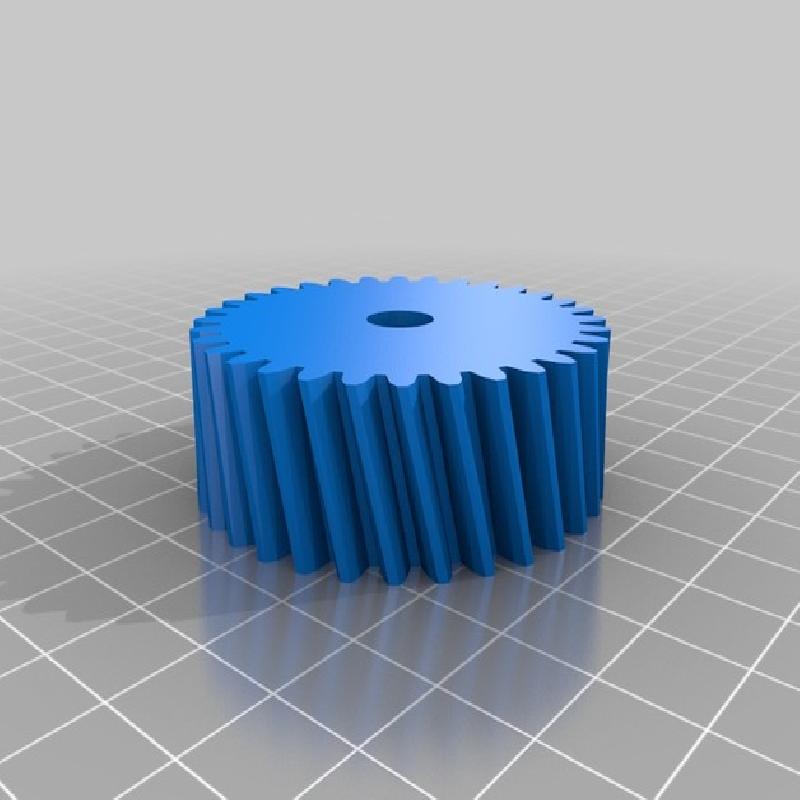
The gears have the following teeth / ratios
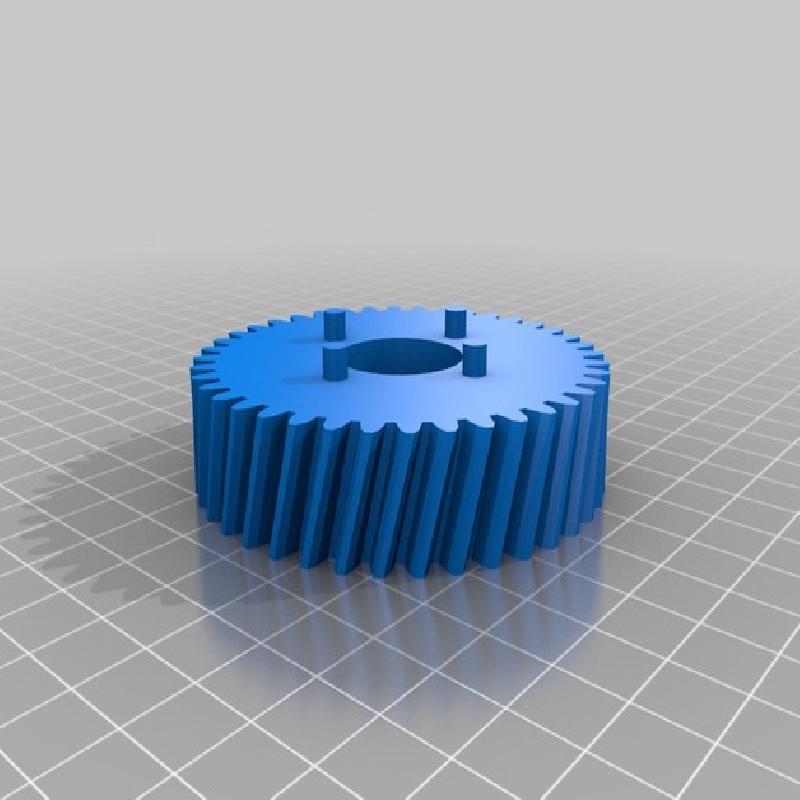
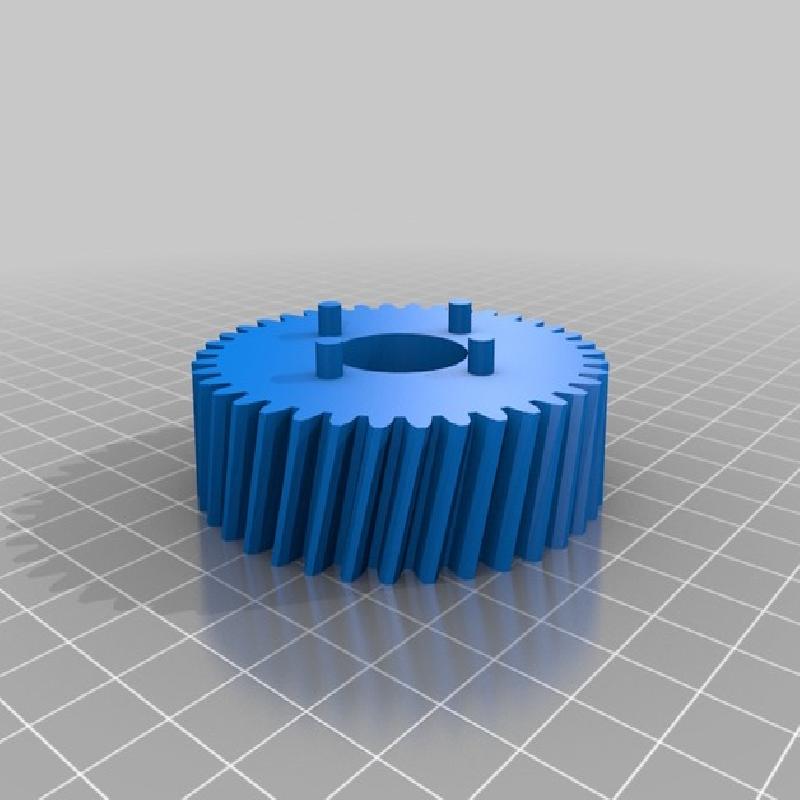
1st 40 18 2.22
2nd 38 22 1.72
3rd 36 26 1.38
4th 32 32 1.00
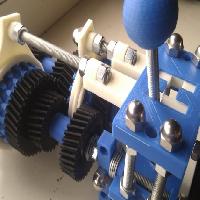
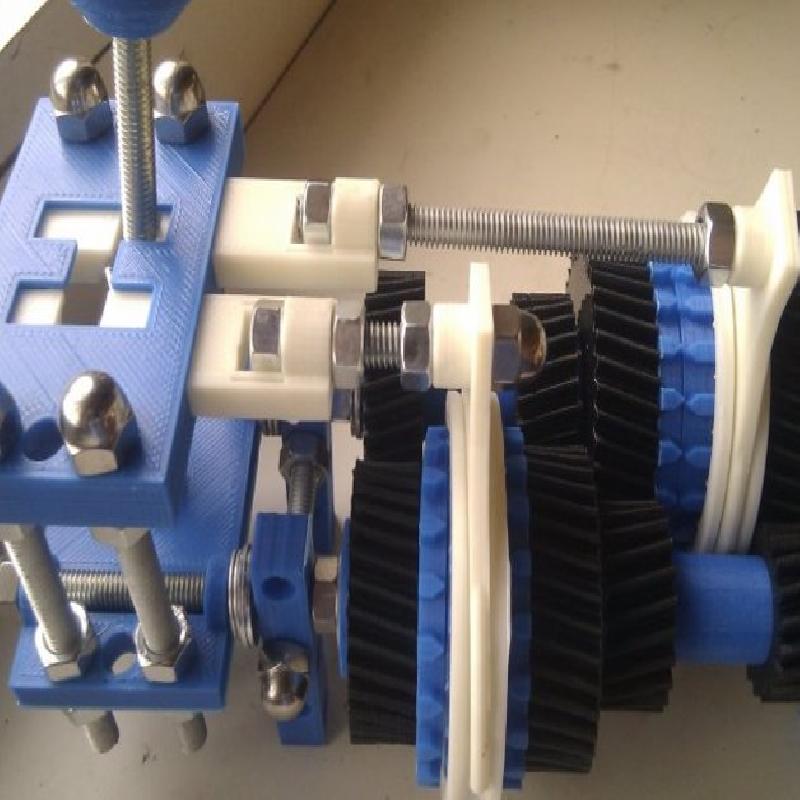
The gears, hubs etc sit on 8mm threaded rod and
are held in place by jam nuts either end.
The threaded rod passes through some stands but
really some bearings are needed in the future.
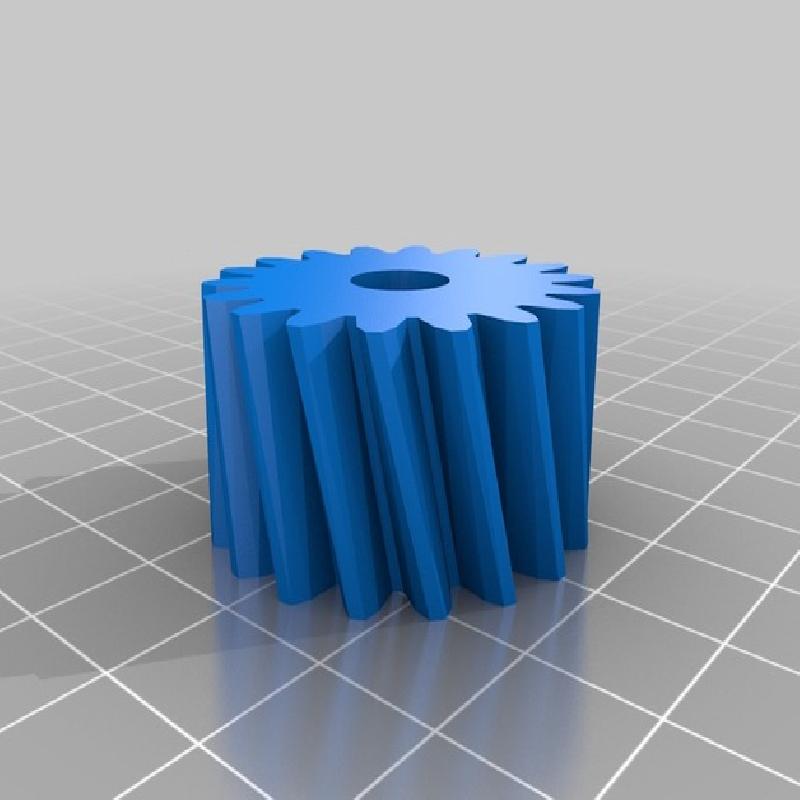
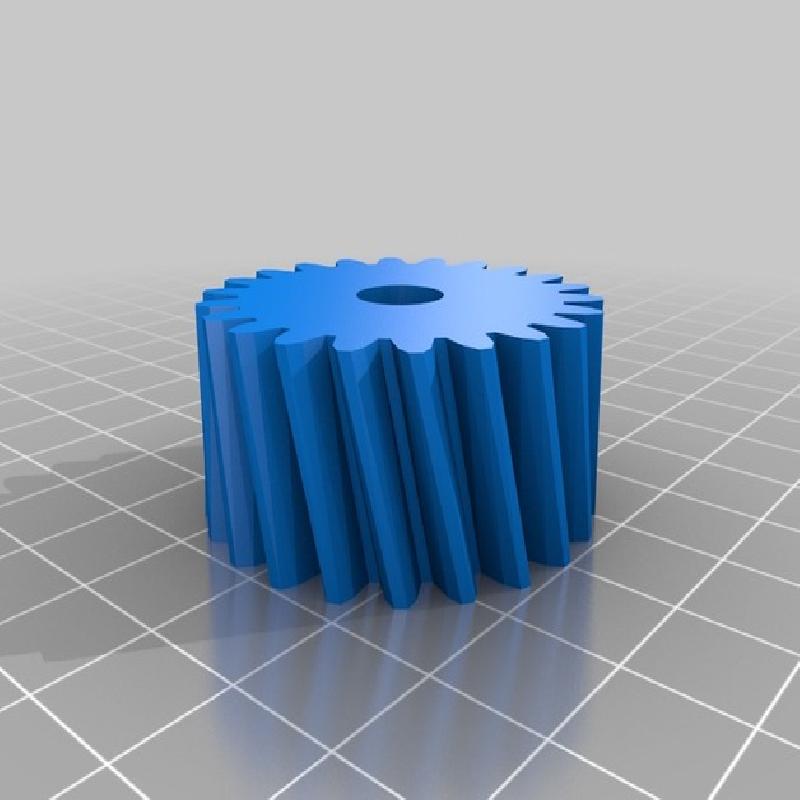
assem_gear*.stl (8 gears, 4 have lugs to fit baulk rings)
assem_baulk_holed.stl (x4)
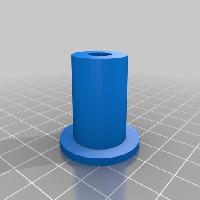
assem_hub.stl (x4)
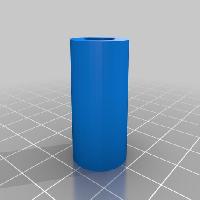
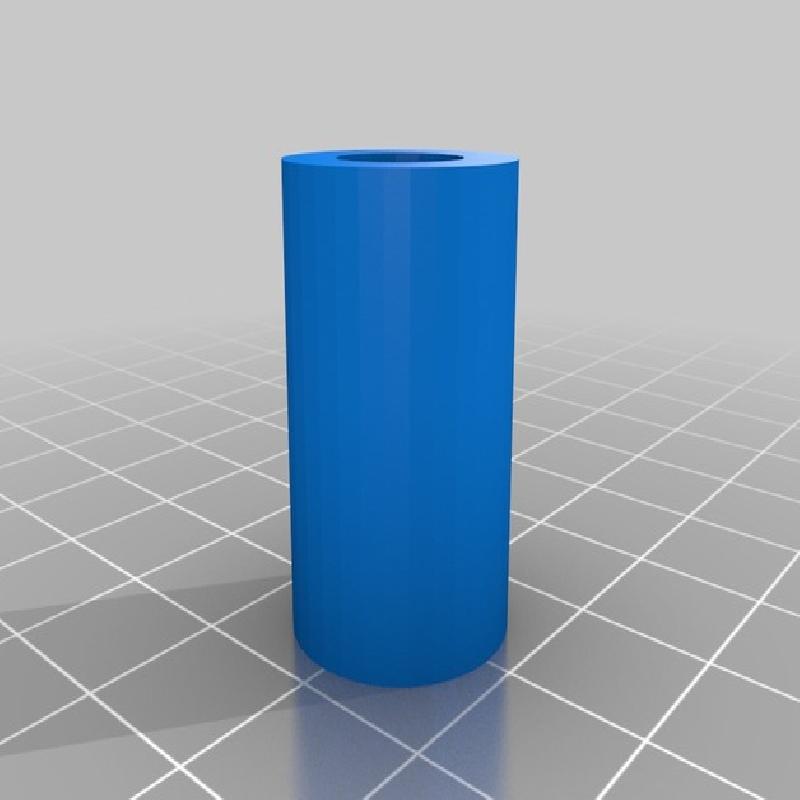
assem_spacer.stl (x2)
assem_stator.stl (x2)
assem_selring_grooved.stl (x2)
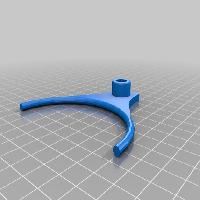
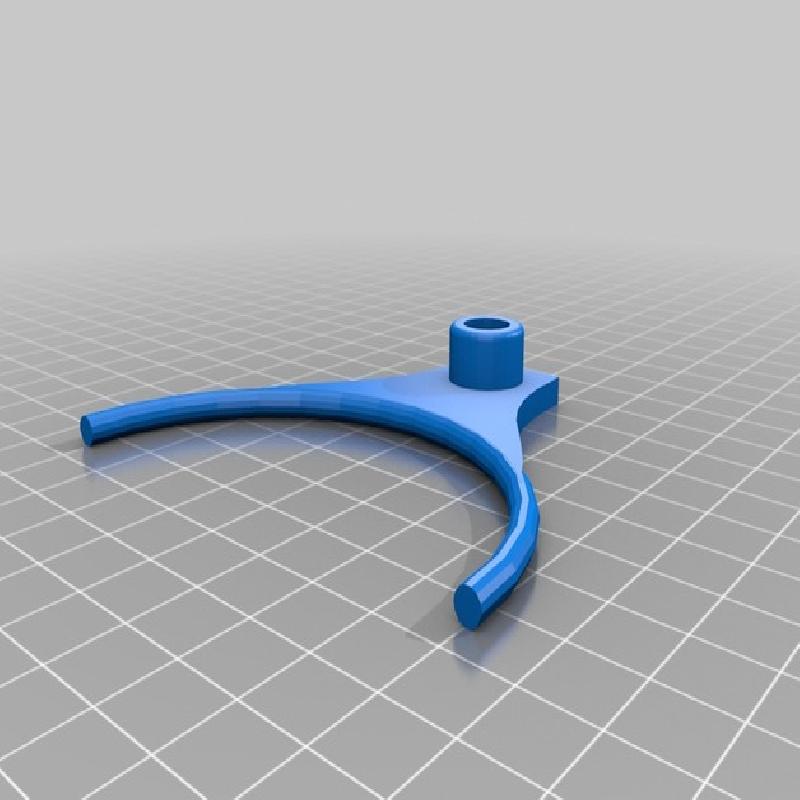
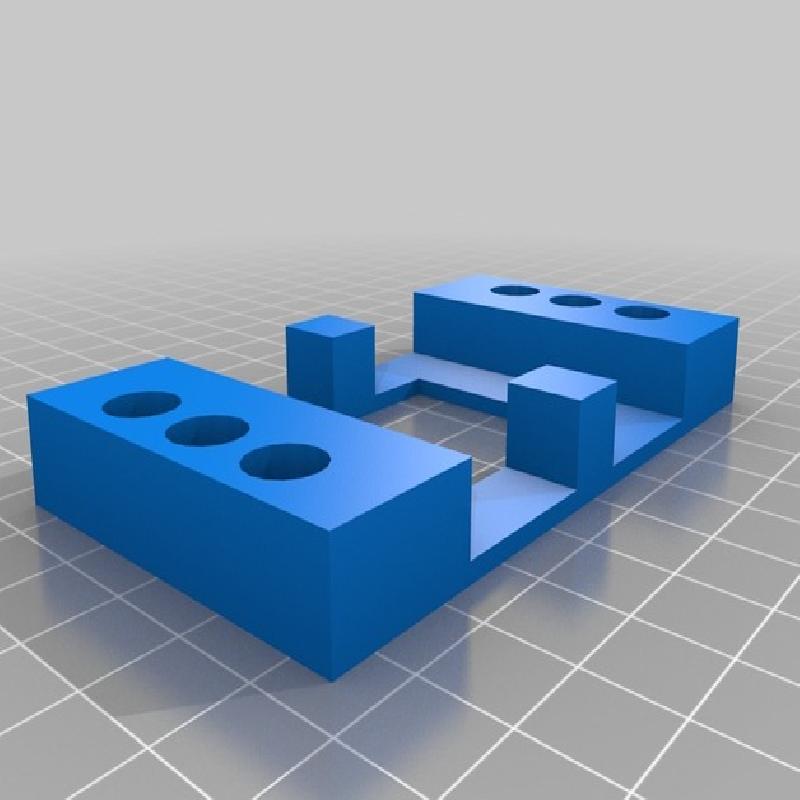
assem_fork_holed (x2)
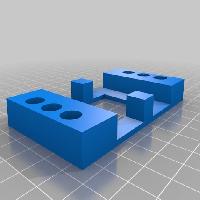
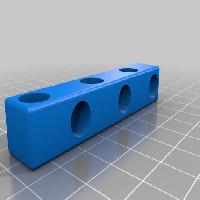
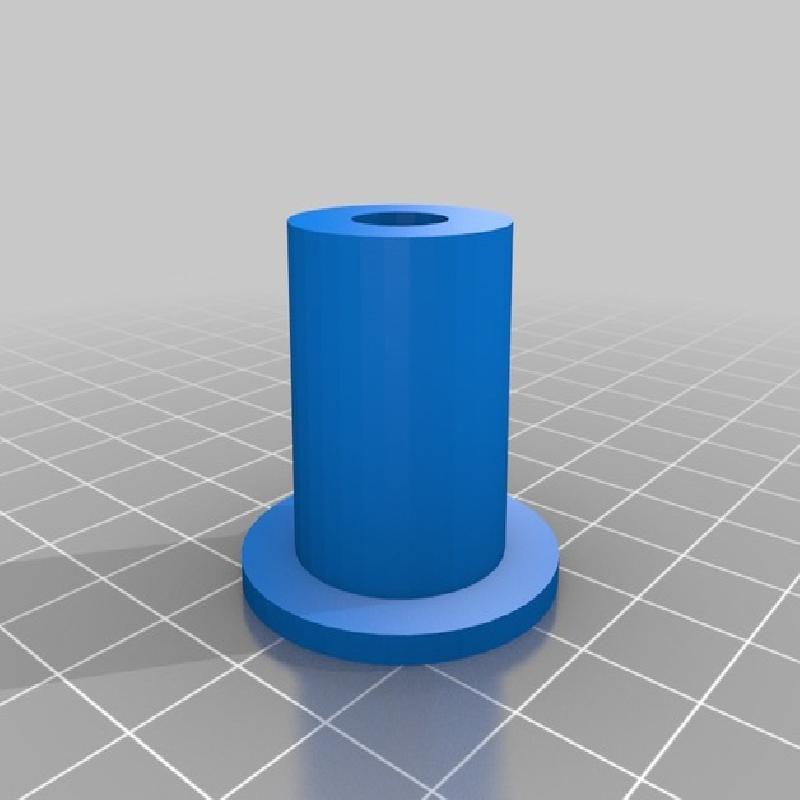
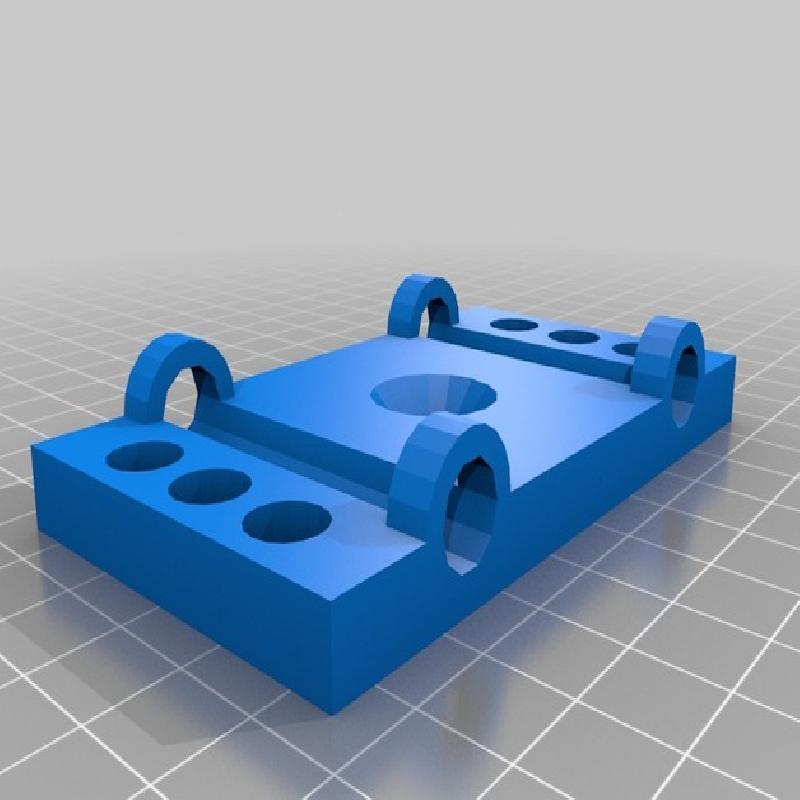
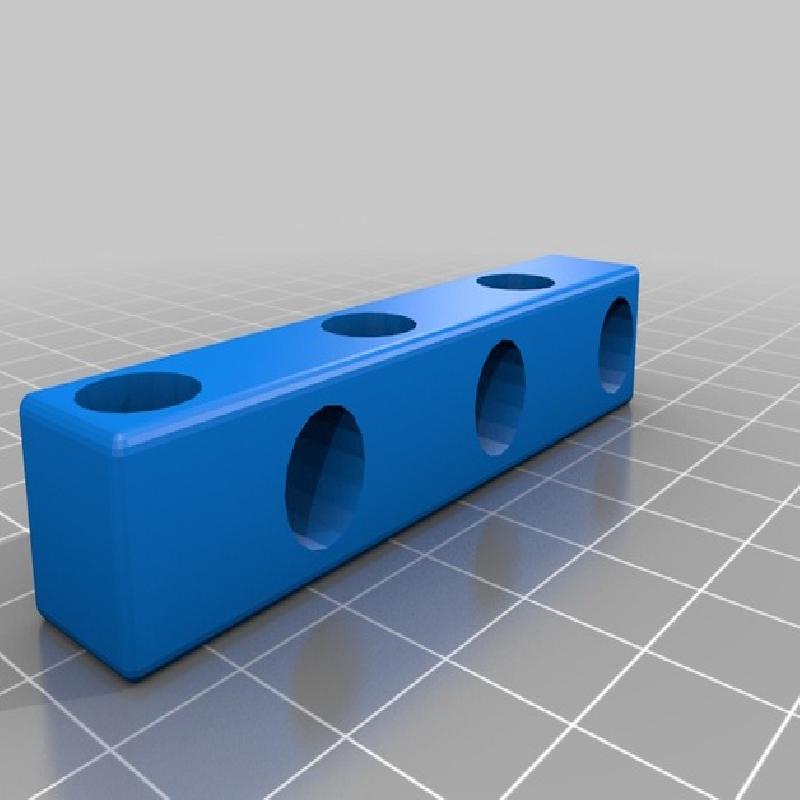
assem_stand.stl (x4)
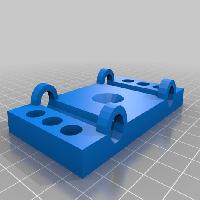
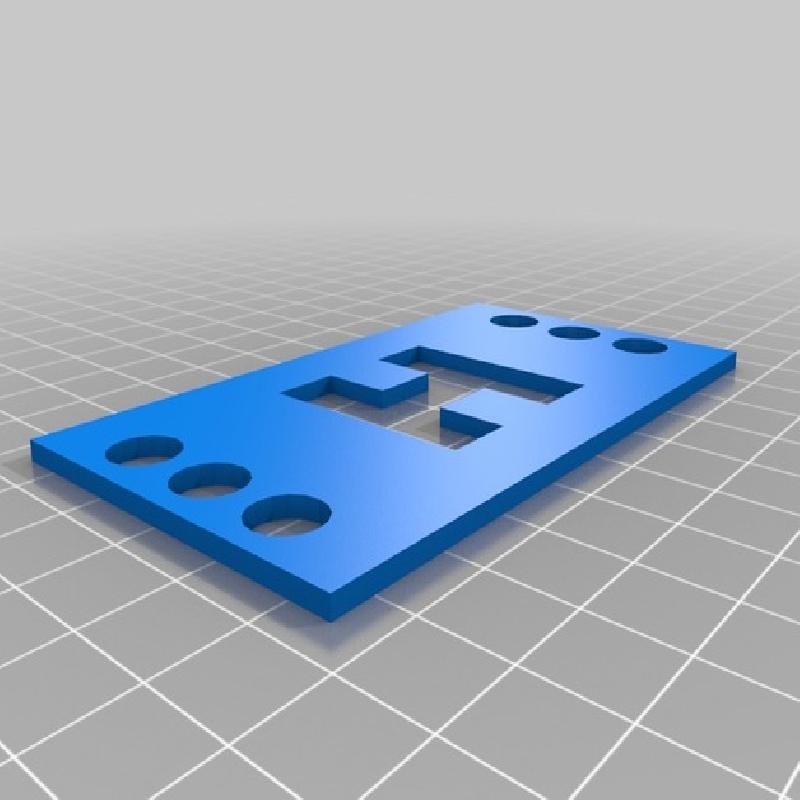
assem_hlower.stl (x1)
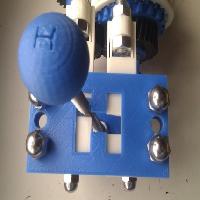
assem_hplate.stl (x1)
assem_pivotbar_grooved.stl (x1)
assem_slider_pair.stl (x1)
assem_gearknob.stl (x1)
You'll need about a meter or more of threaded rod.
About 40-50 nuts. About 15 washers.
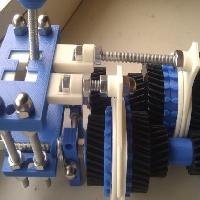
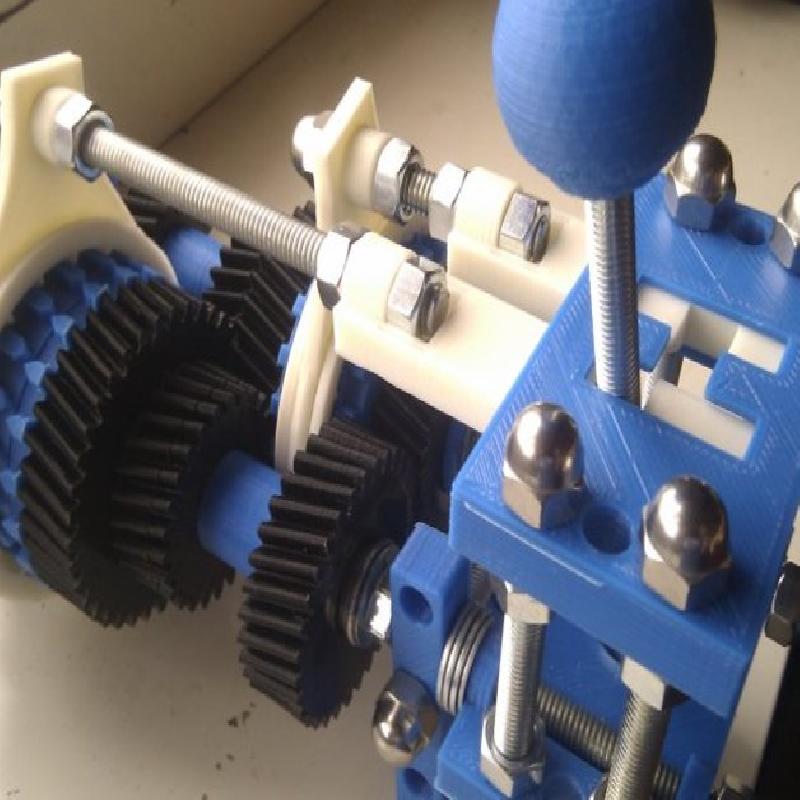
Each shaft has one selector ring set. The selector ring sits over the stator (which is locked to the shaft) when in neutral. The gears are spinning freely on hubs. The selector ring shifts either way to lock a baulk ring (or "dog") to the stator. Since the baulk ring is linked to a gear via the lugs, a gear is now locked to the stator, and is engaged.
On a 8mm theaded rod shaft, add a stator. Add a baulk ring either side of the stator, with triangle teeth pointing toward the stator. Slip a selector ring over the stator.
Place a hub with the flanged end on a table and slip a gear (gear1a) over the hub with lugs pointing up. Add the hub and gear to the shaft and mate the lugs into the baulk ring. Do the same on the other side using gear2a. You should now be able to squeeze the two hubs toward each other with your fingers and notice that the stator is locked and the gears spin.
The opposite shaft should match with the following: gear1b, spacer, gear2b.
Repeat the whole assembly process, but this time on the opposite shaft for gears 3 and 4.
For each shaft add a washer and jam nut each end, and tighten. The stators and spacers (with gears) will be locked, and the 4 gears on hubs will spin freely.
Put the shafts through stands and use more threaded rod crossways to ensure the shafts are 51mm apart. Note: better stands with bearings are needed.
See photos for now.
The shafts' centers are 51mm apart.
The travel from neutral to select any gear is 6mm.
Too much threaded rod. But it is adjustable.
A bit clunky. Forks could be smaller for more precision.
The H box sits on rotating shafts. Needs own stand really.