by Saberpeep
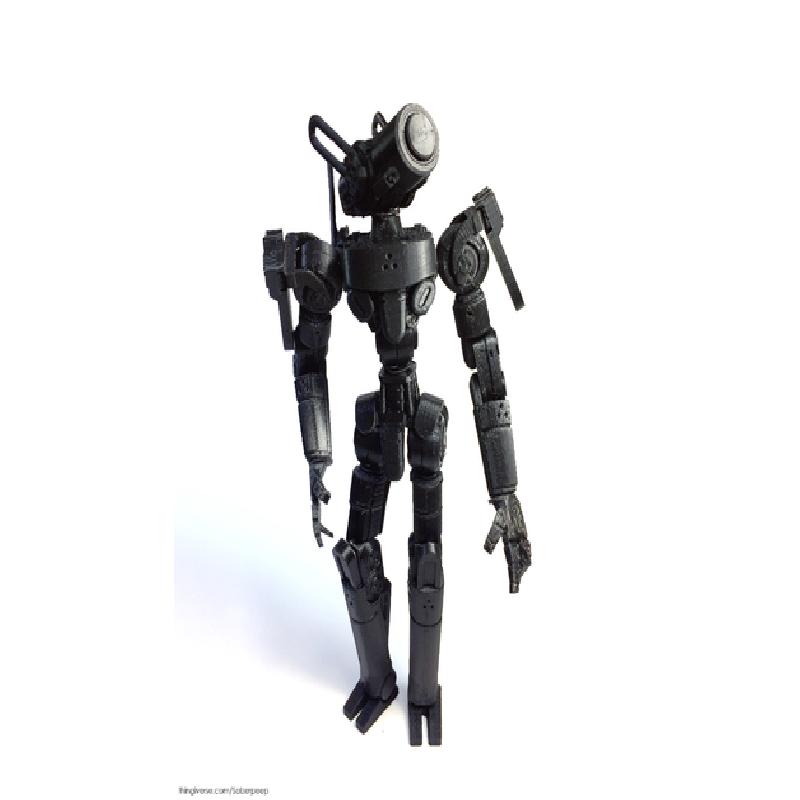
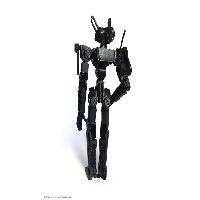
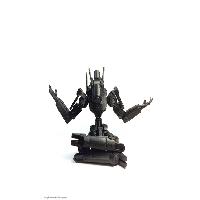
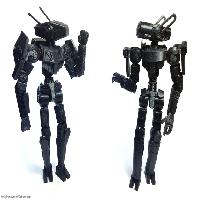
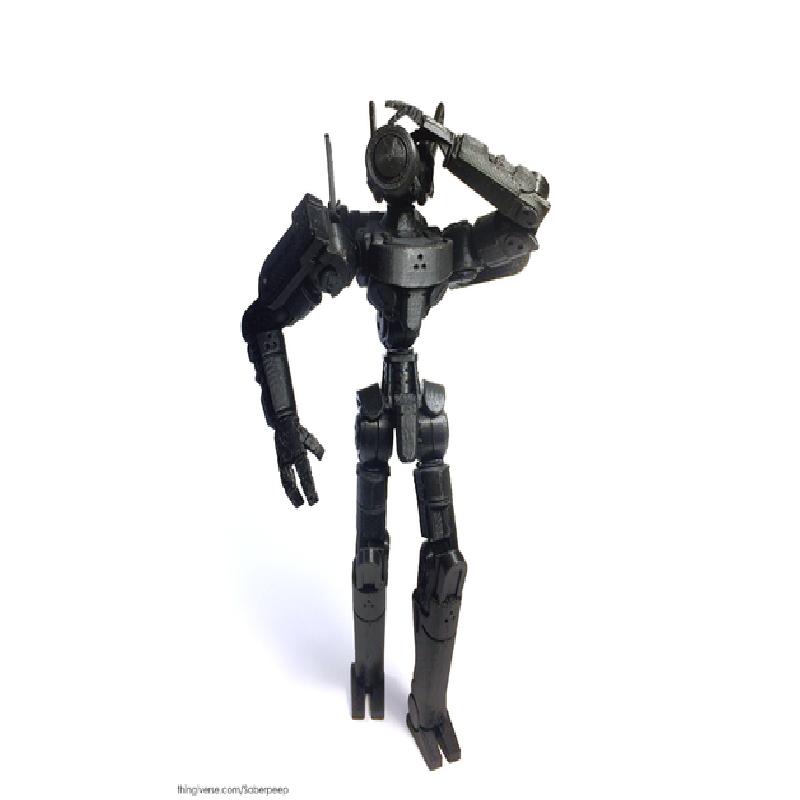
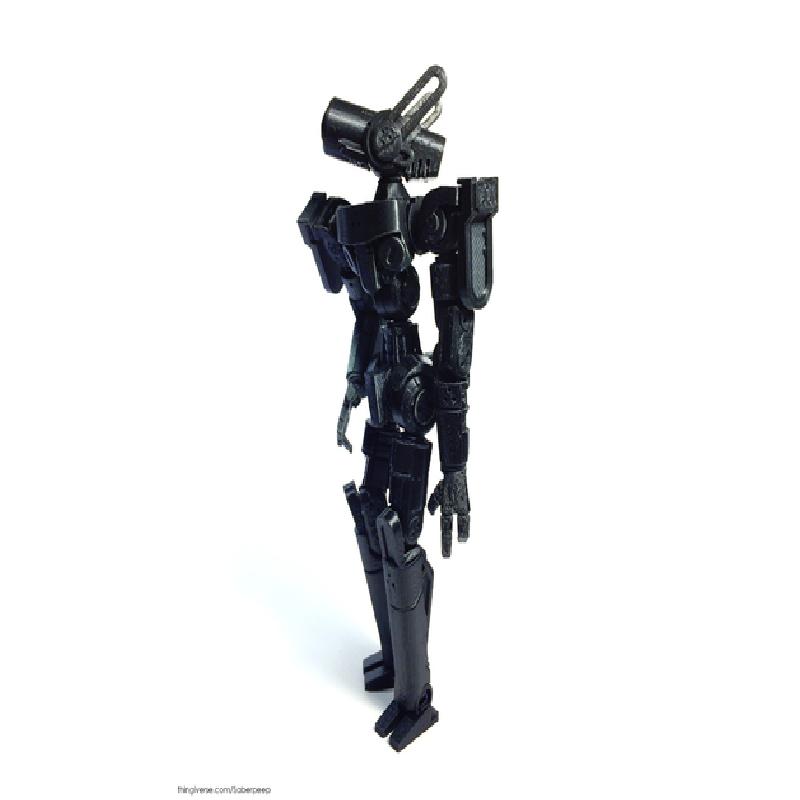
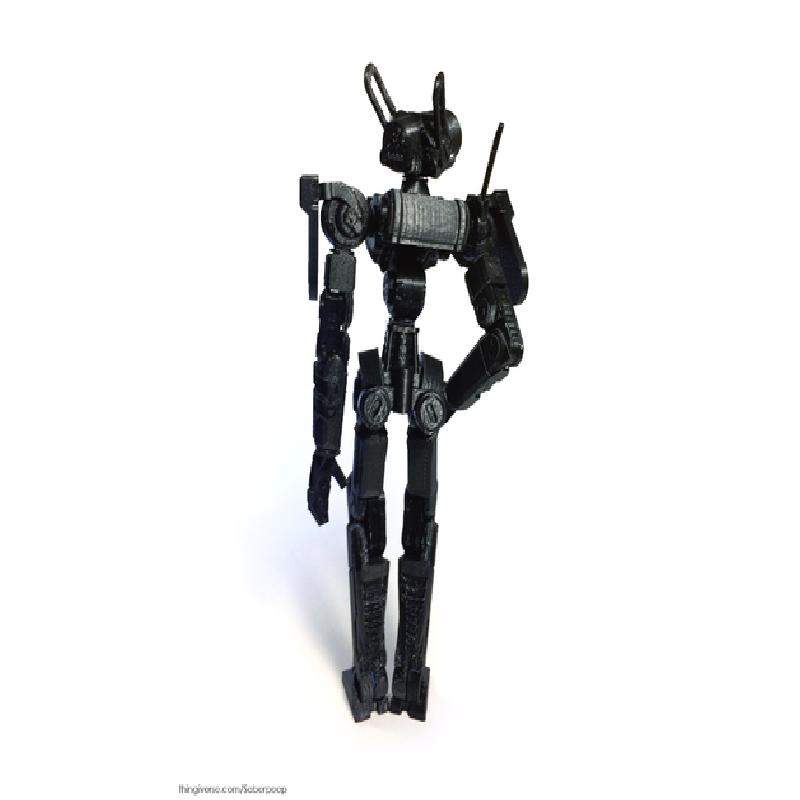
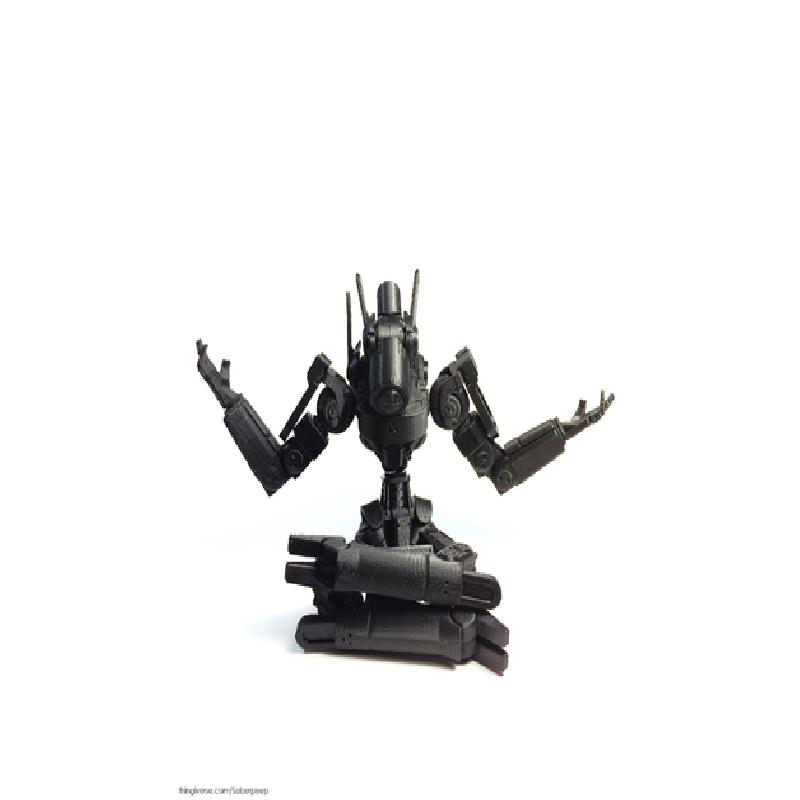
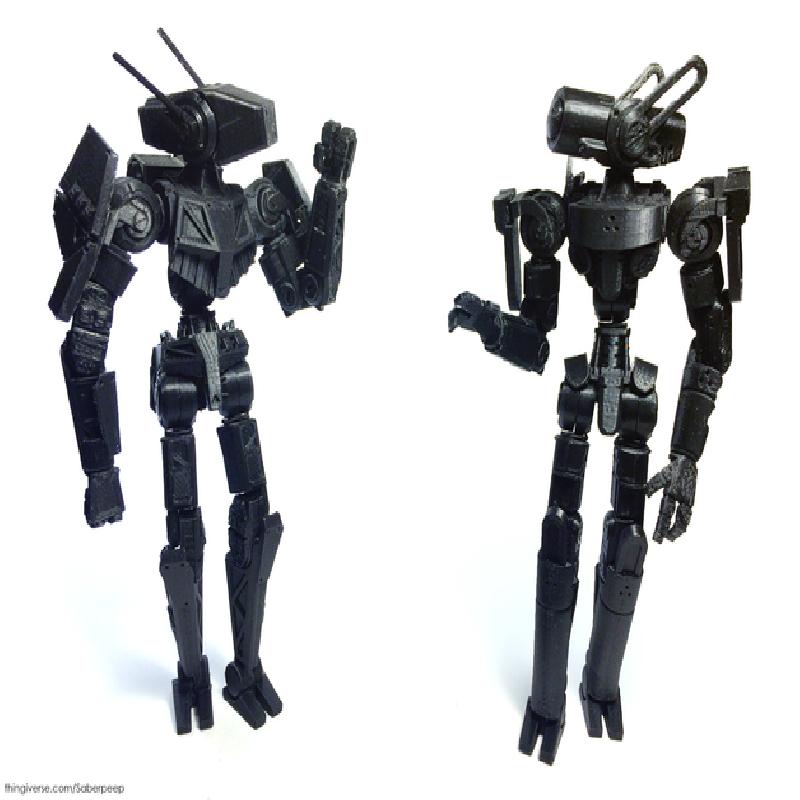
Meet Apollo, the second in a series of 3D-printable snap together action figures with interchangeable parts! Over time I will be designing and releasing more robots and addon parts so you can mix and match and customize your own Snap Bot. In the meantime, feel free to edit and customize the current parts and make your own and upload them as a Remix, I'd love to see what you can do!
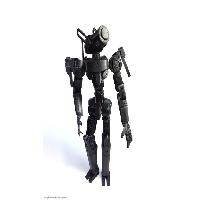
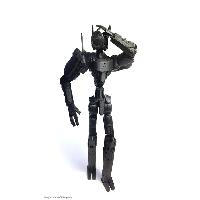
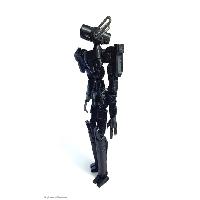
Apollo is a scientific bot equipped with large optics, complex sensor arrays, and a sleek streamlined design.
Be sure to check out the previous snap bot, Artemis: http://www.semaker.com/productdetail/15624
Printer:
AnyCubic Kossel Pulley
Rafts:
No
Supports:
Yes
Resolution:
0.2 (or dynamic)
Infill:
15 (or dynamic)
Notes:
All parts should already be oriented the way they should be printed.
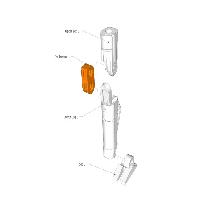
However just in case, ensure all mid-size pegs (used on the double joints, neck, wrists, etc.) are printed parallel to the print bed with their split perpendicular to the print bed or they will likely snap during insertion.
I recommend you slow the print speed down for the armor forks to avoid issues, your mileage may vary
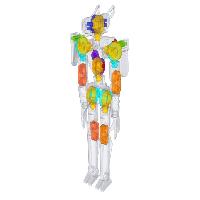
Print one of each part unless otherwise specified in the file name (eg. X2, X4, etc.).
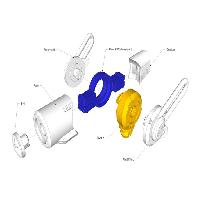
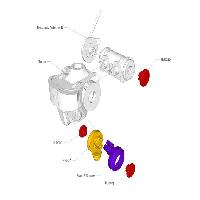
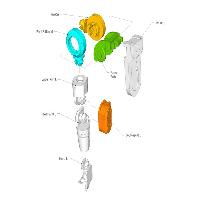
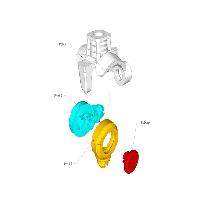
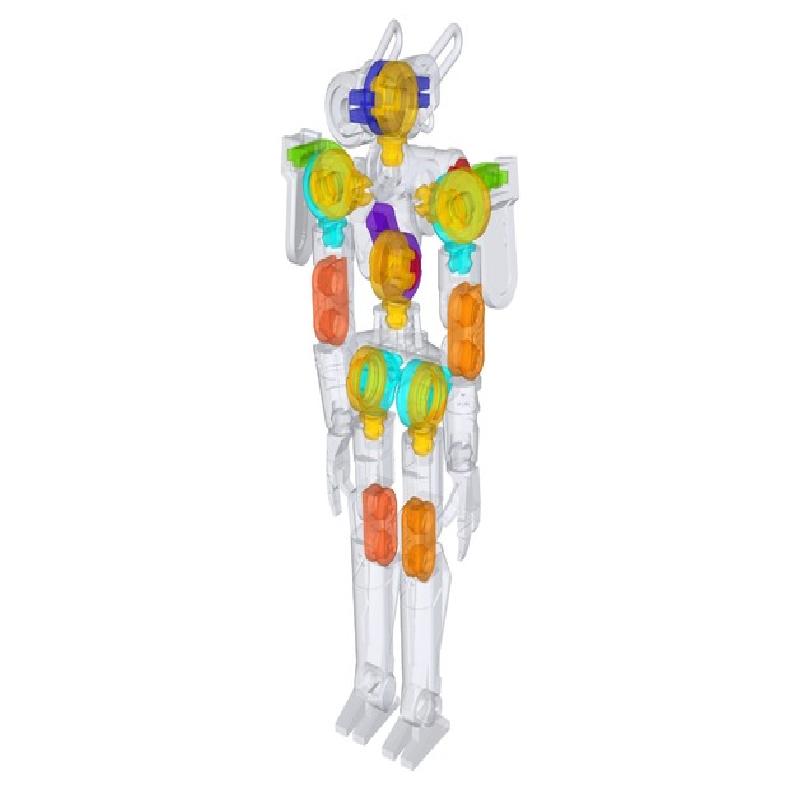
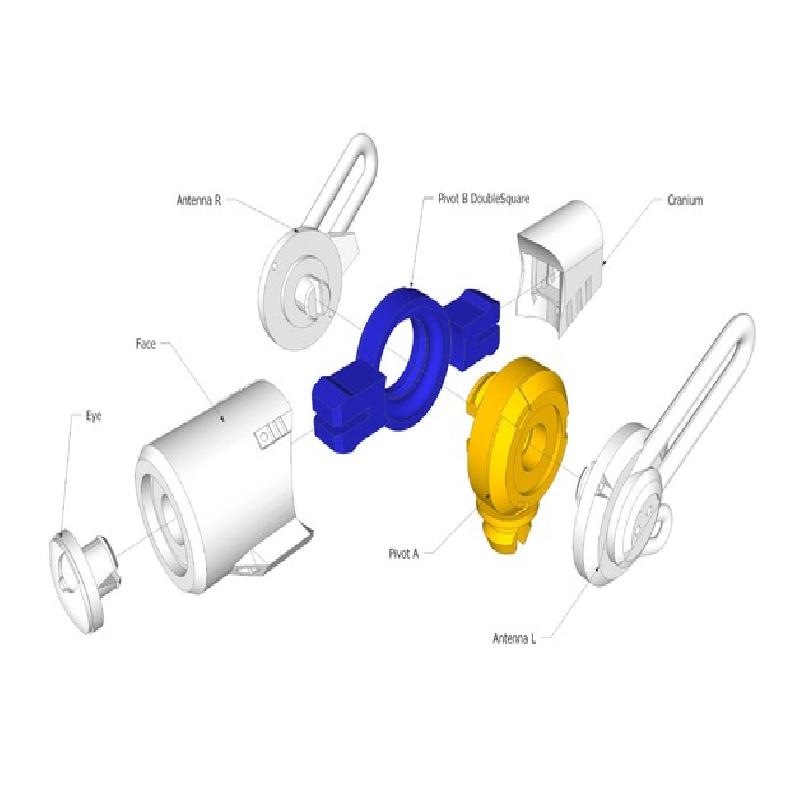
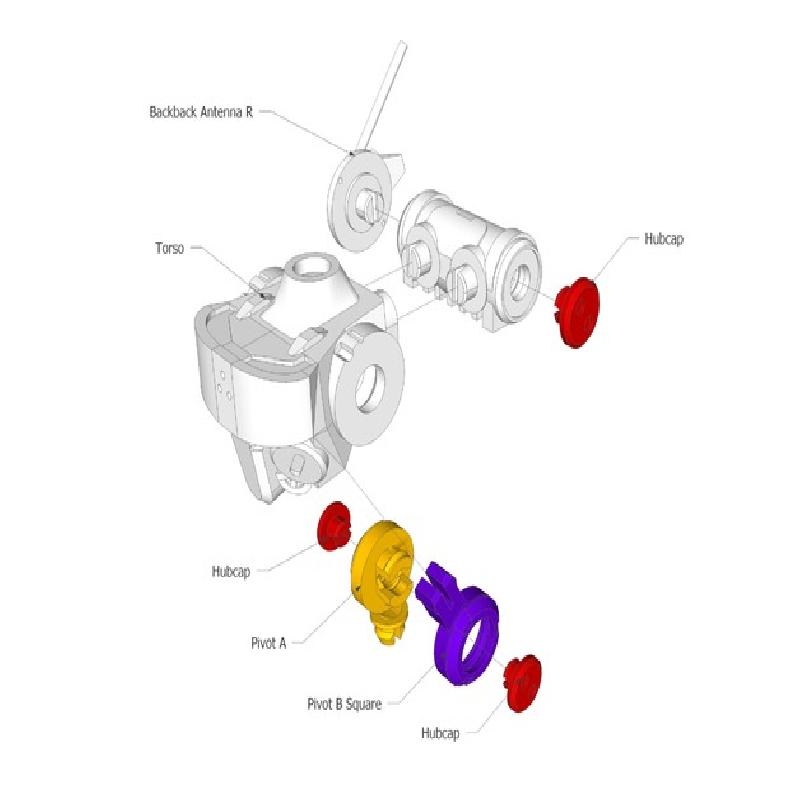
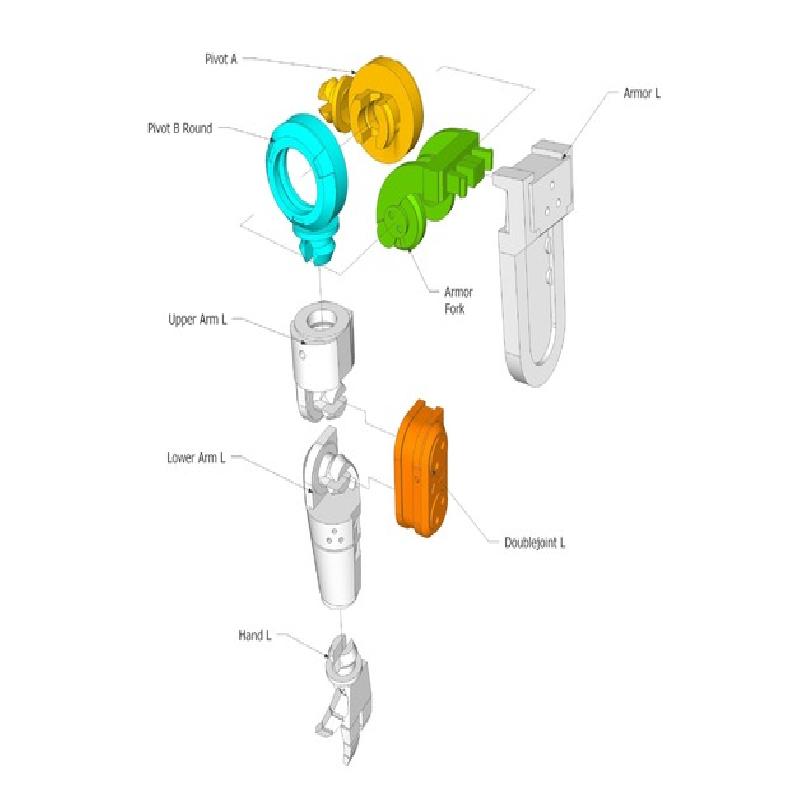
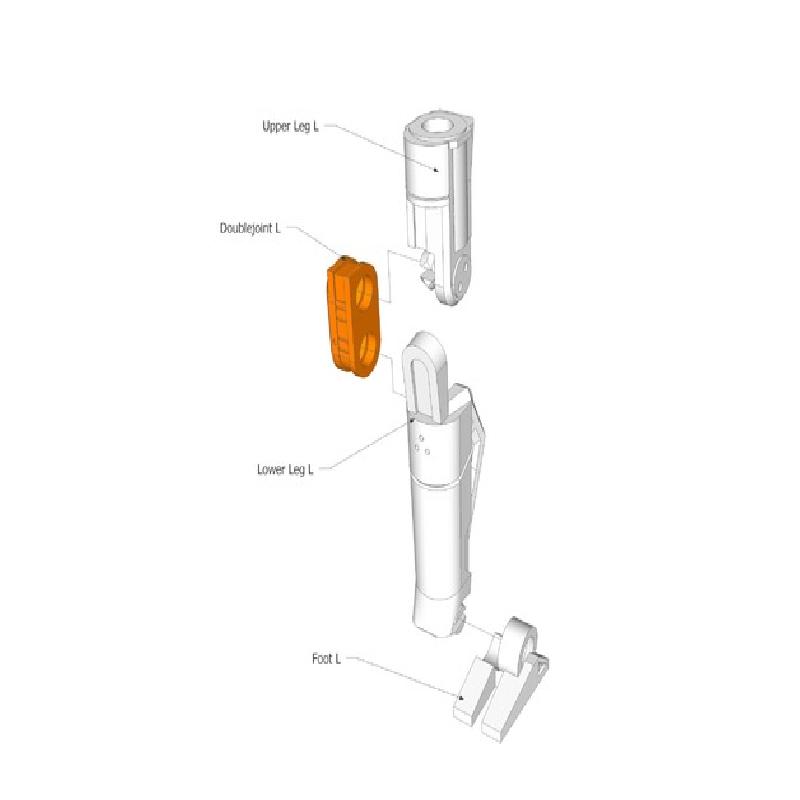
Refer to the exploded diagrams in the included images during assembly.
Cleaning Up Pegs
If you find them too hard to insert, The mid-size pegs (used on the double joints, neck, wrists, etc.) will likely need trimming and sanding along the sides perpendicular to the split. Try not to remove material from anywhere else on the peg (such as along the round flange) as it may add play to the joint once assembled.
O-rings
I left gaps in the pivot B parts for cherry MX keyboard O-rings (because they were readily available in large quantities) to add friction (though any o-ring of similar size should work). Stretching an O-ring around the pivot A peg before pressing on the Pivot B part creates a joint with higher friction and is more long-lasting under wear. This is optional but recommended.
Sanding Joints
Light sanding on any sliding surfaces that were in contact with support material is recommended, however the parts have been designed with tolerances such that sanding should not be required unless rough from support material. Avoid over-sanding near joints or you may make them too loose.
Troubleshooting if large joints are too loose
I have included an alternative version of the hubcap part that can be used to spread the large joint pegs and apply more pressure. If your large joints are too loose, try replacing its hubcap with troubleshooting_hubcap_spreader.stl
Don't forget to upload photos of your finished figure to the Makes section, I'd love to see yours!