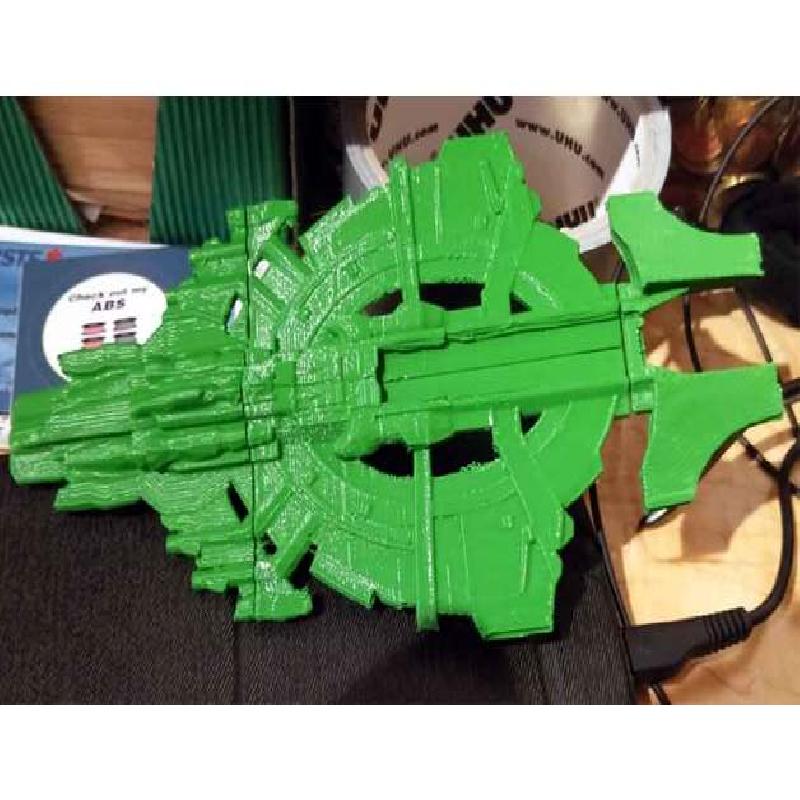
by Rejutka
A repaired (via Netfabb online service) and split remix of Deamos Nyx mothership.
The original is hard to print (it has several errors, and many many tiny parts that require support), so I decided to split it up into four easy-to-print parts.
The remix of CloudyOne uses a different kind of connector, which I personally dislike because they're obvious - I rather have internal connectors.
The internal connectors are the time-proofed friction-fit/pressure connectors - i.e. a simple hole and a rod of corresponding girth.
(BTW, maybe I've switched front and back - much as I like Gallente and their drones, I literally can't make head or tails of that ship...)
[edit] And of course only now I notice that the back is partially broken - no wonder the extra fins broke off when I tried to remove the raft...
I've added two quick fixes, the first simply tries to plug the whole, the second (_new) actually transplants the whole edge from a new import.
I'm not really satisfied with either, so maybe someone else can do a good fix?
Supports:
Doesn't Matter
Notes:
Support should not be necessary - if you think you can print support that will easily detach, go for it, there are a few parts that have some strands hanging from them, which would benefit from support.
(Also depends on how good your printer/filament is with bridging.)
The torso halves and the front use the big connector - the back would use a much smaller connector, but it turned out a piece of 1.75mm filament fits snuggly into the holes.
Note that not all holes for the halves are actually necessary - turned out just the first and last will fit fine. Since it's not visible, I thought it not worth remodelling.
Meshmixher and Tinkercad - what a combination :-)
I've cut it via Meshmixer, then realigned in Tinkercad (unfortunately, Tinkercad doesn't always align 100% correctly), then added in holes for the connectors.