by spegelius
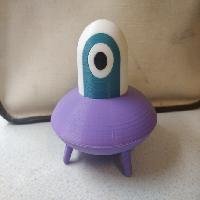
Saw a picture of this UFO thing somewhere and as I wanted to try modeling something non-functional for change, decided to try and make a real-life representation of it.
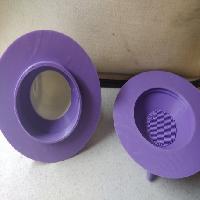
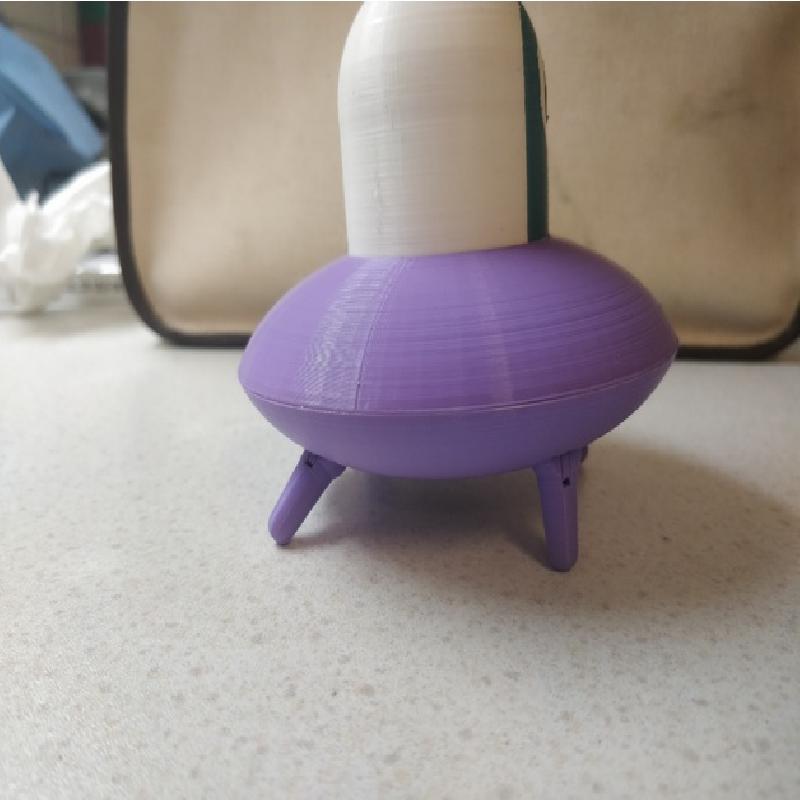
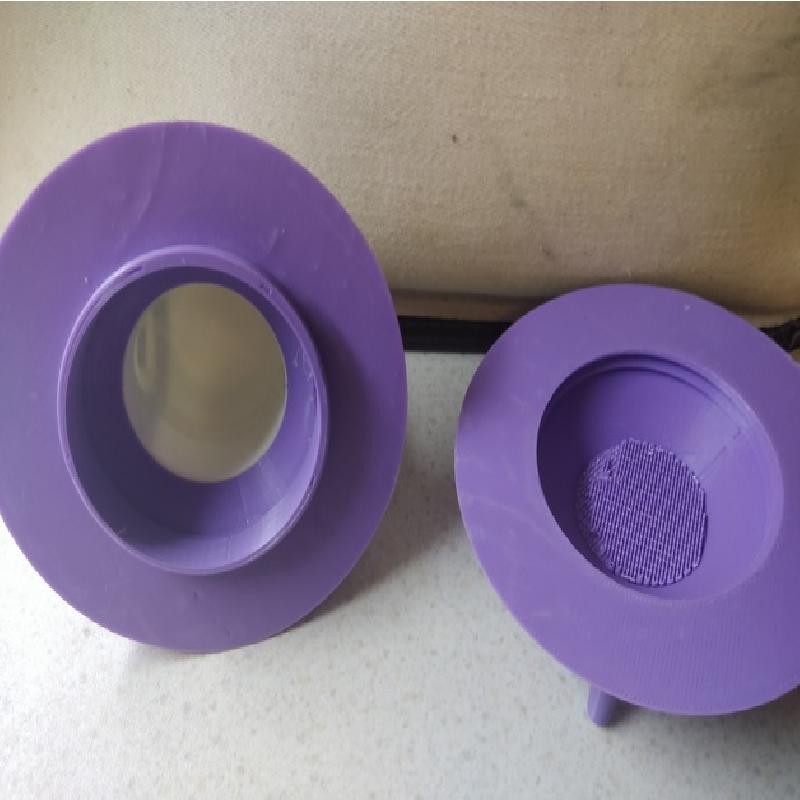
The saucer part consist of two parts that are screwed together using the screw parts that is printed separately. Inside there's some room for some small stuff, so it doubles as a container of sorts.
Head, eyes and pupil can be printed as multi-color print. Needs a printer that can print 3 colors. Also body top can be included in this multi-color print, but at least with single-nozzle setups this increases the purge tower size somewhat and probably not worth the waste.
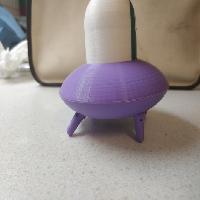
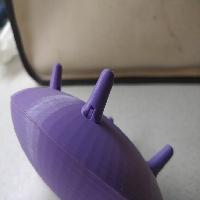
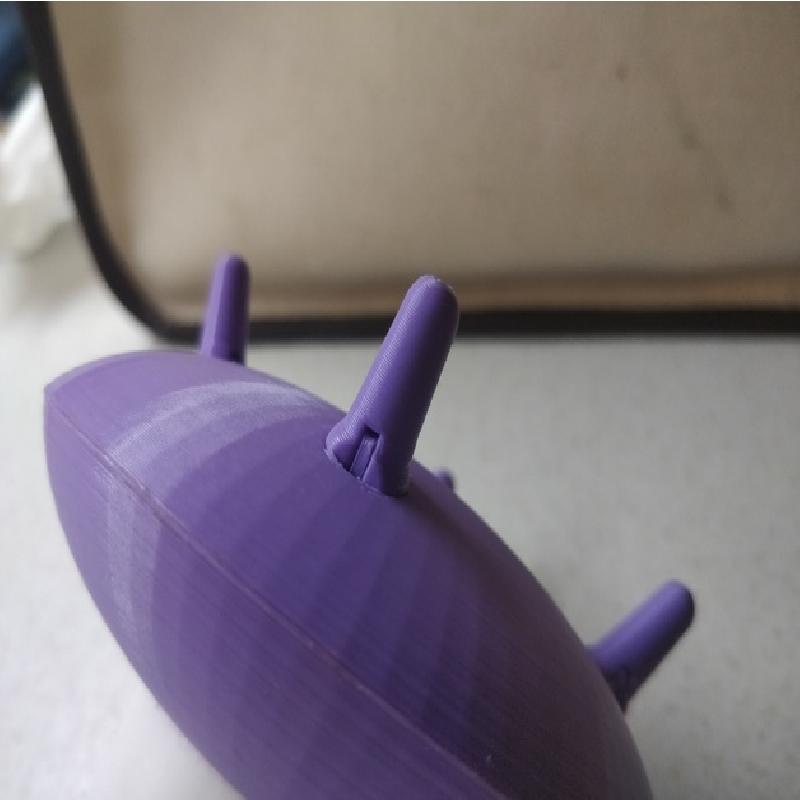
Legs are jointed so the UFO can assume different stances.
I haven't named this thing so it shall remain Unidentified. And technically it doesn't fly (unless thrown, but please don't do that) so maybe the abbreviation UFO isn't completely accurate...
OpenSCAD source: https://github.com/spegelius/3DModels/tree/master/UFO
Printer Brand:
Prusa
Printer:
Rafts:
No
Supports:
Yes
Resolution:
0.1-0.25
Infill:
10%
Filament: whatever PLA multiple
Notes:
Most of the parts were printed with Prusa MK2 clone. The head was printed with custom 4-color printer with Prometheus system as one print. It should be possible to print the head parts separately and glue them together, but I haven't tested this.
For slicing I used KISSlicer 1.6.3, with dynamic layers from 0.1mm to 0.25mm. The body parts are best printed with low layer height to get smooth result.
For legs I used 3 perimeters, otherwise 2.
Supports needed for body parts and maybe the head.
The head is glued to the body top part. The get it fit will probably need some sanding since the tolerance is set to 0. You can use slicer scaling for the head parts to make it fit better.
Legs should just snap in to the holes on body bottom part. They most likely move quite freely, so add the leg_peg parts in the leg slots to make the more stiff.
Screw in the screw part to both body parts to make sure the screw doesn't get stuck. It should ease after some rotations. Glue the screw part to either top or bottom body part, doesn't matter which.