by 4dEFCON
IMPORTANT !!!! : YOU MUST SCALE ALL PARTS TO 85% FOR CORRECT SIZE
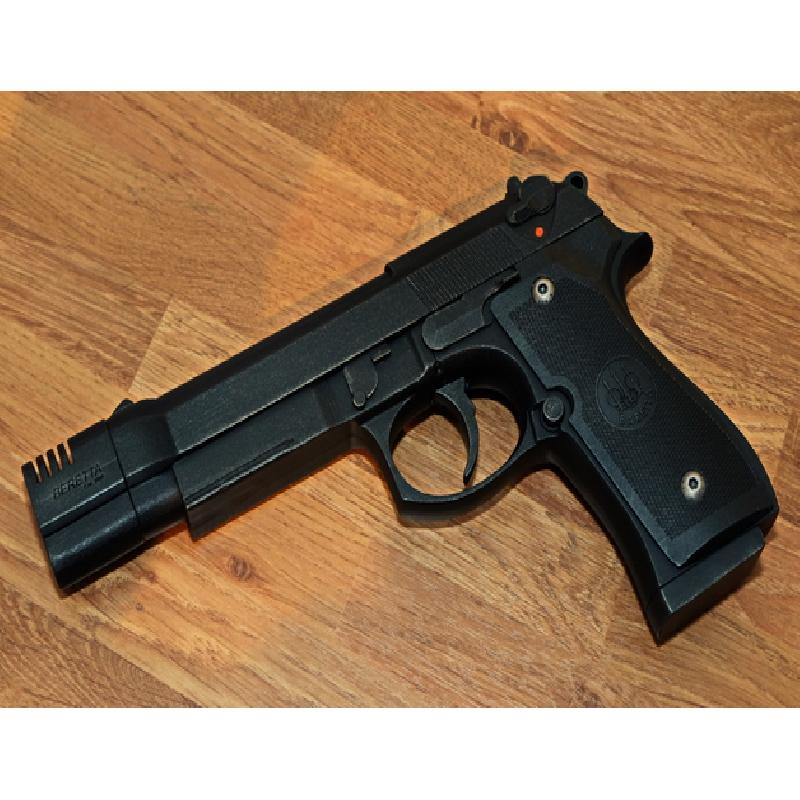
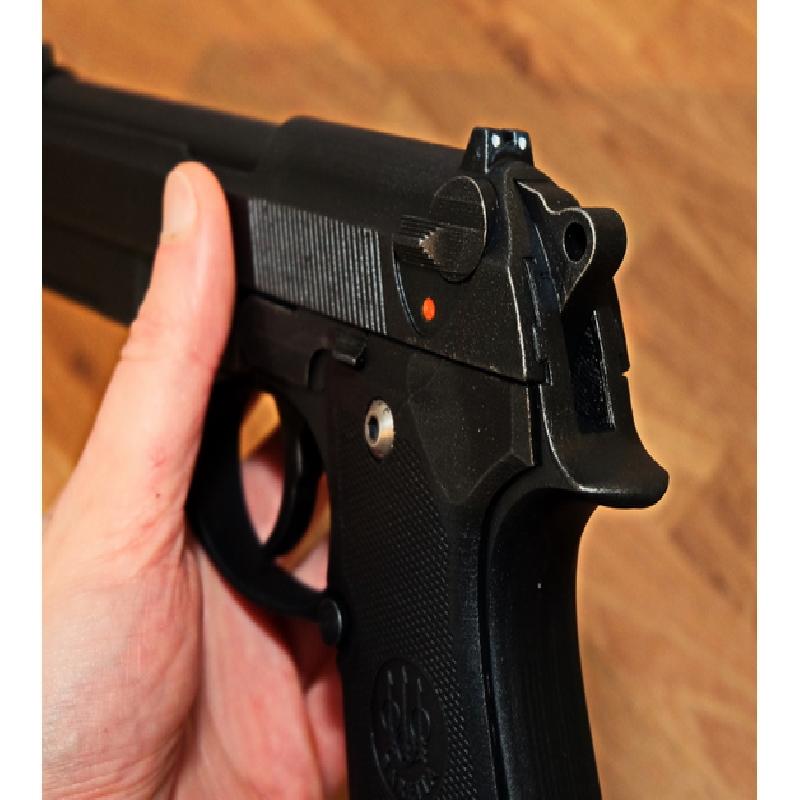
This is a 3D printable Beretta 92FS prop gun for display / cosplay purposes. IT DOES NOT FIRE, it cannot be made to fire and has NO moving parts.
LEGAL DISCLAIMER:
Observe the laws of your country, if for example you are required to have an orange tip on prop/model guns, then paint accordingly. DO NOT display in a public place or anywhere liable to have you arrested and/or shot.
Credit for original CAD file goes to Avik Sinha over on GrabCAD. All I have done is split and modify the relevant files for ease of 3D printing. However the compensator is my own work in Fusion 360.
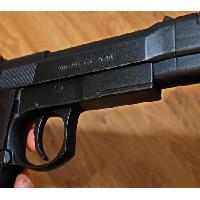
(NOTE: Yes I know the spelling is incorrect on the grip panels, this is the work of the original author. I may correct it at some point and republish. Also the more observant among you may notice I'm missing the trigger bar too. That's because it snapped when sanding and I couldn't be bothered to re-print it, he he)
MOST IMPORTANTLY consider this to be a 'model'. It requires time to finish it. It will require sanding, gluing, painting, cutting... all the good things you do when making a model. This isn't something you can print out of black PLA and quickly throw together. If you want it to look good, take your time and do it right.
I've spent some time including additional information below, PLEASE read it all before asking your question (if you have one). Thanks!
Printer:
Custom FDM + Anycubic Photon
Rafts:
No
Supports:
Yes
Resolution:
0.1mm or better
Infill:
25%
Filament: Sunlu PLA+ Grey
Notes:
IMPORTANT !!!! : YOU MUST SCALE ALL PARTS TO 85% FOR CORRECT SIZE
On my version, the frame and slide was printed in PLA+ at 0.15mm (frame) and 0.1mm (slide and compensator). The levers, switches, trigger, hammer and most importantly grips were all printed on my Anycubic Photon which produces outstanding results.
You CAN print all these parts in FDM, but be aware it will not be as good as if you had access to a resin printer.
You will need supports most parts, including the slide and frame halves. Trigger and hammer will print flat on the build plate ok with no supports.
Take your time, don't rush it, print everything at 0.1mm for the best results, at a good slow speed (like 35mm/s). If you want a really good looking pistol with minimal post processing- that is the way to go! :)
Barrel, Magazine and other options
So, I've included the original barrel file, however I didn't use it. I opted to use a 20mm PVC pipe, cut to the right length which means less printing, sanding and priming. If you are planning on making the compensator version, then this works great. If you want the original 92FS look, then you will need to print the barrel.
Also, if you're going for the compensator version, you will not need to print the spring guide, as it's hidden when you glue the compensator on - overall this version saves you the most time and post-processing.
As for magazine, if you want a removable magazine, then print the full version, otherwise there is a base plate version which you can glue on. It has a tiny portion of the magazine structure remaining to help you align it.
You will need to drill out holes in the grip panels to add appropiate screws.
For the trigger, cut-down an appropiate length M3 screw for pivot. I chose to glue the trigger fixed, but you can leave it move freely if you like.
The hammer is glued in place and does not move.
Painting and Finishing
The detail is in the finishing. You will need to sand, prime, sand, prime etc until you have a nice smooth finish and removal of any layer lines. Spray a light base coat of matt black acrylic, then a dry brushing technique of a slight lighter black acrylic medium to give that 'mottled' look. Finish up edges to simulate wear and tear with gun metal grey tamiya acrylics, using dry brushing technique being careful not to over do it. Finally, spray with satin acrylic varnish (I recommend Humbrol).
I personally chose to fill in some of the detail with model filler, just because some of the lines didn't print as clean as I would have liked, but that is personal preference. Ok, so it's not 100% accurate, but who cares - still looks great!