by Harperbot
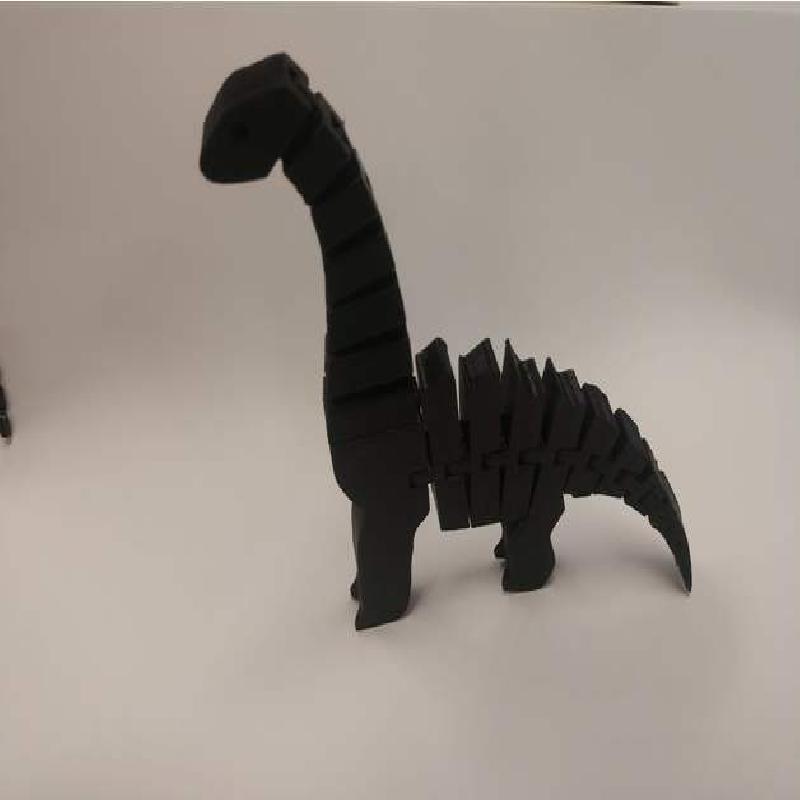
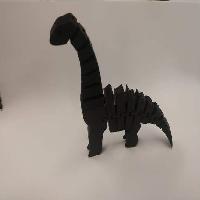
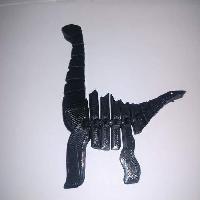
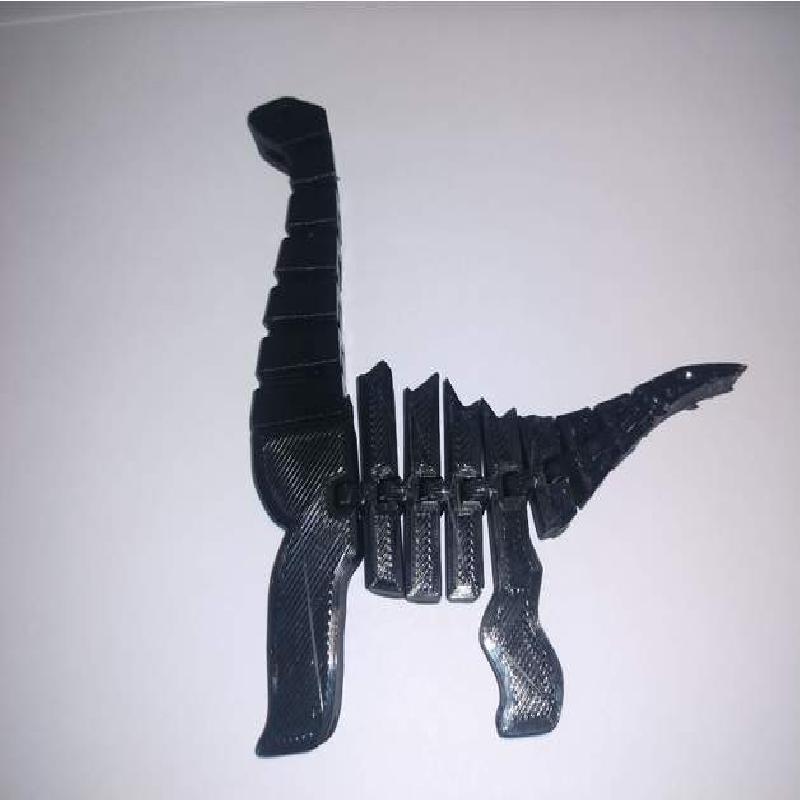
My son is a huge fan of dinosaurs and fell in love with the Flexi Rex by DrLex so I decided to do a series. I based all of them on the link dimensions DrLex put in the picture at the bottom of his post. This is the second dinosaur in the series, I plan to make 5 total.
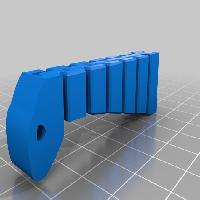
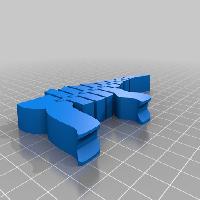
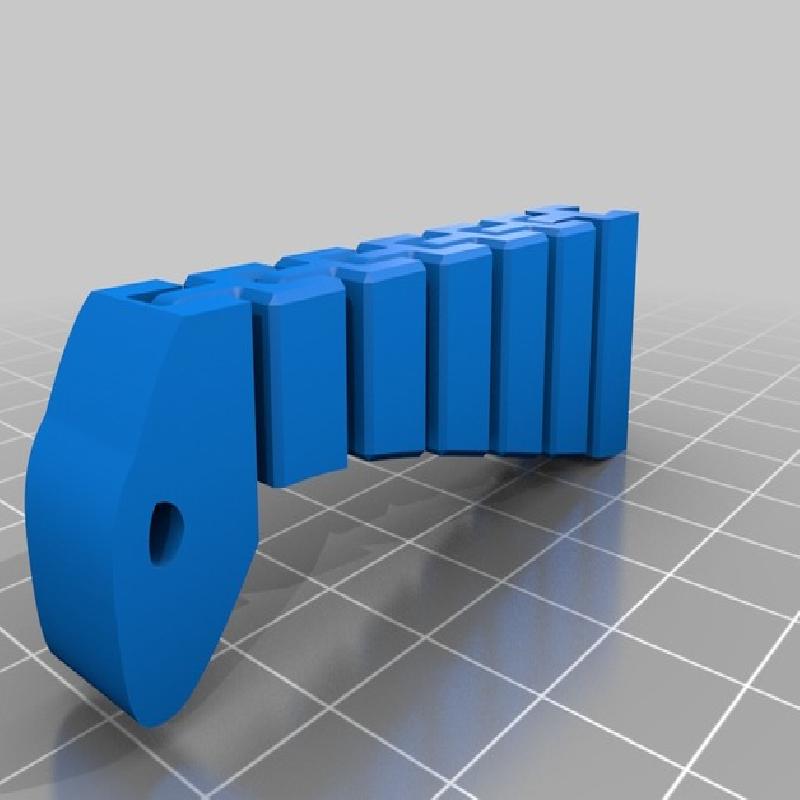
I got a bit more realistic on this one. This is also the second version of this print. The first one I made all as one, but the neck flopped over to the sides way too easily and made it difficult to stand up. For that reason I printed the neck as a separate piece. Due to the shape it still doesn't go as far forward as I would like. If I get enough requests I will tweak it so it can go at least to his chest. Right now my son is happy so I have no plans to tweak it.
See Print settings and Post printing for important notes!
Thanks again DrLex!
Printer Brand:
XYZprinting
Printer:
da Vinci Jr. 1.0 Pro
Rafts:
No
Supports:
No
Resolution:
0.2 mm
Infill:
10%
Filament: Hatchbox PLA Black
Notes:
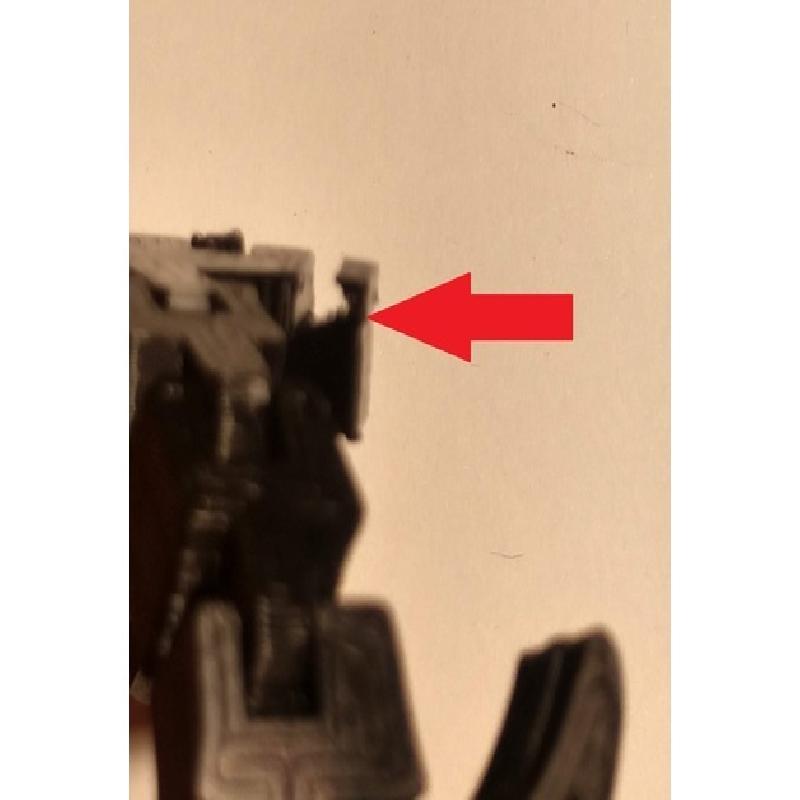
Sorry for any confusion on the file.
FLIP THE NECK 180 DEGREES.*
For the print to come out correct the back of the neck should be flat on the print bed. Unfortunately, Onshape does not let me change the orientation of an already created object like Inventor does.
The slicer I am using does not allow for the addition of individual supports. As such, I have created a support for the neck attachment. It should be removed at the red arrow (see image). It should break away with pliers or can be cut off with flush snips. The neck should slide on from the front.