by printednest, published
PLEASE READ INSTRUCTIONS and COMMENTS
FOLLOW US for most recent info at:
https://twitter.com/printednest
https://www.facebook.com/printednest
http://printednest.com/community you can register in our map
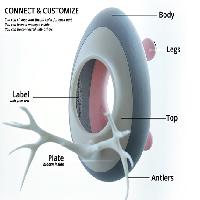
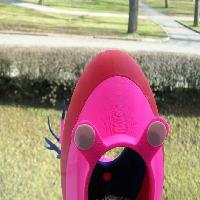
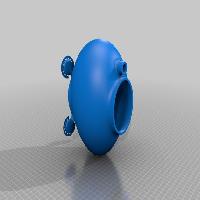
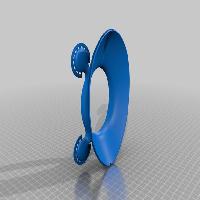
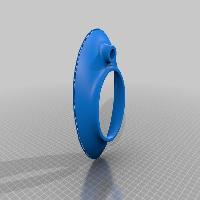
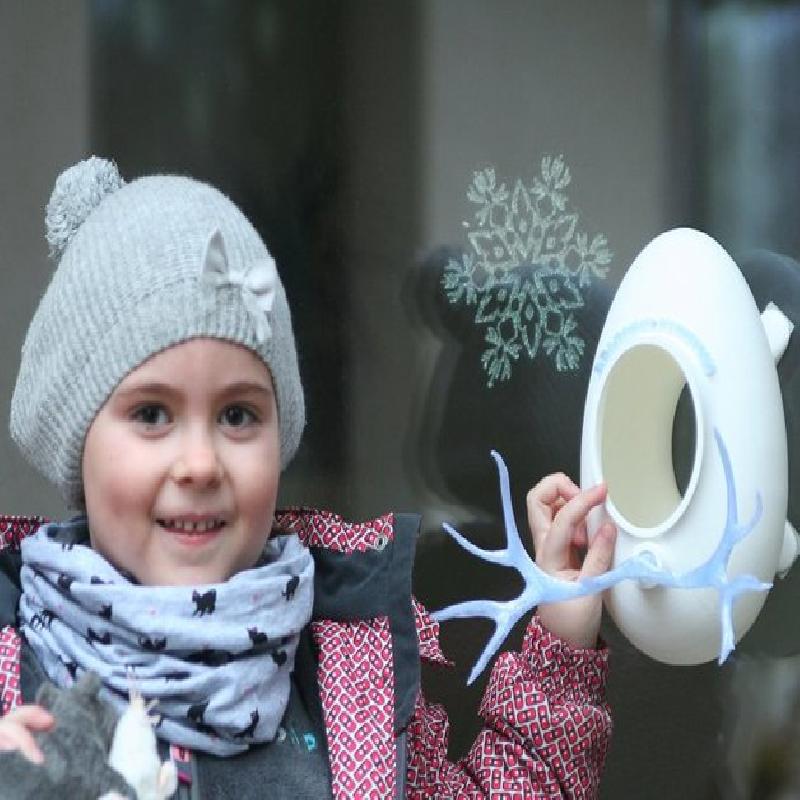
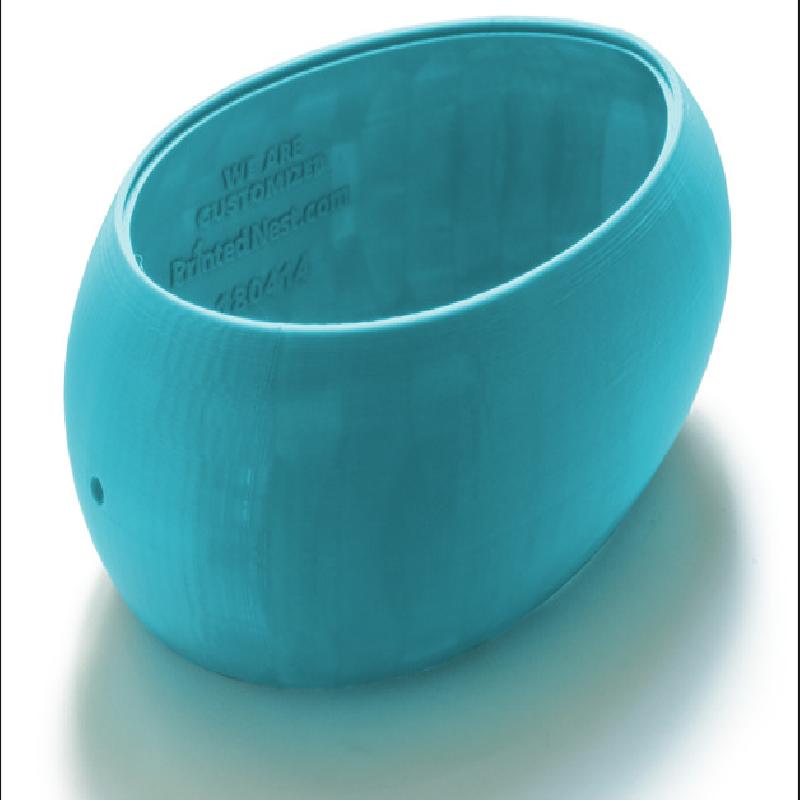
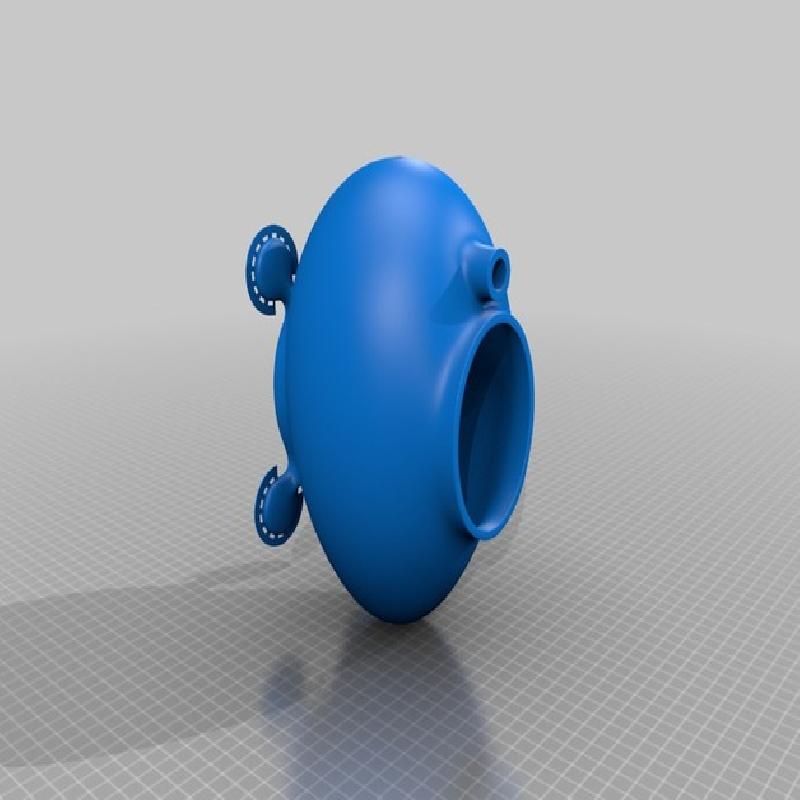
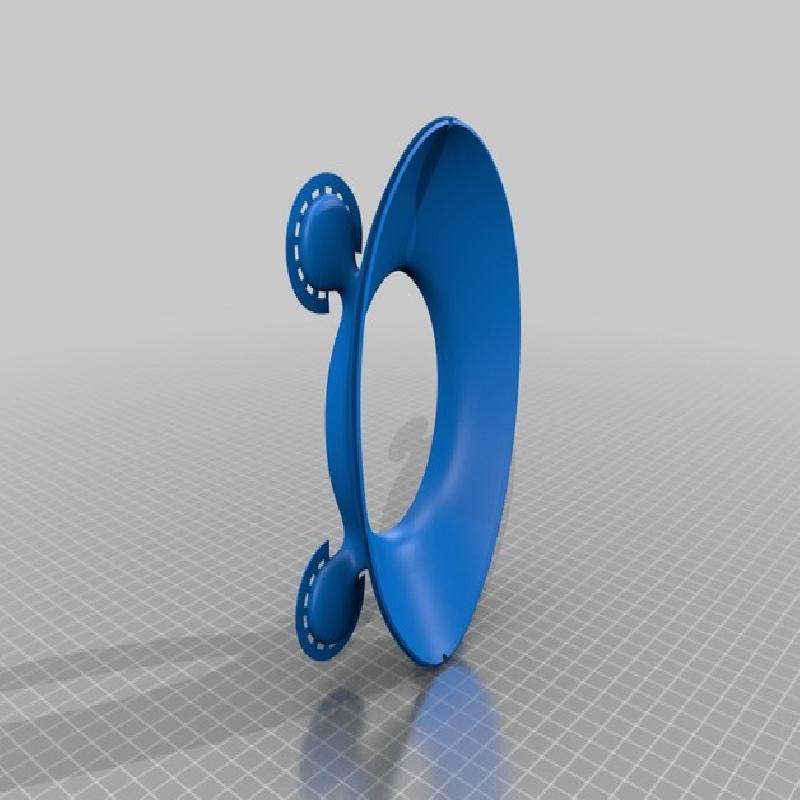
IMPROVEMENTS from previous generation of Bird Feeder 2.0
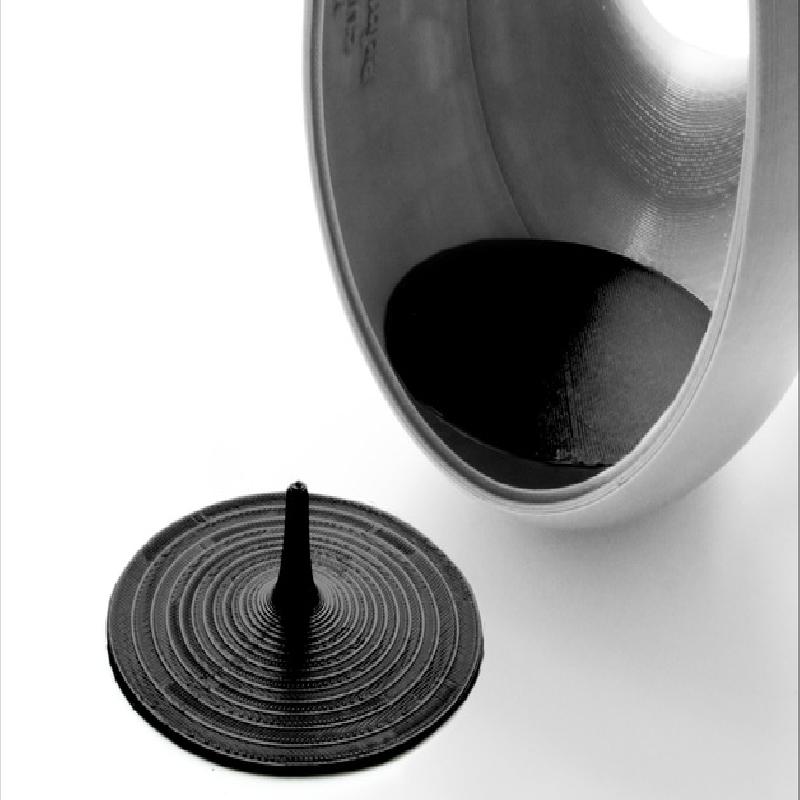
It was divided in more parts. Less print fails.
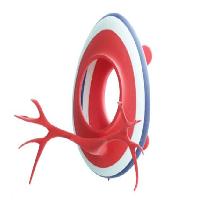
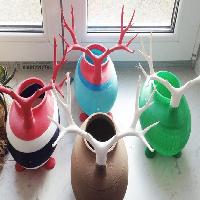
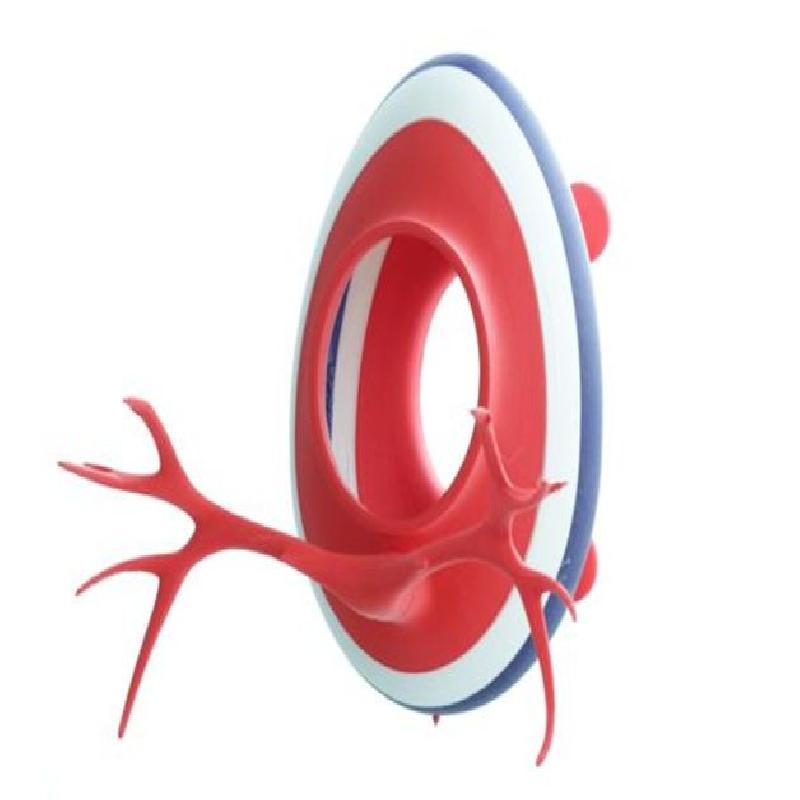
You can configure your own colors
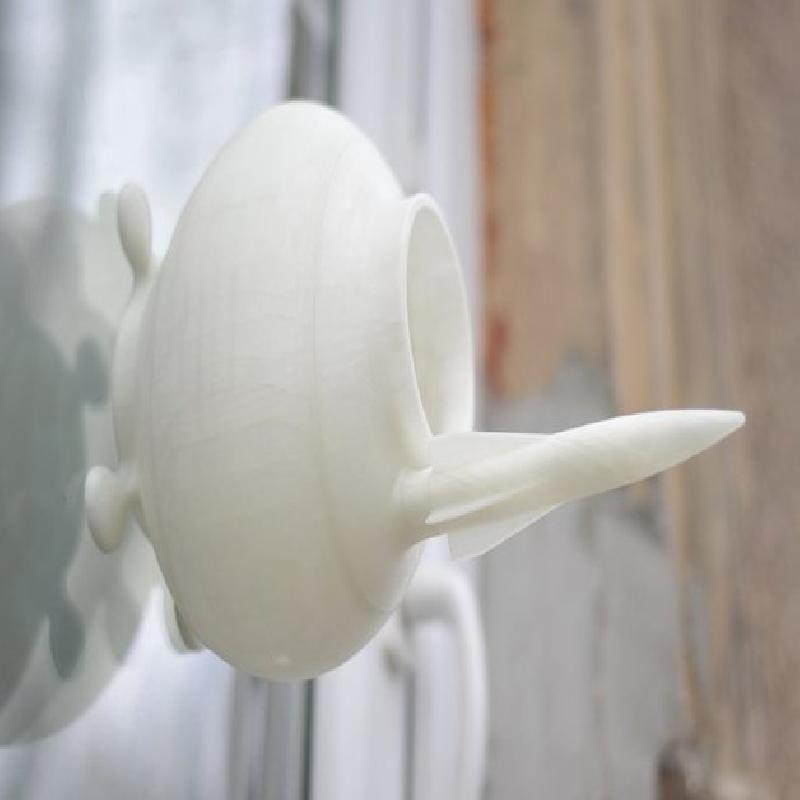
Perch connection has been improved
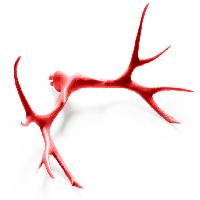
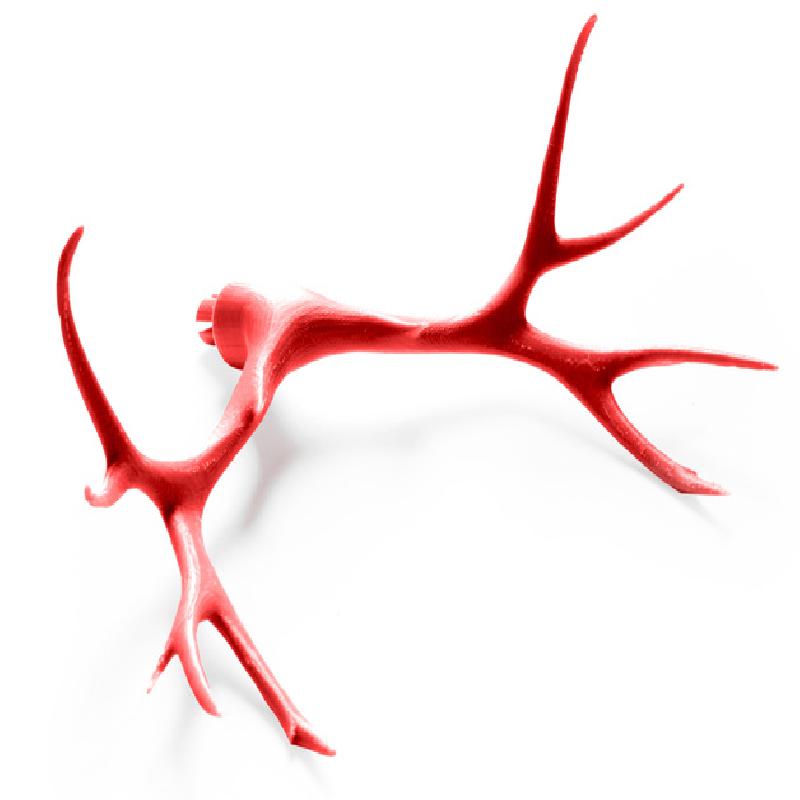
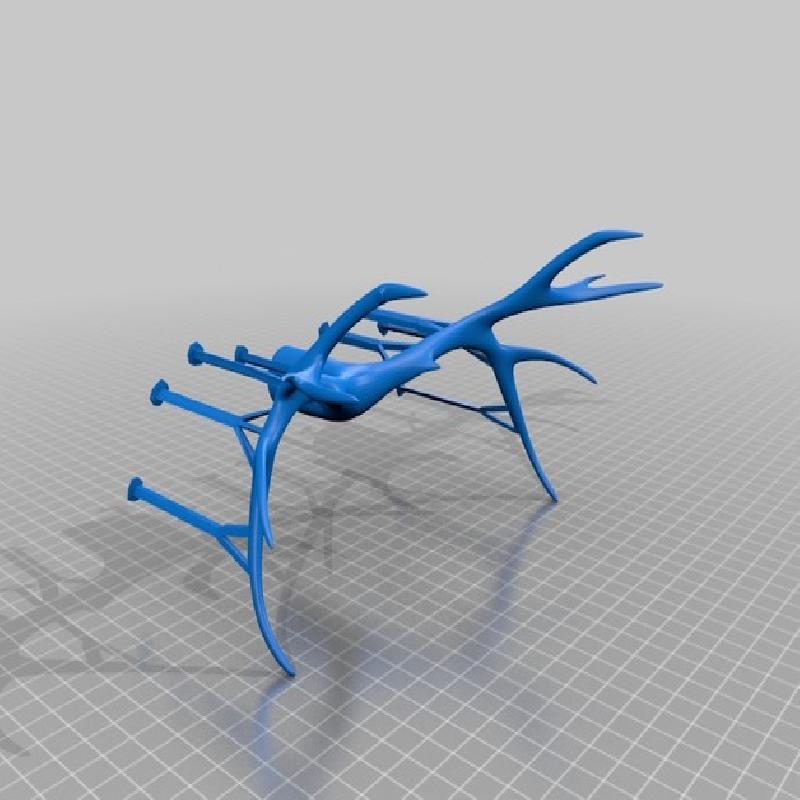
Antlers has been improved
All parts are connected by click system
BINDING:
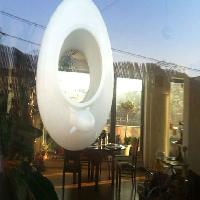
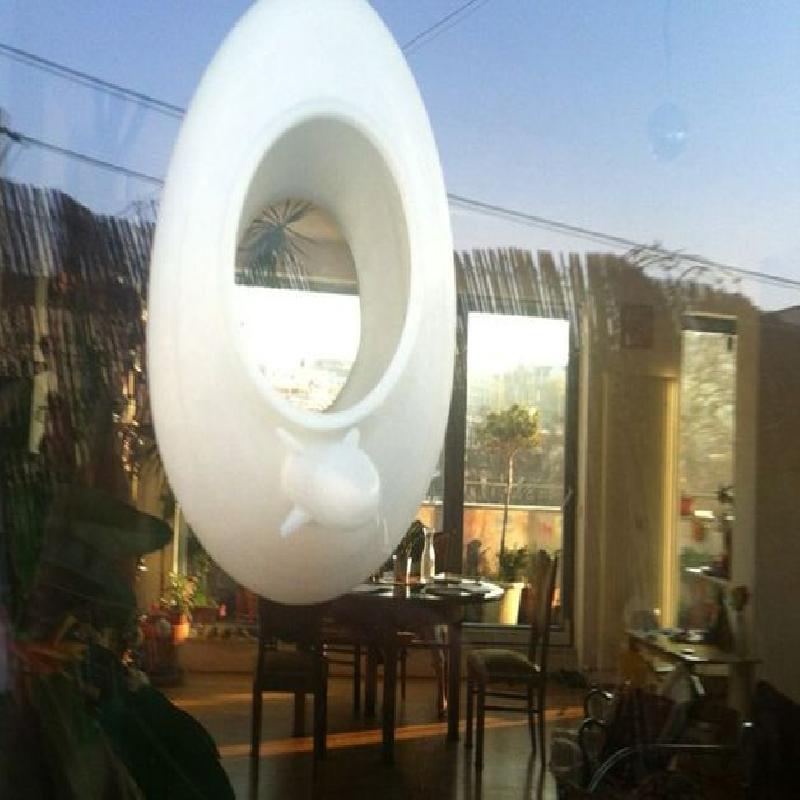
Use this bird feeder with 2 sided adhesive dual lock tape on your window. For binding on window use this: http://www.g3.cz/katalog/suche-zipy-3m/dual-lock/3m-suchy-zip-dual-lock-sj3550
PHOTO TRAP:
Additionally use some old iphone with presence app by: http://www.peoplepowerco.com/products/ glued on window, and use it as photo trap.
See results: https://www.youtube.com/watch?v=mfN-DdyyLms
SAFETY:
If you are going to attach bird feeder above some public place, be sure to add some silon wire connected with bird feeder and your window, which will hold bird feeder in case it will glue out of the window.
SHARE, PIN IT, JOIN US:
You can register yourself. Just choose OPEN SOURCE option by registration process. You will gain access to our world wide map of bird feeders which are installed all over the world: http://printednest.com/community
You will be marked as OPEN SOURCE branch of our project, and you can show to the others how COOL your design is by uploading of photo of your bird feeder.
SEE MORE PTOTOS: http://www.pinterest.com/printednest/printednest/
DONATE:
http://store.printednest.com/products/donate
We are proud, we can share this with you! Be printed!
Enjoy, Printednest
http://printednest.com/
https://twitter.com/printednest
https://www.facebook.com/printednest
WE RECOMMEND GLUE ALL 3 PARTS TOGETHER !!!
We had realized that sun is causing in some causes disassembling
Top or Body from legs!!! We are sorry for that we are working on update! As option you can print body_whole.obj instead of that!
Anyway give us reports if we are lonely...
Recommended print setup for makerbot 2:
All parts are printing at:
layers resolution: 0.3 mm
shells: 2
infill: 10 %
nozzle: 0.4 mm
temperature: 210
supports: off, included in 3d model
Antlers:
print speed: 90 mm/s
travel speed: 150 mm/s
raft: on
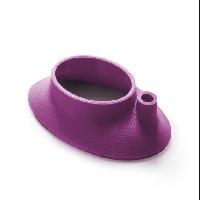
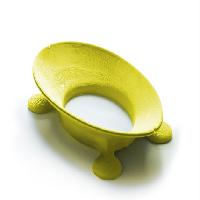
Top:
print speed: 120 mm/s
travel speed: 150 mm/s
raft: off
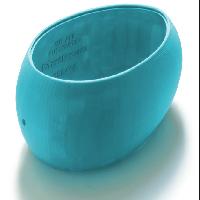
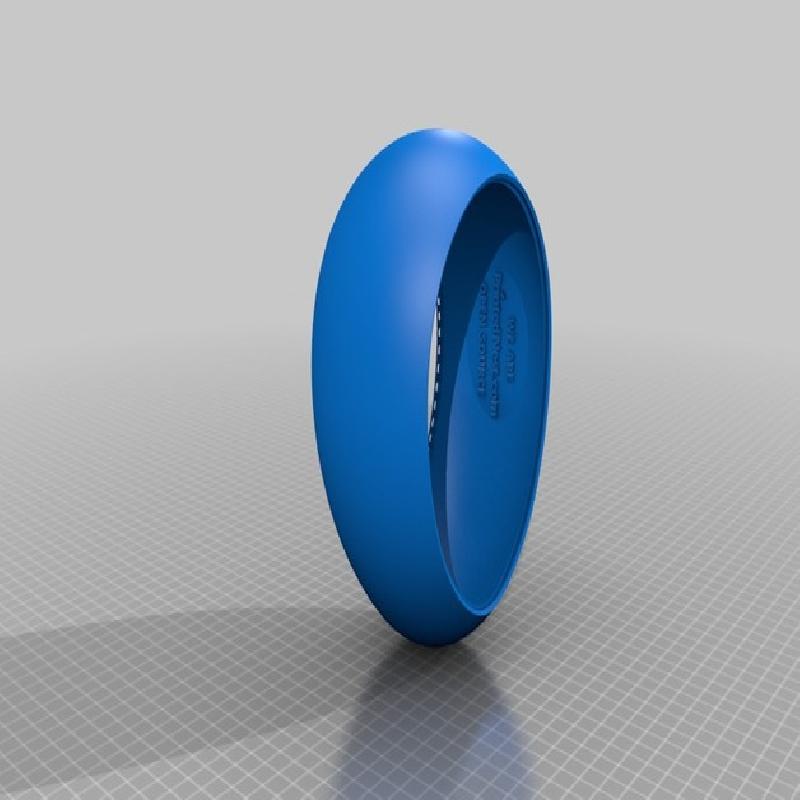
Body:
print speed: 100 mm/s
travel speed: 150 mm/s
raft: on
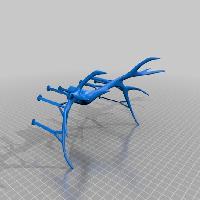
Legs:
print speed: 120 mm/s
travel speed: 150 mm/s
raft: off
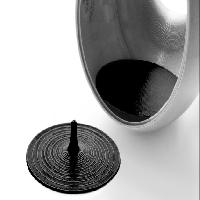
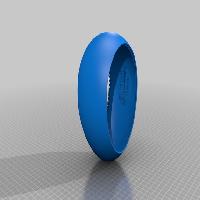
Plate:
print speed: 110 mm/s
travel speed: 150 mm/s
raft: off
Body_whole: You can print it at once (legs, body, top)
print speed: 100 mm/s
travel speed: 150 mm/s
raft: off
You can tweak all setting as you like.