by diodepress, published
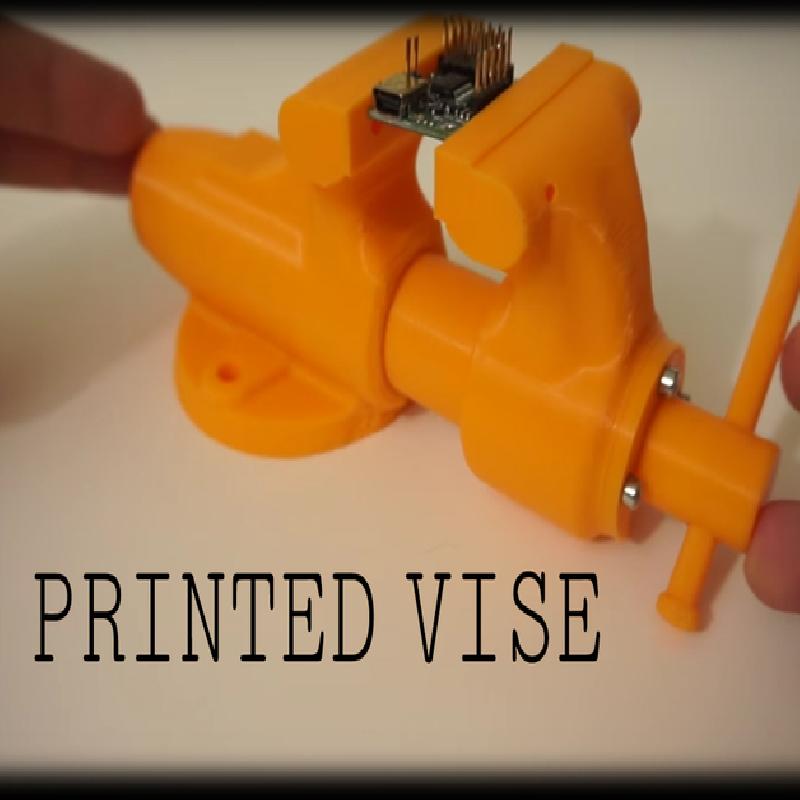
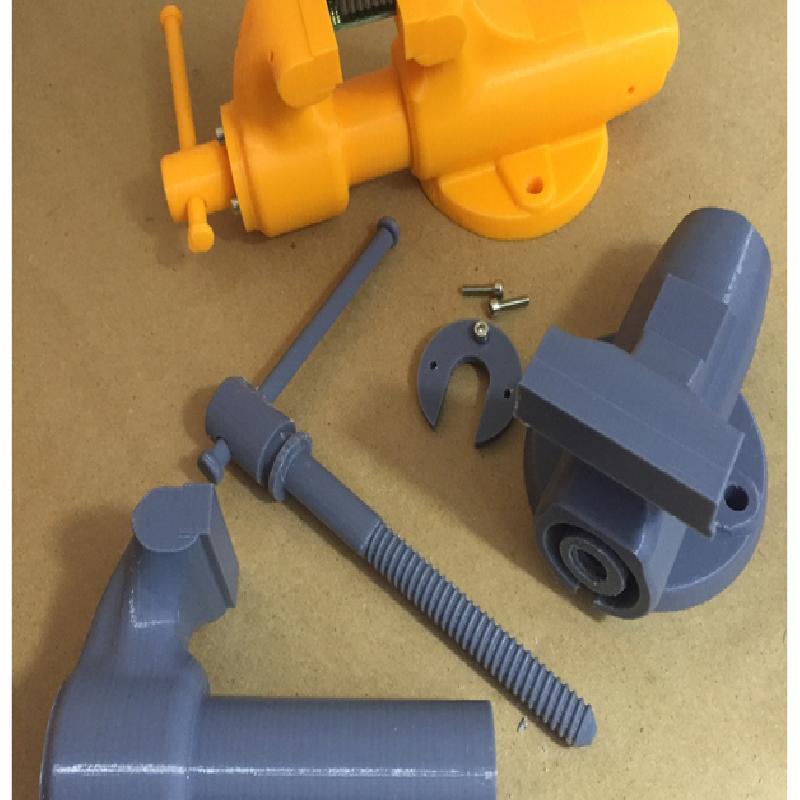
This is a fully functional 3D printed vise!
Great for that helping hand while soldering or any very light duty application.
**
Please note, this model has tight tolerances and may require a bit of sanding or cleanup at the end to fit together properly, depending on your printer, filament, etc.
I also used Simplify 3D to slice the model and generate supports, so results with other programs will vary.
**
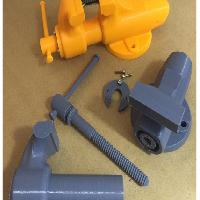
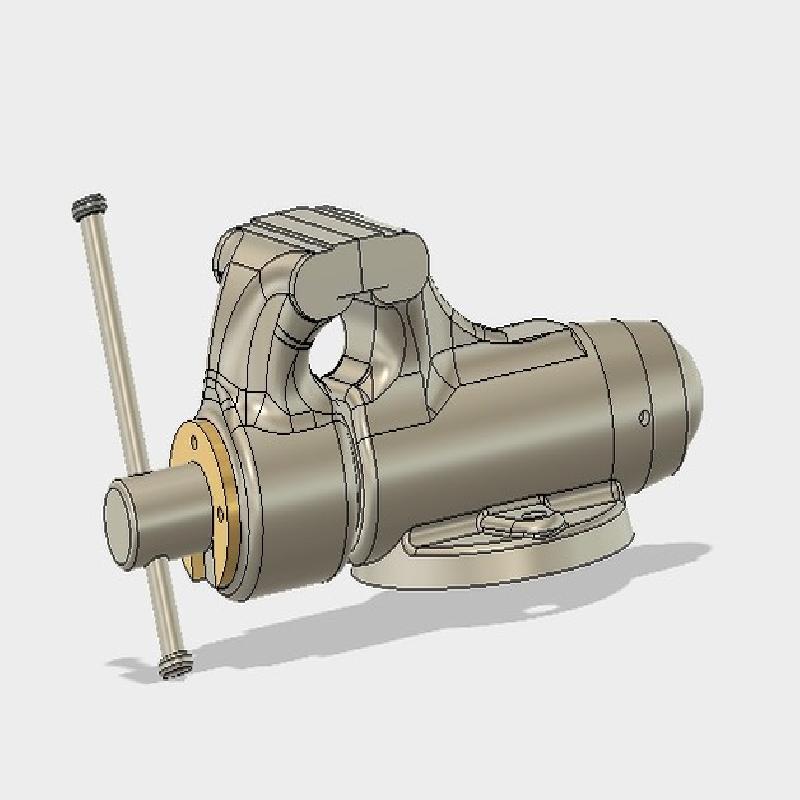
I began with a base model provided by Tom over at the Ox Tools YouTube channel (links below) of his Wilton Baby Bullet vise. Originally it was designed to be machined out of metal, so I took the CAD files and modified them to be 3D printable, and finished the work that would normally occur during the machining process. I also worked to optimize it for better printing.
You can see a video of how this model was put together, as well as see it in action over on my YouTube channel (as well as lots of other projects): https://www.youtube.com/watch?v=zZy8RGfQPGo
I created this print to hold electronic components while soldering, etc. It's not structurally strong enough to hold up to rigorous clamping force...it is plastic after all! Depending on the materials used, obviously the strength will vary. I've been using PLA and have been really happy with the results.
Be sure to upload a picture if you print or modify a version, I'd love to see the results!
See print setting for printing tips.
Special thanks to Tom over at Ox tools for sharing the original model and allowing me to share it as well, and for the documenting the build of the real metal version of this vise!
You can find his info below:
https://www.youtube.com/oxtoolco)
http://www.oxtoolco.com/
You can check out his build of the REAL vise in a 24 part video series here: https://www.youtube.com/watch?v=_4dWOQv96jM
Printer Brand: LulzBot
Printer: Mini
Rafts: Doesn't Matter
Supports: Yes
Resolution: 200micron
Infill: 30
Notes:
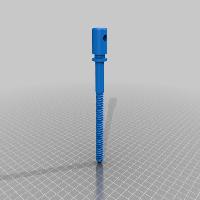
I used no support on the inside of the vise body (inside threads) since it would be too hard to remove. See the image showing the support configuration I found to work best. I printed the lead screw at 100micron layer height, with 75% infill. I also printed it horizontally, so there is not a weak point between the layers when tightening the vise (see image) versus stacking vertically, but results may vary.
Fitting lead screw into vise
Ensure that the lead screw threads are printed cleanly, and clean off any stray bits. Also ensure that the threaded opening of the vise is cleaned of debris and stray bits.
I've tried to get the threads to mesh well right from the start, but I found that threading it into the vise body a little bit, then backing out, and repeating worked well until it was fully threaded in. If it binds up, and you force it, you'll most likely break it off inside the vise.
Once it's threaded in and out a handful of times, it loosens up and operates smoothly.
Securing retaining clip
I used 3, M3x8 socket head bolts to secure the clip. The holes are sized small, so threads are created as it is secured the first time.