by V4HE
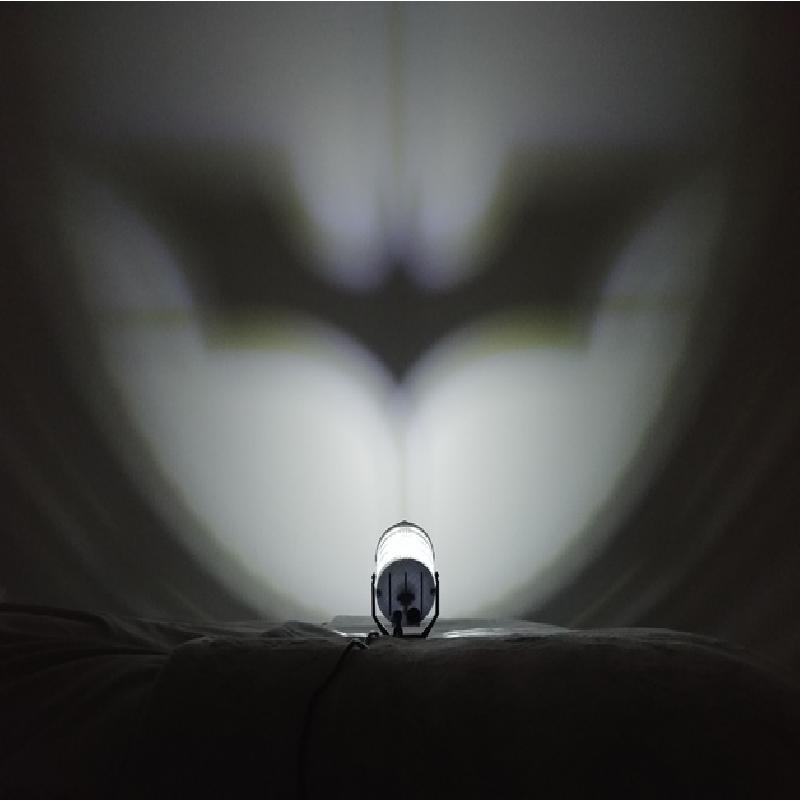
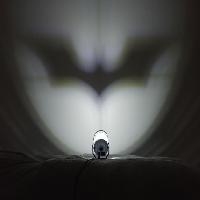
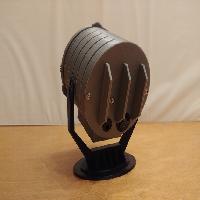
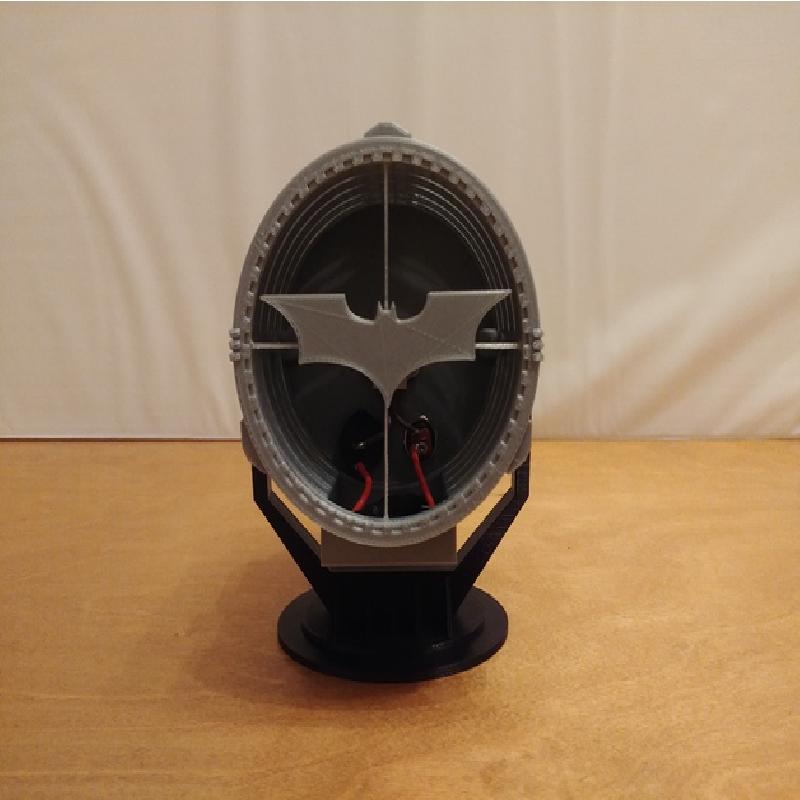
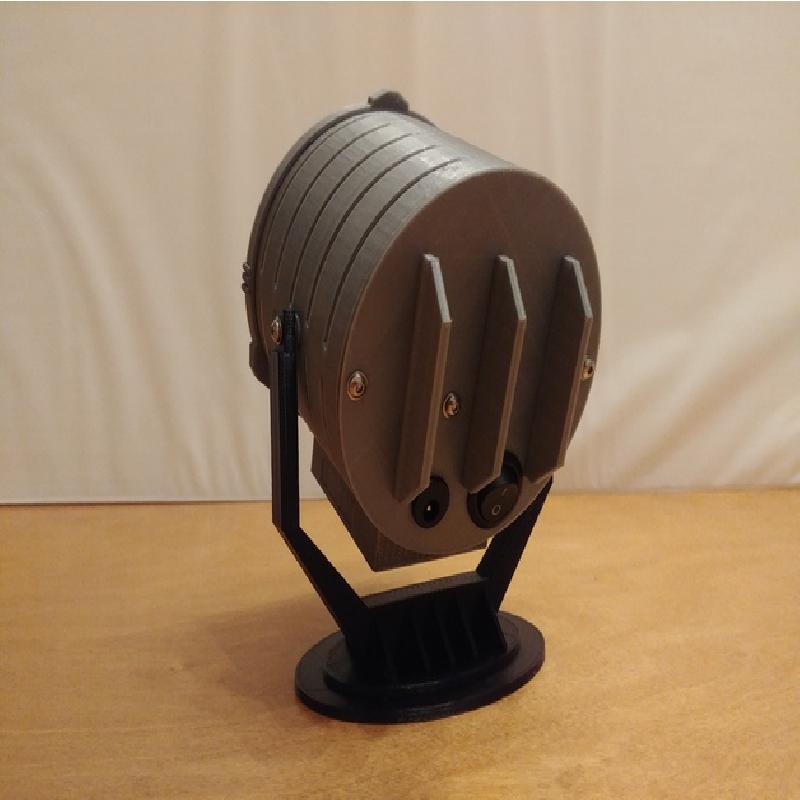
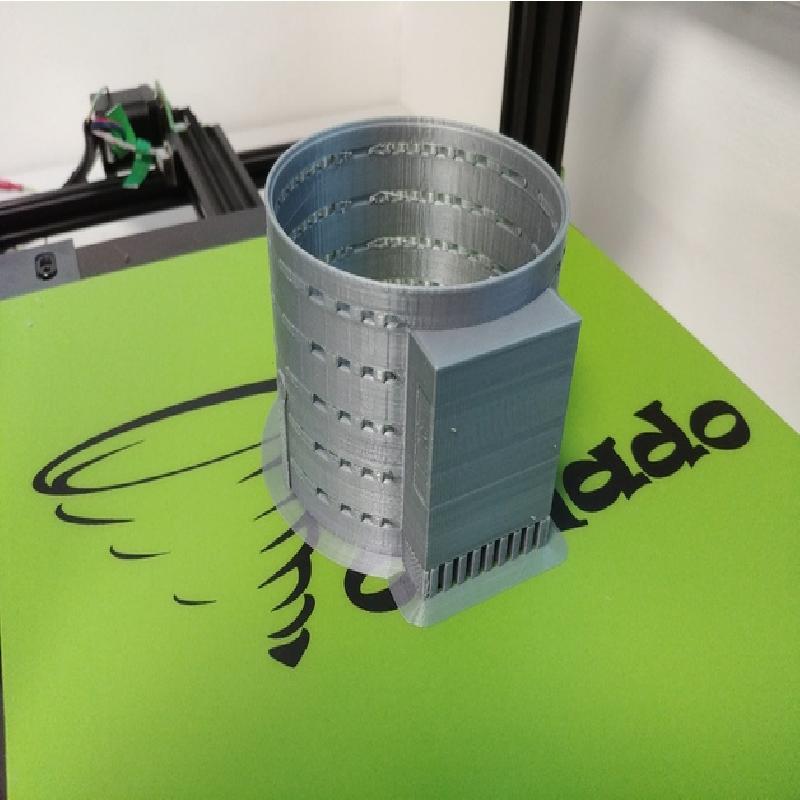
This is my version of the Bat Signal from The Dark Knight. I modelled it in Fusion 360, taking inspiration from photos. The model is not to scale and is missing many details. The Bat Signal is functional, with a DC jack for 12V, power switch, fuse and 1W G4 LED bulb.
I have only tested this with 1W bulbs, and using a ceramic bulb holder I have had no thermal issues. You must conduct your own testing to ensure that your chosen bulb/holder combination is suitable and safe!
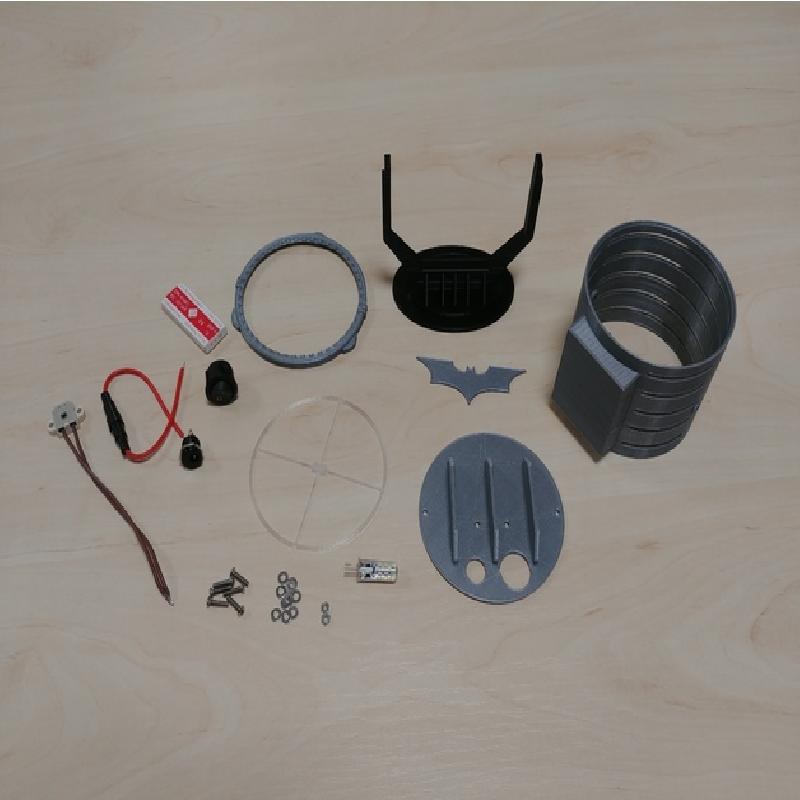
Required Hardware
6 x M3x12mm machine screws
10 x M3 washers
2 x M3 nuts
1 x DC Power Socket
1 x Power Switch
1 x Ceramic G4 Bulb Holder (mine have mounting holes 20mm apart, and the bulb is 7mm above the mounting holes. I have no idea where I got them- I've had them in a drawer for years)
1 x 5x20mm Inline Fuse Holder
1 x 5x20mm 200mA Glass Fuse (or appropriate for your bulb wattage)
Superglue
Build Guidance
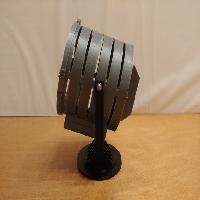
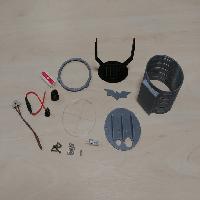
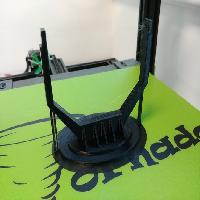
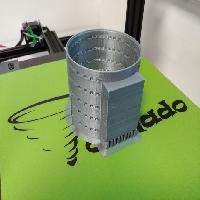
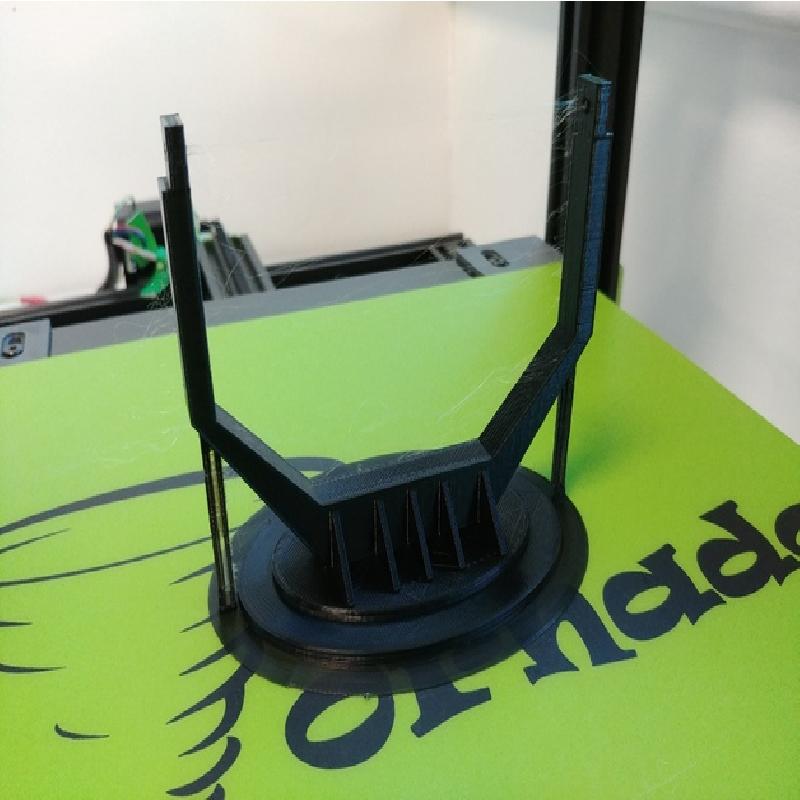
I recommend printing the main body, lens and bezel with a brim. I printed the bezel without a brim initially and I had to reprint it because it warped. The stand doesn't need a brim, I just forgot to disable it (see pic) :-)
Supports are needed for all parts except the lens.
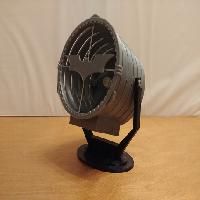
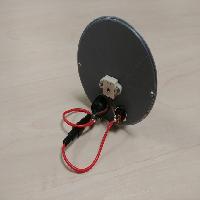
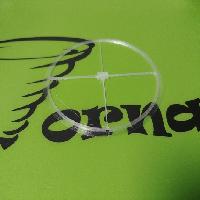
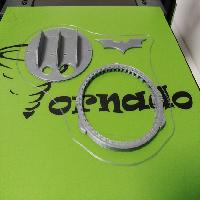
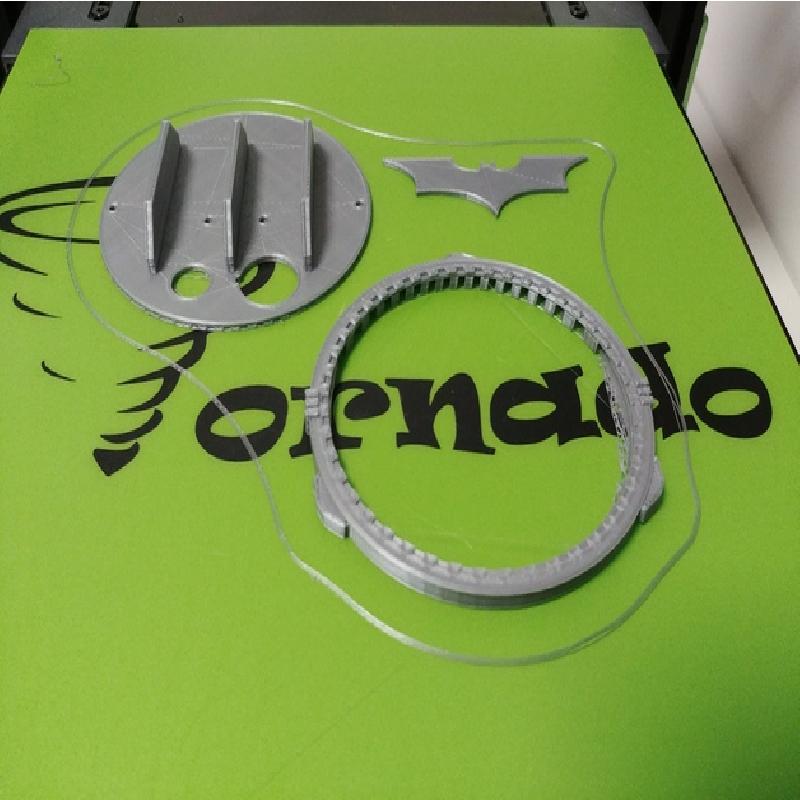
Use superglue to stick the bat symbol to the lens. The main body has a keyway to help align the lens. Use a couple of dabs of superglue to fix the lens to the body. The bezel isn't keyed, so must be aligned manually, but this is easy. use a couple of dabs of superglue to fix in place.
Keep your wiring neat and make sure it doesn't get in the way of the bulb!
You should be able to tap the holes in the Main Body using the M3 bolts, but this will depend on your printer settings.
I put a washer between each stand arm and main body side- this was a real pain to get in but allows for smoother tilting.
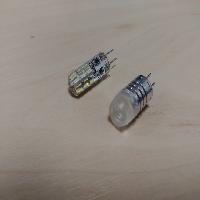
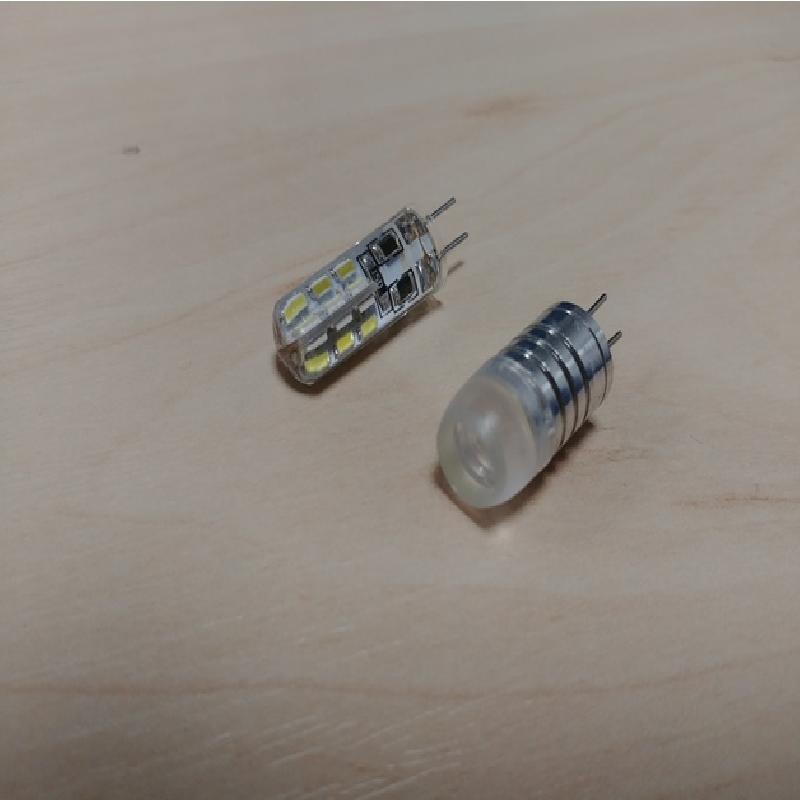
a spotlight-type bulb is needed for the bat symbol to be projected correctly. I tried using a 24-LED G4 bulb (left in pic), and the effect was awful.
A fuse is recommended for safety- omit this at your own risk.