by neophyl
Once again thanks to Metaform3d, without his original model this wouldn't have been possible.
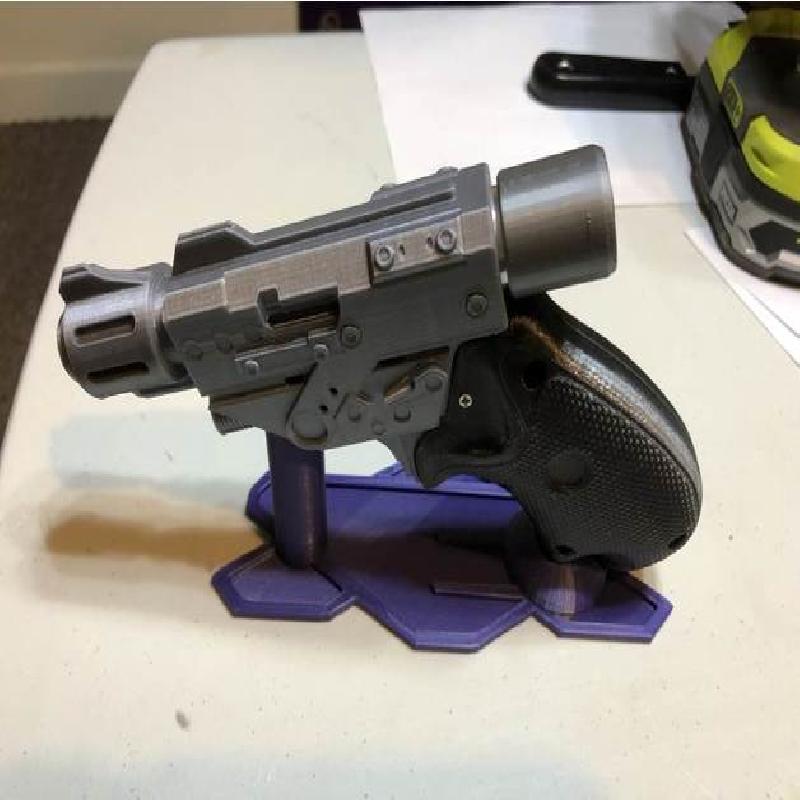
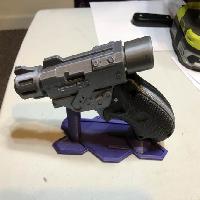
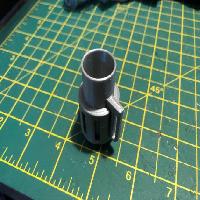
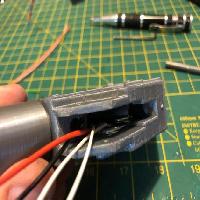
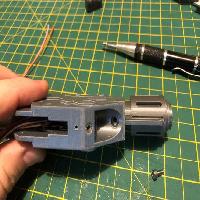
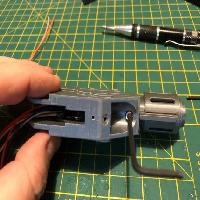
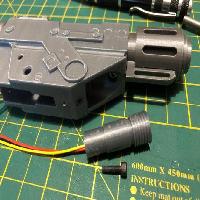
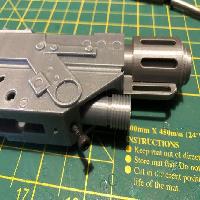
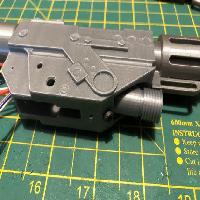
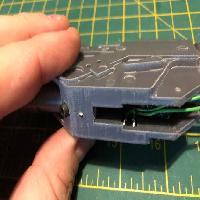
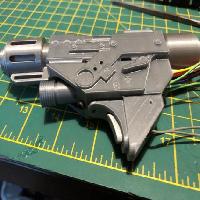
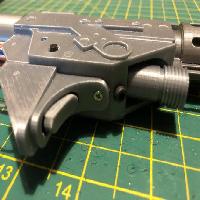
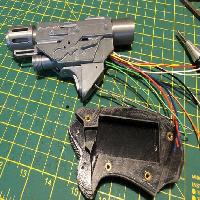
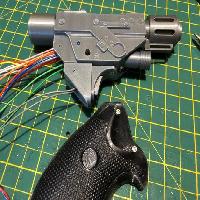
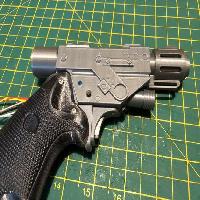
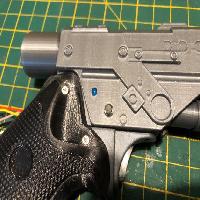
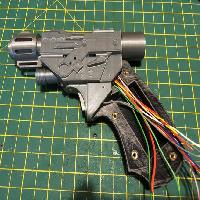
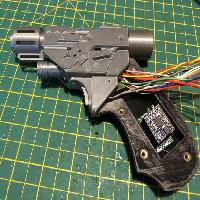
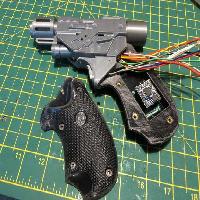
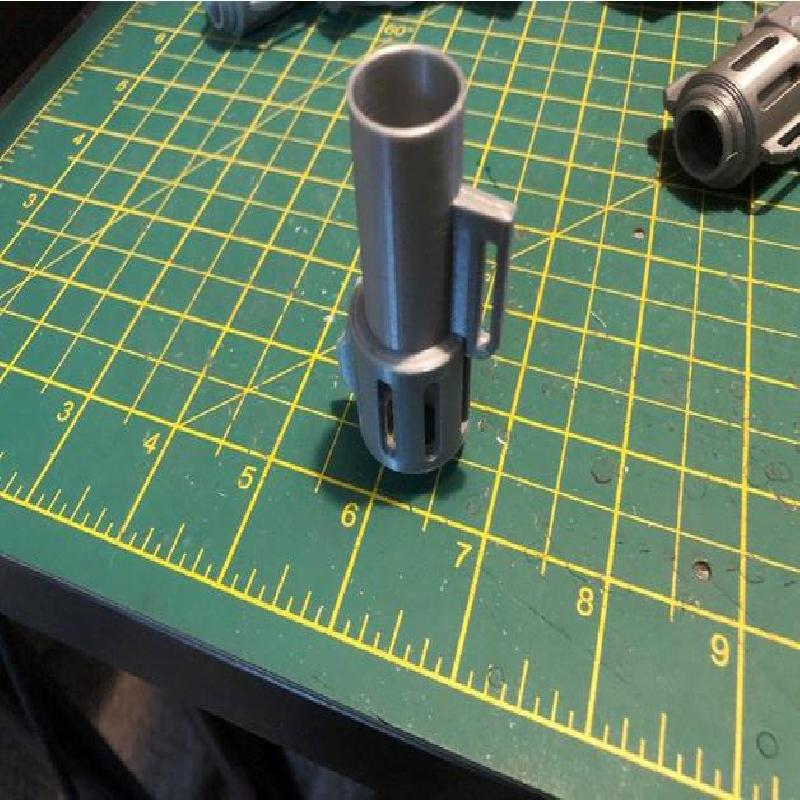
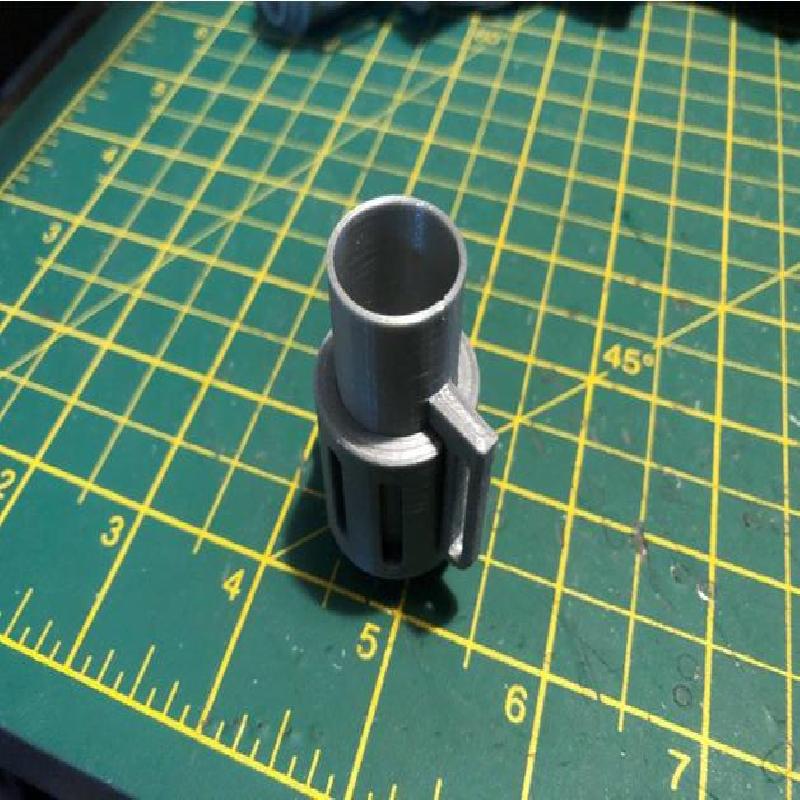
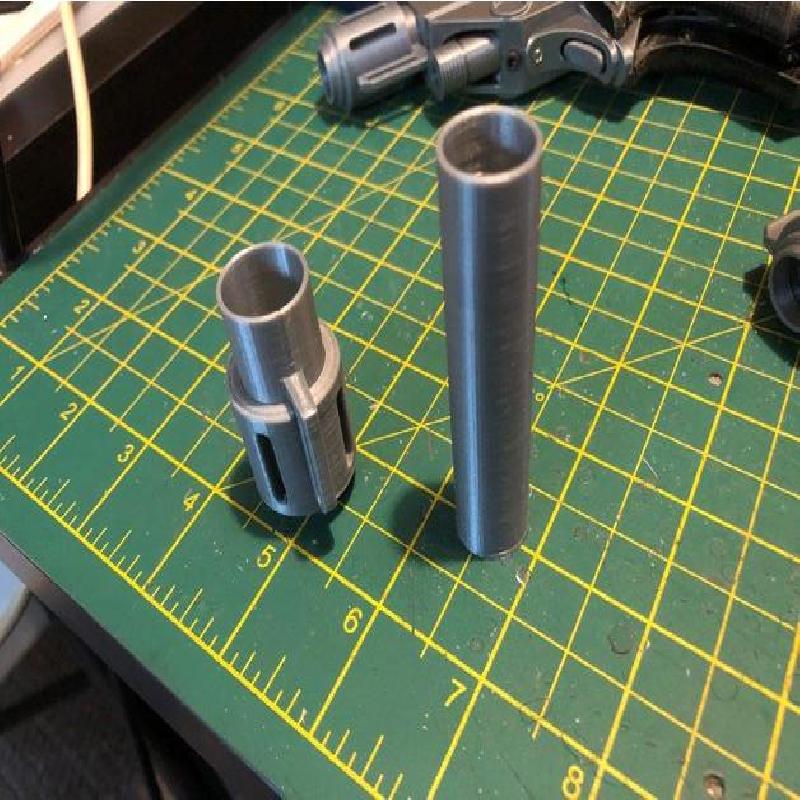
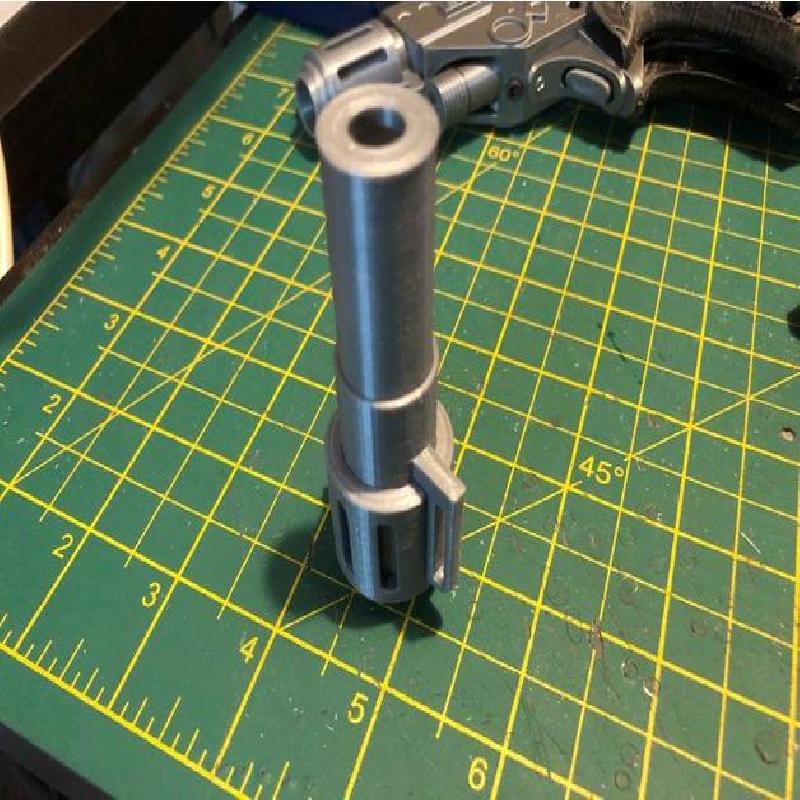
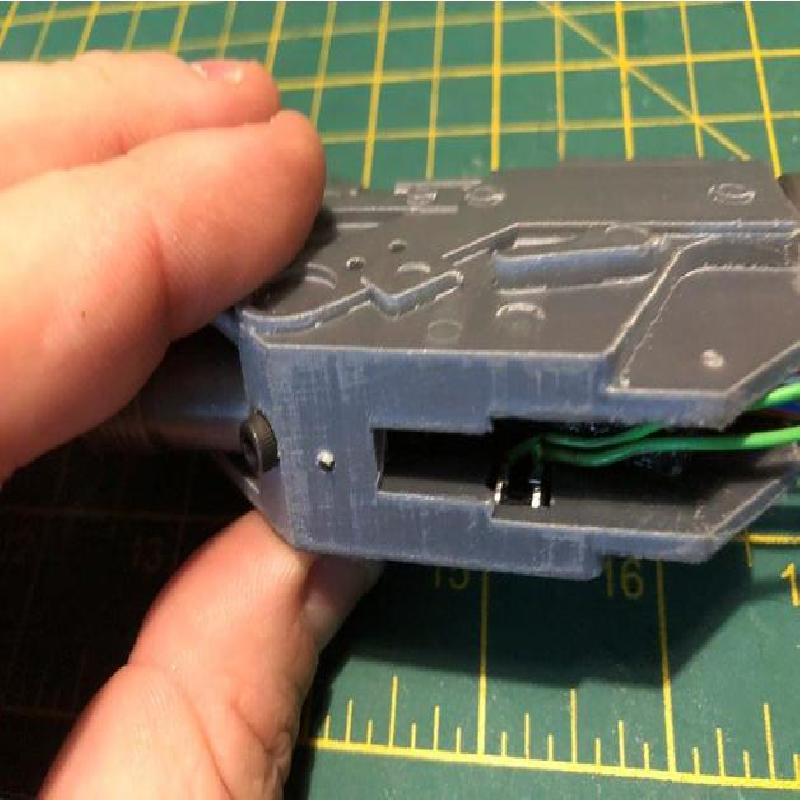
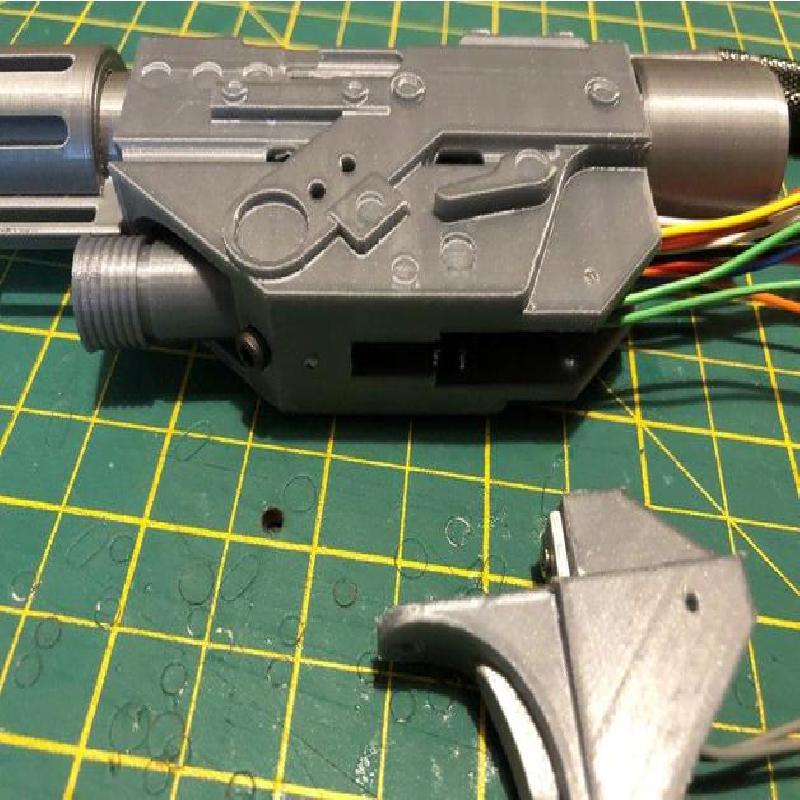
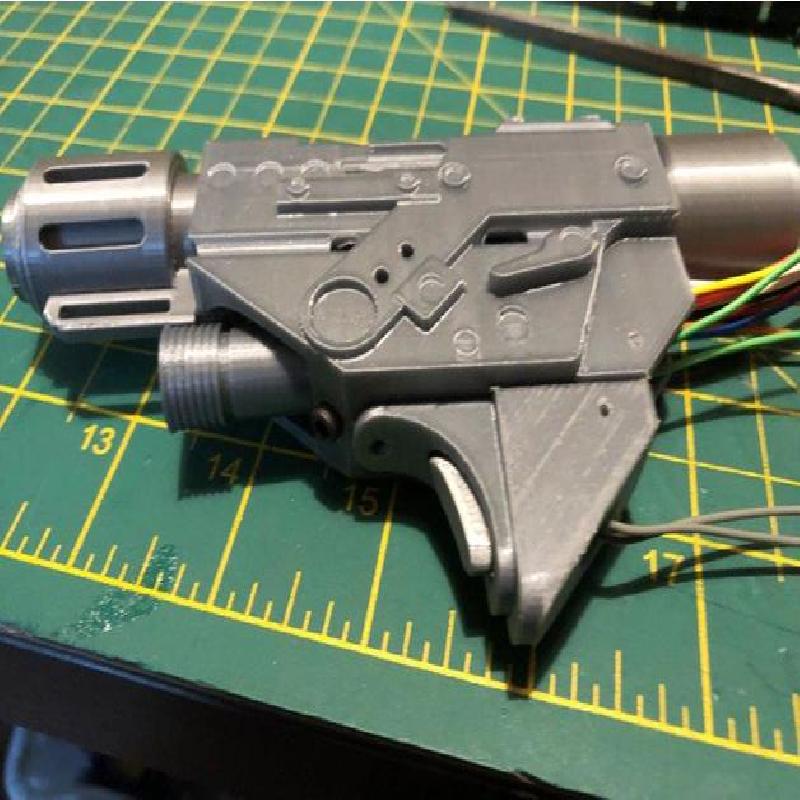
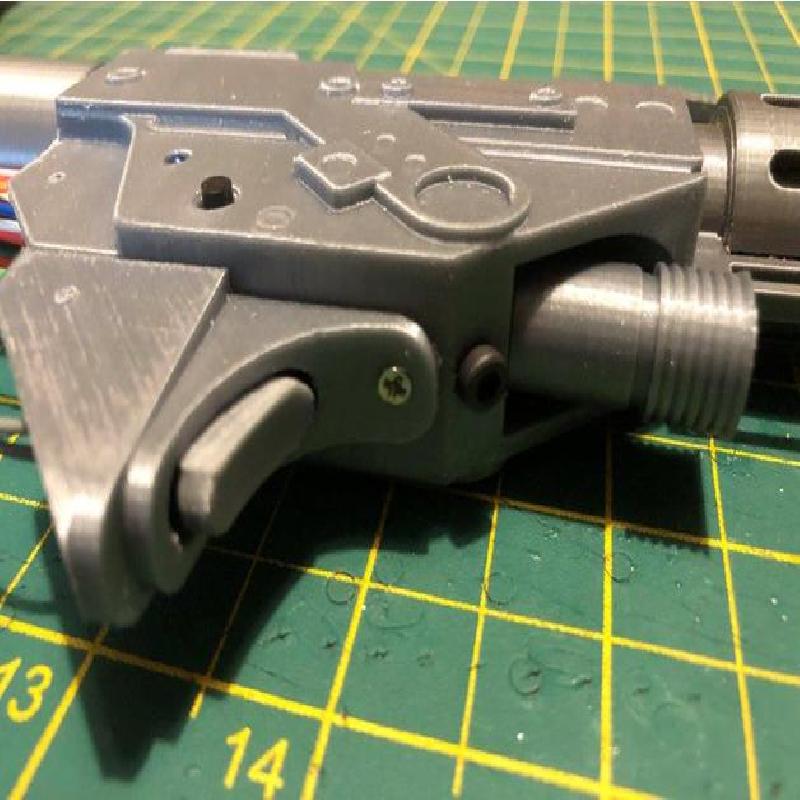
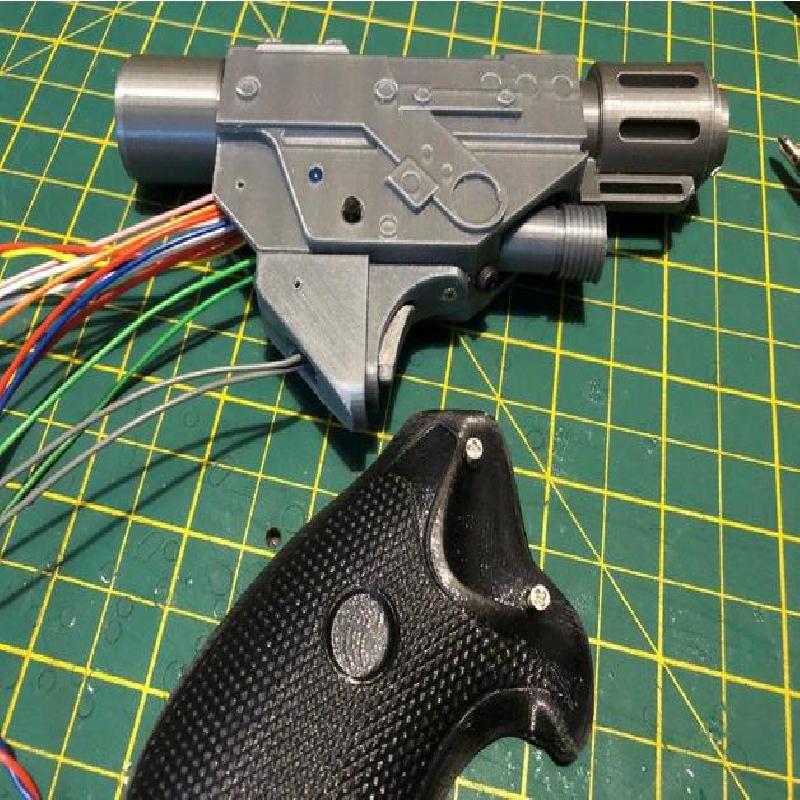
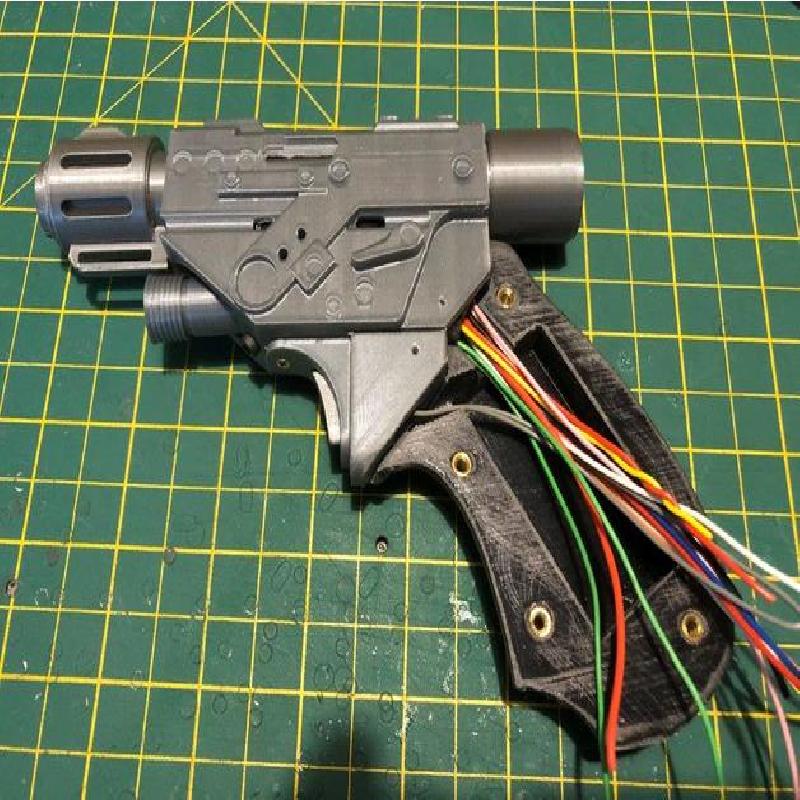
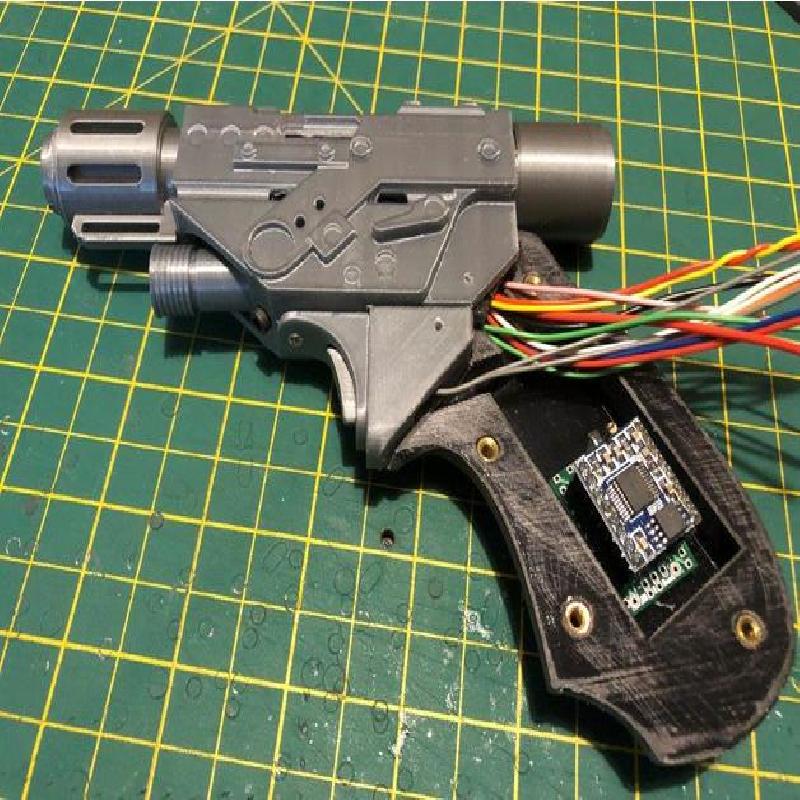
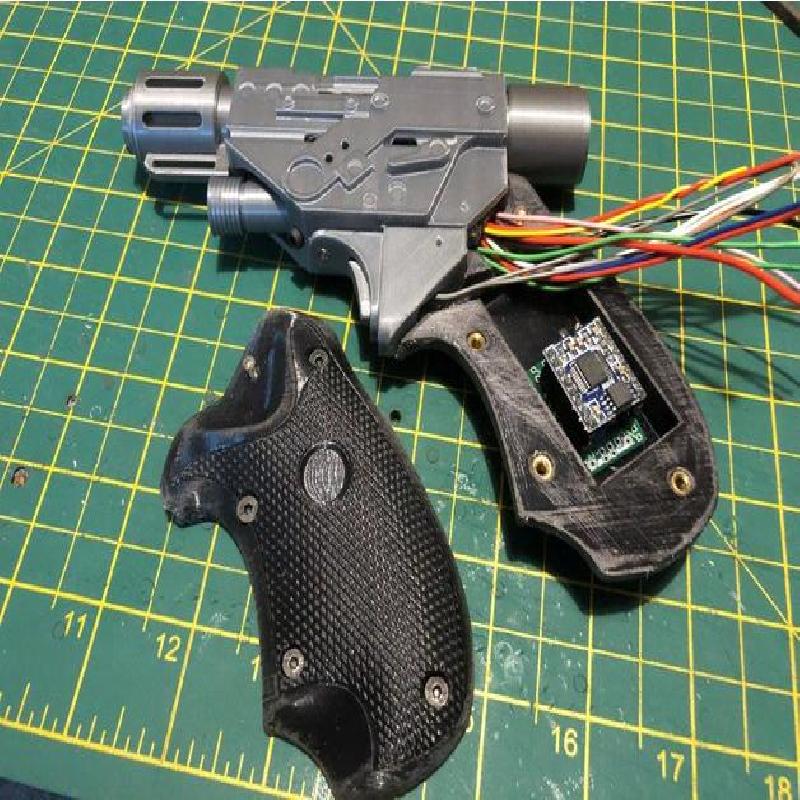
This is a rework of the original with voids cut into it to allow the fitting of all the electronic parts to turn the PPG into a 'functional' laser tag blaster.
Its compatible with the old Worlds of Wonder system and the new data based addition DOT that we use for UKLTA (UK Laser Tag Association) events.
Printer Brand:
Prusa
Printer:
Supports:
Yes
Resolution:
0.2
Infill:
20%
Filament: Technology Outlet PLA (Silver), PETG (black)
Notes:
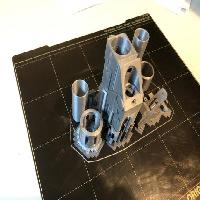
Some parts require supports but others don't. I'm using the support blocker functionality of Slic3rPE to control supports on those parts that don't need them.
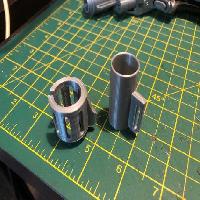
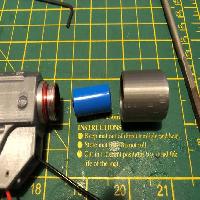
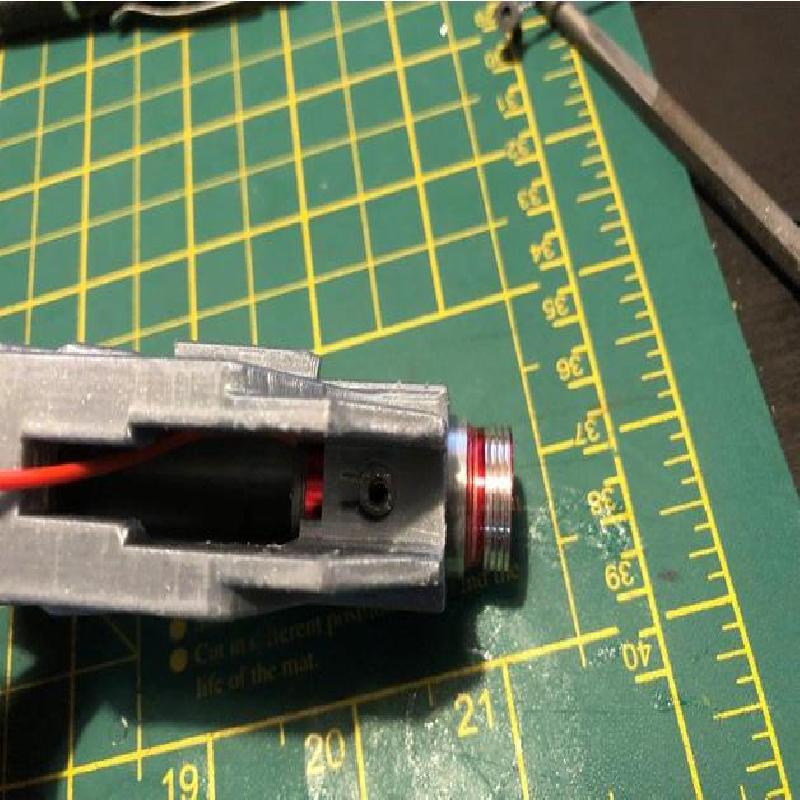
There's a bit of drilling out of holes needed and a bit of sanding to make everything fit together properly but its not too bad.
The M3 screws will cut their own threads into the plastic when drilled out with a 2.5mm drill bit. Not sure about US sizes but there's probably a close equivalent to the metric I used.
I haven't included the medallions that fit in the grip as they can be had from Metaform3d's great original model.
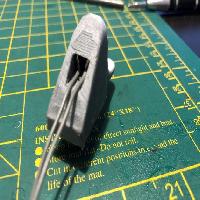
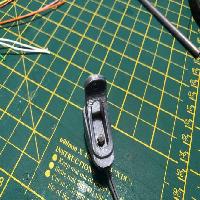
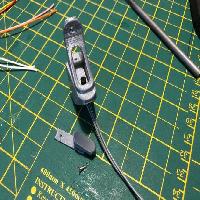
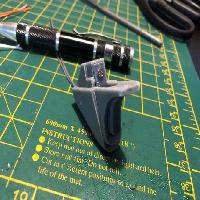
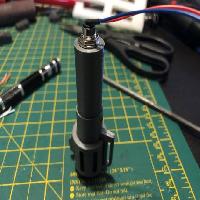
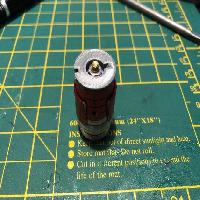
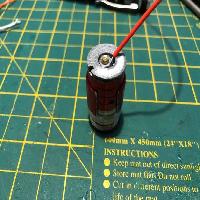
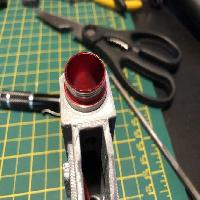
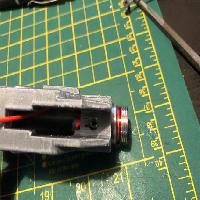
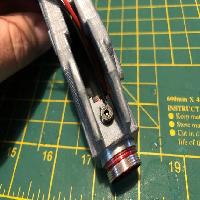
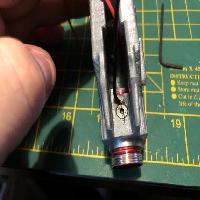
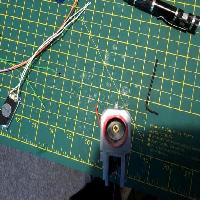
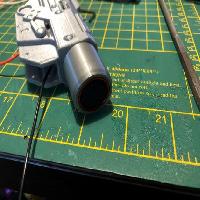
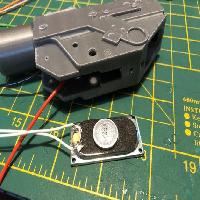
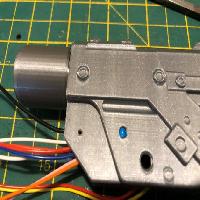
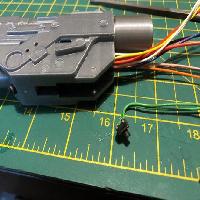
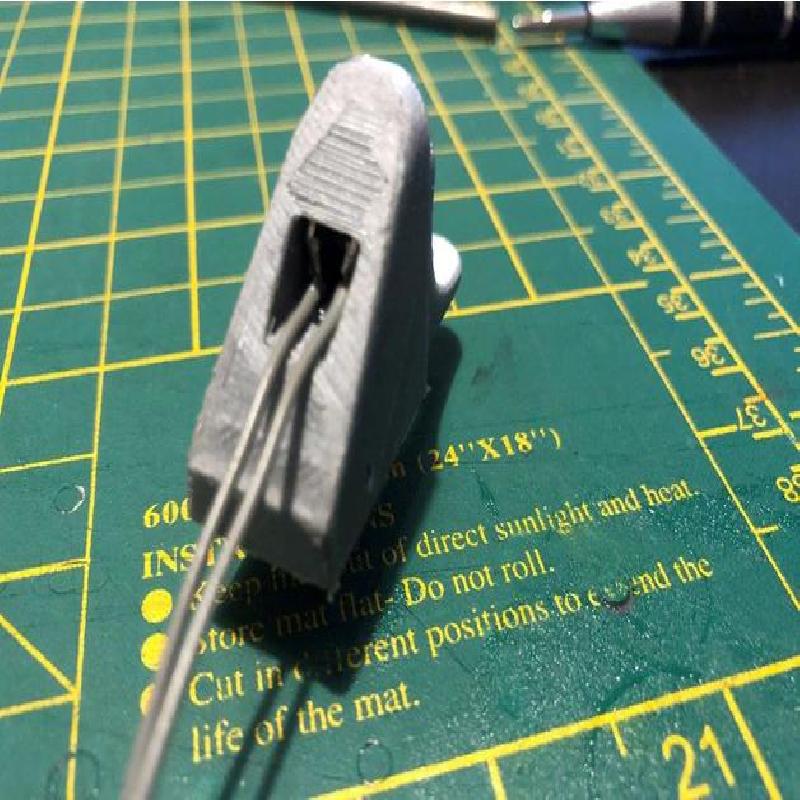
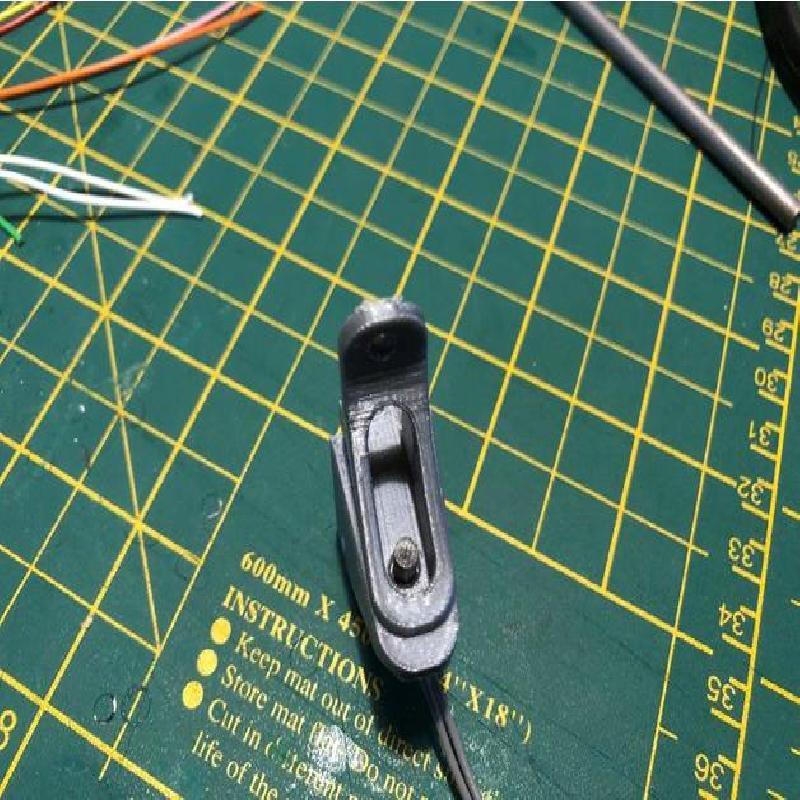
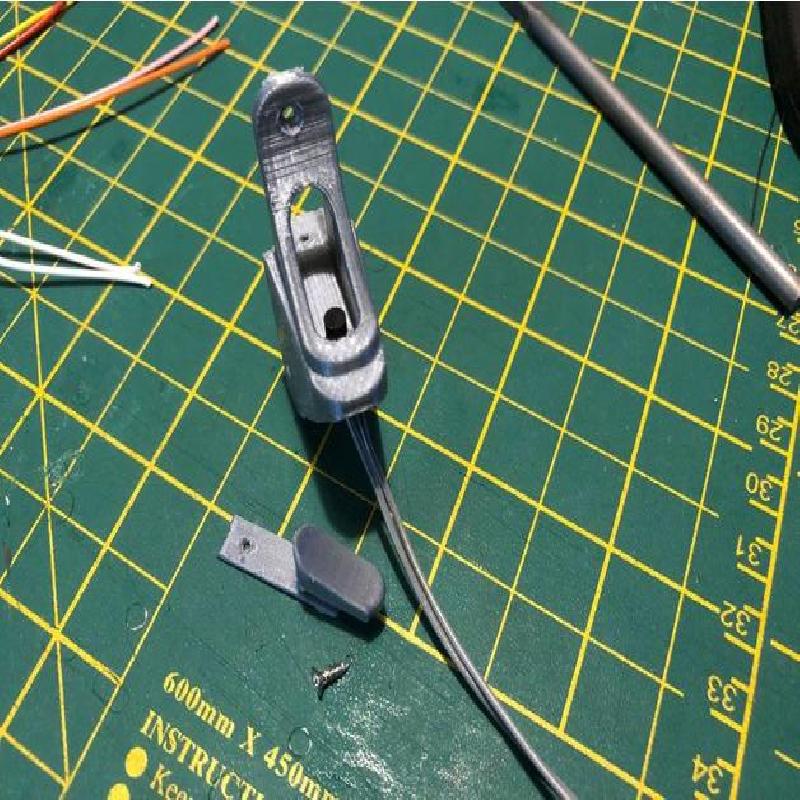
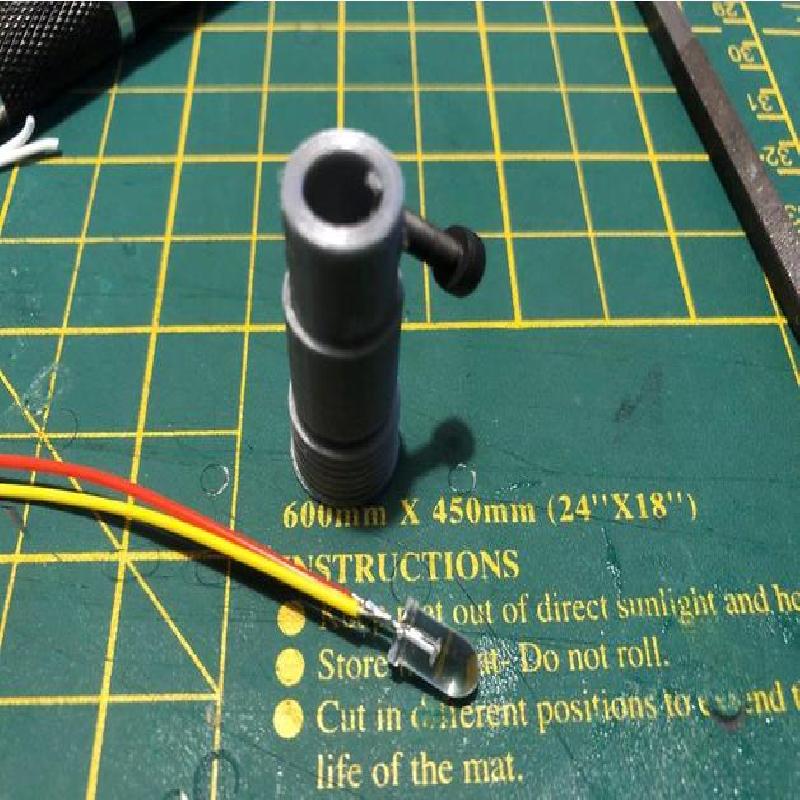
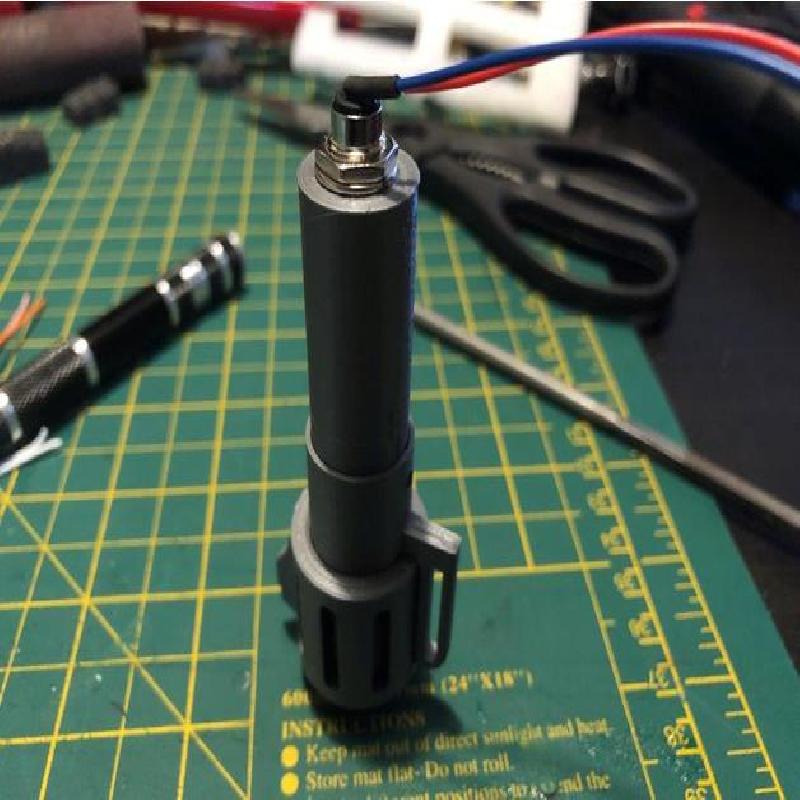
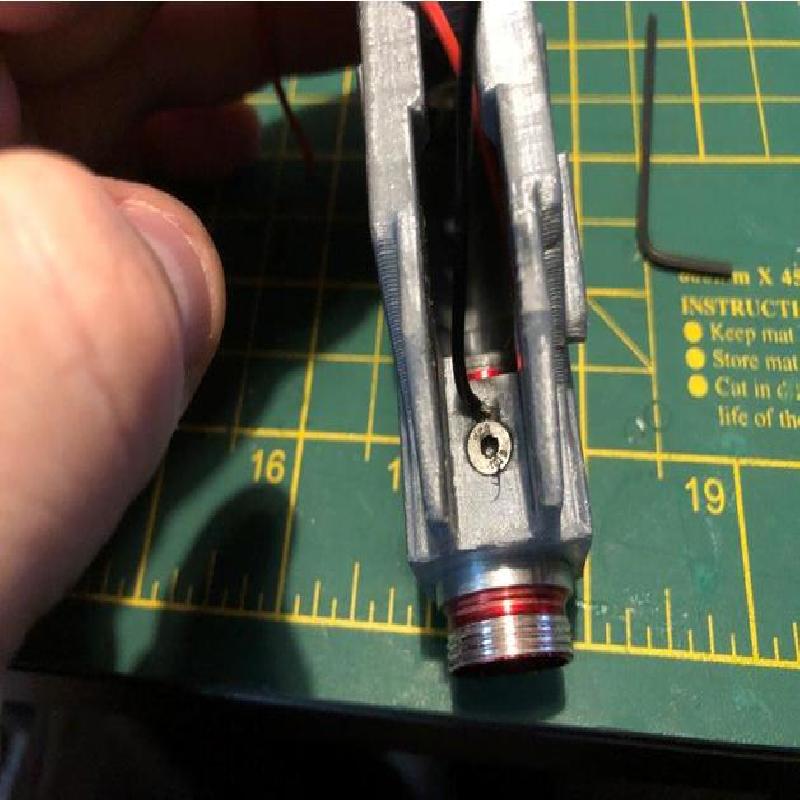
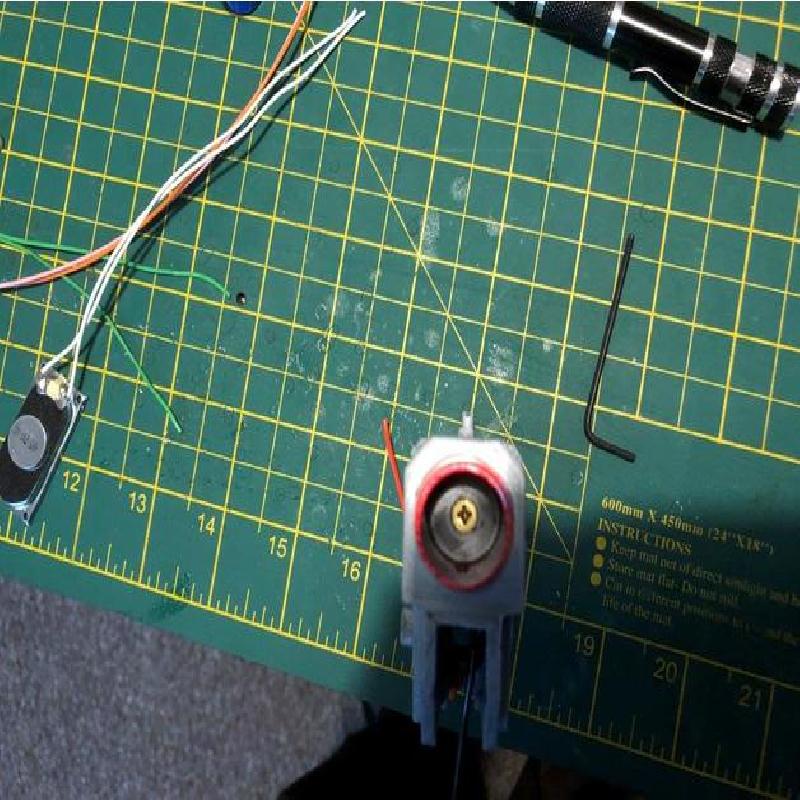
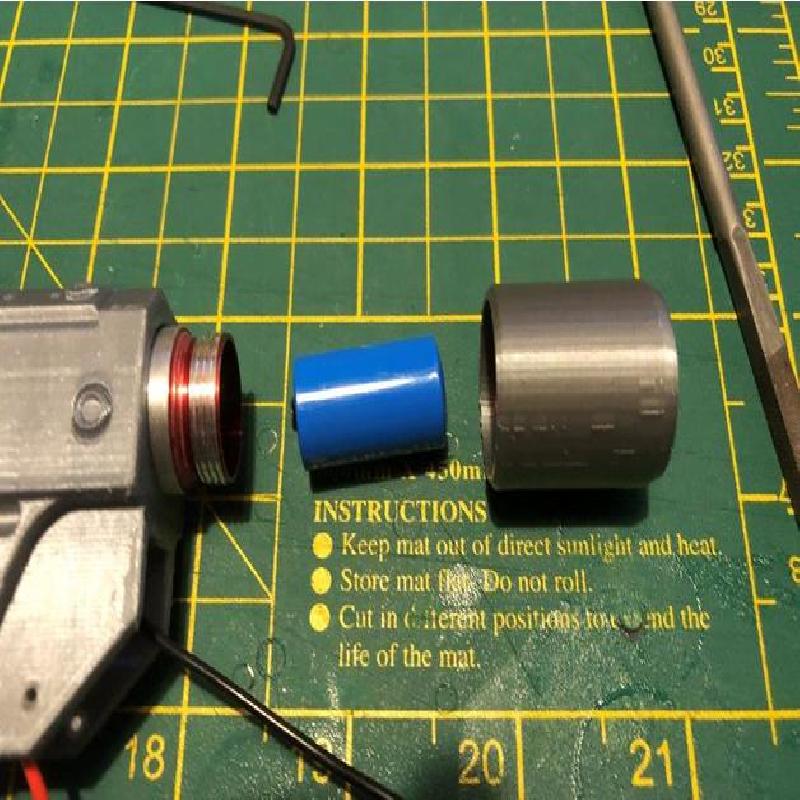
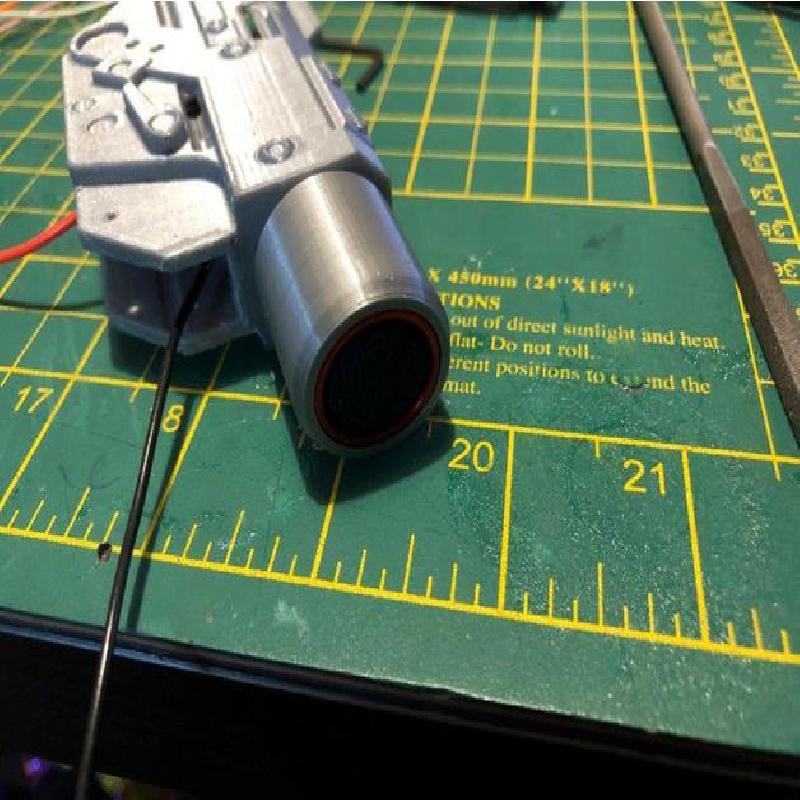
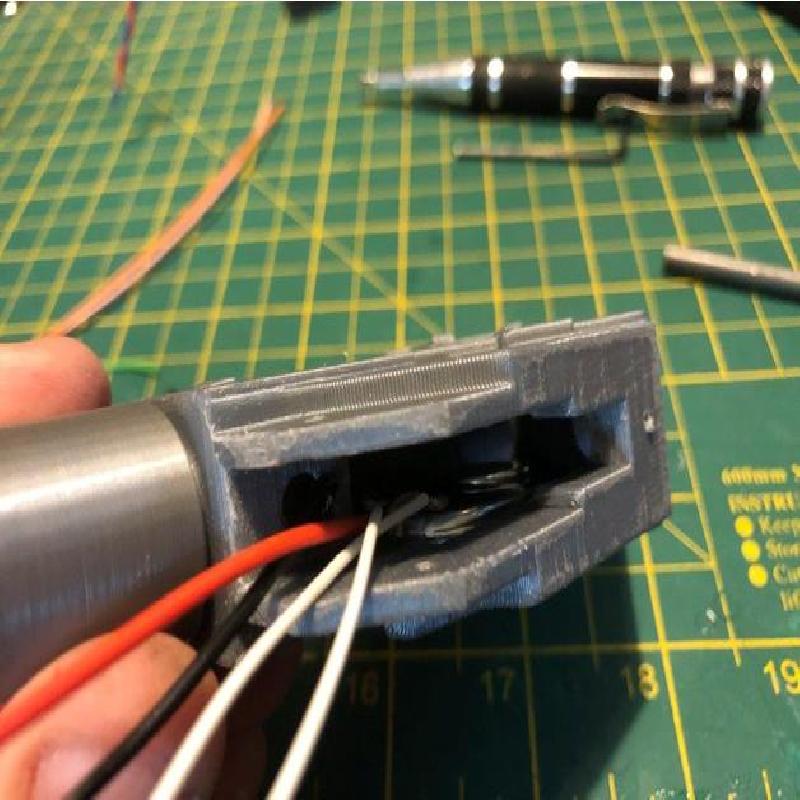
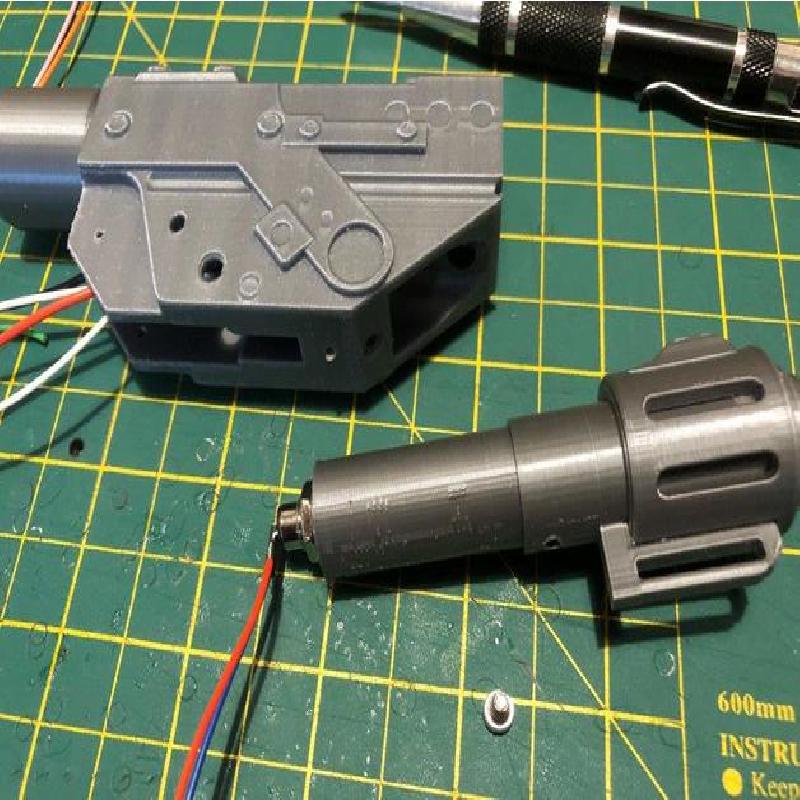
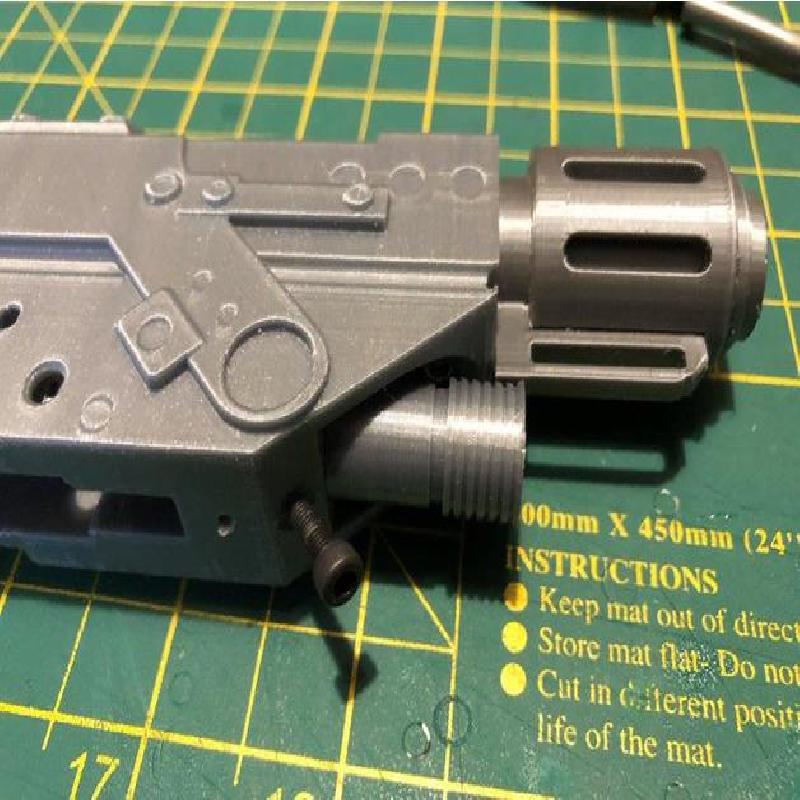
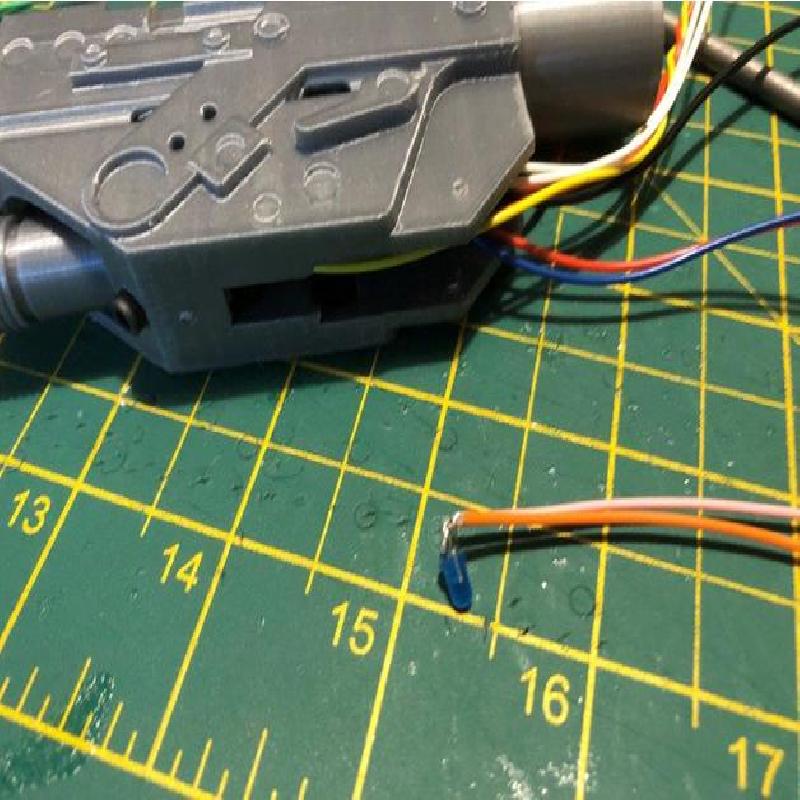
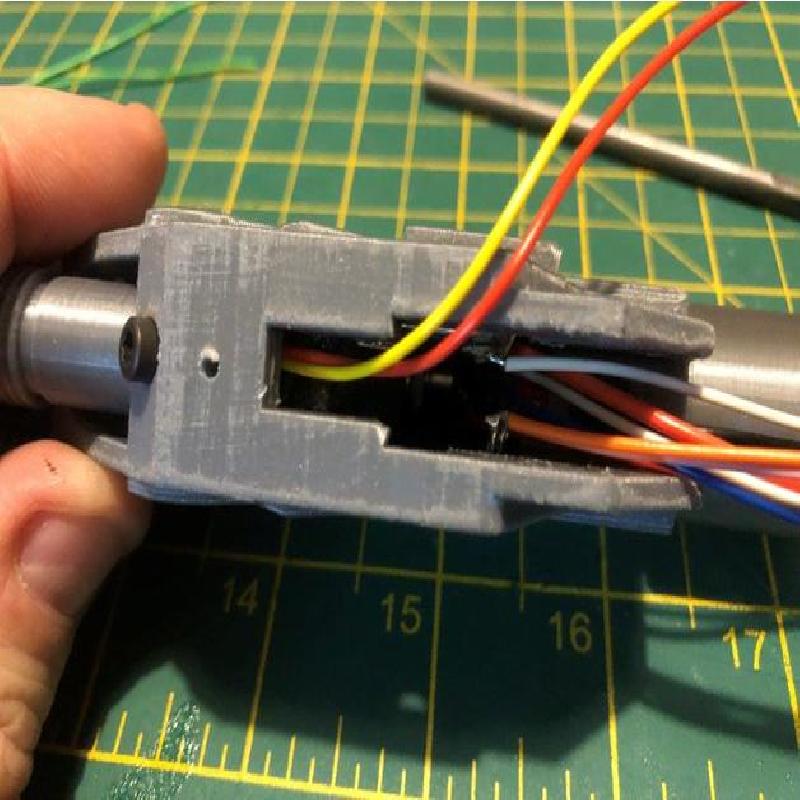
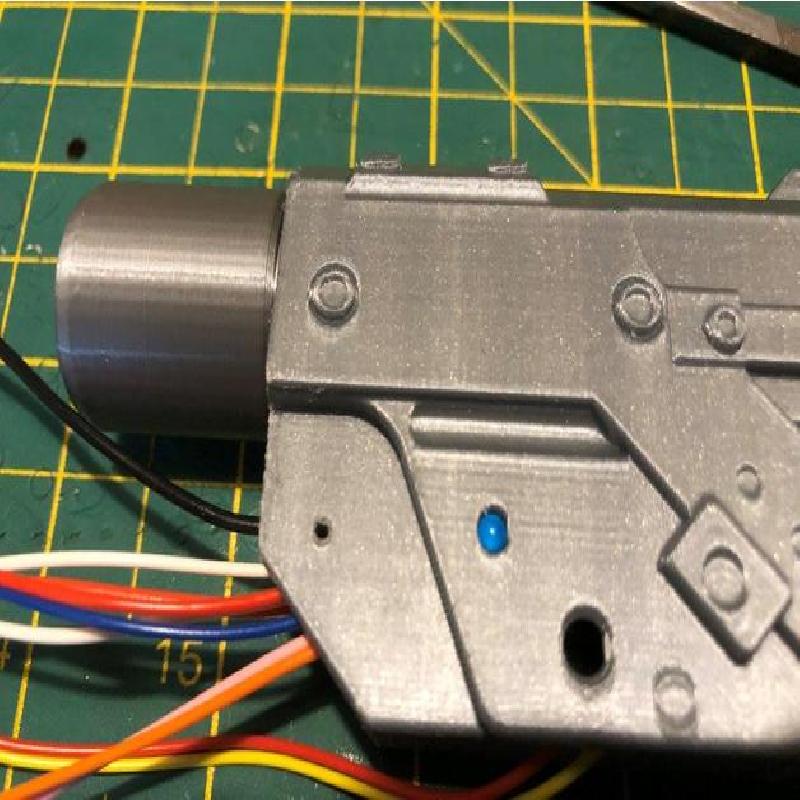
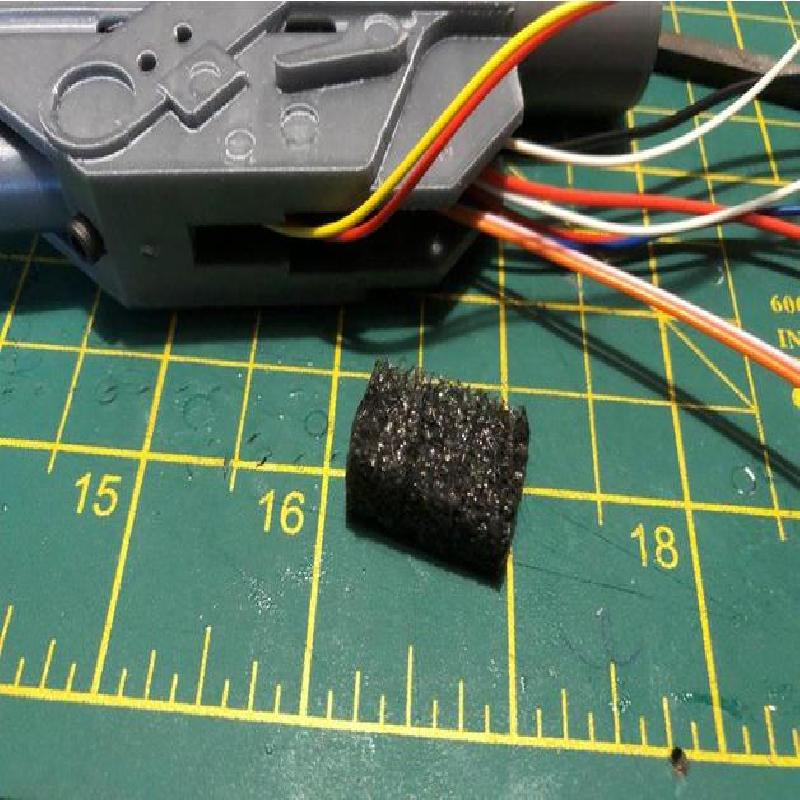
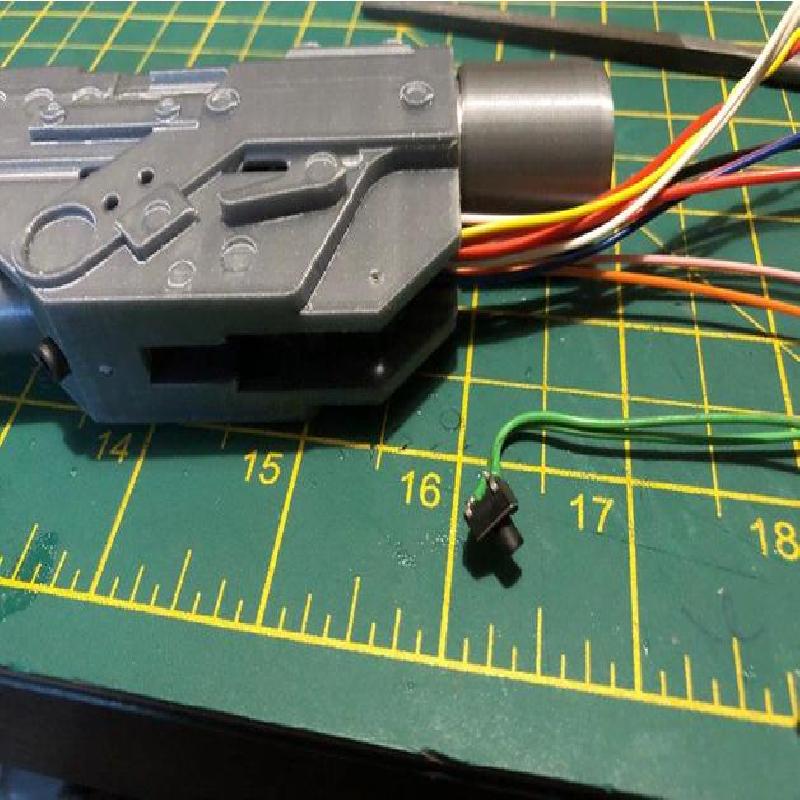
I haven't written an assembly guide but the pictures pretty much show the build process. I will say that its best to fit it all together and make the needed screw holes etc before taking it apart to fit all the electronics parts in there.
Additional Parts Needed
Parts for assembly
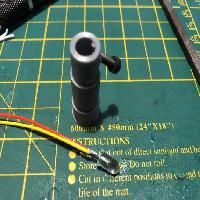
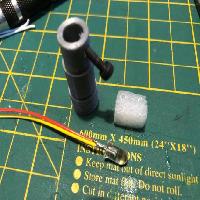
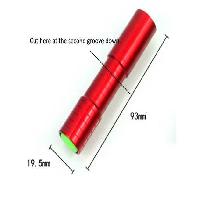
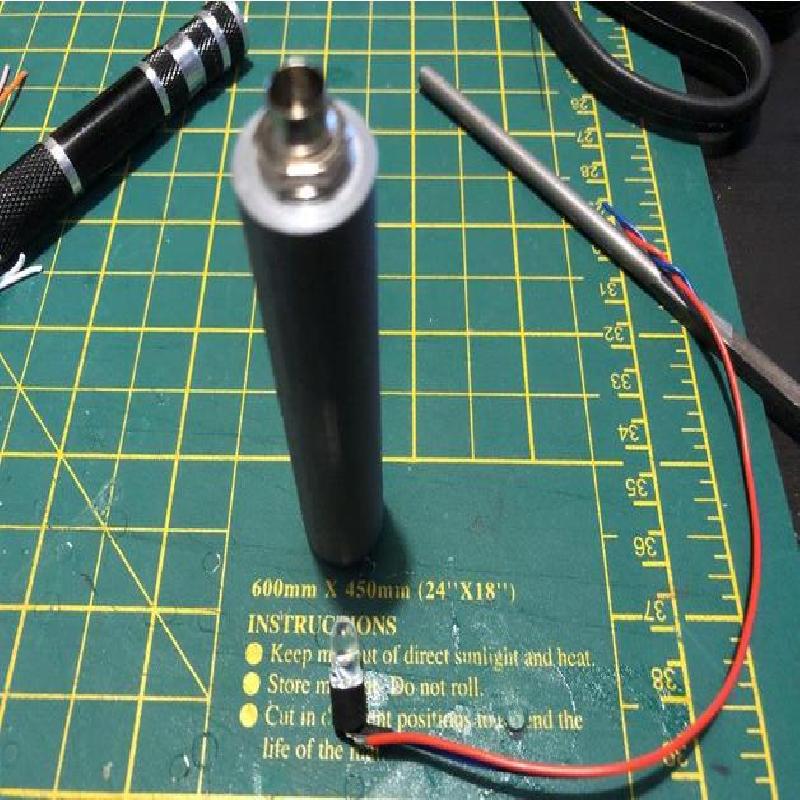
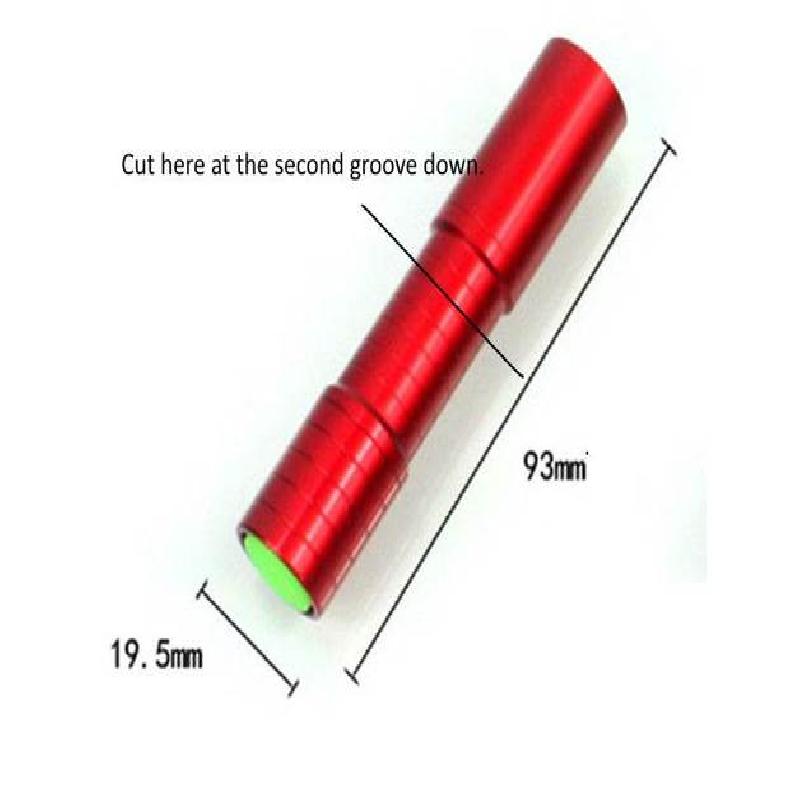
AA flashlight ( https://www.ebay.com/itm/IPX-6-Waterproof-Life-Rating-9-LED-Mini-Outdoor-Tactical-Flashlight-Torch-Lamp/232156502432?hash=item360d9b19a0:g:CqgAAOSwo4pYOkM7:rk:14:pf:0 )is the type I used.
M3x8 Cap head hex screw (x2) - secures the barrel assembly and the AA flashlight in place
M3x10 Cap head hex screw (x1) - secures the heatsink in place
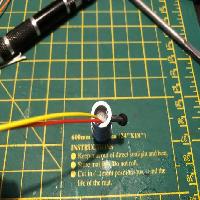
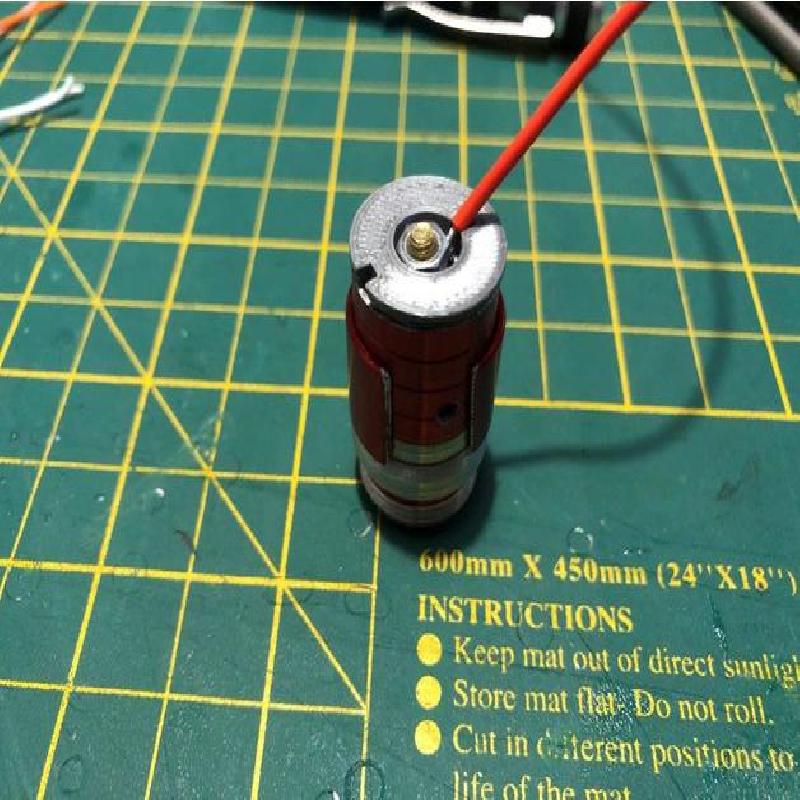
M3x8 countersunk screw (x1) - as battery positive contact
M3 nut (x1) - for battery positive screw to hold the wire in place
M2x8 self tapping countersunk screw (x2) - securess the trigger and trigger block in place
M2x10 self tapping countersunk screw (x7) - secures the handle to the PPG body and the handle halves together.
16.5mm lens with a 65mm focal length - to focus the Infrared light from the IR LED
small bits of foam (I used recycled packing foam from my 3D printer)
Electrical parts
6mm tactile switch with 9.5mm actuator (x1) - for trigger
6mm tactile switch with 5mm actuator (x1) - for reload
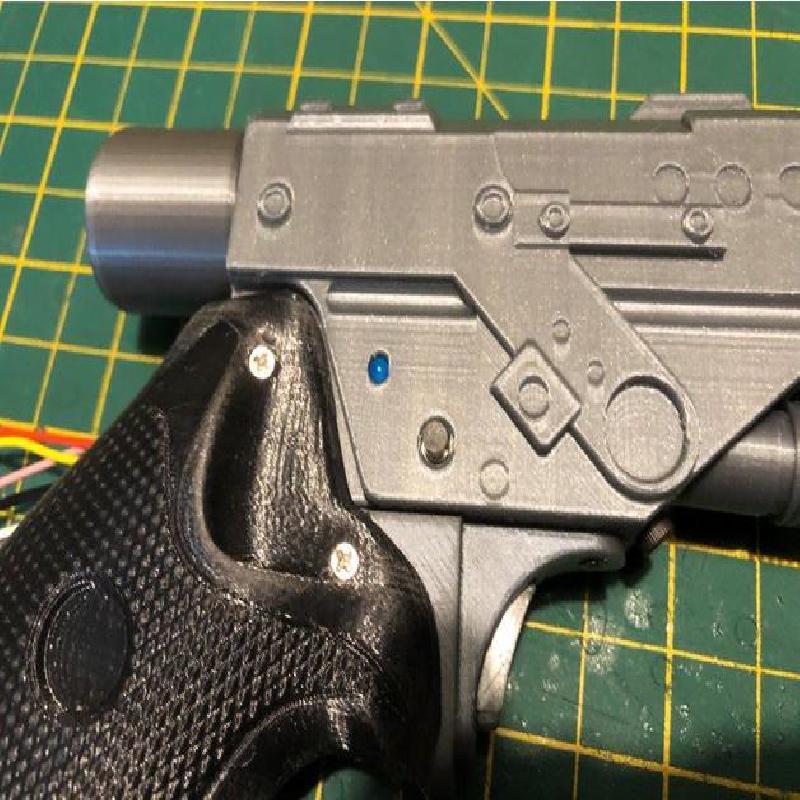
3mm LED (blue or whatever colour you want) - for ammo status LED
5mm high brightness LED (yellow or whatever colour you want) - for muzzle flash LED
High power Infrared LED (TSAL5100 or SFH4545) - for your IR output.
Bezel for 5mm LED ( https://www.ebay.com/itm/10-x-5mm-Bezel-LED-Holder-Chrome-Metal-FREE-SHIPPING/280930962149?hash=item4168ca4ae5:g:UfEAAOxyrxZRzJ9Y:rk:36:pf:0 ) as an example but I got mine from an electronics supplier in the UK.
20x40mm speaker ( https://www.ebay.com/itm/16x35mm-20x40mm-8ohm-8-2W-Audio-speakers-Laptop-PC-Computer-USB-Stereo-Speakers/253617045639?hash=item3b0cc10087:m:m8jCDgdFdbmomZsPPCAbx-w:rk:1:pf:1&frcectupt=true ) as an example but I got mine from an electronics supplier in the UK.
Wire (stranded small gauge hook up wire to connect everything together)
1/2 AA battery 3.6V (or 14250 rechargeable lithium 3.7-4.2V) to power everything
TTG_WVT lasertag pistol board (these are custom built but you might be able to source an alternative small board that can drive lights/sounds. The handle will fit up to a 25x50x20mm board inside.
Tools Used - most of the following I would expect anyone with a 3D printer to have already
Hex wrenches
Cross head screwdriver
Drill with 2.5mm drill bit (to size the holes for the M3 screws) and 1mm drill bit for the M2 self tapping screws
Soldering iron
Wire strippers
Wire snips
sandpaper in various grits
Note - The pictures show a slightly different grip where I've been experimenting with brass inserts but the stl file included just uses self tapping screws to make things simpler. Both types work fine and the inserts version is still a work in progress.