by Shipbrook
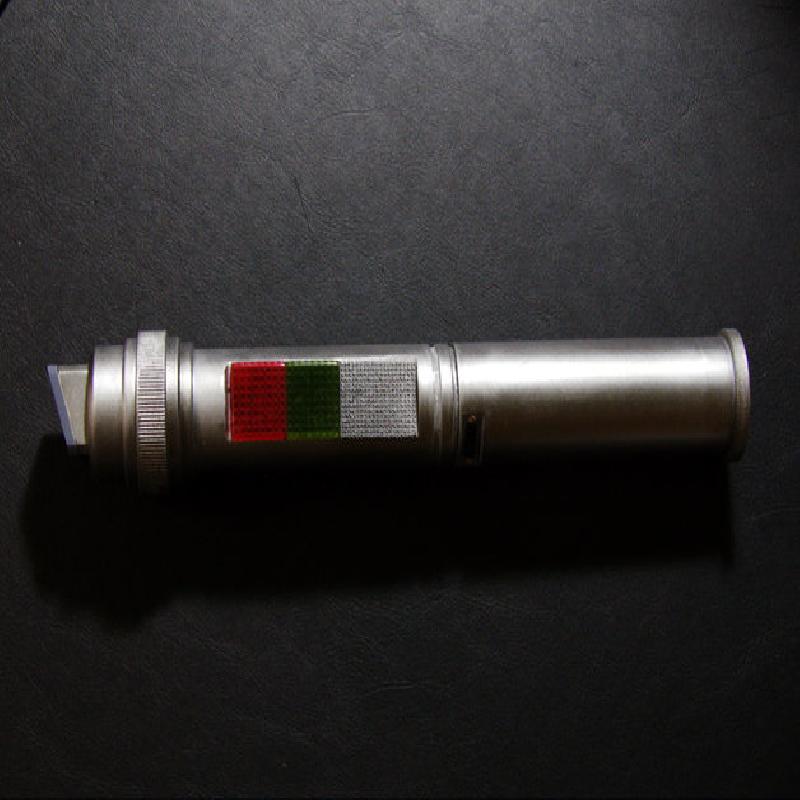
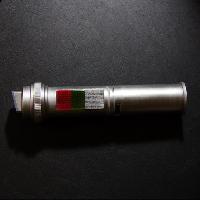
Reproduction of the Universal Translator from the original Star Trek series. Based originally on the (somewhat inaccurate) diagram in the Technical Manual, and tweaked to more closely resemble screenshots of the actual prop.
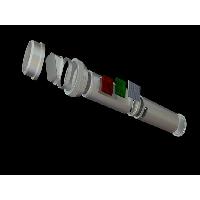
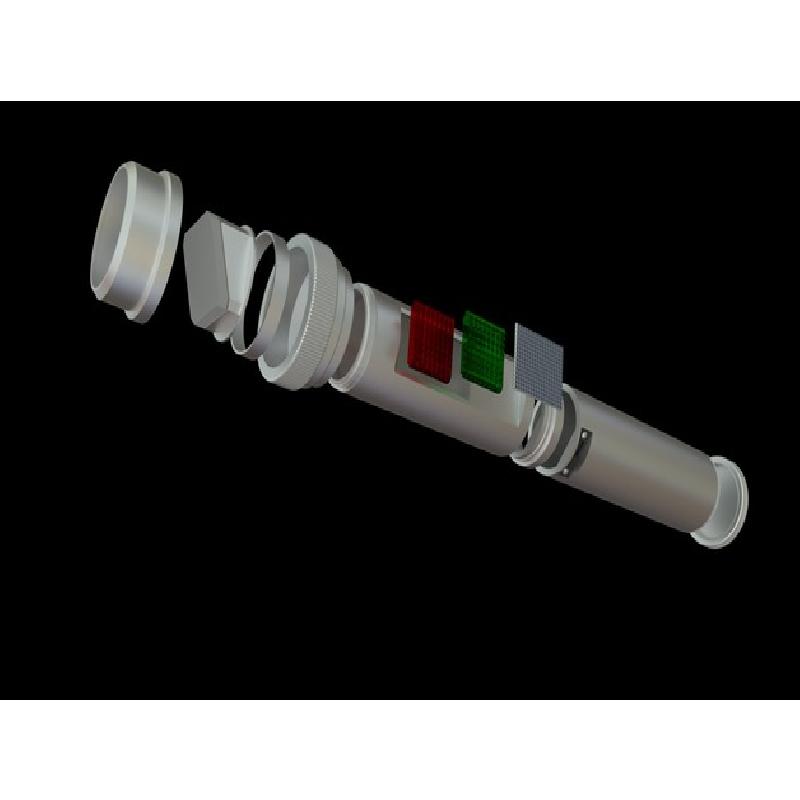
For best printing results, I split the model up into several pieces, and built support parts into the model.
Note: This model was designed with my printer's tolerances in mind, with an 0.4mm nozzle and for 0.12mm layers. Some sanding may be needed, especially if different nozzle or layer heights are used. (Using larger layers may negatively impact the parts which screw together.)
Printer Brand:
Ultimaker
Printer:
Rafts:
No
Supports:
No
Resolution:
0.12mm layers
Infill:
15%
Filament: 3DOM Ingeo PLA Natural
Notes:
Most of the model can be printed in any color, assuming you plan to paint it afterwards. If you don't, print it in silver.
The two light panels, however, should be either printed in transparent red and green, or printed in natural or clear transparent and then painted with transparent colors afterwards.
There's plenty of room inside for electronics, if you'd like to make it more interesting.
Removing built-in supports
Remove the thin plate in the opening of Upper Section; file edges smooth.
Remove the supports in the switch recess of Lower Section; file edges smooth.
Remove the supports from Central Section; file edges smooth.
Pre-painting assembly
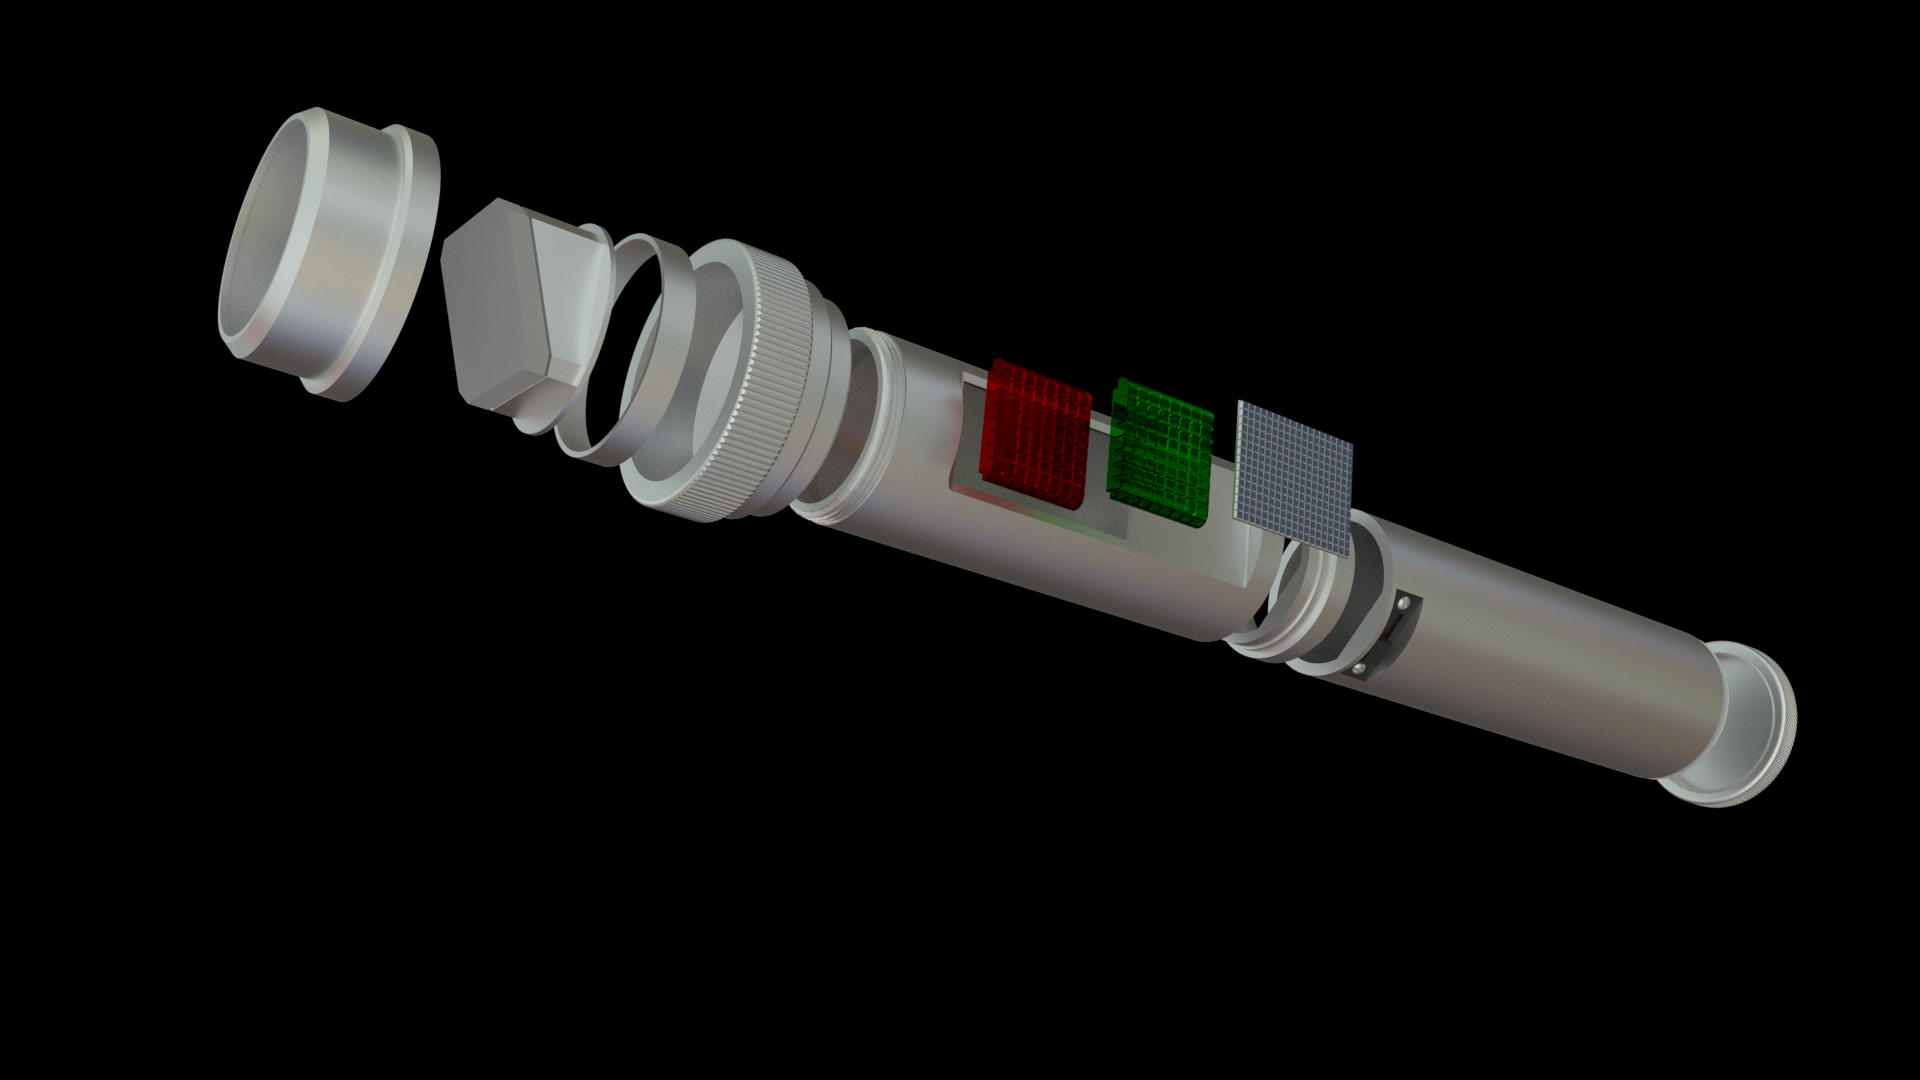
(Refer to Assembly Diagram.png)
Glue Top Plate into Top Ring 1.
Glue Top Rings Stabilizer halfway into Top Ring 2. Allow both glued parts to dry.
Screw Top Ring 2 onto Upper Section. Glue Top Ring 1 onto Top Ring 2 in the orientation shown in the photo. Allow to dry.
Glue Upper Section and Lower Section onto Central Section. Lower Section should be rotated so that the switch is 45 degrees left of the front features of Upper Section.
Glue Speaker Grille onto Upper Section at the very bottom of the rectangular recess in front.
Painting
(Smoothing HIGHLY recommended before painting.)
Paint everything but the light covers with a metallic silver. I used Alclad II Airframe Aluminum (after priming).
If you printed the light panels in a clear or natural filament, paint Light Panel - Top (Red) in transparent red, and Light Panel - Bottom (Green) in transparent green. I used Alclad II Candy Red and Alclad II Bottle Green, respectively.
Once the body is dried, paint the switch black, and the screws to either side of it brass. (Lower Section).
Paint the top section of Top Plate a matte medium grey.
Final Assembly
Glue the two light panels into the hole (red on top, green on bottom).
Screw the Top Plate/Top Rings assembly onto the top of the body, and Bottom Endcap onto the bottom of the body.
Assembly Diagram
Modeled in Blender. I used the schematic in the TOS Technical Manual for the base measurements, and tweaked it based on screenshots from the show.