by Milhooz
After end of year holidays, I still have a lot of led tealights that I purchased for other projects and I wanted to print a robot using one of these tealights, so I searched what was available on Thingiverse and I really liked the Desk-o-bot from EdricePrints. Unfortunately I was not able to fit the standard CR2032 battery from the tealight so here is a remix that you can print and assemble.
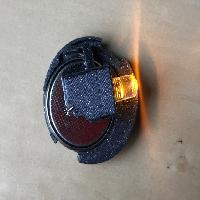
The light can be turned on and off by twisting the head. No soldering is needed.
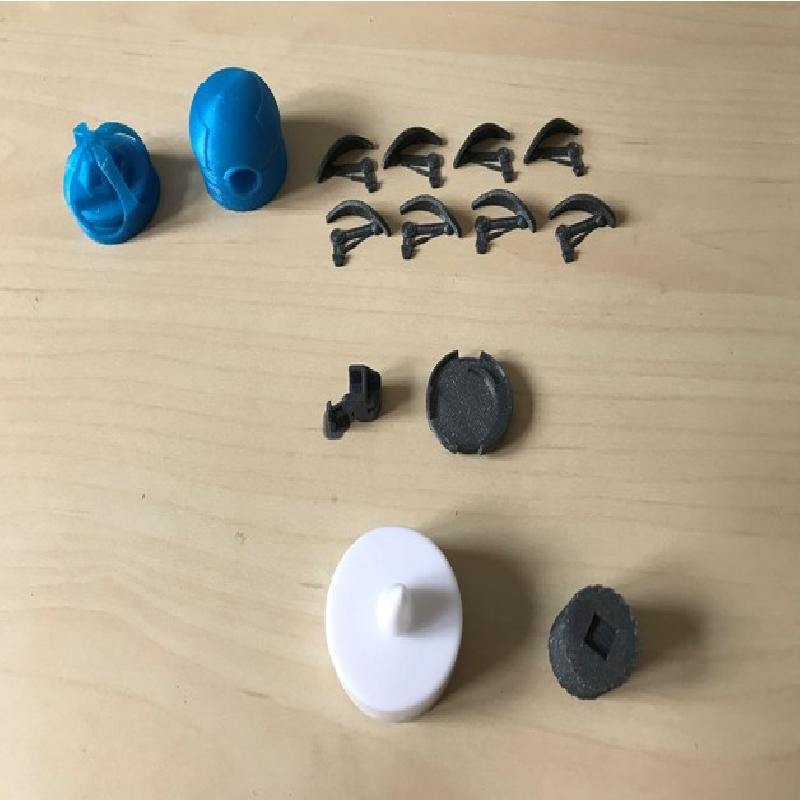
Each leg need to be printed 4 times for a total of 8 halves, assembled with glue, to make 4 legs obviously :D
Printer Brand:
Prusa
Printer:
Rafts:
No
Supports:
No
Resolution:
0.2
Infill:
10%
Filament: Prusa PLA
Notes:
I use Slic3r and I print with the following difference from default Prusa profiles:
Detect thin walls
Infill 10% rectilinear
Fill angle 0°
Skirt height 1 layer
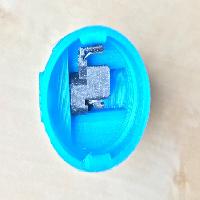
The tolerance of your printer must be good, be sure to test if you can rotate the battery holder in the head freely before gluing everything as those two pieces must move freely to turn on and off the LED.
Assembly
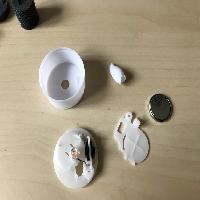
The Led Holder and Bottom parts have integrated supports, those are easy to cut/break-away but you might need to enable "thin wall detection" in your slicer.
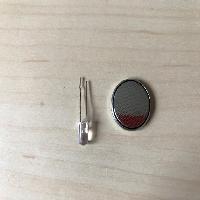
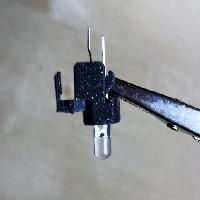
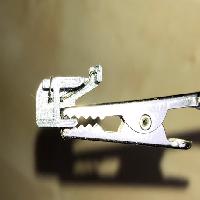
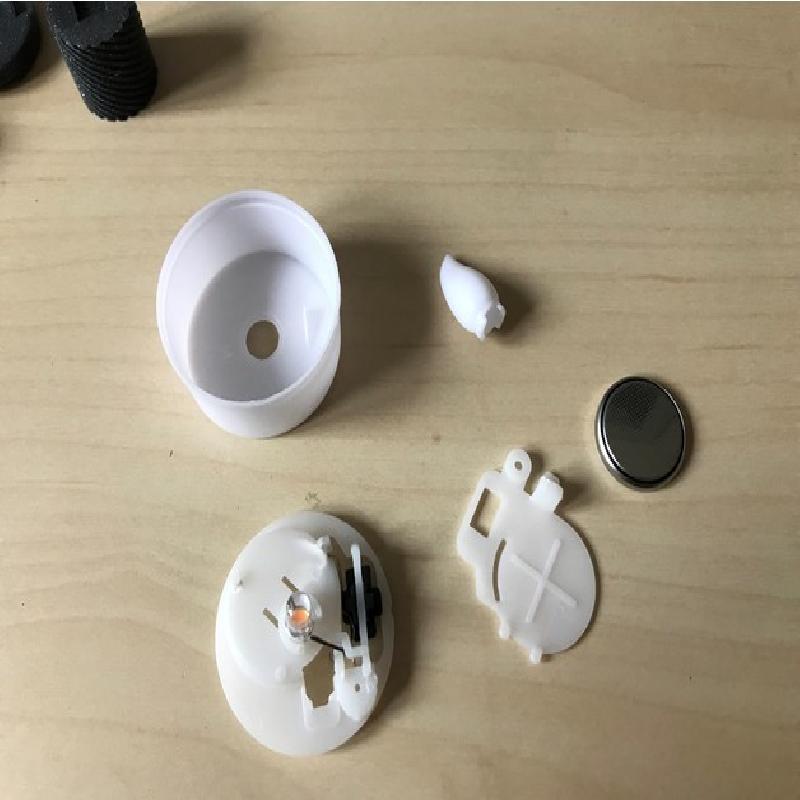
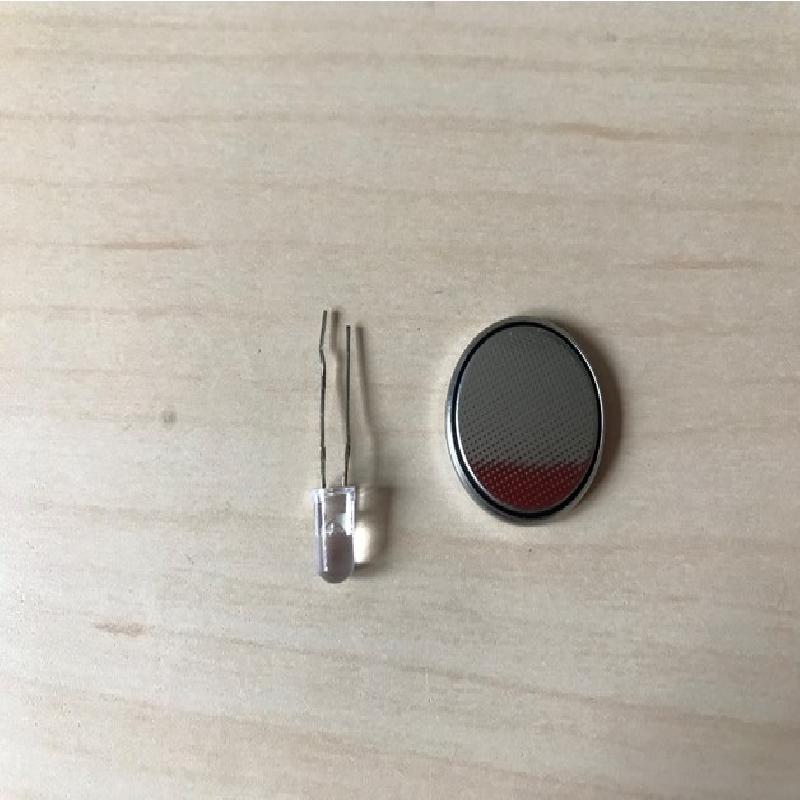
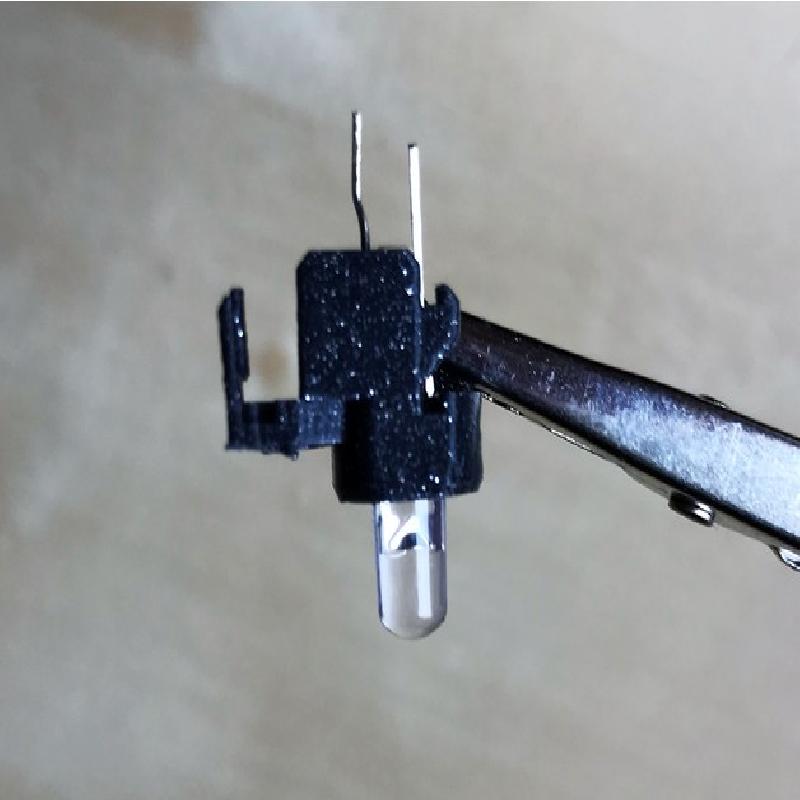
If you are using a LED Tealight, you need to disassemble it to salvage the LED and the battery, you can discard the other pieces. The LED legs must be unbent to detach it from the support, you can then insert the led in the Led Holder part (check the polarity, there is a flat side matching the led in the holder) and once inserted, bent the legs again using pliers or a flat screwdriver to match the holder guide-paths.
The legs are printed in half for easy printing and must be glued together. At that stage, you can paint the pieces if you want and then you can glue the torso to the bottom and battery holder part and then the legs to the bottom.
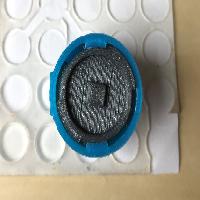
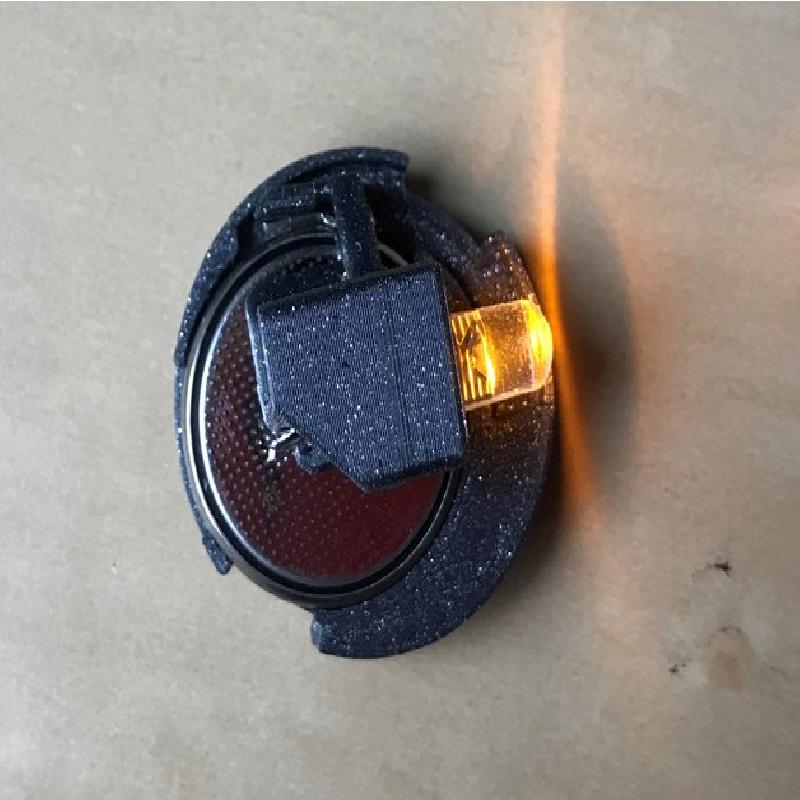
Insert the LED + Led Holder assembly into the head using thin pliers and then the battery in the battery holder and snap the head and rest of the bottom together and twist to lock.
You might need to play a bit with the LED legs position to have a good contact.
Hardware
The links below are Amazon Affiliate links of products I have really used for this project, if you go through those links to buy the products, I will get a small amount of money with no extra cost for you. I have spent several days creating this model and printing multiple times to make it work, I'm happily sharing this with you for free, consider using the links to reward me (or leave a tip :D)
I have used the following items:
LED blinking tealights x 24 (you only need one if you print 1 robot) You can also buy any CR2032 battery and a 5mm LED with two leads (exists in different colors, even two colors blinking, just be careful it must have only 2 legs)
To paint the model, I've used an airbrush for the first time, if you are interested, this is my setup:
I've redesigned the whole robot in Fusion 360 from scratch by looking at EdricePrints model. The bottom part was quite difficult to do and if you don't like it, you can probably use the original part as i used the same diameter I believe.
I have also attached the F3D file (Fusion 360 source file) if you want to modify this robot.