by gzumwalt
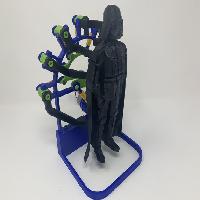
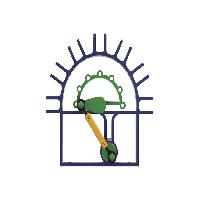
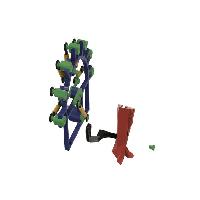
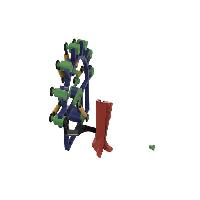
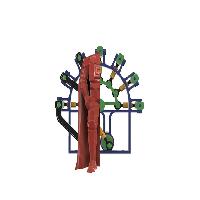
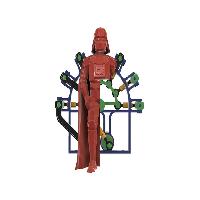
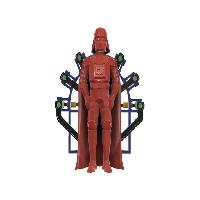
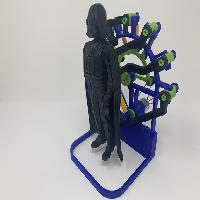
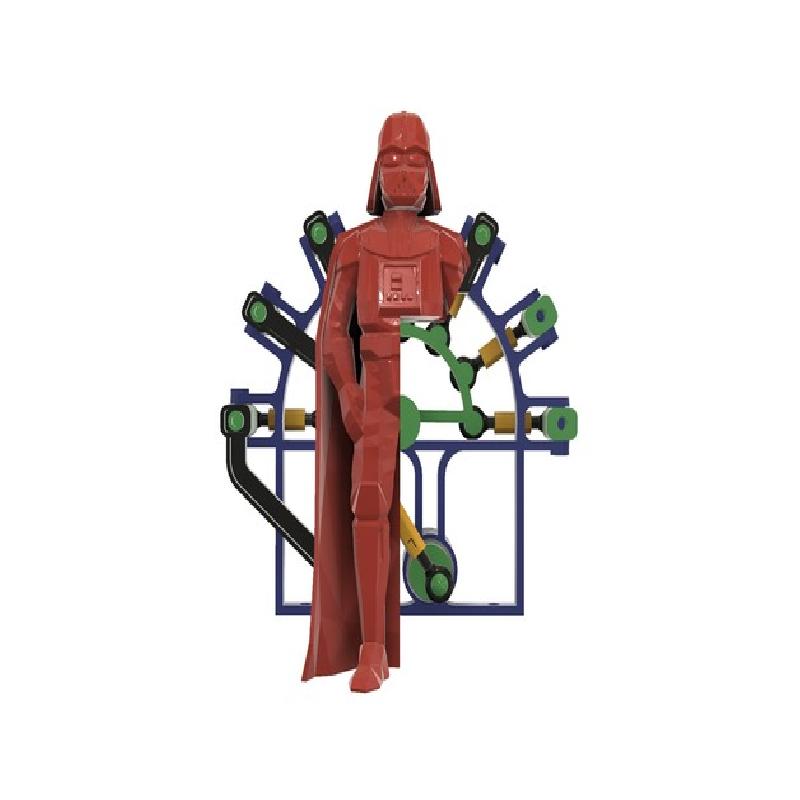
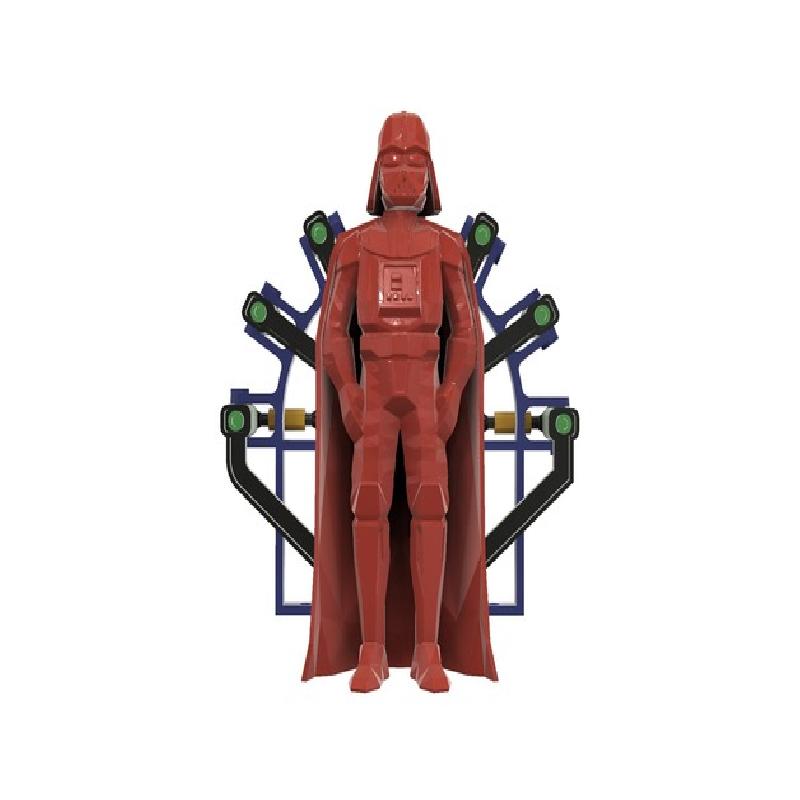
While on a recent family vacation (all 26 of us), the wife and I took the family members to a variety of attractions, one of which was a museum with a fascinating automata. The kids and grandkids suggested I design and 3D print a version of the automata using Darth Vader as opposed to the generic figure of the museum piece, and "Darth" is the result.
A video of Darth in action is here: https://www.youtube.com/watch?v=HgorWVup-5g.
While much smaller than, and much less complex as, the museum piece, Darth is still quite a challenge to print, assemble and align. The design incorporates 26 unique 3D printed parts (81 total 3D printed parts) and utilizes eight 3D printed turnbuckles, having both left and right hand threads, for fine tuning. The process of how I printed, assembled and aligned the various Darth components is described below.
As usual, I probably forgot a file or two or who knows what else, so if you have any questions, please do not hesitate to point them out as I do make mistakes in plenty.
Designed using Autodesk Fusion 360, sliced using Cura 3.5.1, and printed in PLA on an Ultimaker 2+ Extended and an Ultimaker 3 Extended.
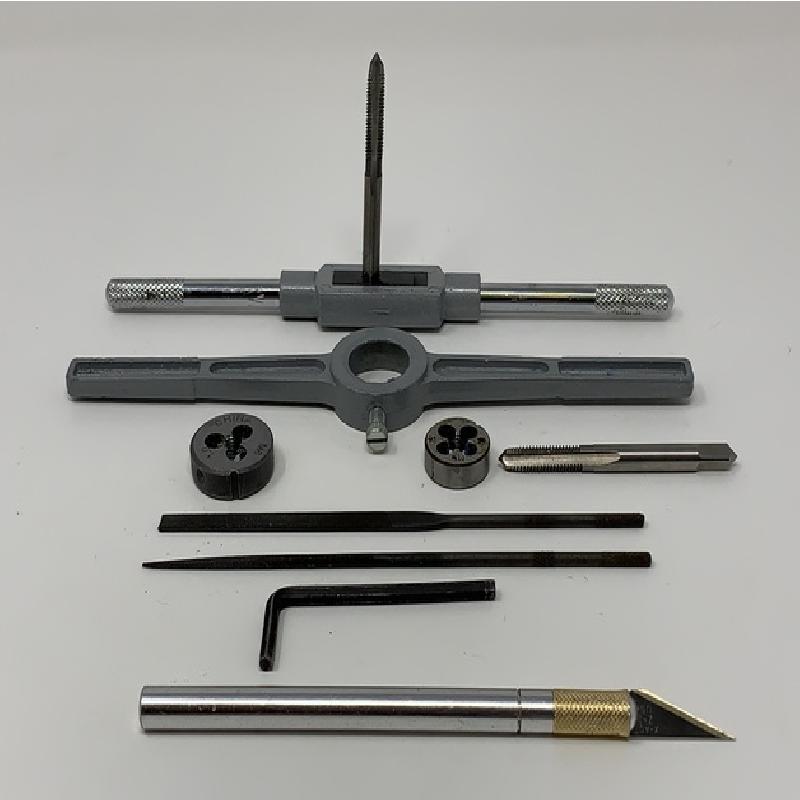
Tools I Used.
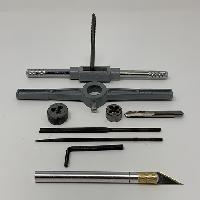
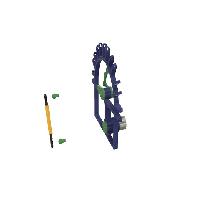
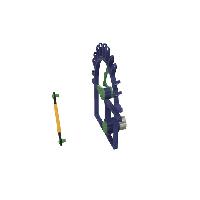
In the attached photograph, from back to front, the tools I used to assemble Darth include:
1) Tap Handle.
2) 6mm by 1 Right Hand Tap.
3) Die Handle.
4) 6mm by 1 Right Hand Die.
5) 6mm by 1 Left Hand Die.
6) 6mm by 1 Left Hand Tap.
7) Flat jewelers file.
8) Round jewelers file.
9) 3.5mm allen wrench.
10) Modeling Knife.
For persuading the ball components into the ball end components, I also used a 3/8" deep socket and rubber mallet.
Parts I Purchased, Printed and Prepared.
I purchased one "uxcell 30RPM DC 6V 0.1A 25mm Diameter Gear Box Speed Reducer Motor" (available on line). I also used a 4.5vdc .1ma power adapter.
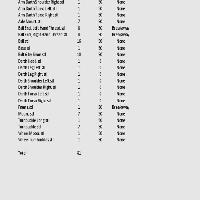
As mentioned, there are 26 unique 3D printed parts (81 3D printed parts in total). I've attached the file "Darth Parts.pdf" containing the list of the 3D printed parts, quantity I printed and infill and support material I used. I printed all parts at .15mm layer height in the orientation as they appear in the STL files.
For the parts requiring support material ("Frame.stl", "Ball End, Left Hand Thread.stl" and "Ball End, Right Hand Thread.stl"), I used Ultimaker White Breakaway on an Ultimaker 3 Extended dual extrusion printer in extruder 2, with the color filament in extruder 1. "Frame.stl" required support material for the threads. "Ball End, Left Hand Thread.stl" and "Ball End, Right Hand Thread.stl" required support material as I printed these parts on their sides for radial strength of the ball end.
Prior to assembly, I test fit and trimmed , filed, sanded, etc. all parts as necessary for smooth movement of moving surfaces, and tight fit for non moving surfaces. If you decide to make Darth, depending on the colors you chose, your printer model and your printer settings, more or less trimming, filing and/or sanding may be required. I carefully filed all edges that contacted the build plate to make absolutely certain that all build plate "ooze" was removed and that all edges were smooth. I used small jewelers files and plenty of patience to perform this step. I also used 6mm by 1 left and right hand threaded taps and dies to prepare the threaded parts prior to assembly.
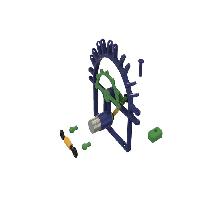
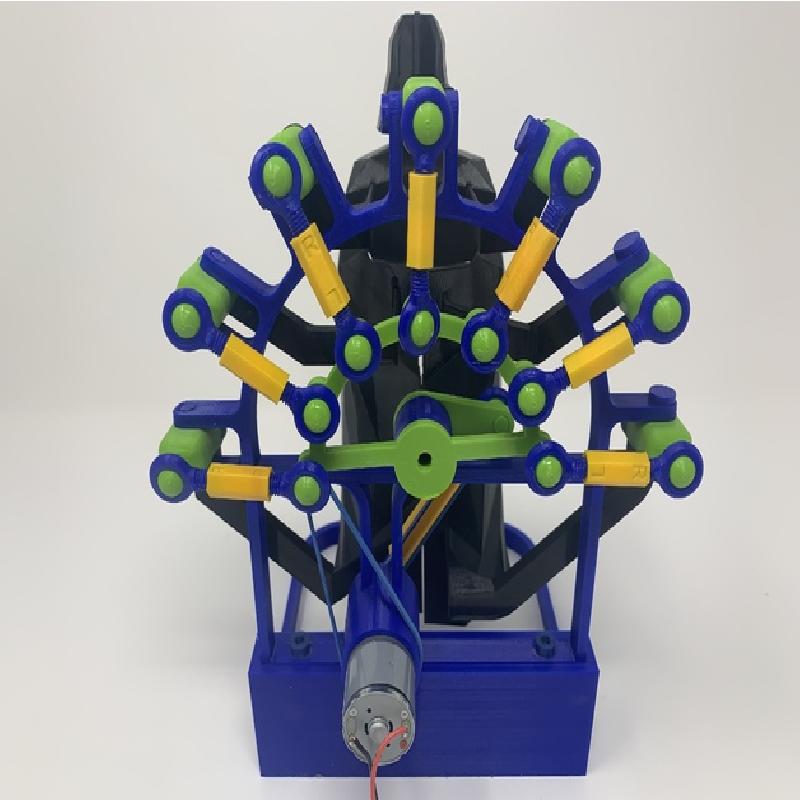
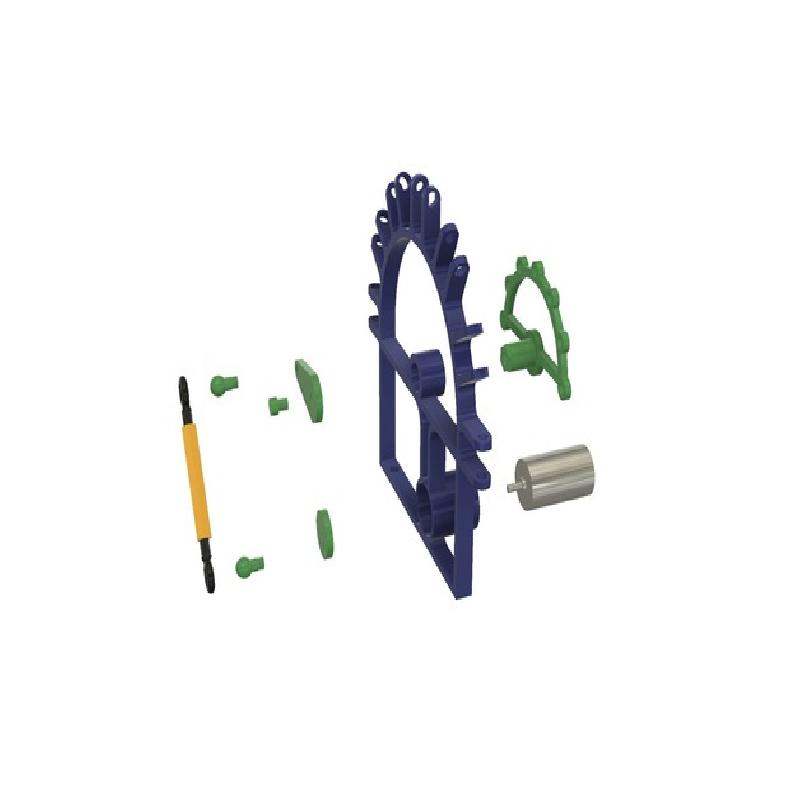
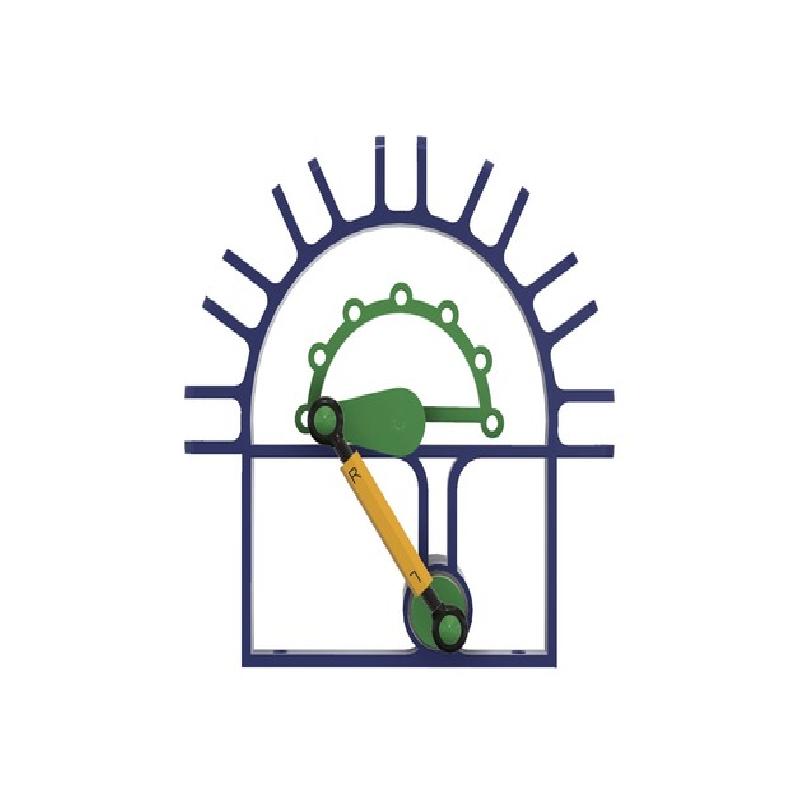
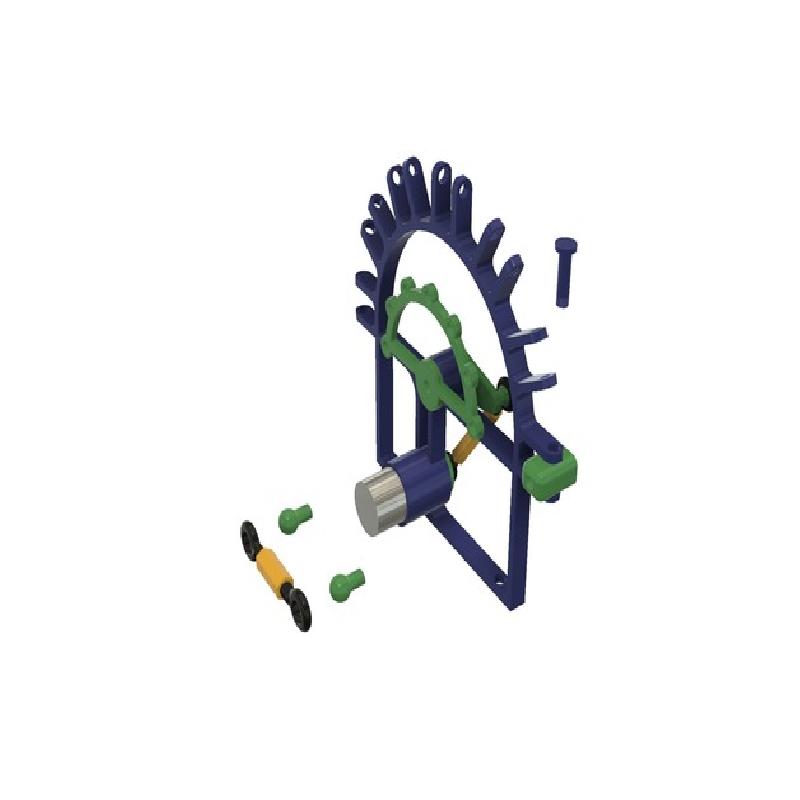
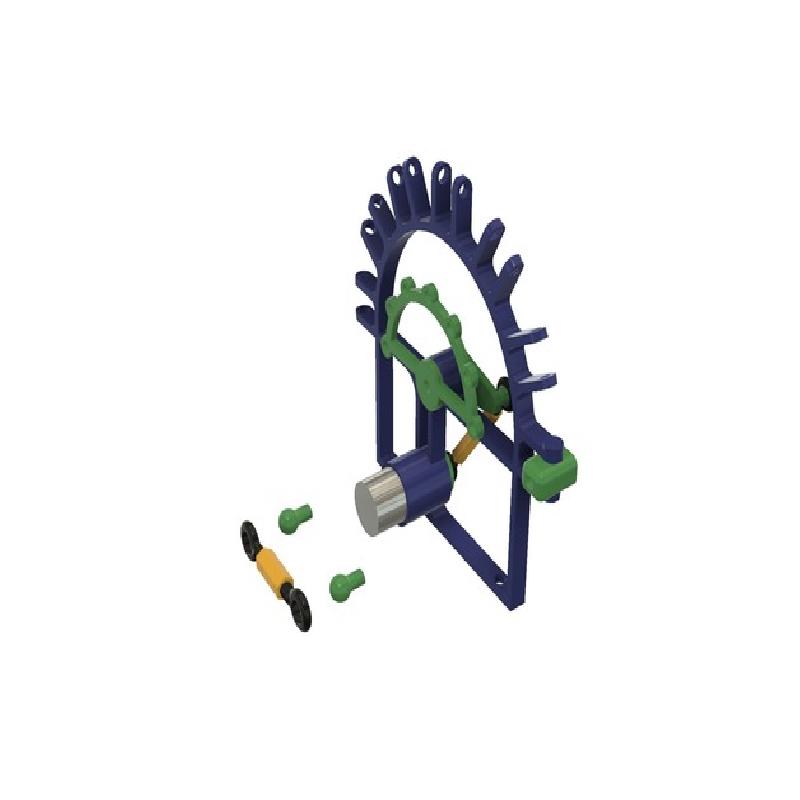
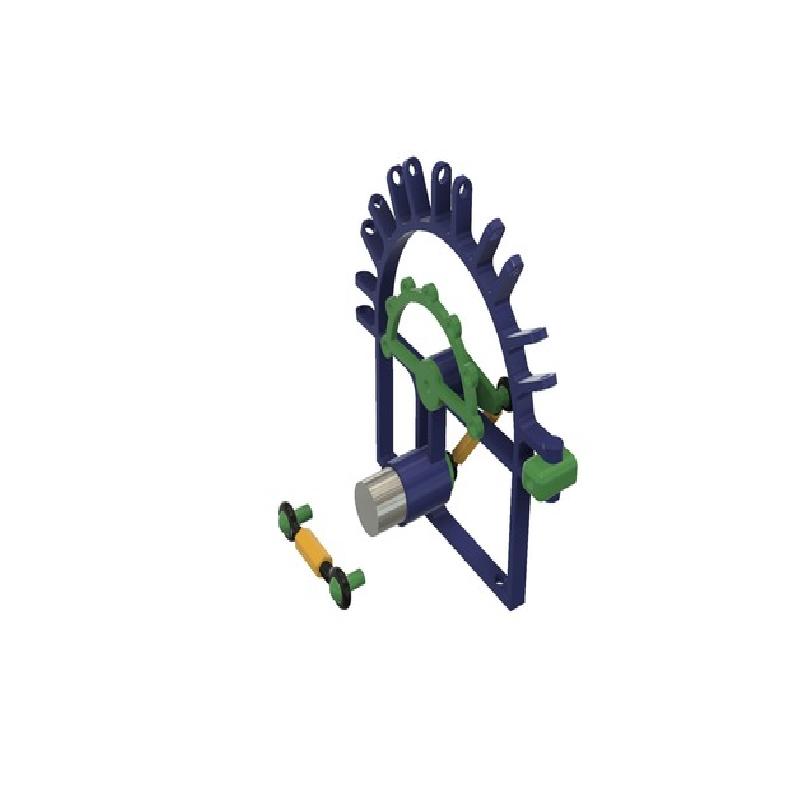
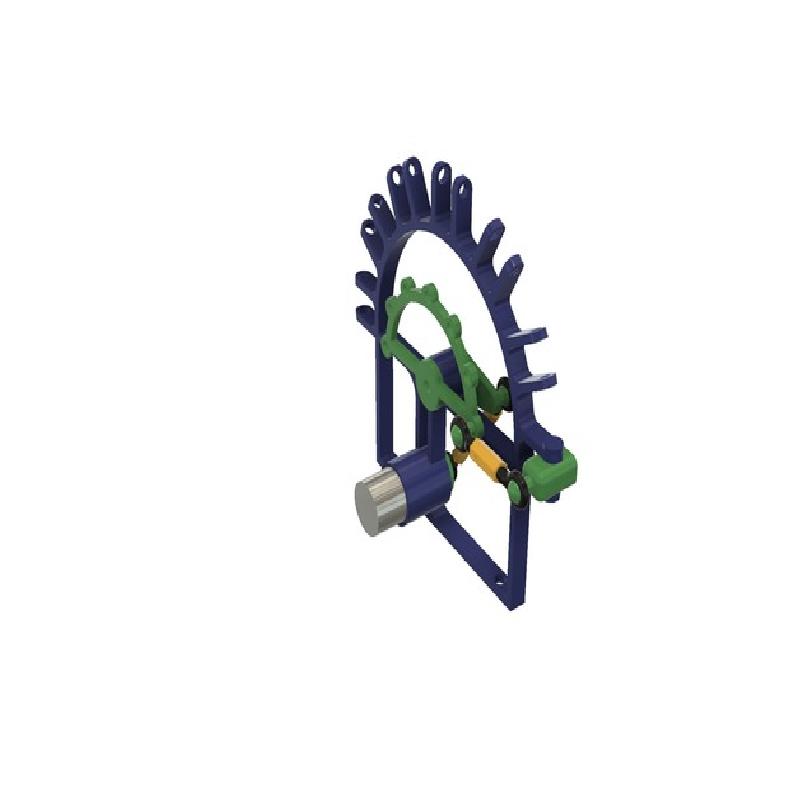
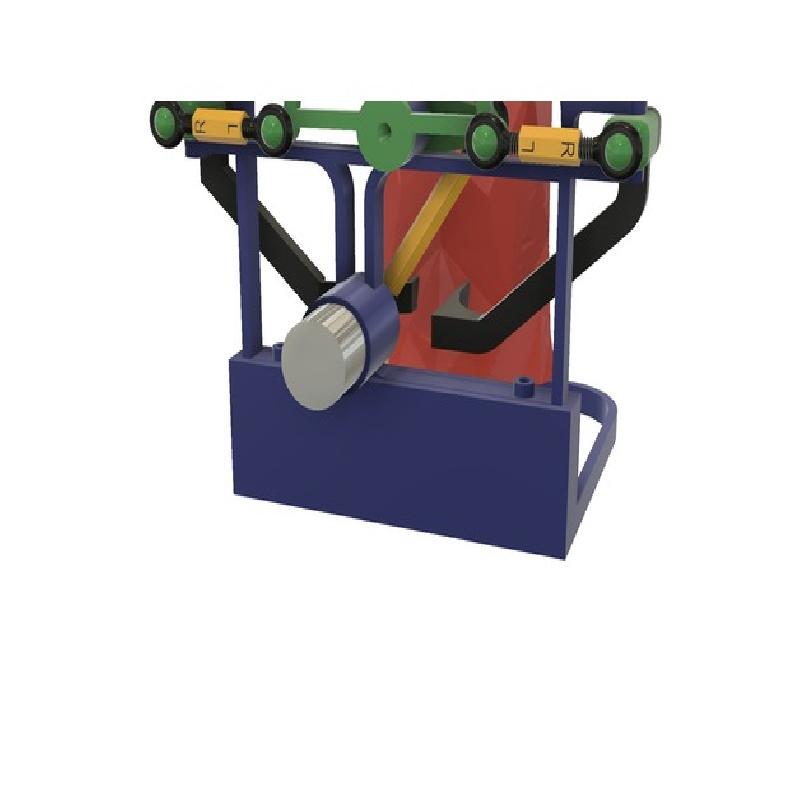
Assemble the Motor Drive.
To assemble the motor drive, I performed the following steps:
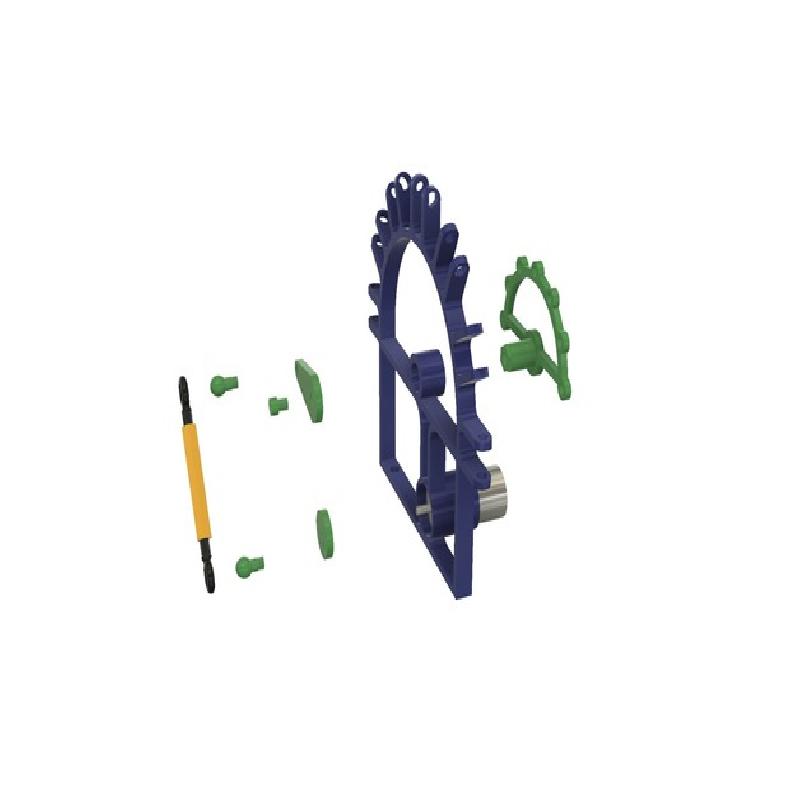
1) Pressed the motor into the frame.
2) Pressed "Wheel Motor.stl" onto the motor shaft.
3) Slid "Wheel Turnbuckles.stl" into the frame.
4) Placed "Arm Drive.stl" onto the hexagonal end of the turnbuckles wheel in the position as shown.
5) Secured the drive arm into place on the turnbuckles wheel using one "Bolt 6 by 6mm.stl".
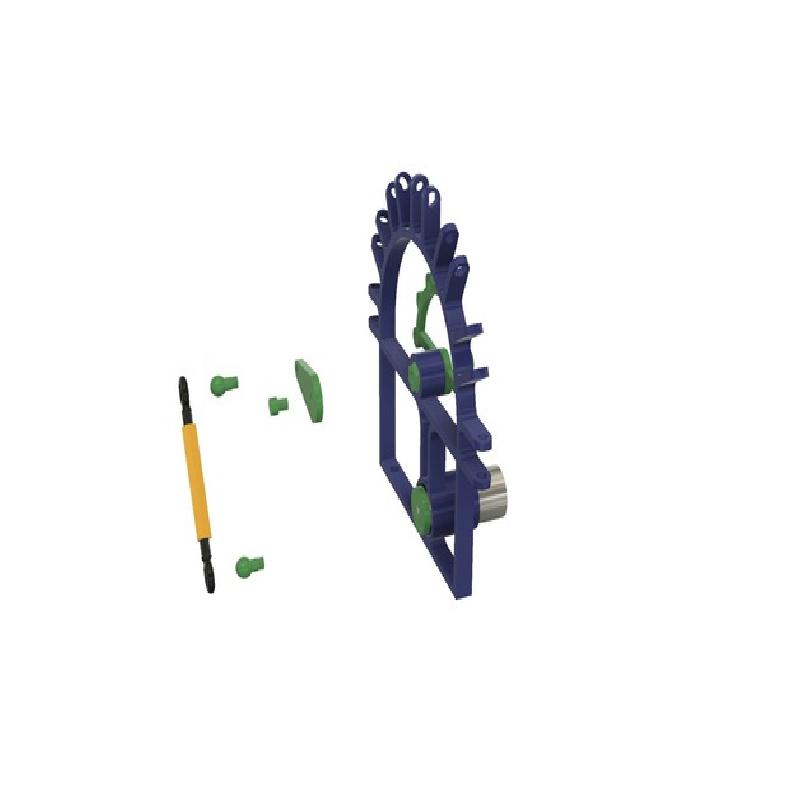
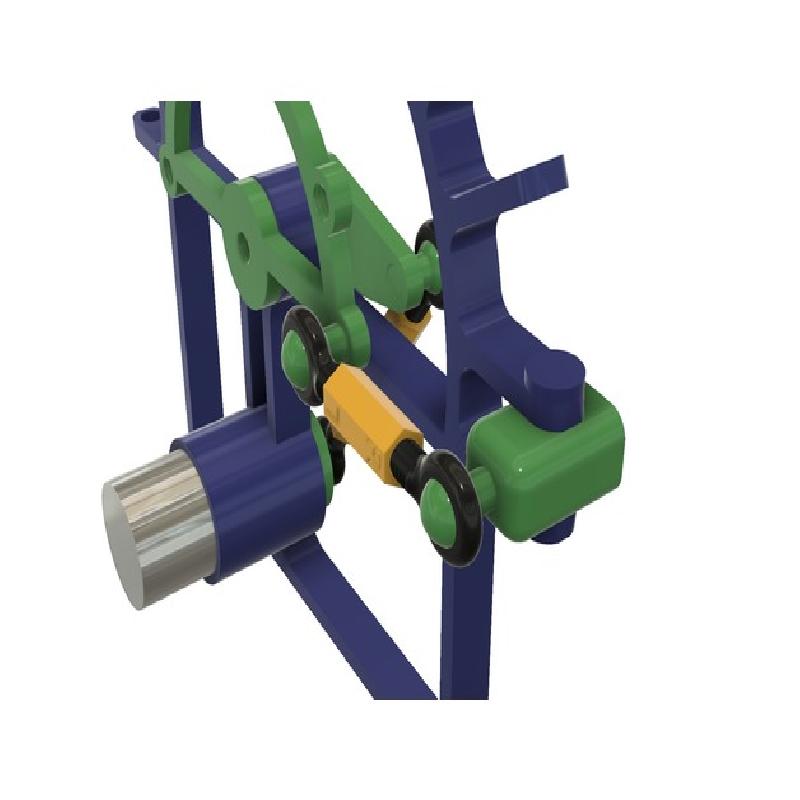
6) Threaded one "Ball End, Left Hand Thread.stl" into the end marked "L" of "Turnbuckle Long.stl".
7) Threaded one "Ball End, Right Hand Thread.stl" into the end marked "R" of "Turnbuckle Long.stl".
8) Pressed one "Ball.stl" into the left hand threaded ball end (I used a 3/8" deep socket and mallet for this step).
9) Pressed one "Ball.stl" into the right hand threaded ball end (I used a 3/8" deep socket and mallet for this step).
10) Threaded the ball in the right hand threaded ball end into the drive arm.
11) Threaded the ball in the left hand threaded ball end into the motor wheel.
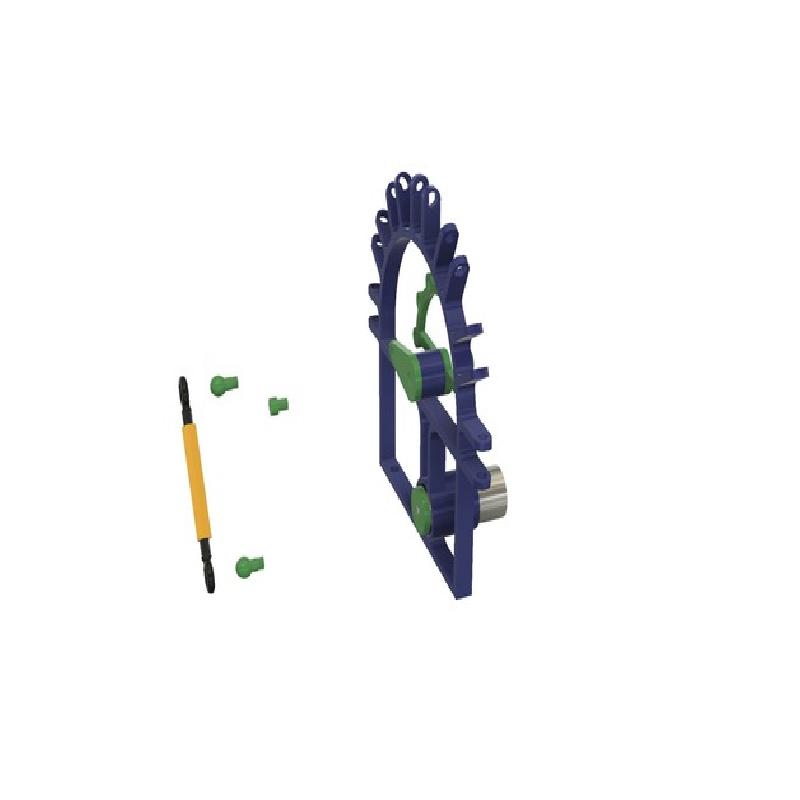
12) Rotated the motor wheel into the position as shown.
13) Adjusted the turnbuckle until the turnbuckles wheel was positioned as shown.
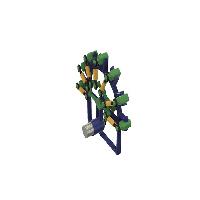
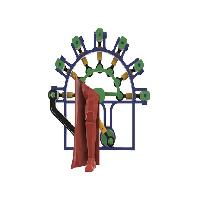
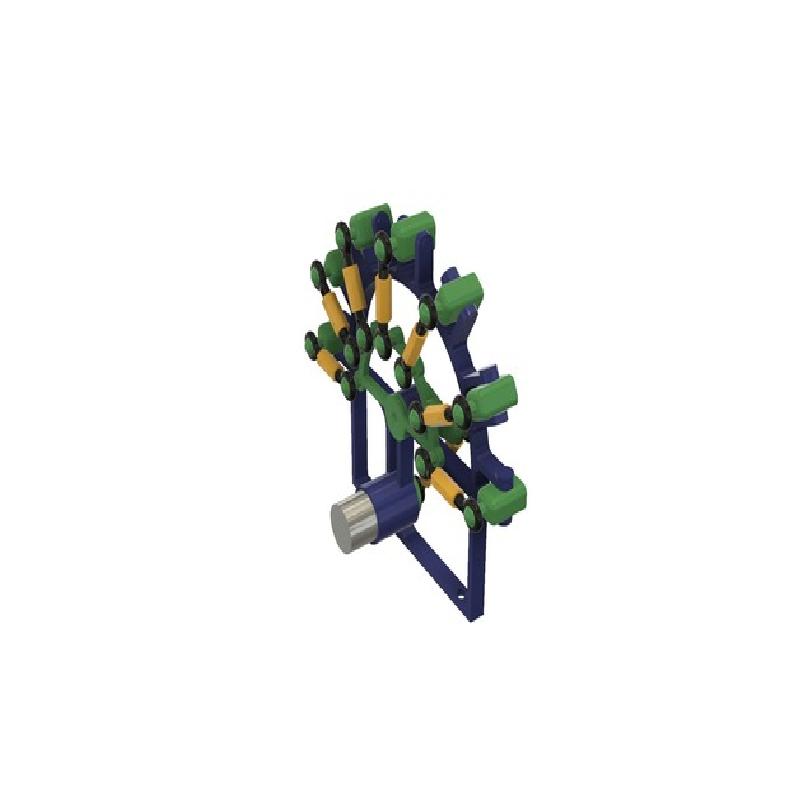
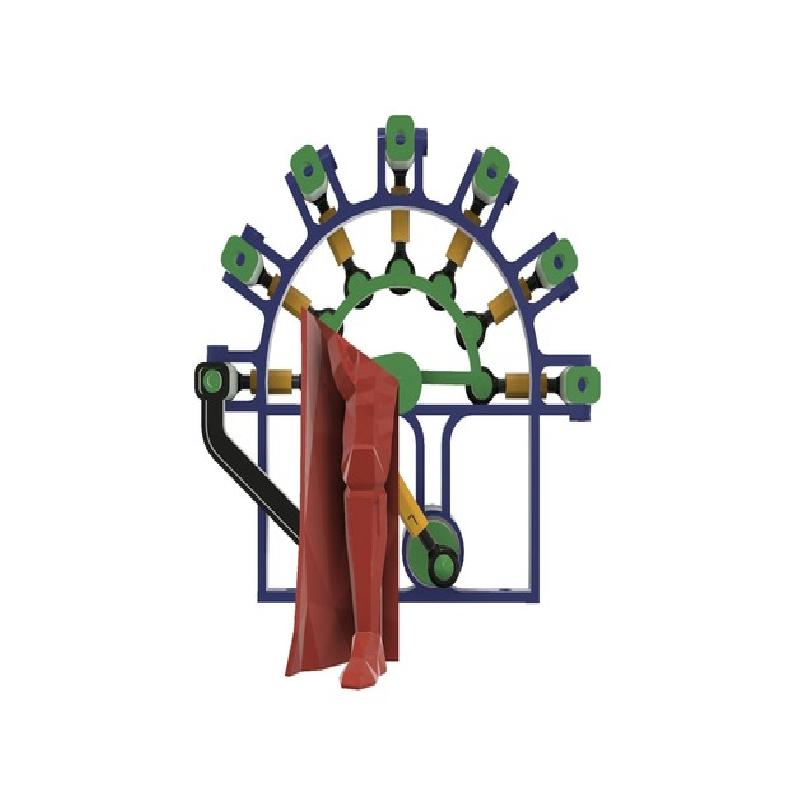
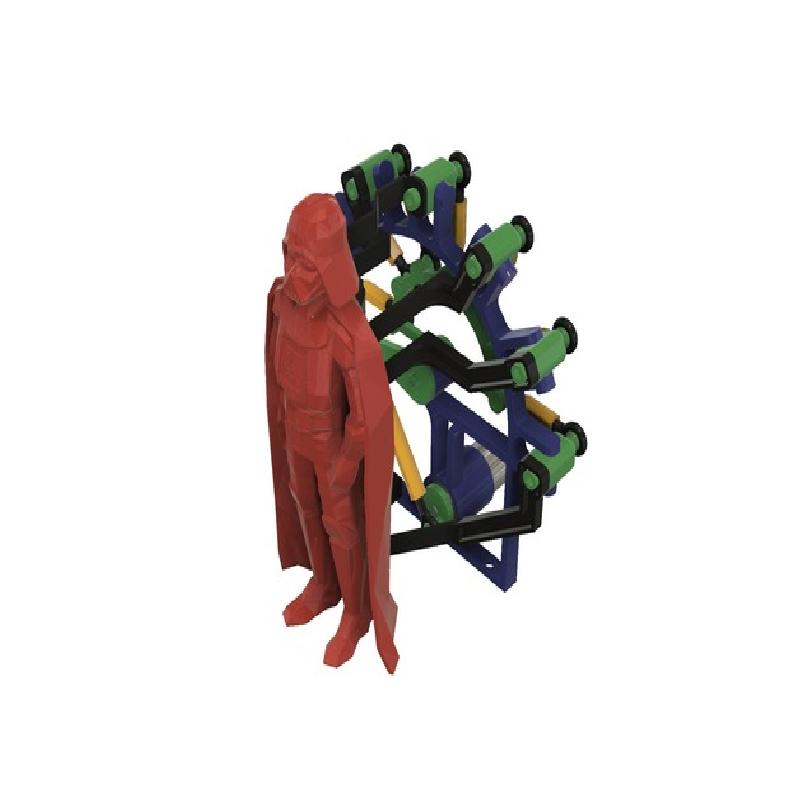
Assemble and Mount Darth to the Frame Assembly.
To assemble and mount Darth to the frame assembly, I performed the following steps:
1) Pressed "Arm Darth Leg Left.stl" into "Darth Leg Left.stl" as shown.
2) Secured this assembly to its mount using one "Bolt 6 by 6mm.stl" as shown.
3) Repeated the above steps for the remaining Darth arms, Darth components and bolts.
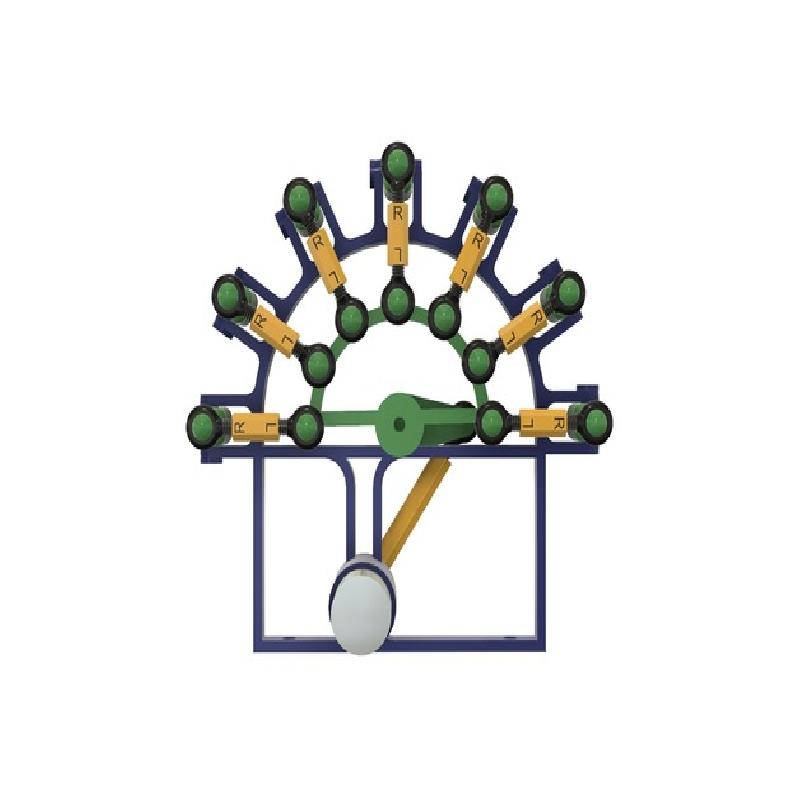
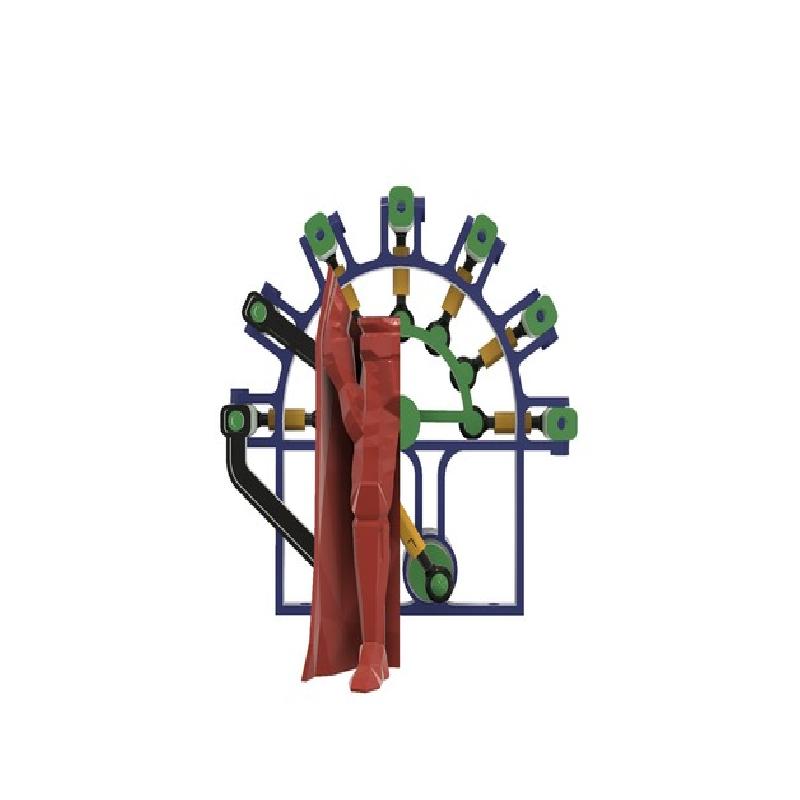
When finished with Darth assembly, I carefully aligned the Darth components by:
1) Adjusting the position of the components on their component arms by sliding them in and out.
2) Rotating the component arm on the mount.
3) Adjusting the turnbuckle for the mount.
The alignment process was both important and time consuming and required a lot of patience (and a glass of wine, or two...). The goal was to have each of the components aligned so that its surfaces mated with the surfaces of the adjoining components with a minimum of in between gap.
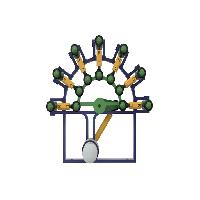
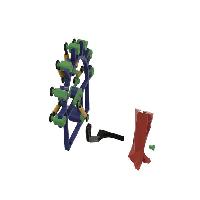
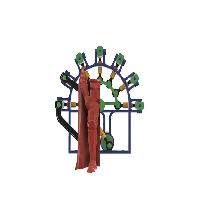
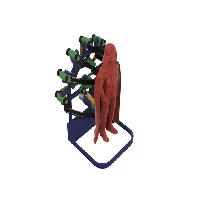
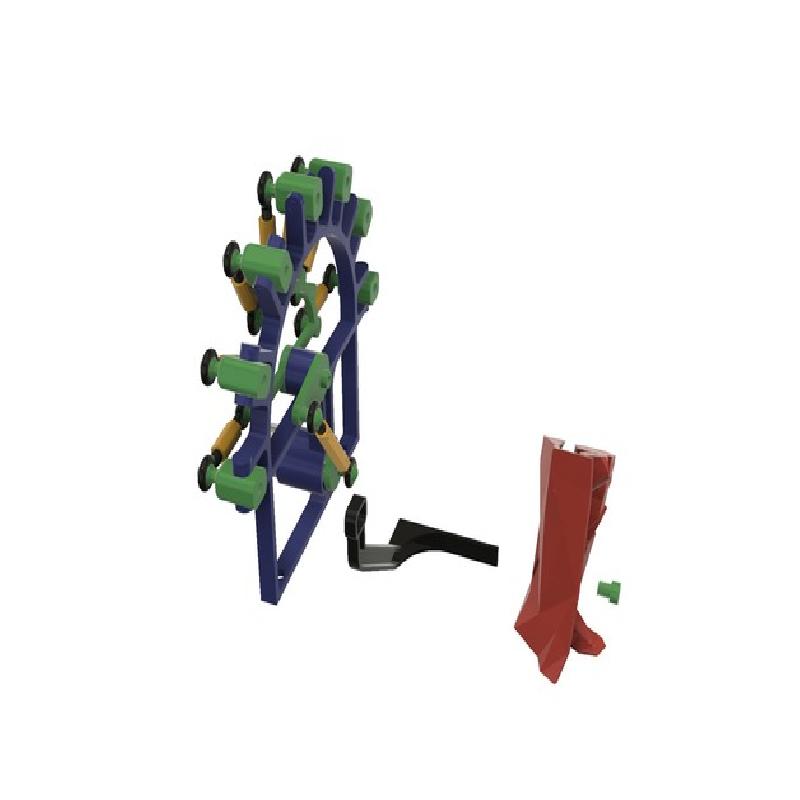
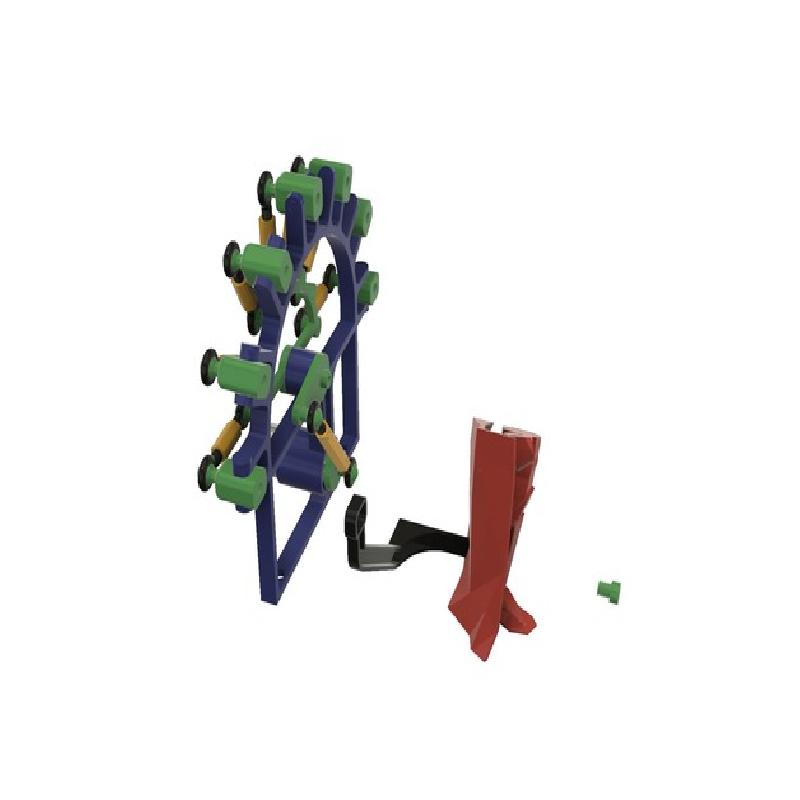
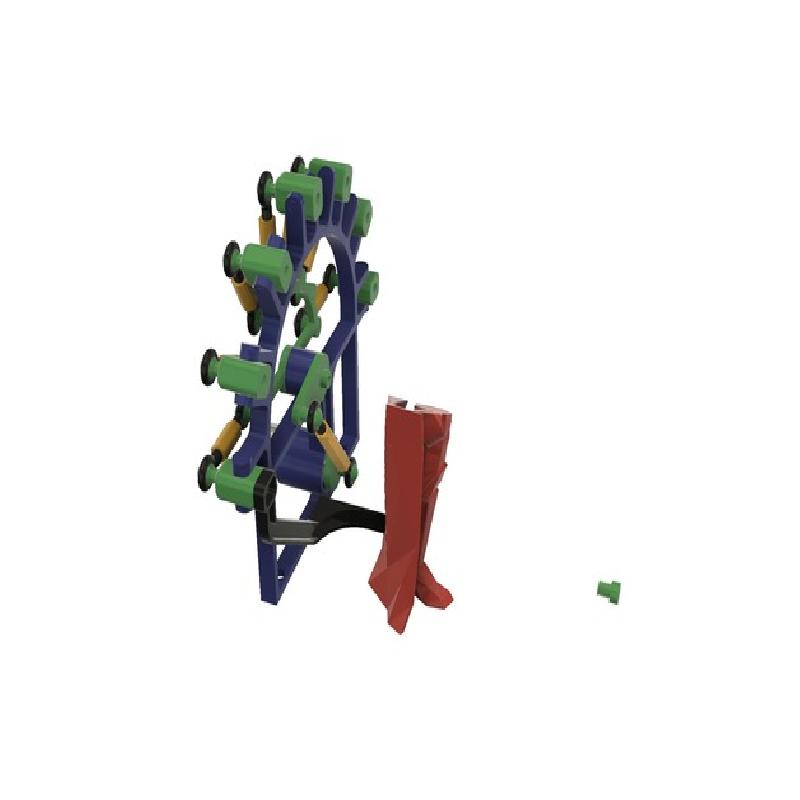
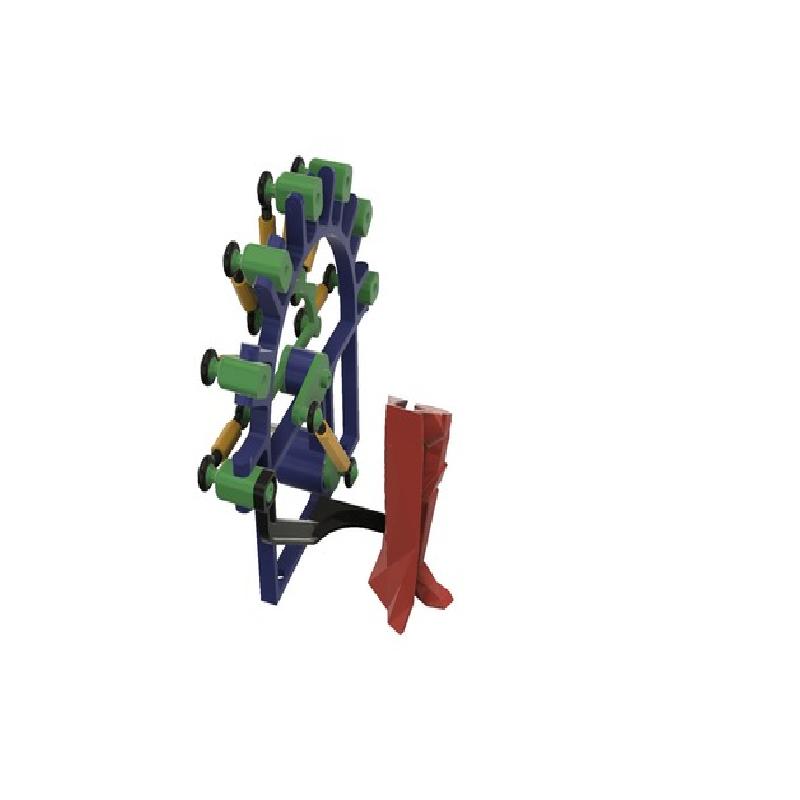
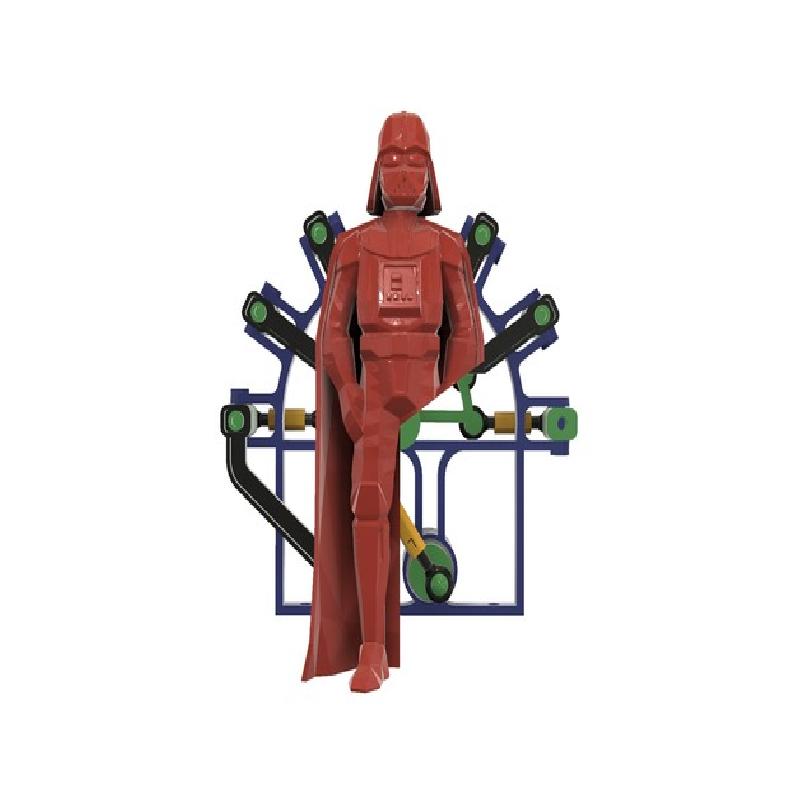
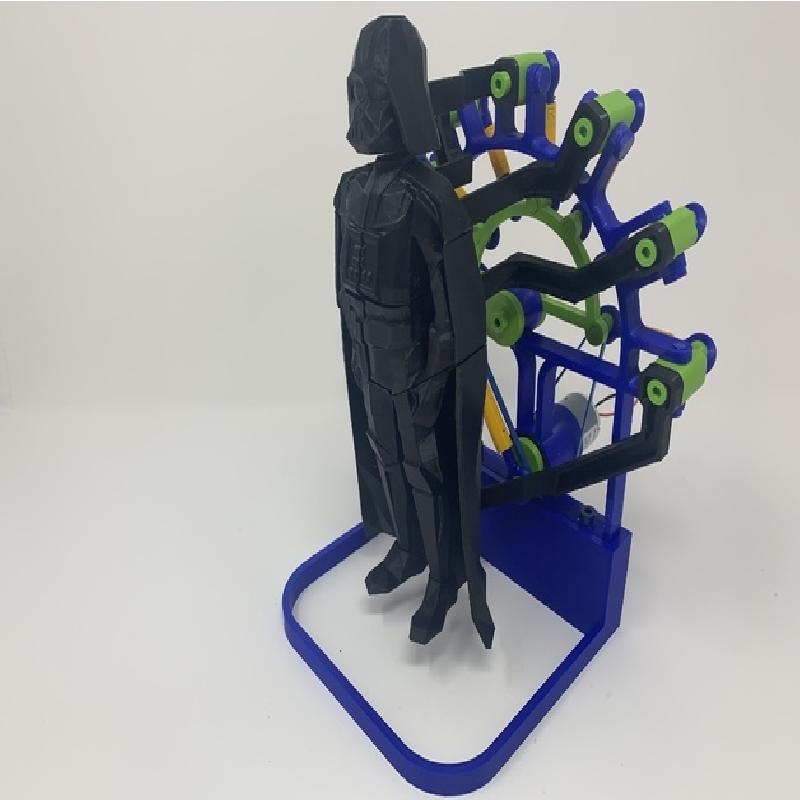
Attach the Base to the Frame Assembly and Power Up Darth.
To attach the base to the frame assembly, I performed the following steps:
1) Pressed "Base.stl" onto the bottom of the frame assembly as shown.
2) Secured in place with two "Bolt 6 by 6mm.stl".
When complete, I soldered the power supply wires to the motor, plugged in the power supply, made more adjustments, and then I was finished.
Hope you enjoy Darth!