by jmdbcool
Rotation of the finished print: https://gfycat.com/preciousabandonedfireant
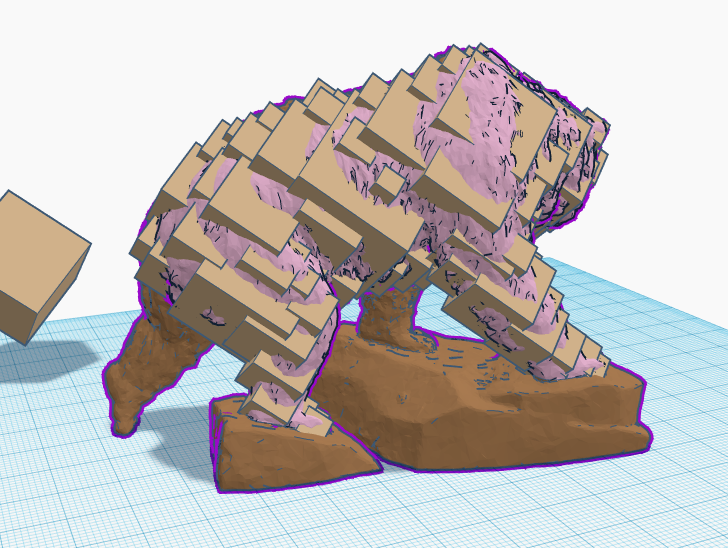
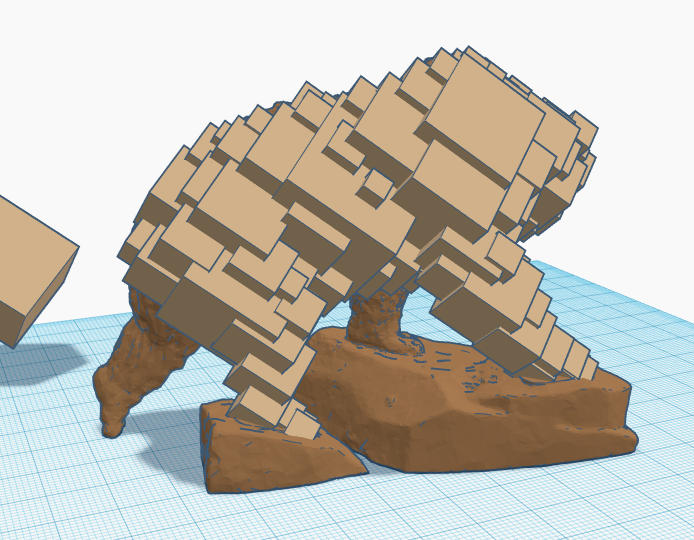
Modeled in TinkerCAD. I removed part of the original model and duplicated/scaled a cube many times to fill the space. Each cube was placed manually. Inspired by low-poly, voronoi, glitch art, etc.
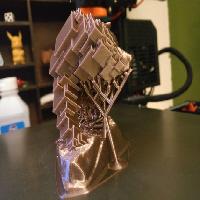
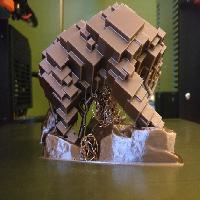
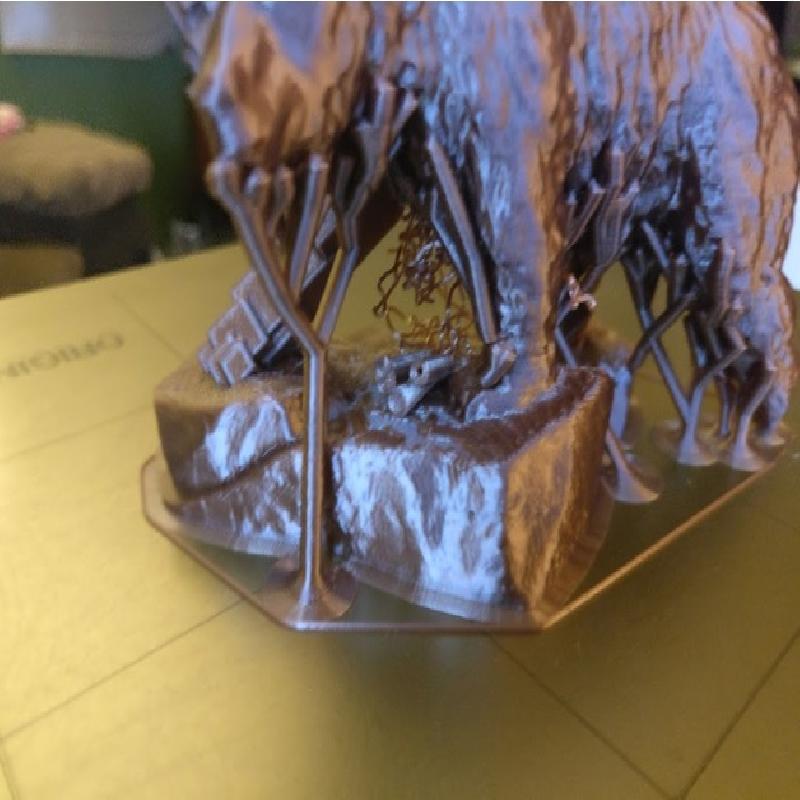
I used MeshMixer tree supports, some of which unfortunately fell over, but put down enough plastic spaghetti in the middle area that it managed to recover.
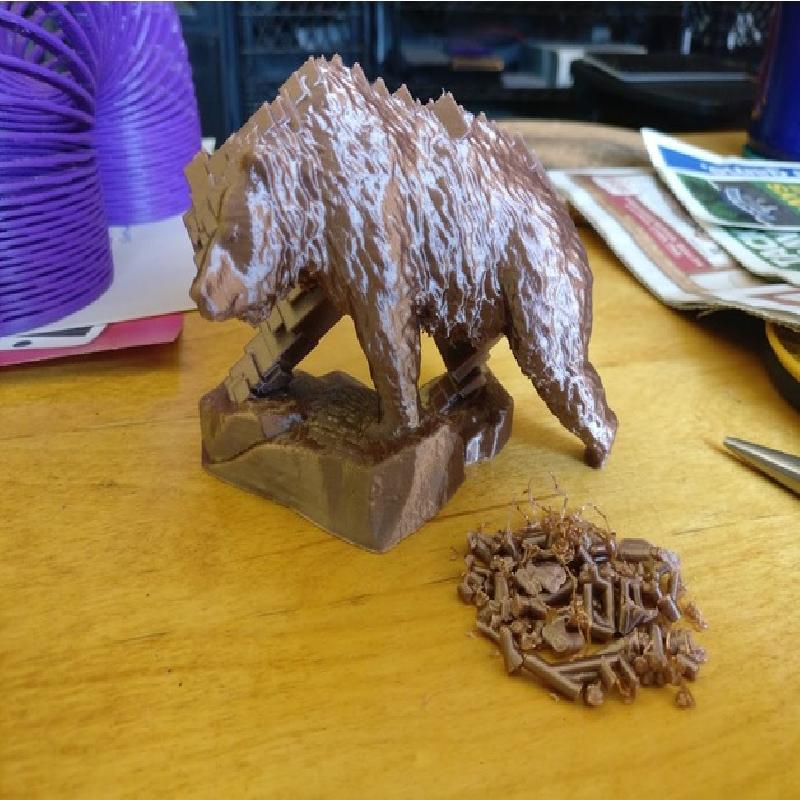
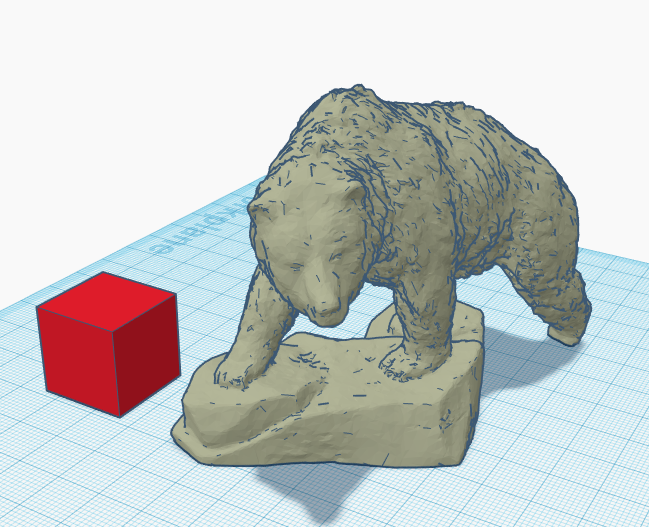
Original sculpture: "Grizzly" by Ken Clarke
Photogrammerty model: Grizzly by mdkendall
Printer Brand:
Prusa
Printer:
Rafts:
No
Supports:
Yes
Resolution:
0.2mm
Infill:
Gyroid 10%
Filament: Hatchbox PLA Silk brown
Notes:
Needs supports.
TinkerCAD freaks out if you have too many polygons-- The photogrammetry scan by mdkendall was posted at very high resolution, so the first thing I did was use MeshMixer to reduce polygons by 95%, leaving only 5% of the original detail which was still plenty! Then it was uploaded to TinkerCAD.
Duplicate (ctrl+D) and hide (ctrl+H) a copy of the original-- later you can use it as a guide as you place the shapes.
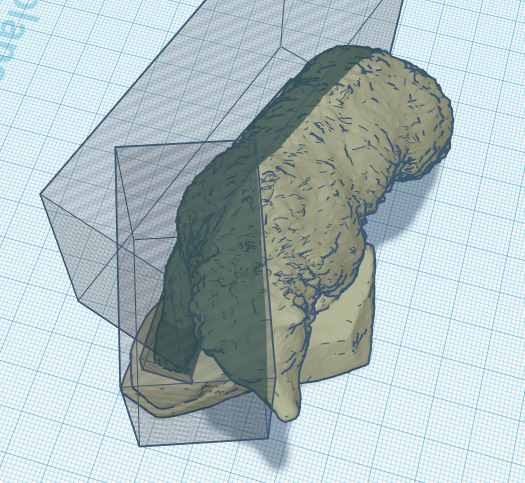
Use shapes as holes to remove part of the model.
Removed part.
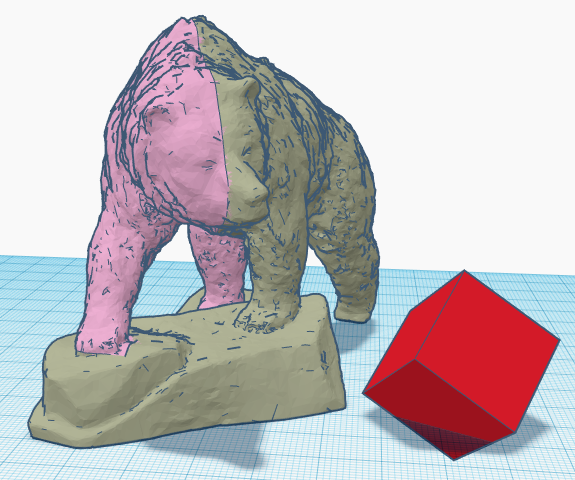
Show all (ctrl+shift+H) to see the original copy and make it a different color. This is your guide; show/hide it as needed. Also helps to lock these in place (ctrl+L).
I tried to overlap the guide, with parts above and below the surface, so on average it would have the same shape.
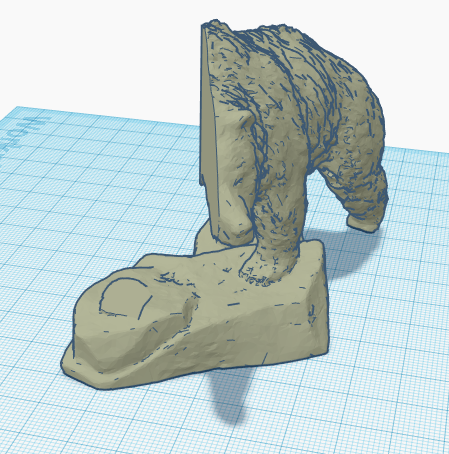
Guide removed.
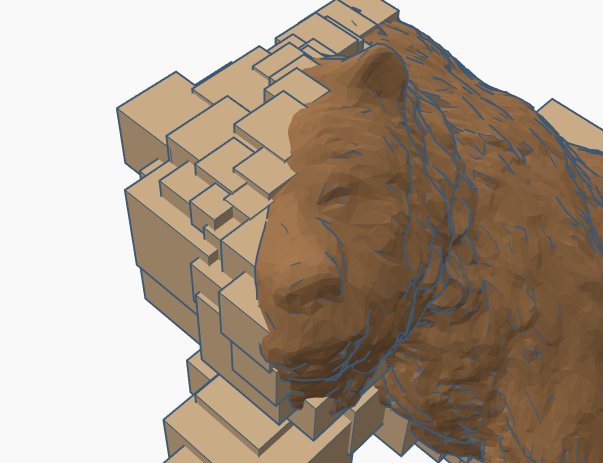
I tried to avoid adding too much detail, except in the face. I wanted the eye and ear to be recognizable on the glitched side.
When you are finished, export as STL and bring it back into MeshMixer. Use the Inspector to repair all mistakes (Analysis - Inspector - Auto repair all). I missed several spots inside, leaving internal holes. These are hard to catch in TinkerCAD, especially with many overlapping shapes, but MeshMixer fixes them quickly.
That's it-- if you found this interesting or try it yourself, let me know!