by Cargy
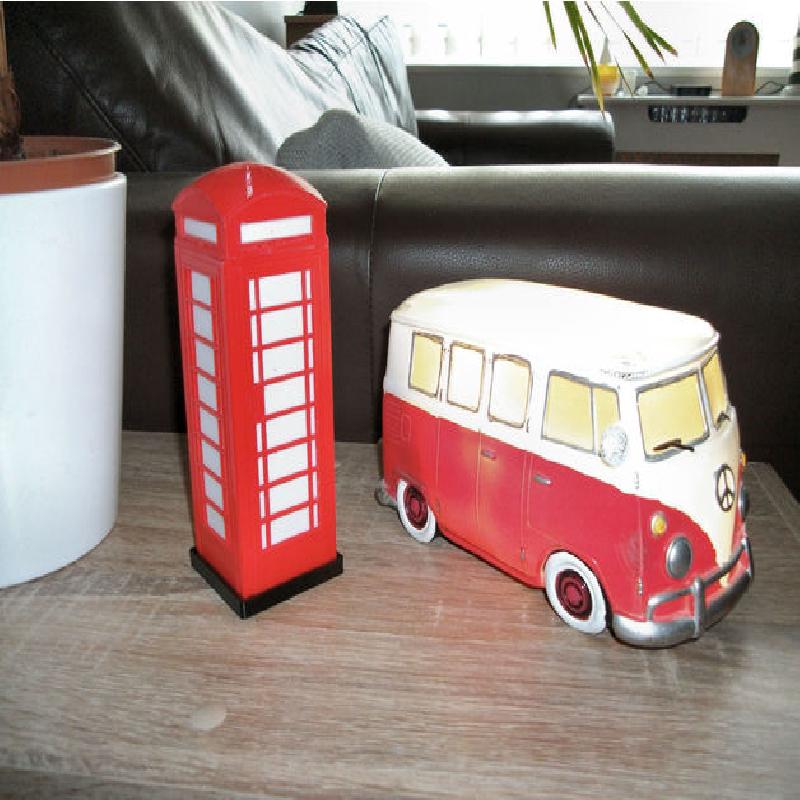
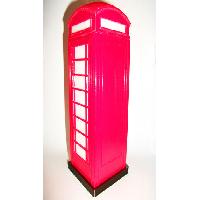
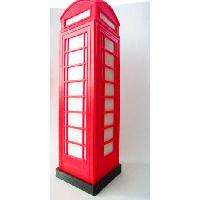
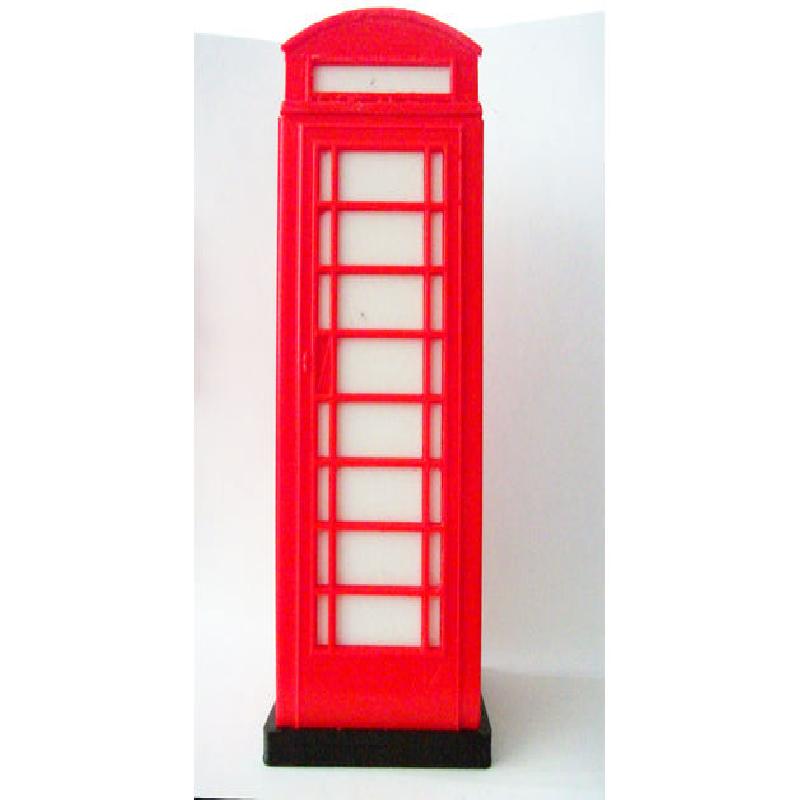
This is just a little bit of whimsy, undertaken because I had most of a reel of red filament lying around.
It still needs some minor cleaning up, but I'm planning on adding some variations so that it can be used as a piggy bank, or as a novelty LED lamp, so I'm calling it a WIP for now. But if you just want a plain phone box, everything you need is already here.
I designed it, full size, from photos on the internet, and then scaled it down to the size I wanted. It's not a true scale model, although the measurements are approximations of the real thing, so it's close enough for display purposes.
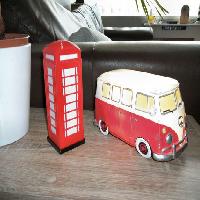
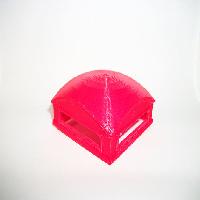
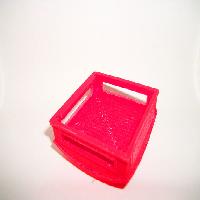
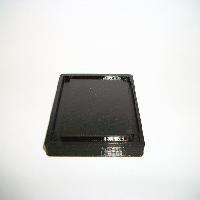
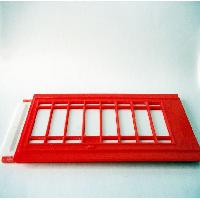
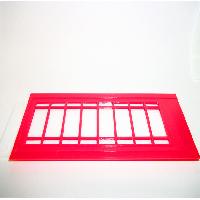
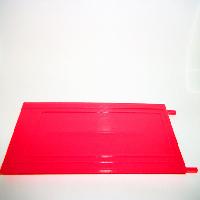
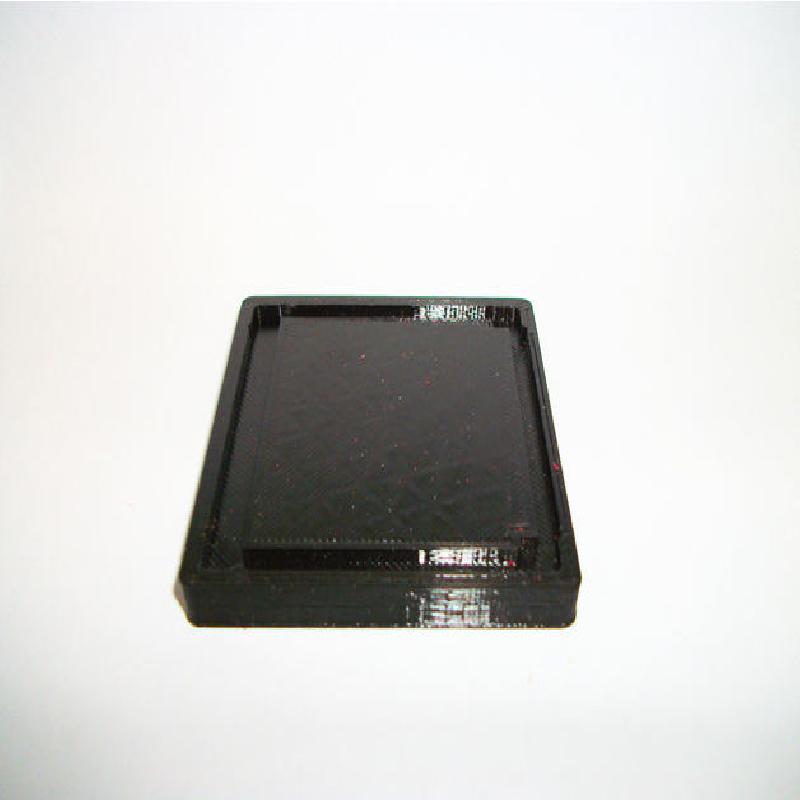
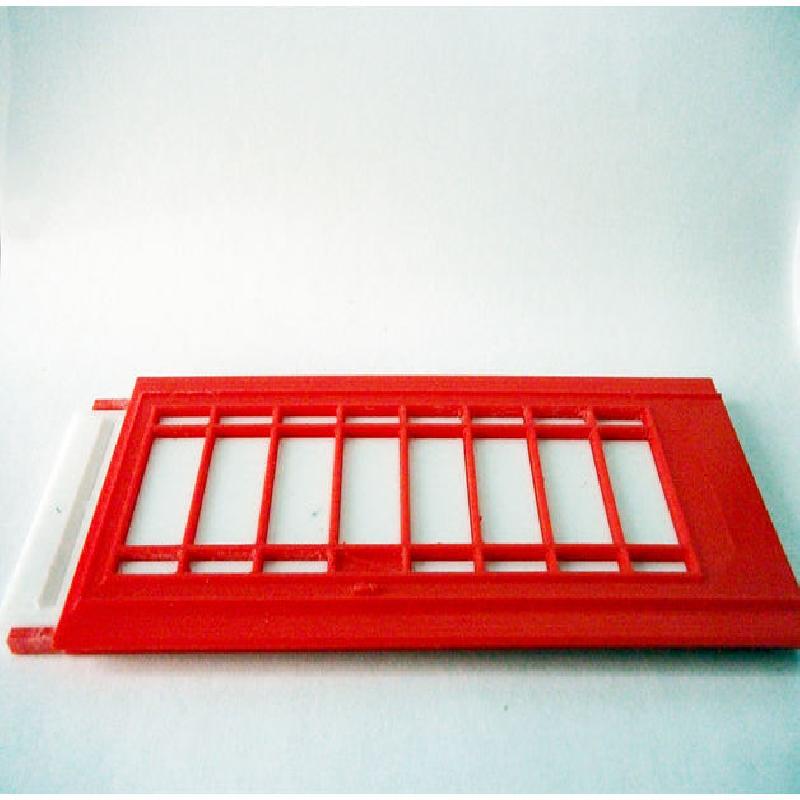
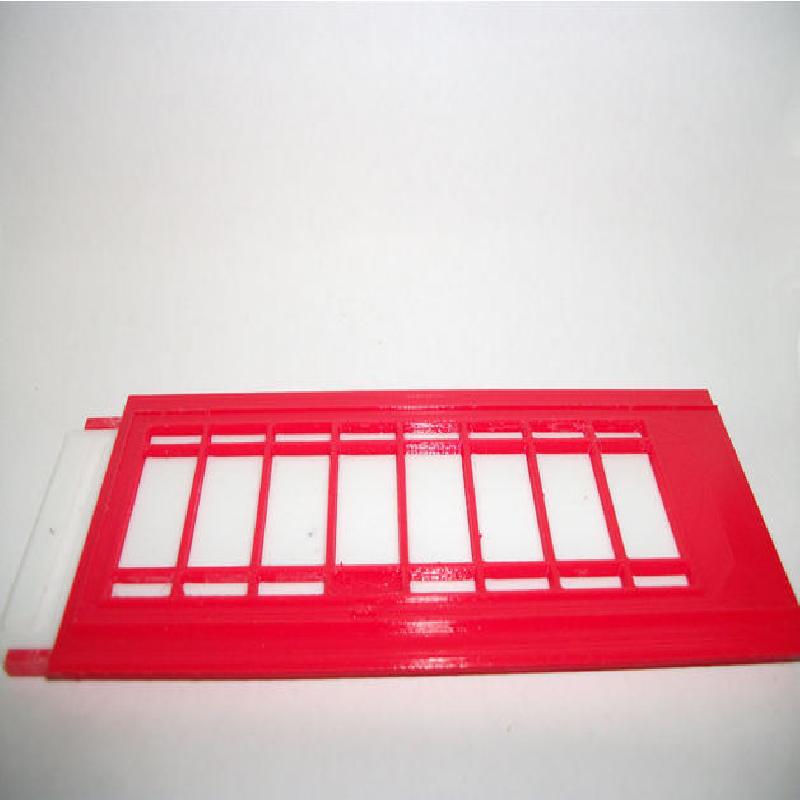
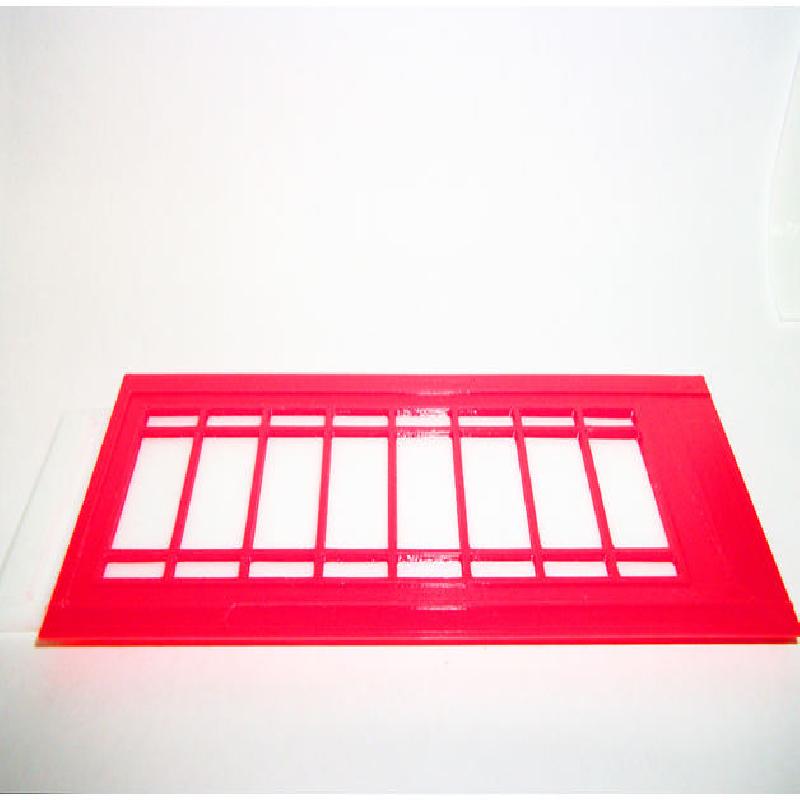
You'll need to print 1 base, 1 roof, 1 back panel, 1 door panel, and 2 sides. For the glazing, print 1 door window, 2 side windows, and the rear sign. If you leave out the rear sign, you have a ready-made coin slot.
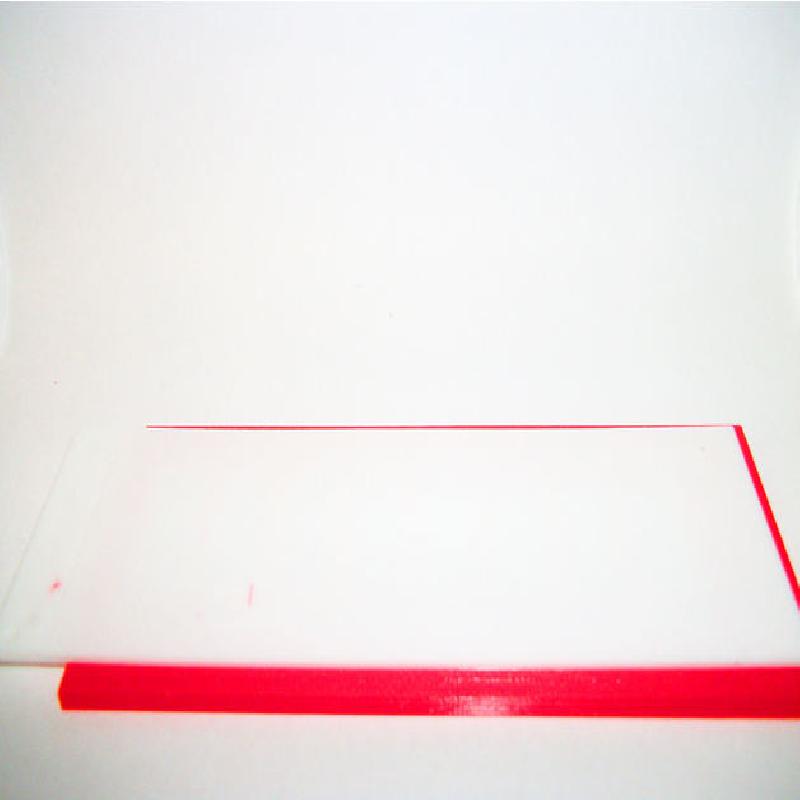
The base is best in black, and the body parts in red. I printed the windows in white, although I suspect semi-transparent would work well too.
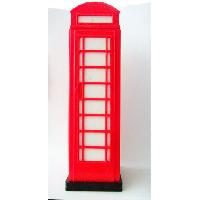
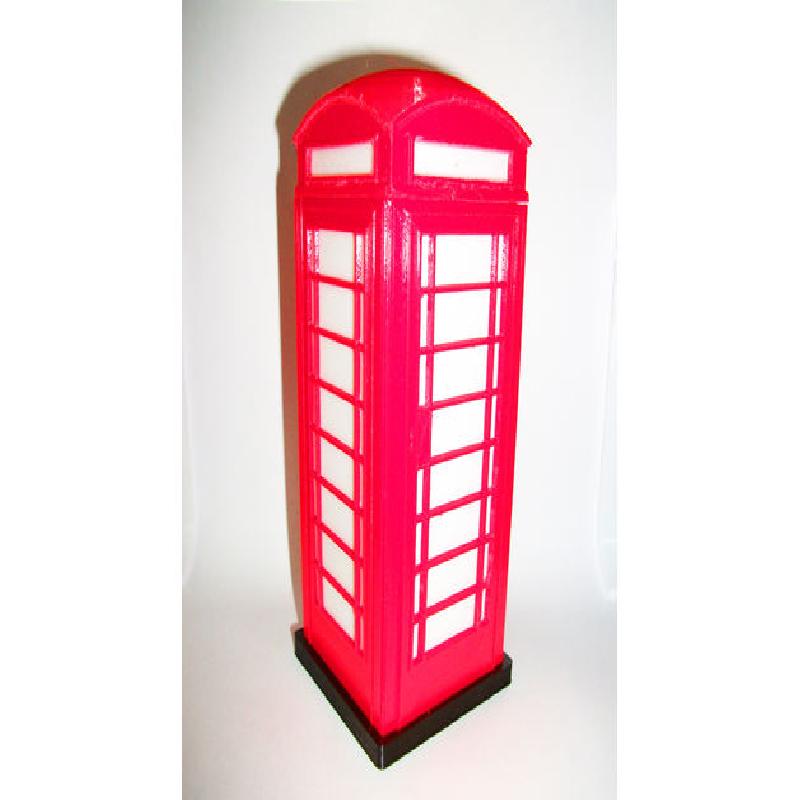
I plan to glue it together permanently but, as everything is a tight fit, it can be assembled without glueing. The clearances are tight, so gentle filing will be necessary where appropriate - along with the occasional "tap" with a hammer and a block of wood!
I printed mine at 0.15mm. I wanted to do it at 0.1, but for some reason Cura wouldn't slice the stl file correctly at that resolution. This lower resolution meant that the writing on the "telephone" signs didn't print, but I have decided I will laser print those instead, and affix them afterwards.
Fit the windows to the door and sides first, and then fit the sign to the rear panel. Next, fit the completed door assembly to the roof unit, making sure the sign above the door is firmly in place in the roof. Now fit the two side assemblies, one at a time, again making sure the sign panels are firmly in the roof openings.
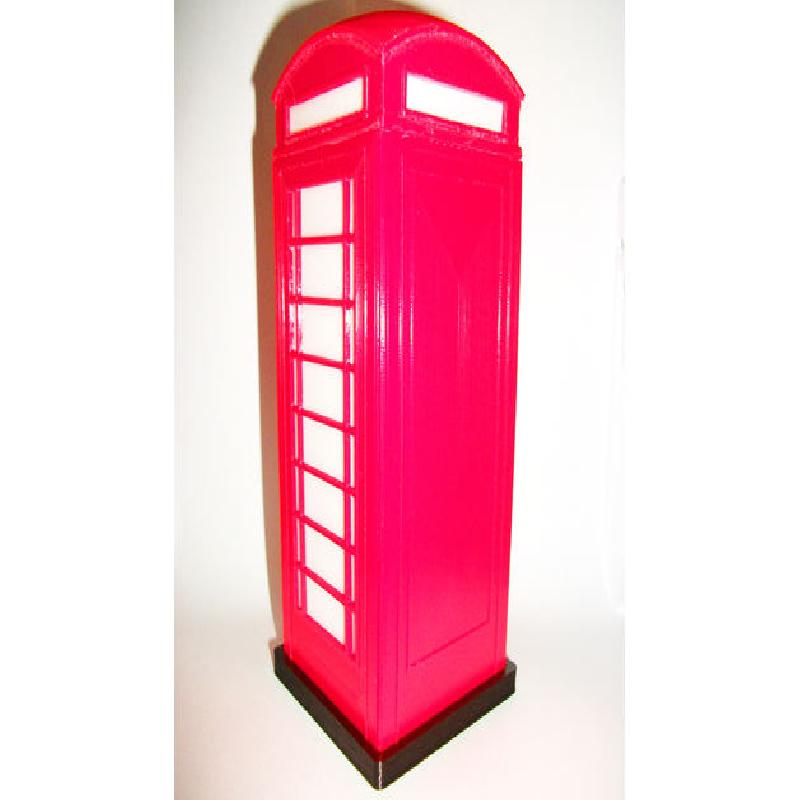
Once those three assemblies are firmly in place, you will be able to slide the back panel into position. You can now place the unit on the base - noting the thicker recess for the rear - and gently tap into place. If all went well you should have a model phone box. If not, you did something wrong!
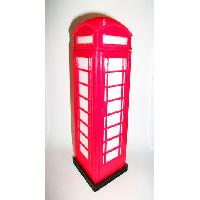
So that's my take on the traditional British 'phone box. I'd love to tell you more, but I've got to go now, as there's somebody on the phone!
Happy printing!