by marciot, published
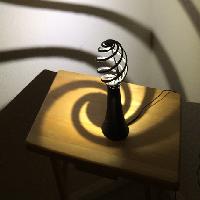
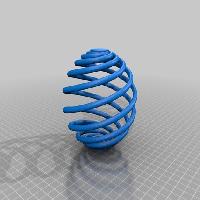
This is my conversion of Kitwallace's "Loxodrome" OpenSCAD design into a desk lamp.
This "impossible" print was done on a consumer FDM printer. I'll show you how!
This project involves soldering, small-parts and electrical components. You assume all risks and liabilities should you wish to undertake it.
This is my conversion of Kitwallace's "Loxodrome" OpenSCAD design into a desk lamp.
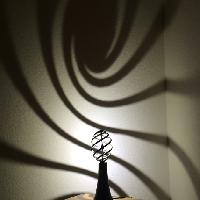
My inspiration for this project was Paul Nylander's "Loxodrome" wall sconce (http://bugman123.com). I wanted to make something like that myself, but in my mind I saw the spirals turning against the wall and decided that one of my goals (which I did not accomplish) was to make it turn on its own.
Paul did not explain how he constructed his sconce, or how he printed it, nor how he managed to get such a bright point light source inside his sconce. These were all challenges for me to figure out.
The Loxodrome
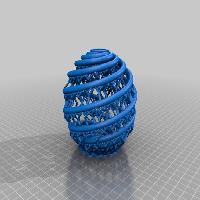
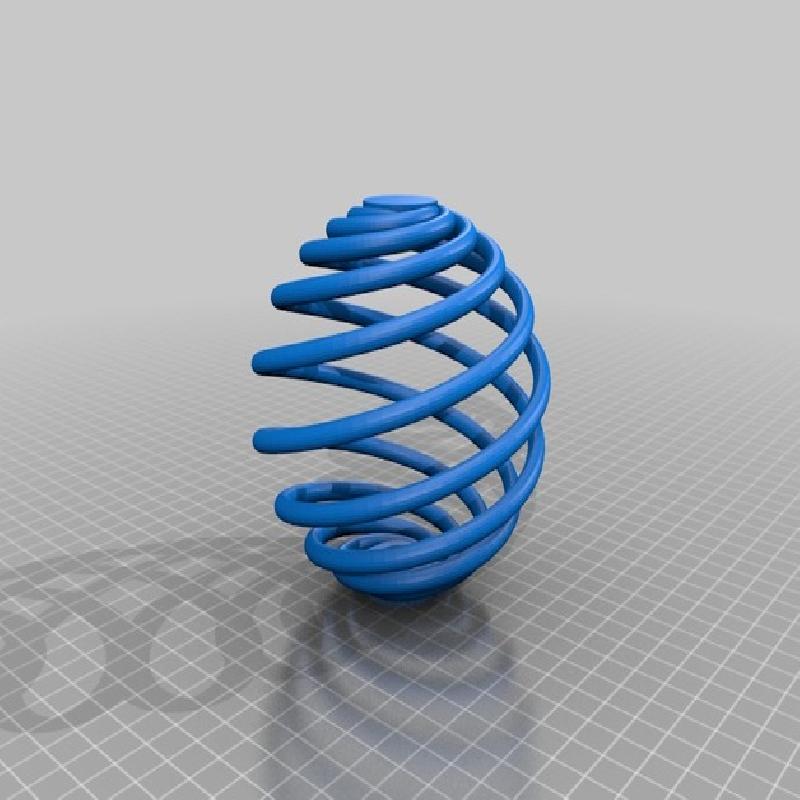
The Loxodrome is a lovely, lovely shape, but I had no idea how to model it. When I came across Kitwallace's model on thingiverse and knew I had what I sought. His code was written in OpenSCAD, a language I had some experience with from my previous projects. This became my starting point.
I did my first test print. It came out a pretty horrible little mess of a loxodrome. Common sense would say this shape cannot be printed on an FDM printer. I took my horrible little loxodrome, tacked it up on a piece of plywood and made a tongue-and-cheek "redneck" version of Paul Nylander's wall sconce.
Did I say it was horrible?
Lessons Learned:
My horrible mockup taught me some lessons. I had presumed Paul had used a small SMD LED in his sconce, as no illumination source is discernible in his photographs. However, the SMD LED I had wasn't particularly bright. You could see the shadow only in a totally darkened room.
The second thing I learned was that with a closed loxodrome there was no way to mount it so that it could spin. I would have to have to support the Loxodrome from within if I wanted to do that.
Building a Support
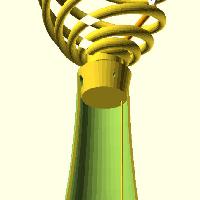
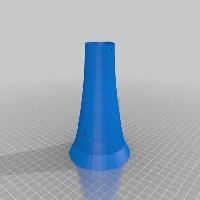
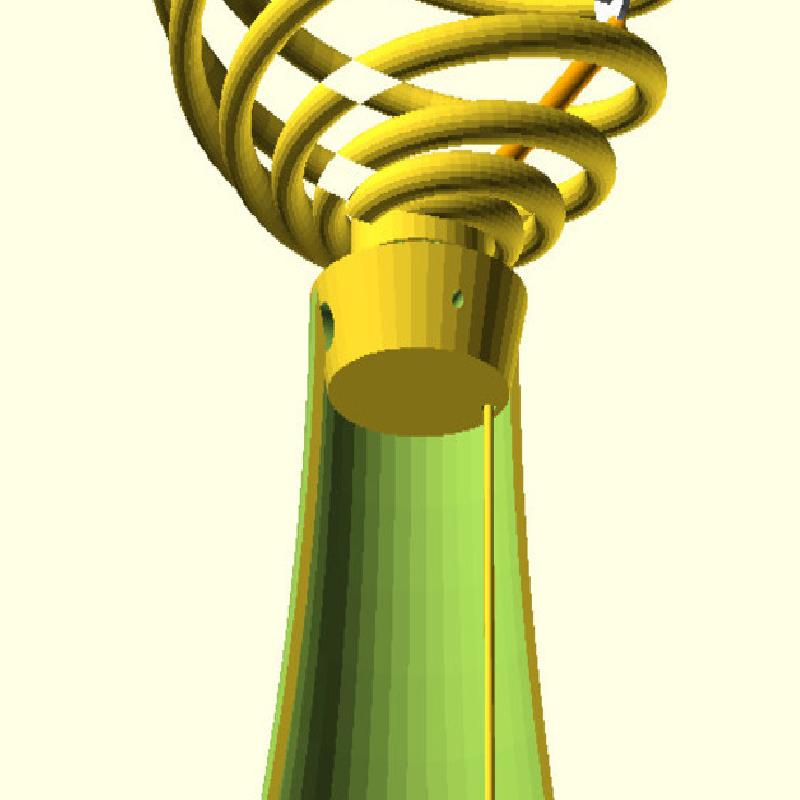
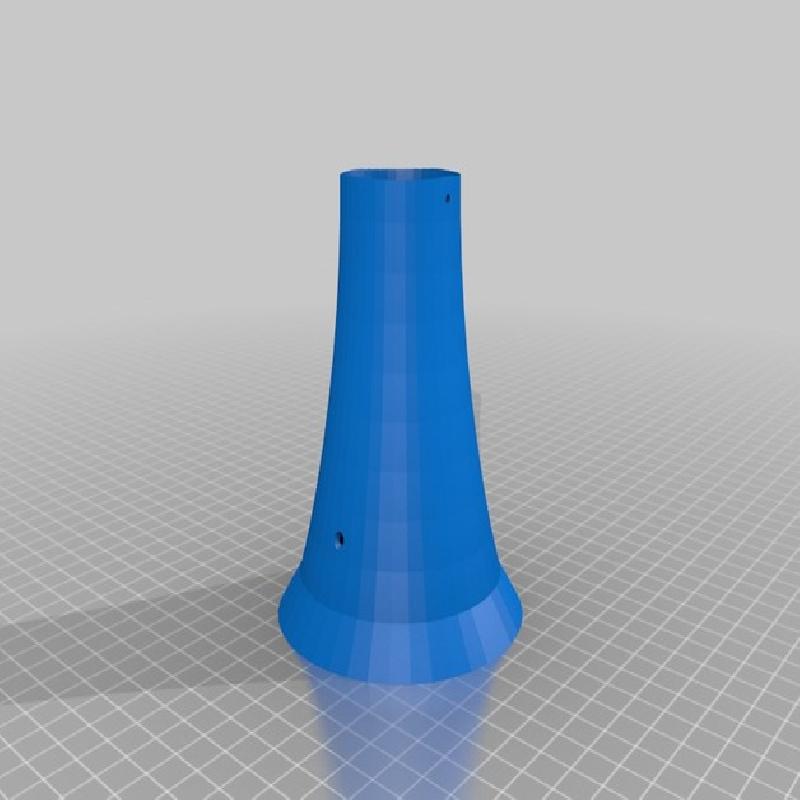
I modified the Loxodrome so that it had a conical pivot at the very top and an opening on the bottom. This allows it to spin freely on the tip of a pen.
For illumination, I determined that an angled support, with the LED at the elbow, could suspend the Loxodrome while holding the LED in such a point where no shadows cast by the support structure itself. This also gave me a way to run wires, and, I later found out, could help cool a much larger LED.
Printing it:
The floating arms of the Loxodrome do not lend itself to printing on a consumer FDM printer, but after some trial and error I came up with a way to do it. My first "horrible" print was done with the support type set to "Lines". This support was weak and tended to buckle during the print, leading to inadequate support and a poor print. Also, the hatching marred the surface of the Loxodrome very badly, making a nice print unlikely.
With some trial and error, I found a set of support parameters in Cura that lead to a very good print.
Support Type: Everywhere
Under "..." for "Support Type":
Structure Type: Grid
Fill Amount: 0.0 (no fill)
Distance X/Y: 0.9
Distance Z: 0.15
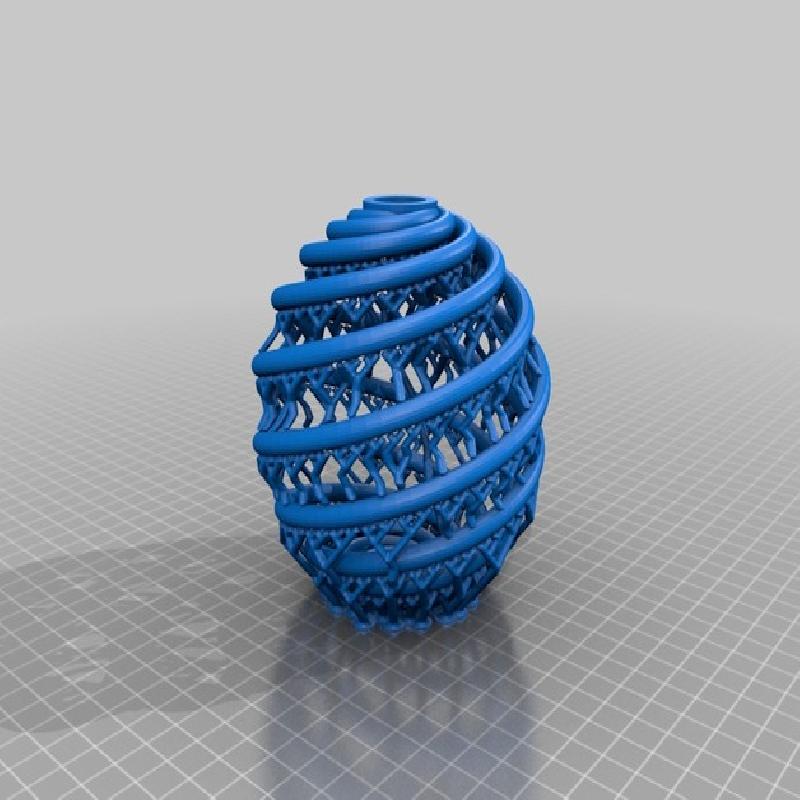
The trick is that by using a grid support without fill causes Cura to make a thin-walled spiral support that totally fills the inside of the sphere and extends vertically to hold up the spiral arms of the loxodrome. The lines of the support run tangential to the arms of the Loxodrome, so damage of the finished surface is minimized.
The curvature give the support vertical stiffness during the print, but because they are single walled, they are easily crushed from the sides once the print is done. With some elbow grease, needle nose pliers and scissors the support can be removed entirely and relatively cleanly.
The majority of the plastic will go into the support (what a waste!) and removing it is a chore, but the results are excellent and you can brag how you did an "impossible" print on your FDM printer!
UPDATE: I have uploaded an experimental Meshmixed version of the Loxodrome that was contributed by mmemetea. You could try this instead of using Cura's support. I have not printed the Meshmixed version, so I cannot comment on how it compares.
Making a Low Friction Mount
Making the mount was my second greatest challenge. I had determined that in order to get the brightness level I wanted, and SMD LED would not work and I had to use something much larger. I had experience with the Cree XM-L2 from my previous shadow sconces, so I knew these would provide excellent brightness if I could cool them well enough.
I reasoned that using copper tubing as a heat sink might draw away enough heat to make it work. So I fashioned an angled support out of copper tubing, flattened the midsection, and attached the LED to the flat part using Arctic Alumina thermal epoxy.
The cut end of the tube wasn't very good for making the Loxodrome spin, so I sliced the tip off a ballpoint pen and epoxied it to the very top of the copper support tube. This gave a low-friction pivot point for the Loxodrome. A gentile nudge is enough to set it spinning for quite a while.
Attaching the Mount to the Base
Attaching the copper support tube to a plastic base was tricky. Since the Loxodrome hangs by its own weight from the pivot point, any minor deviation from plumb causes it to drag against the support structure. My copper support was bent by hand and I could not get an accurate enough measure of it to build a fixed attachment part that would work.
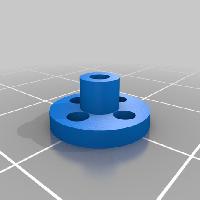
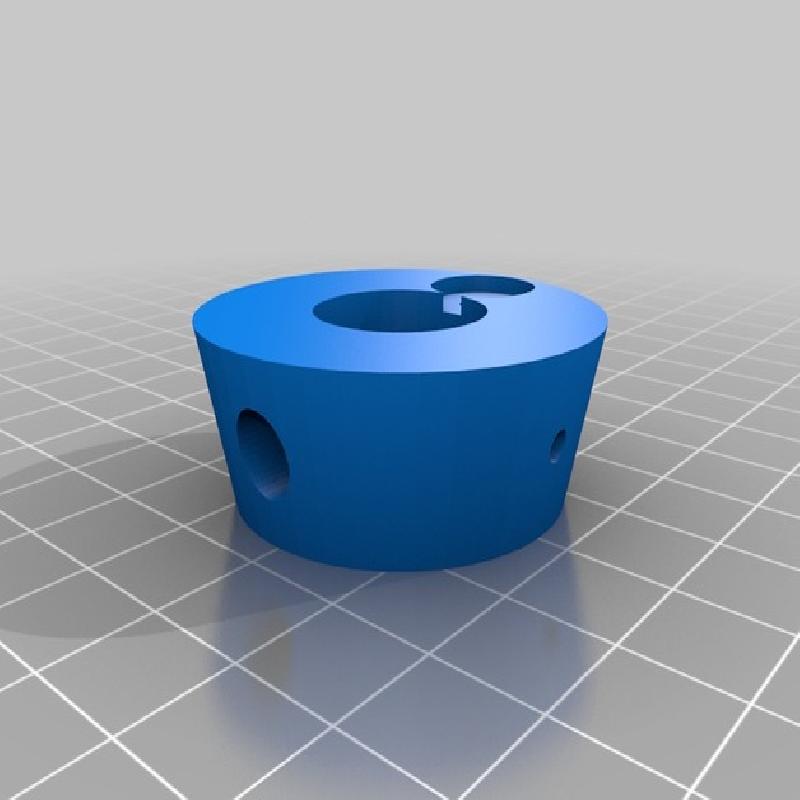
I eventually printed an adjustable joint that I filled with epoxy and could adjust by hand before it set.
(Failing to) Make it Spin:
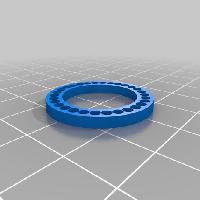
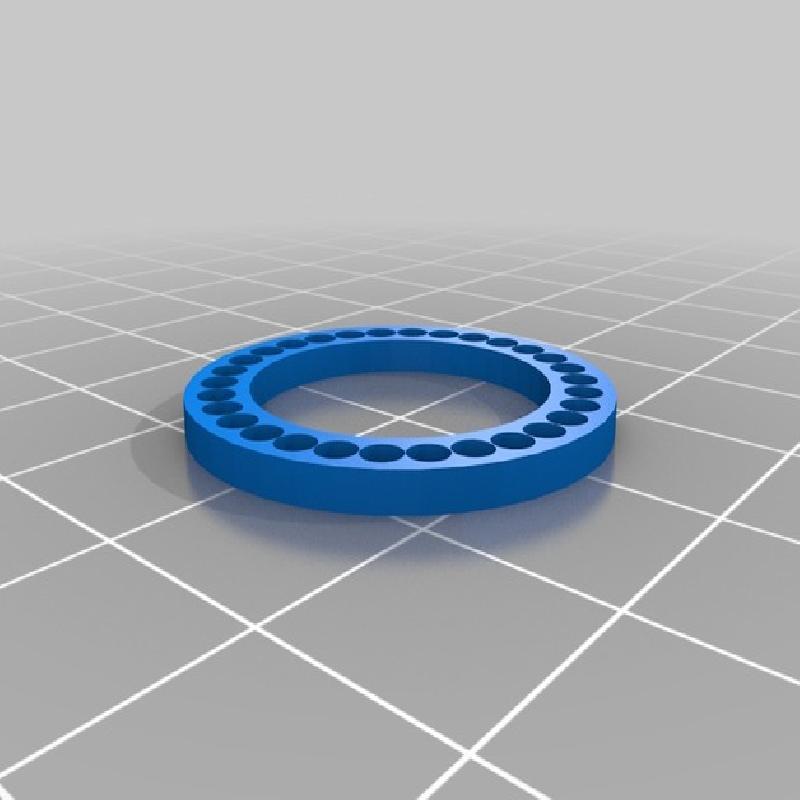
The motorized base is where things went south. I wanted the Loxodrome turn on its own, slowly and quietly. Having a good low-friction mount, I thought to make it turn smoothly using magnets and electromagnets. I figured that if I made a ring of magnets around the base of the loxodrome, I could get it to turn by rigging up a circuit to toggle the polarity of an electromagnet that would make my Loxodrome turn. With no gears, this would be extremely quiet.
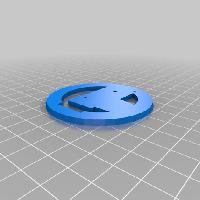
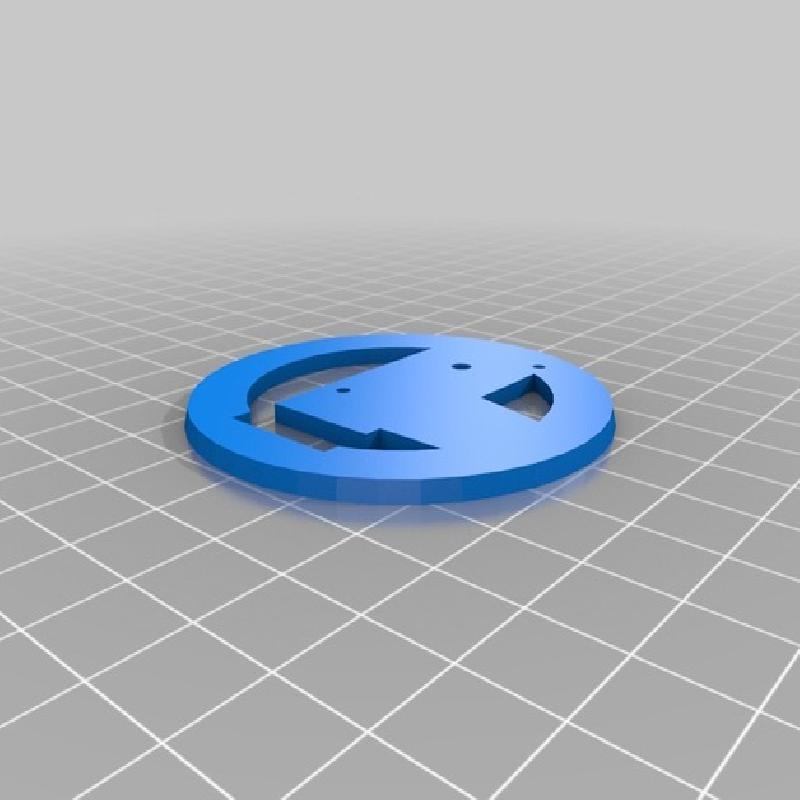
So my design incorporates a small ring with small 1mm holes for mounting miniscule rare-earth magnets on the rim of the Loxodrome. I filled my ring with magnets and glued it on my Loxodrome. I then made several electromagnets, with various number of windings and shapes. I made a circuit for switching the polarity of the current using a relay. It made a nice clicking sound, but the Loxodrome would not budge.
This did not work at all.
My current design replaces the electromagnetic drive with a gear motor in the base, a long vertical shaft, and another smaller diameter ring of magnets near the base of the Loxodrome. The smaller ring of magnets is meant to transmit torque to the larger ring of magnets on the Loxodrome. A magnetic gear.
The motor makes a terrible amount of noise that detracts from the Zen like peacefulness of the lamp. The magnetic coupling does not work at all. The Loxodrome turns a few degrees before seizing up completely or stuttering.
So I present to you a Loxodrome lamp that lights up and casts an incredible shadow, but does not turn at all.
Powering It:
The LED will run off 3-4V, so you will need a suitable power supply. I used a recycled 12V wall wart combined with a adjustable micro DC-DC step-down converter from e-bay. The converter has an adjustable output voltage, so I can tune the brightness of the LED and balance it against heat generation.
Assemble it:
Assembly consists of soldering the various parts together. Be very careful about the polarity of the components. The following build sequence worked for me:
Build the copper support the LED. You need to cut your copper tube to length and bent it so that it holds the LED against the inside wall of the sconce while also extending upwards to raise the Loxodrome by the pivot.
Flatten the mid portion (to help with thermal contact) and epoxy the LED to it using thermal epoxy.
Solder wires to the LED + and - terminals. Your wires need to be long enough to go through the inside of the copper tube to the base. Leave a few inches of slack so you can solder the other end easily once you are done with the assembly.
Cut an opening into the copper tube right below the LED so that you can run the wires down the inside.
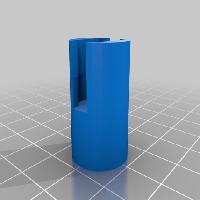
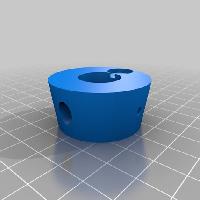
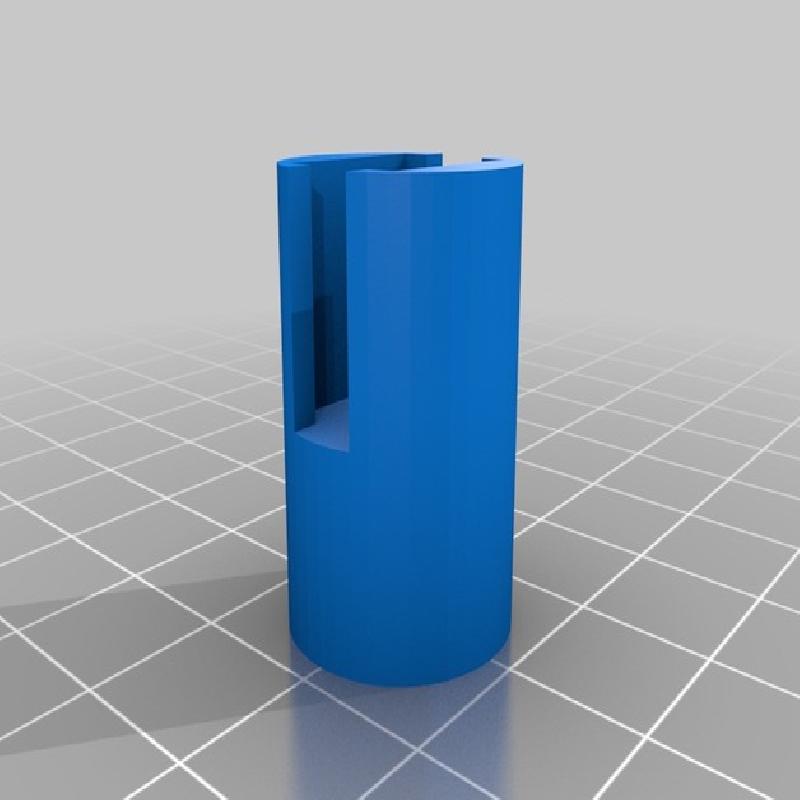
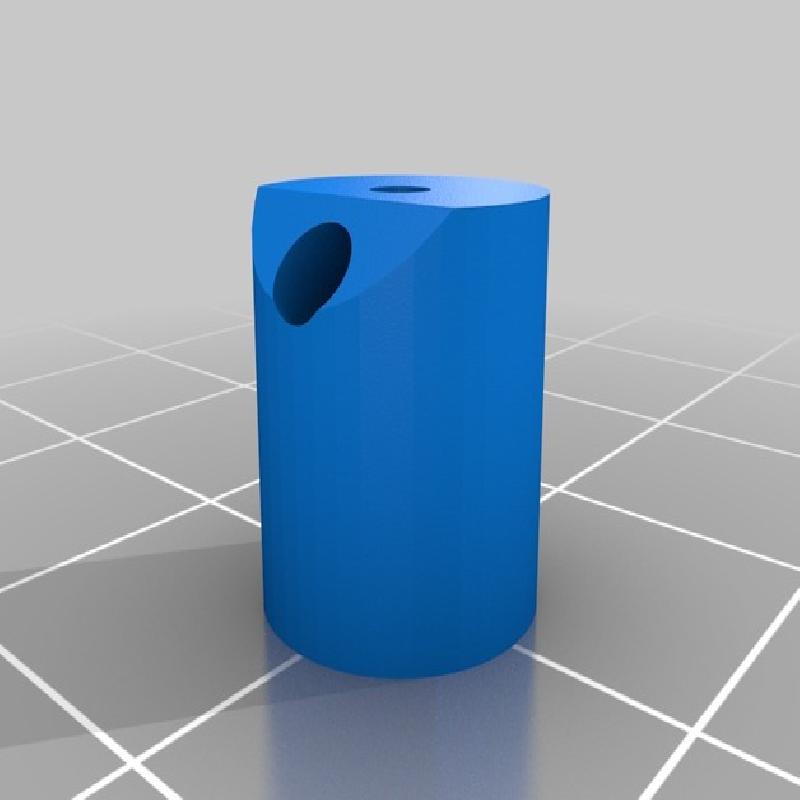
Print the small plastic parts that make up the adjustable joint. Insert the copper tube into the cylindrical part and slide that into the grove on the joint housing with a liberal amount of epoxy (I used JB Weld). Hand adjust the angle of the support arm so the Loxodrome is plumb and spins freely and let the assembly dry overnight.
Once the epoxy is dry, you can mount the support assembly to the other components of the base. I do not recommend bothering with the magnetic ring, the vertical shaft or anything related to making the Loxodrome turn, as that does not work.
Cut the plug off your AC wall wart and solder the wires directly to the input pads of your DC-to-DC converter. Use a multimeter to determine which wire is positive and which is negative if you cannot tell. Polarity is very important.
Plug in the AC wall wart and adjust the voltage on your DC-to-DC converter to a safe value such as 3V. This will keep you from blowing out your LED when you first power it up.
Solder the end of the LED wires emerging from the bottom of the Loxodrome to the output terminals of the DC-to-DC converter. A set of bench top helping hands is very good for this task. Mind the polarity -- if you get it reversed, the LED will not light.
Mount the DC-to-DC converter inside the base, such as on the top of the motor bracket.
For stress relief on the cord, you can zip-tie it the pegs encircling the rim of the base.
Tune it:
Once you first plug it in, run your lamp and monitor it to make sure the LED is not overheating. If it is, dial back the voltage on the DC-to-DC converter. You want the LED to run warm, but not hot enough to melt the plastic or cause a fire hazard. Do not run the lamp unattended until you have monitored it for several hours to make sure heat is not a problem
Additional Credits
Inspired by Paul Nylander's "Loxodrome Sconce"
Derived from kitwallace's "Loxodrome"
Relies heavily on "local.scad" by Johannes Reinhardt