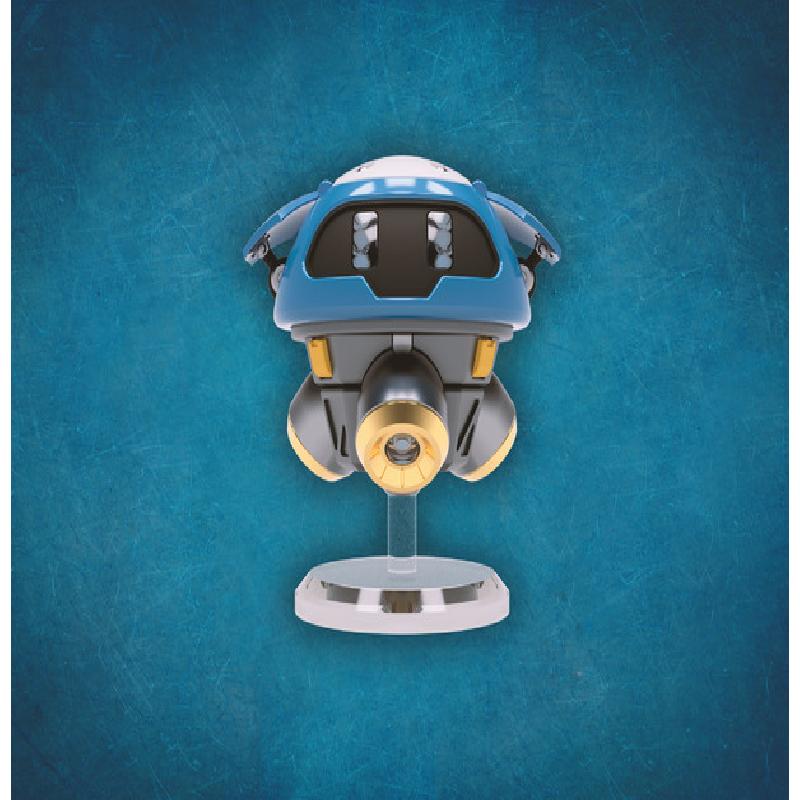
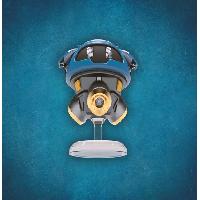
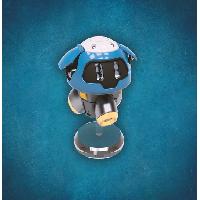
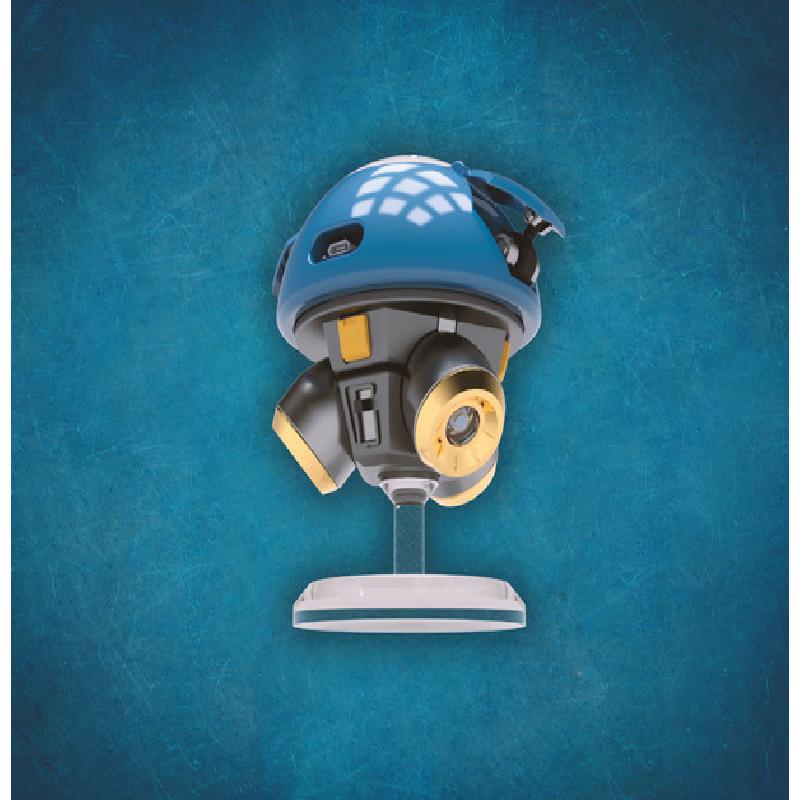
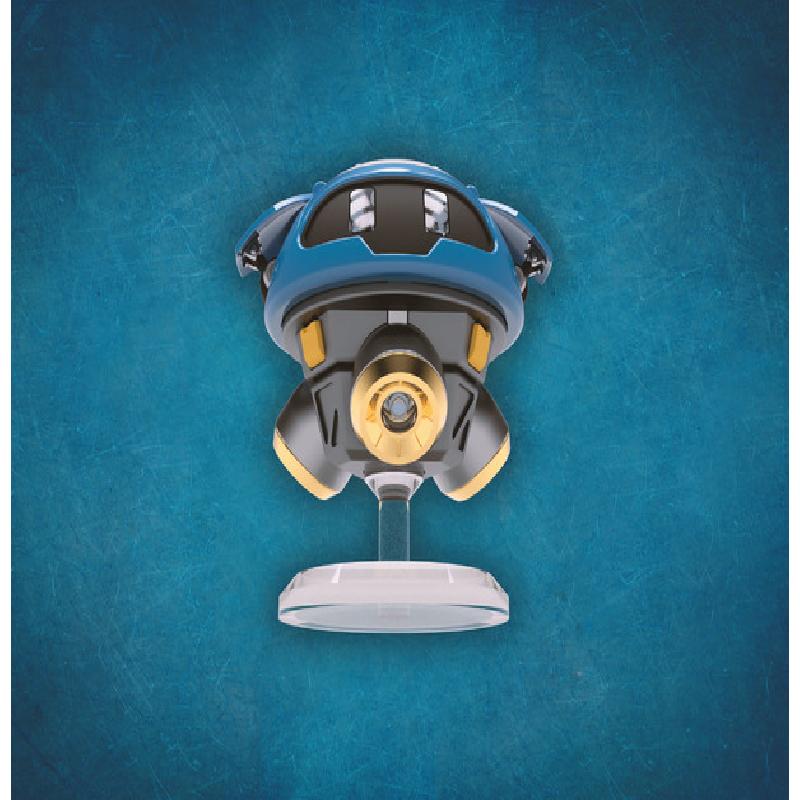
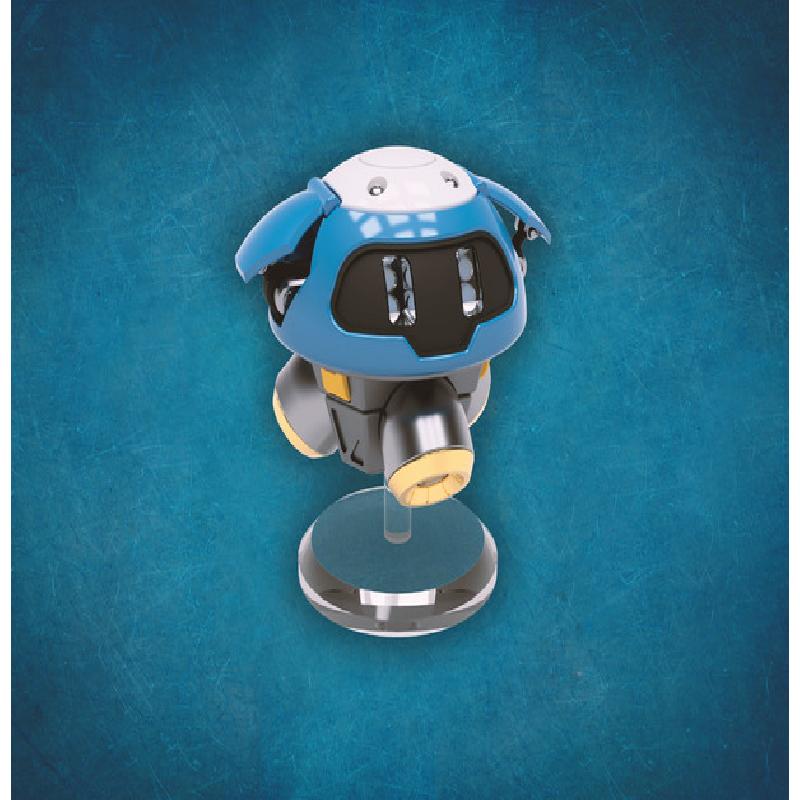
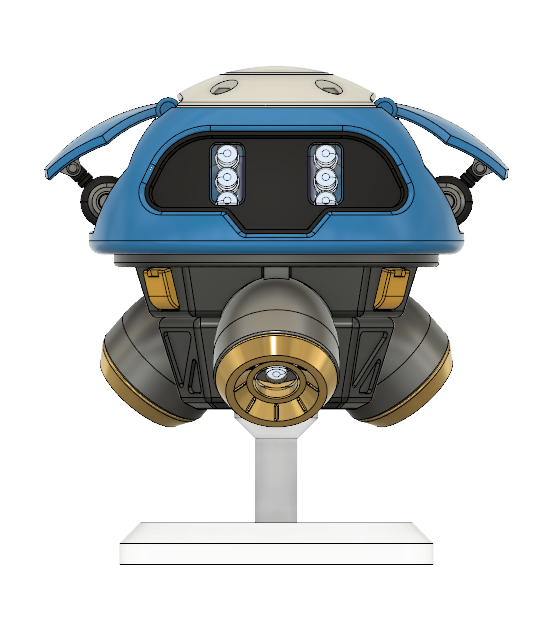
This is light-up desk toy of Mei's little robot Snowball from Overwatch. It's a static model designed for LED lighting. He comes in standing at just under 5" tall. It is powered by an internal 18650 battery that should provide roughly 8 hours of continuous runtime depending on the LEDs and resistors you choose, and can be charged with a USB Micro B connector, which should allow continuous operation while charging.
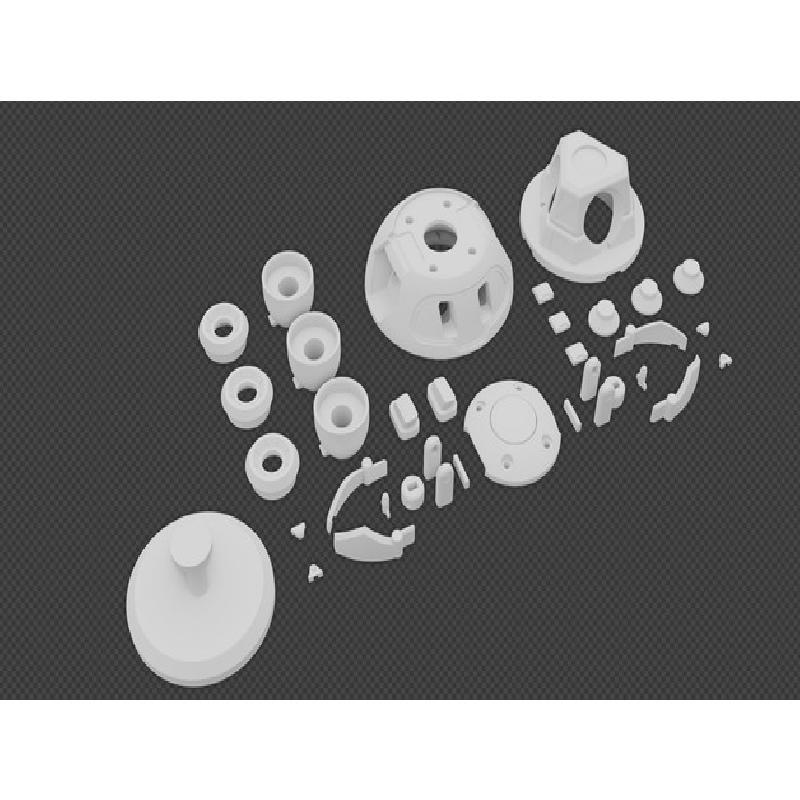
Included in this download is a ZIP folder with all the parts separated out individually, and organised into folders for ease of browsing. Parts that need multiple copies printed are marked as such. Also included in this download are a pair of Illustrator files designed for laser cutting parts, one for an alternate base stand in 1/8" acrylic, the other for cutting out the face mask for Snowball from a sheet of tinted plastic transparency.
For the parts named as Diffusers in the eyes and the thrusters, I recommend using clear PETG so the light can shine through. The rest of the parts can be printed in PLA just fine. If available, printing this model with an SLA machine would also be a fantastic option, really helping with the small details and post processing.
Hardware you will need for the full electronic assembly:
Obviously many of these parts can be picked up individually from local hobby or hardware stores, but links were provided for convenience
Modelled in Fusion for Ease of Assembly, Printing, & Painting.
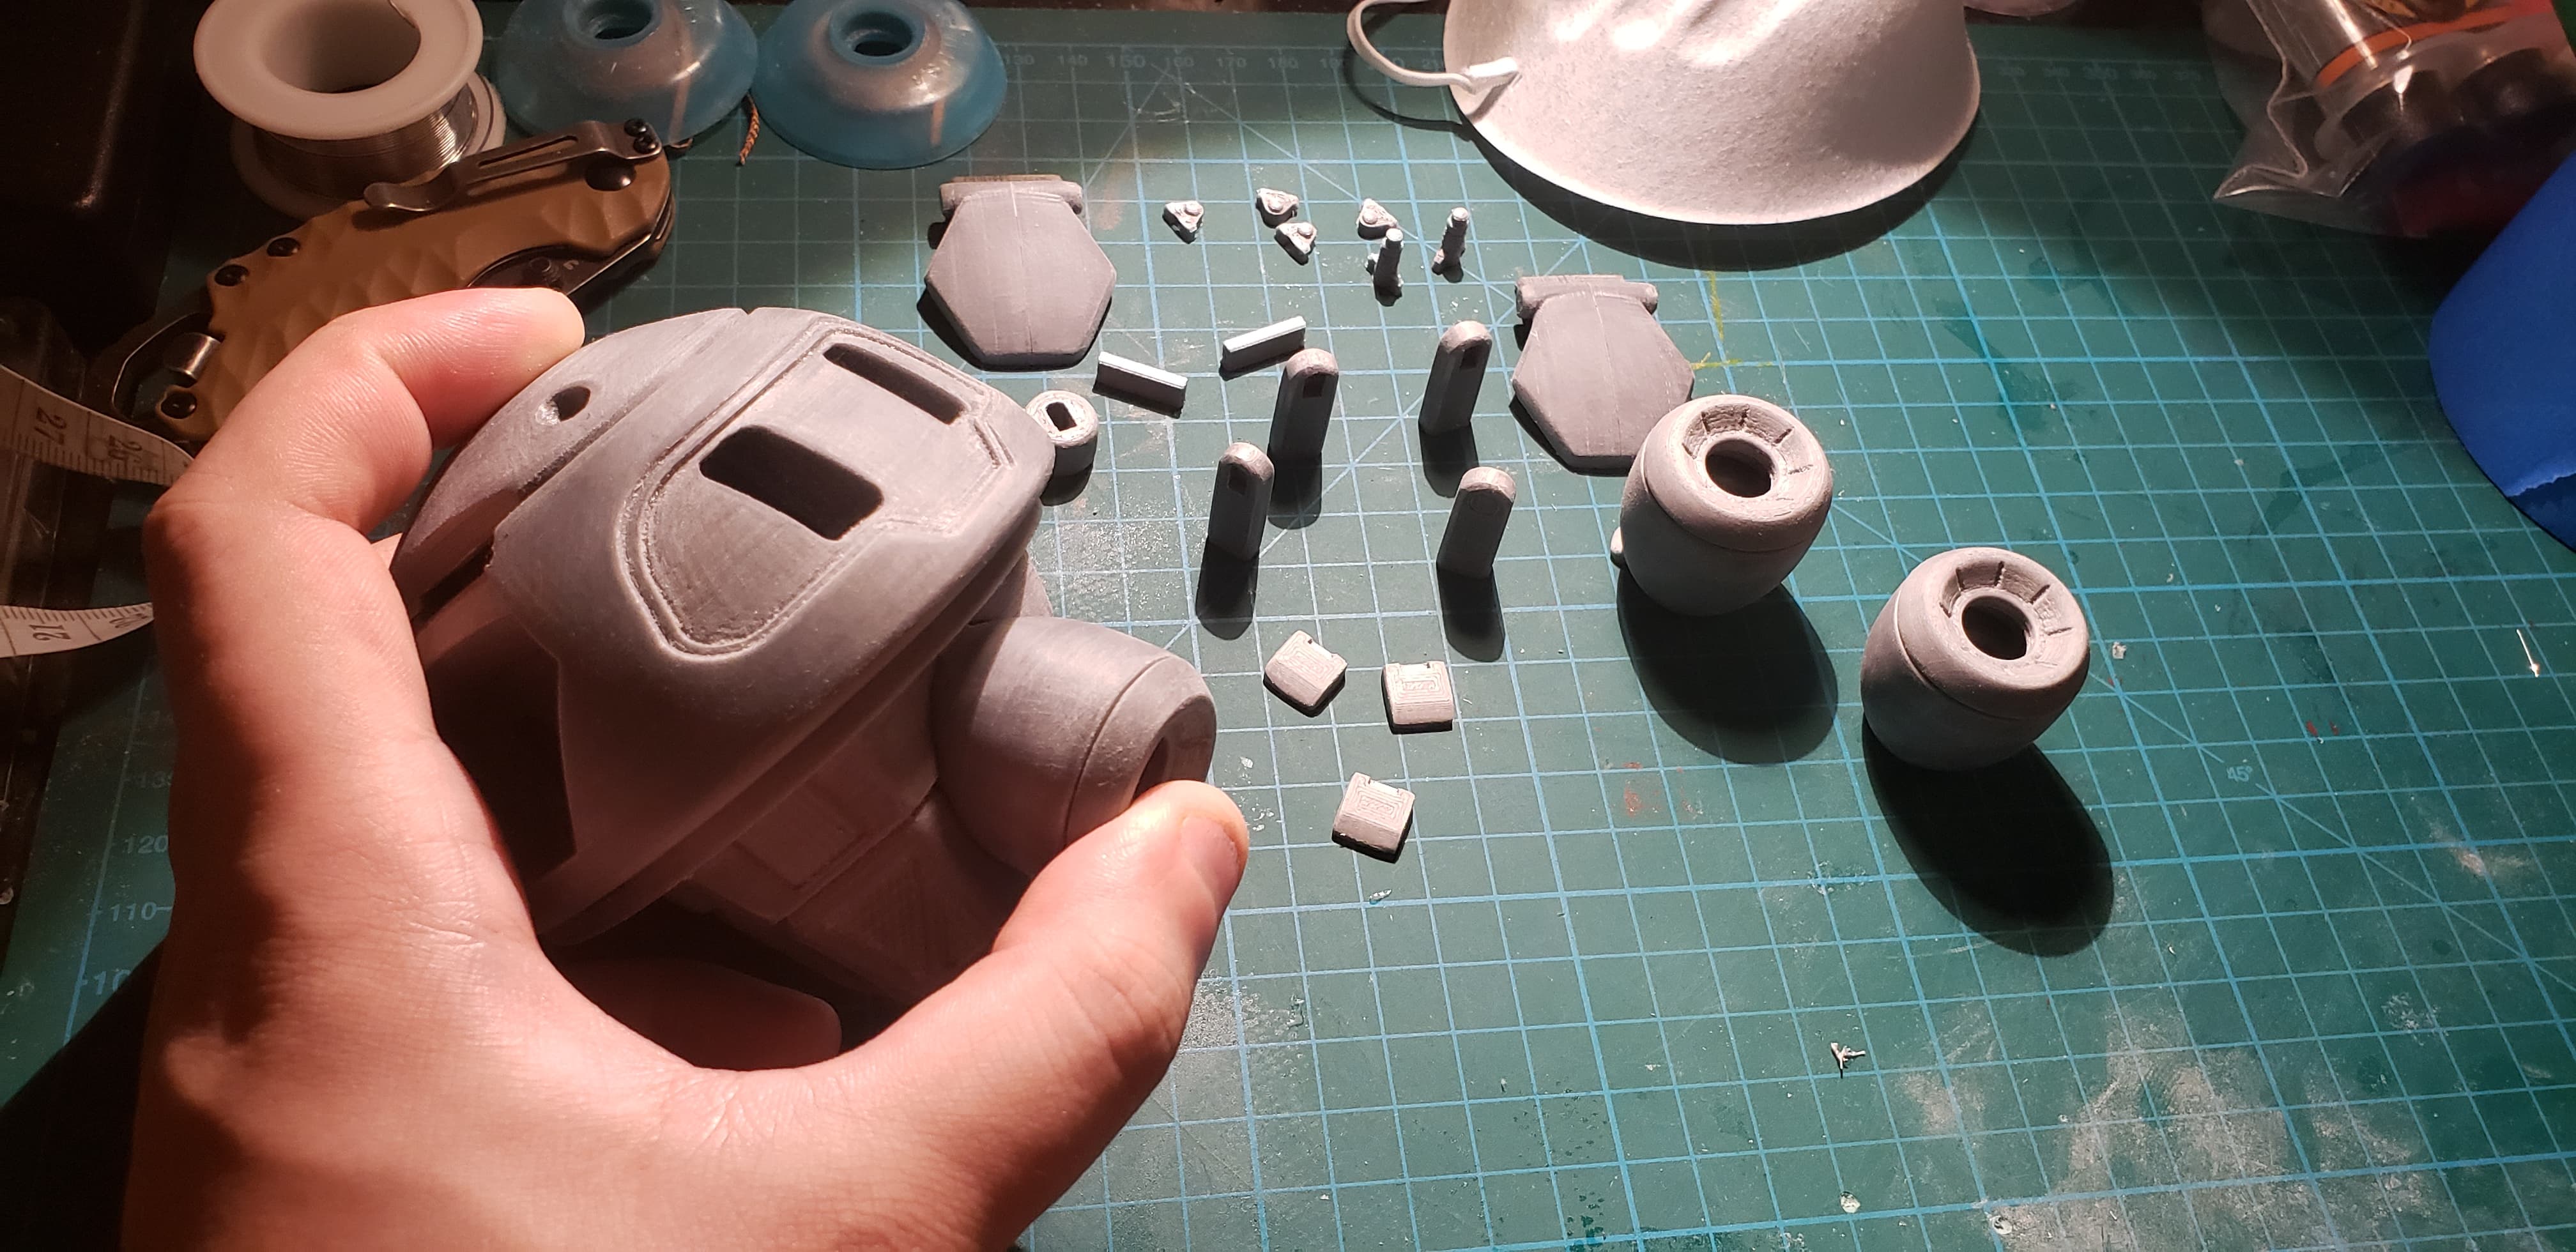
The model was designed in Fusion 360 with 0.5mm tolerances between parts for ease of assembly. The model was also carefully planned out such that supports are not necessary for printing when the parts are in the correct orientation (the included "Snowball Parts Arrangement.stl" file demonstrates that correct orientations of the parts for support-less printing).

WIP Status
I've marked this project as a WIP while I finish up my final painting and assembly on the model.
I've already done my test fitting by hand, and tested the electronics with a breadboard- as far as the actual design of the model goes everything is finalised, but I don't want to share this project as being complete until I have my finished product in hand to show off.
Once I've finished assembly on mine I will update this project with final pictures of the completed toy, as well as a guide for post processing and assembly.
The parts are separated to make them easier to paint, so the order of assembly should be to paint first, then install electronics, then do you final permanent assembly.