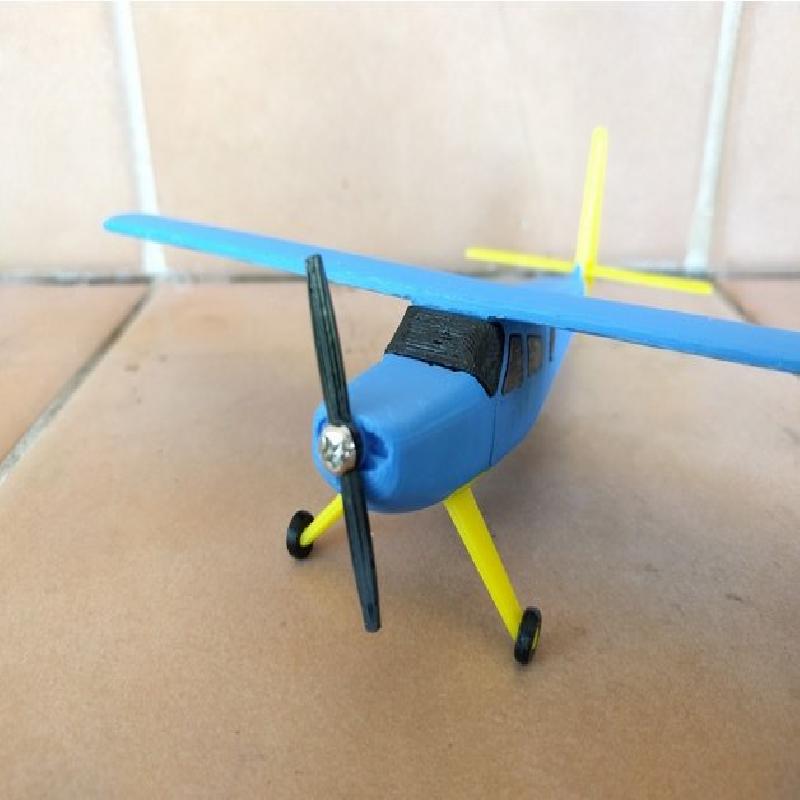
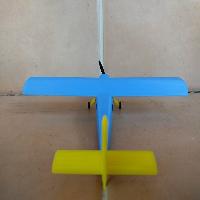
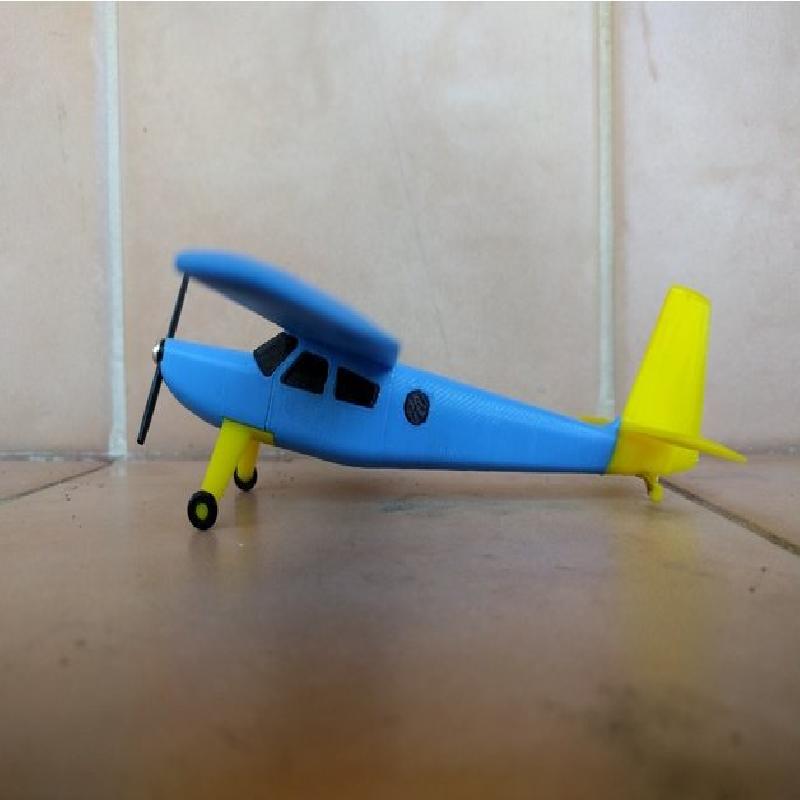
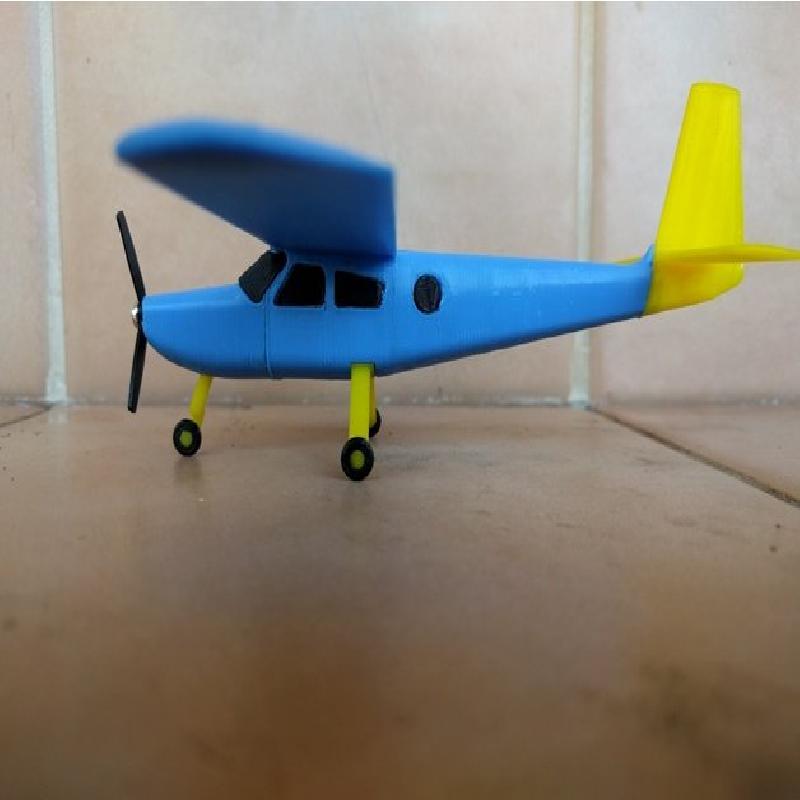
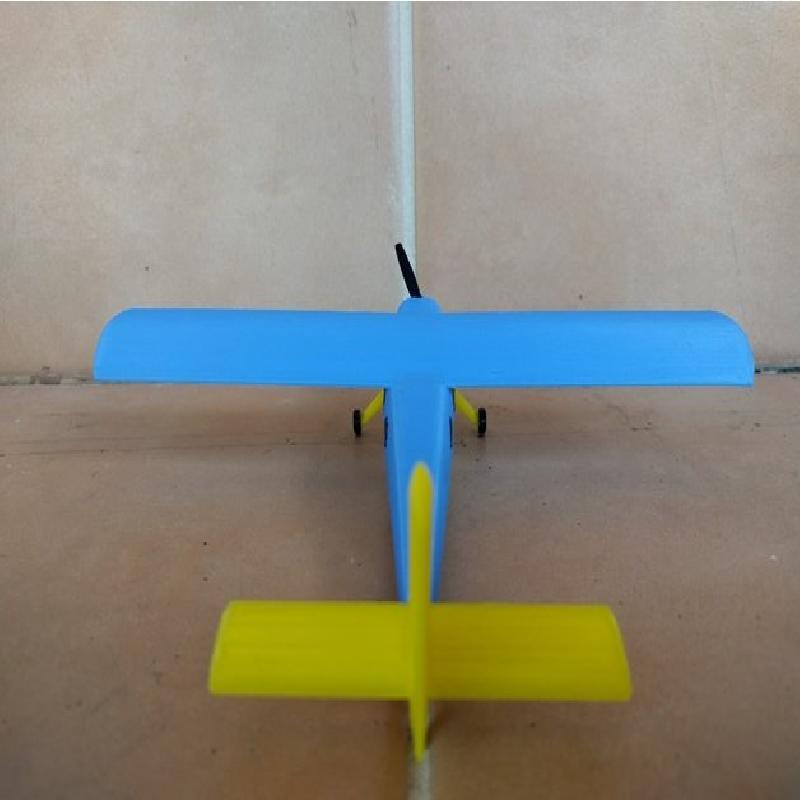
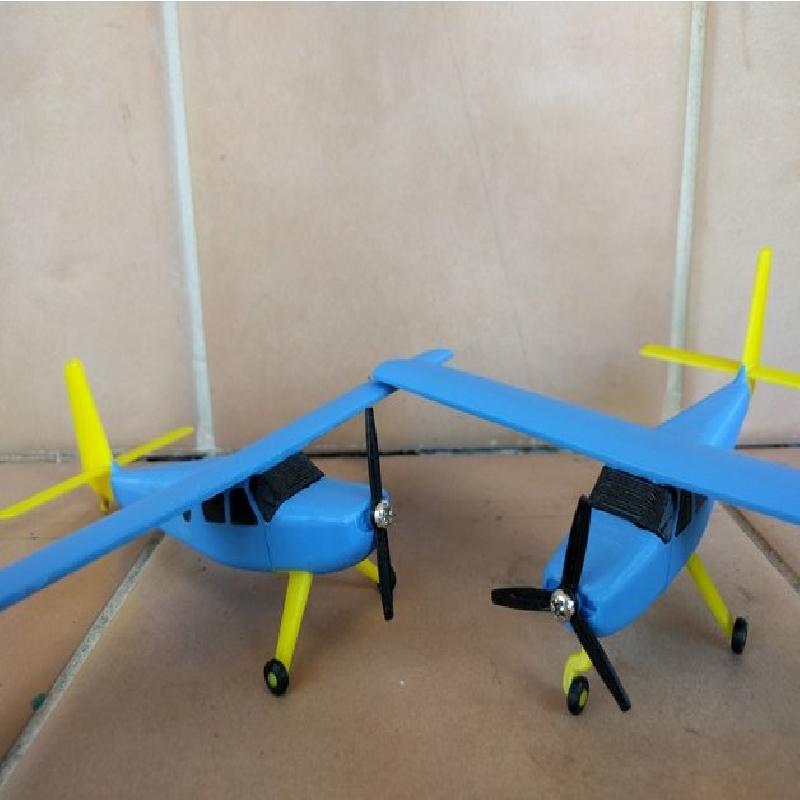
A 1:64 model of the Helio Courier, a 5-seater plane made in America in the 1950's. Most Couriers are tail draggers, but there are a few nose wheel examples out there. They're fitted with various engines, ranging from about 200hp to 400hp.
Printer:
Anet A8
Rafts:
No
Supports:
Yes
Resolution:
0.2
Infill:
Variable - see below
Filament: Any brand PLA/PETG Black, not black, other not black
Notes:
Infill:
Nose - 100%
Tail - 100%
Undercarriage (both versions) - 100%
Propeller - 100%
Windows - 20%
Fuselage - 20%-100%*
*If you are using Simplify3D, you can print the forward part of the fuselage (14mm) in 100%, for wing strength and CG. If you use a different slicer, then I don't know what's optimum (I'd try about 50%).
Notes:
I recommend using a brim/skirt for the fuselage, otherwise the wings will peel up at the
ends.
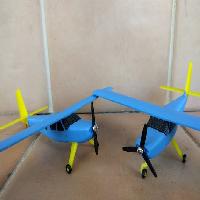
File names ending in '-N' designate Nosewheel, and '-T' designates Tailwheel. Parts with no designation are compatible with both versions.
'-T' and '-N' parts are NOT COMPATIBLE (except for tyres).
You will need:
10mm M3 bolt
Superglue (or other glue)
3mm drill
Screwdriver
Hammer (just a regular hammer)
1/2" (12.5mm) diameter lead sinker (approx. 10g)
Vice/Anvil (for hammering lead into shape)
Construction
Drill out the holes in the prop and nose with the 3mm drill (particularly the prop, try to make it slightly oversized). Slip the prop onto the bolt and screw into the nose. Tighten until the prop seizes up, then loosen about 1/2 a turn, or until prop spins freely.
Use the hammer and anvil to reshape the lead sinker into a rectangular prism, small enough to fit into the nose. The cavity in the nose measures approx. 9x9x20mm. Make sure that the lead does not interfere with the windscreen. This step is not required for the tail-dragger version, but is necessary for the nose-wheeler (otherwise it will sit on the tail). Use superglue to secure the lead into the nose.
All other construction is self-explanatory. Use superglue to stick parts together. The wheels don't spin, so just glue them straight on.