by mukut
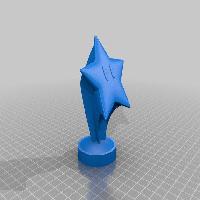
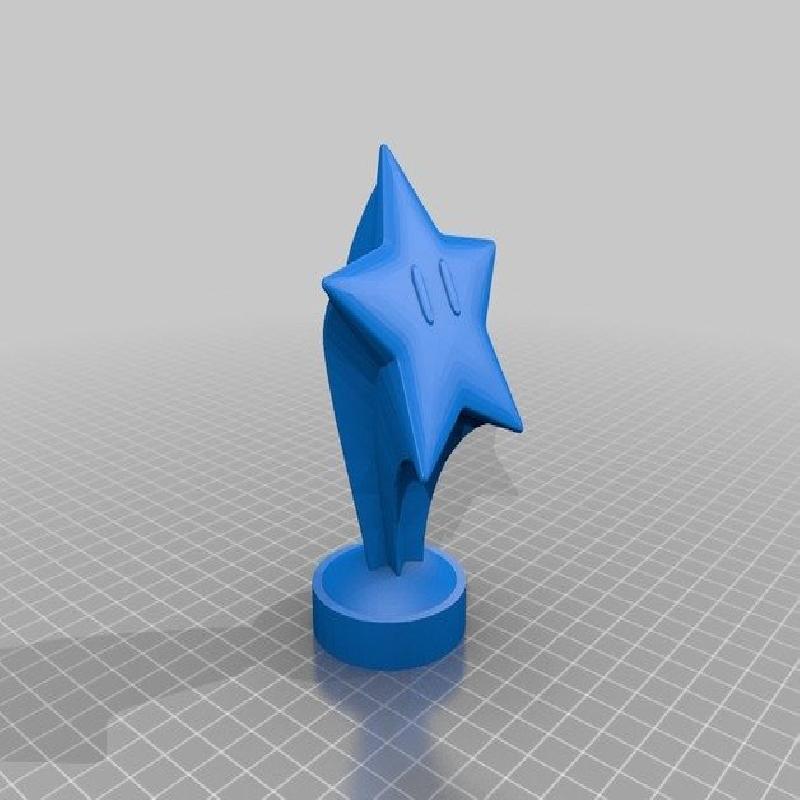
Cleaned version of the trophy so it can be printed hollow.
Fair warning: building this can get really messy.
Prints really well on resin printers with a wall width of 1.5-2mm (1mm looks great but has a high chance of print failure). Glitter was added manually afterwards through some holes in the bottom (not included in this model, i recommend MeshMixer to hollow this model out and add some holes).
If you add some mineral oil to the insides and seal off the holes the whole thing has a nice weight to it.
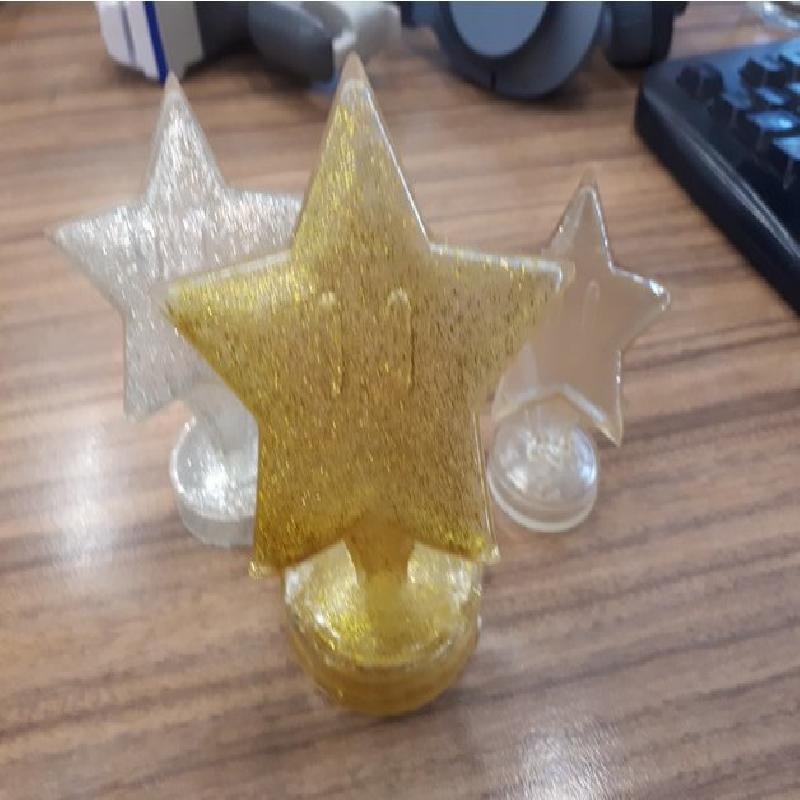
Scales used in the image: gold 100%, silver 85%, bronze 75%
All 3 have a 1mm wall but i had to manually fix some holes from the print so i recommend going with a thicker wall or long layer times.
Printer Brand:
Anycubic
Printer:
Photon
Rafts:
Doesn't Matter
Supports:
Doesn't Matter
Resolution:
0.05
Infill:
100%
Filament: Anycubic Resin Clear
Notes:
Add 2 support beams to ends that have overhang (most slicers are overly aggressive, i recommend adding those manually). The rest can be printed without any supports.
Post print (Resin printers only)
Don't wash it after taking it off the printer, just let the liquid drip off.
Mix a bit of mineral oil with the glitter and use a large syringe or a funnel to get it in through the holes (get glitter that's really fine, the finer the better. I bought these: https://www.amazon.co.uk/gp/product/B0716HSQRD/ref=ppx_yo_dt_b_asin_title_o02_s00?ie=UTF8&psc=1 and the image is the result)
Give it a good shake and most of the glitter should stick to the walls. (If you don't use mineral oil the glitter doesn't want to spread as evenly but it's probably still possible with more patience)
You should now cure it in UV to make the glitter stick.
After curing either fill up the inside with mineral oil or drain it and close up the holes.