by Geoffro, published
THE ZIP FILE ON THIS IS BROKEN FOR SOME REASON. iF YOU DOWNLOAD THE FILES INDIVIDUALLY IT IS FINE, BUT IF YOU DOWNLOAD THE AUTO-GENERATED .ZIP FILE THINGIVERSE MAKES, IT DOES NOT CONTAIN ALL THE FILES.
I CANT FIX IT SORRY, BUT THE FILES ARE ALL THERE, YOU'LL JUST NEED TO CLICK ON THEM ONE BY ONE, SORRY.
CLICK ON THE 'THING FILES' TAB AND THEN CLICK ON EACH PART TO DOWNLOAD.
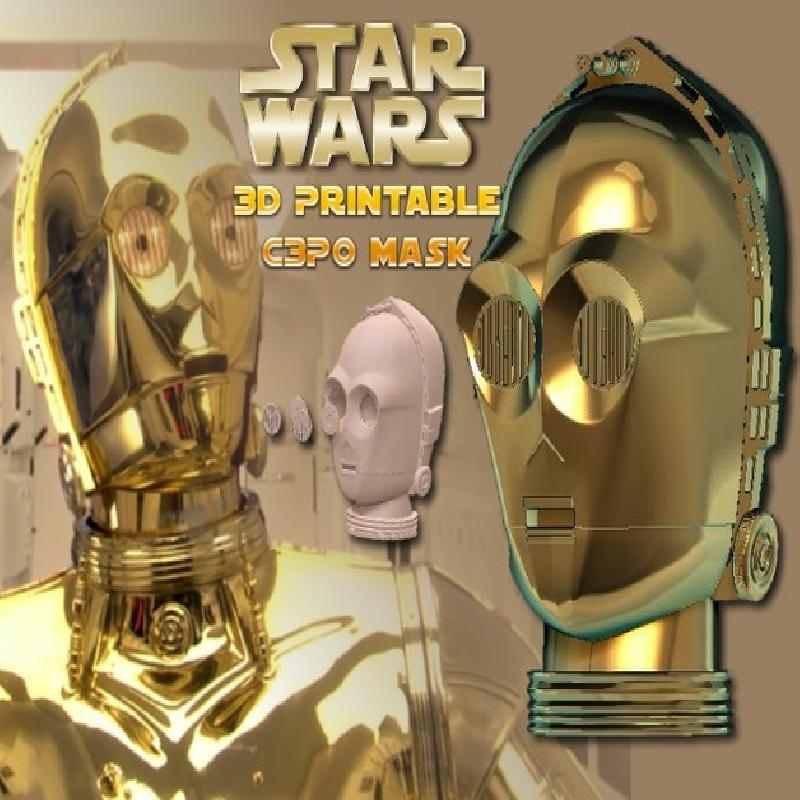
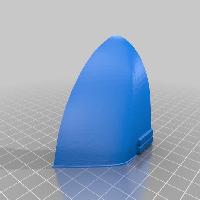
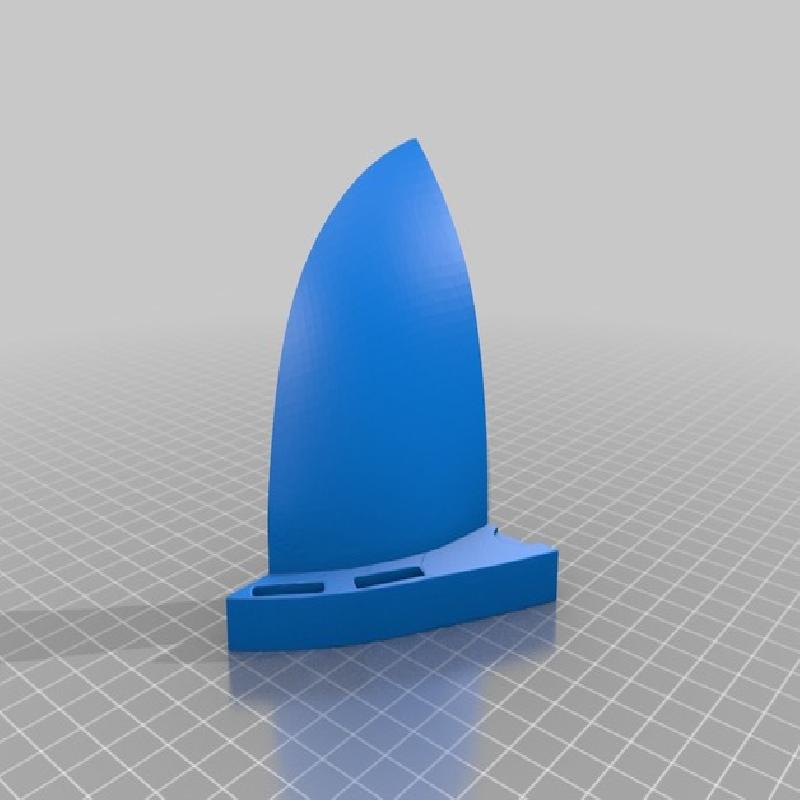
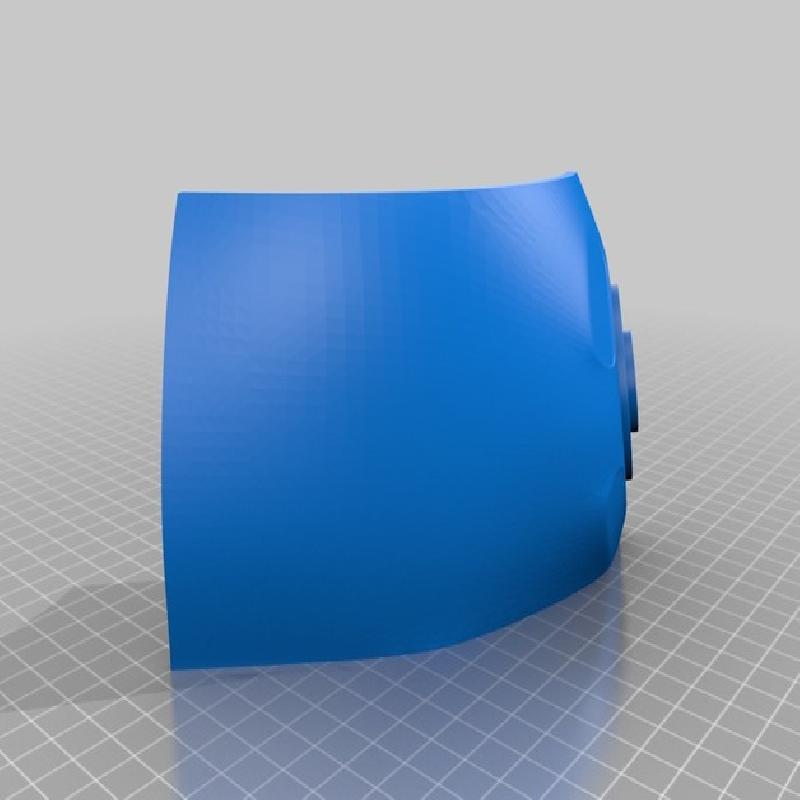
Presenting Mask # 5... Keen to build a Scale C3P0 head or Mask? here's your chance.
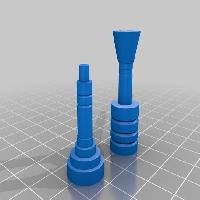
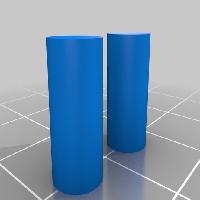
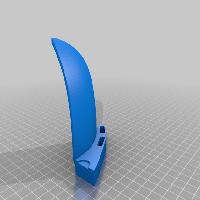
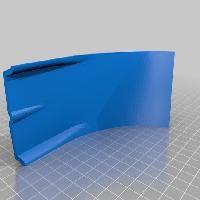
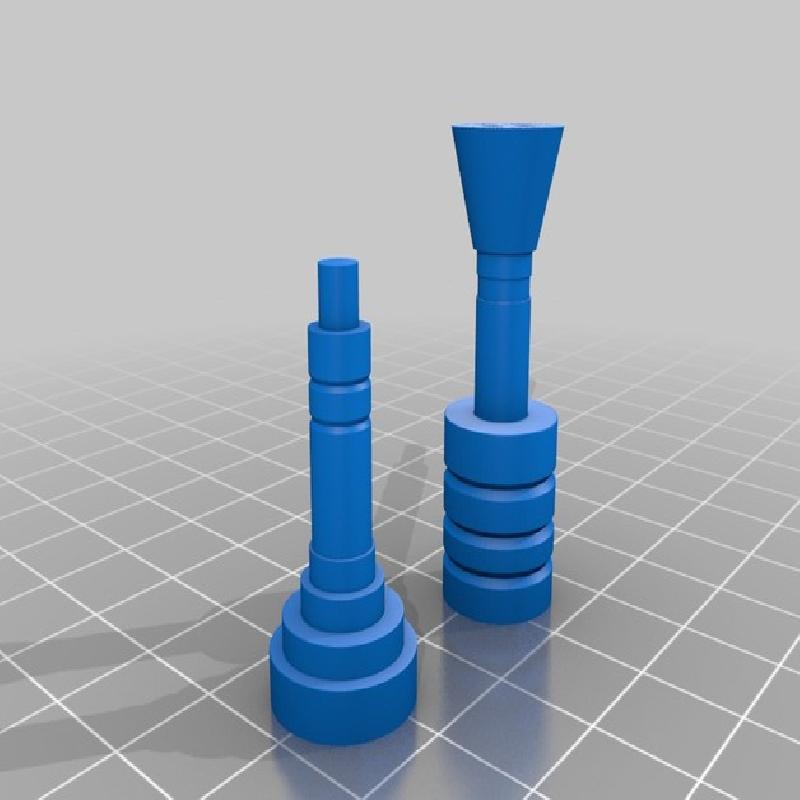
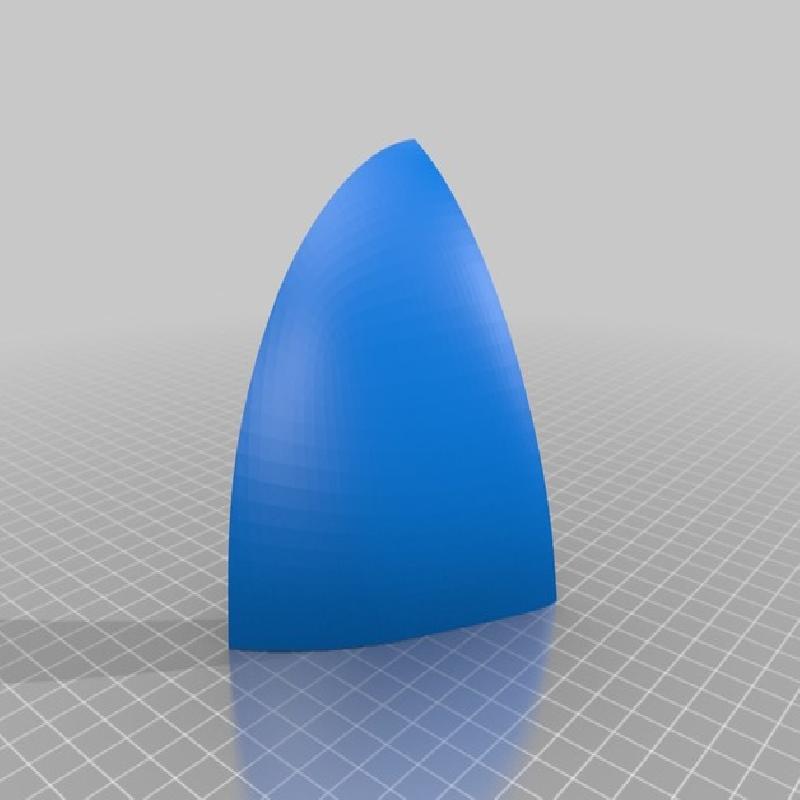
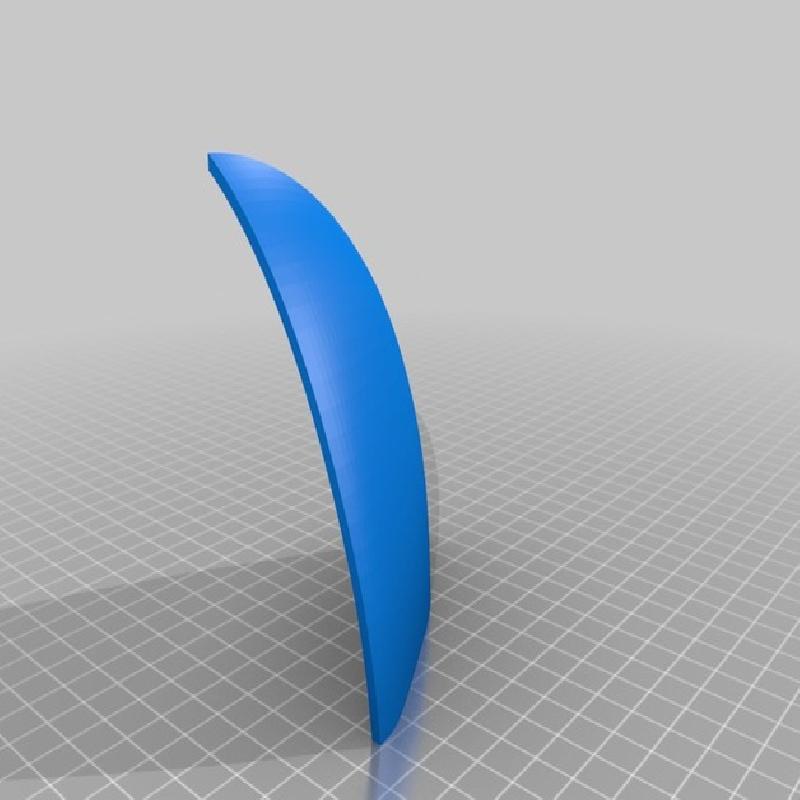
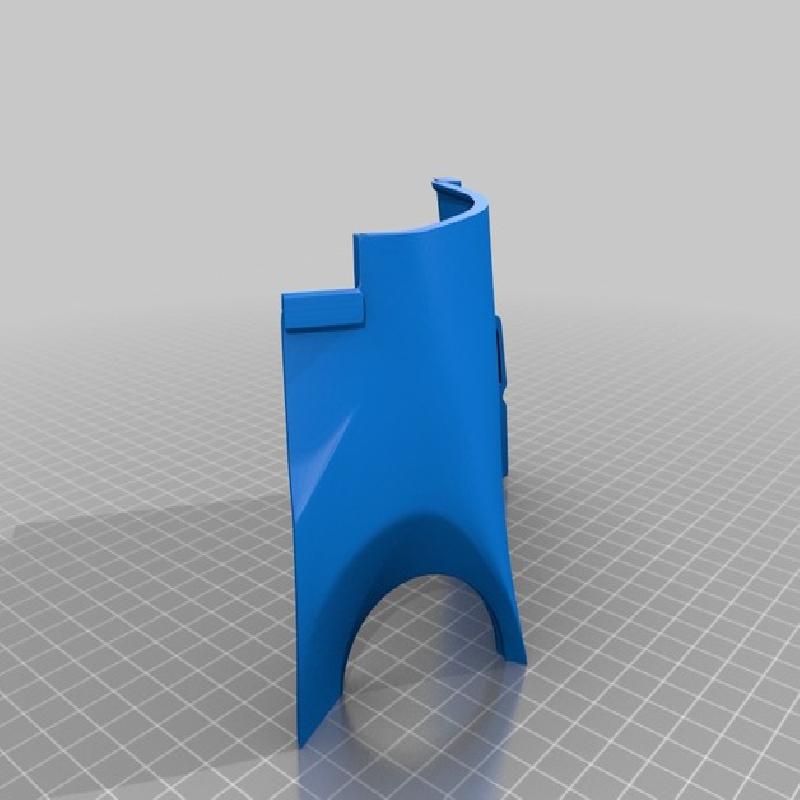
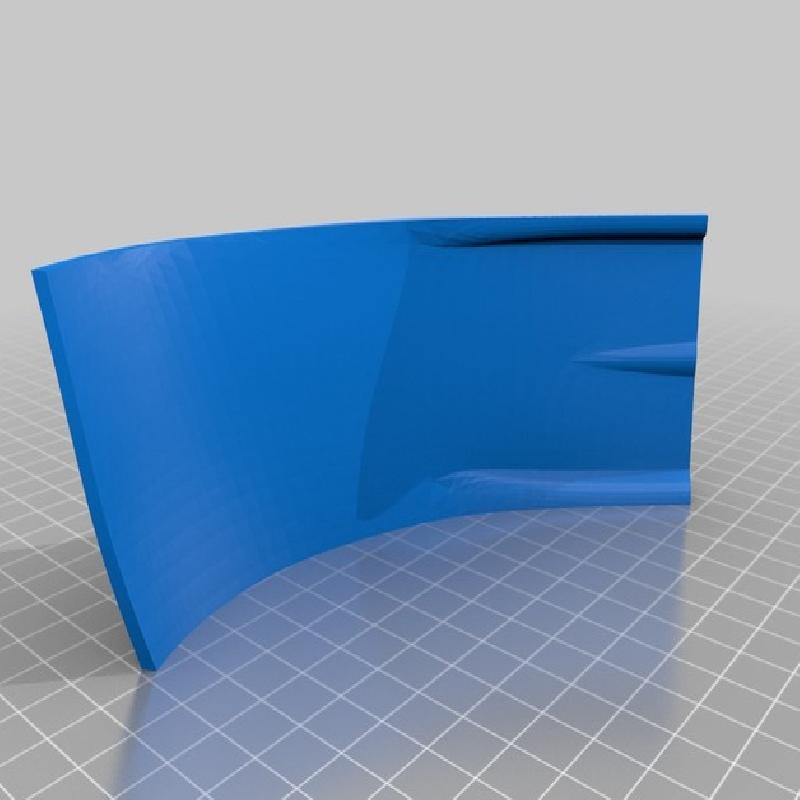
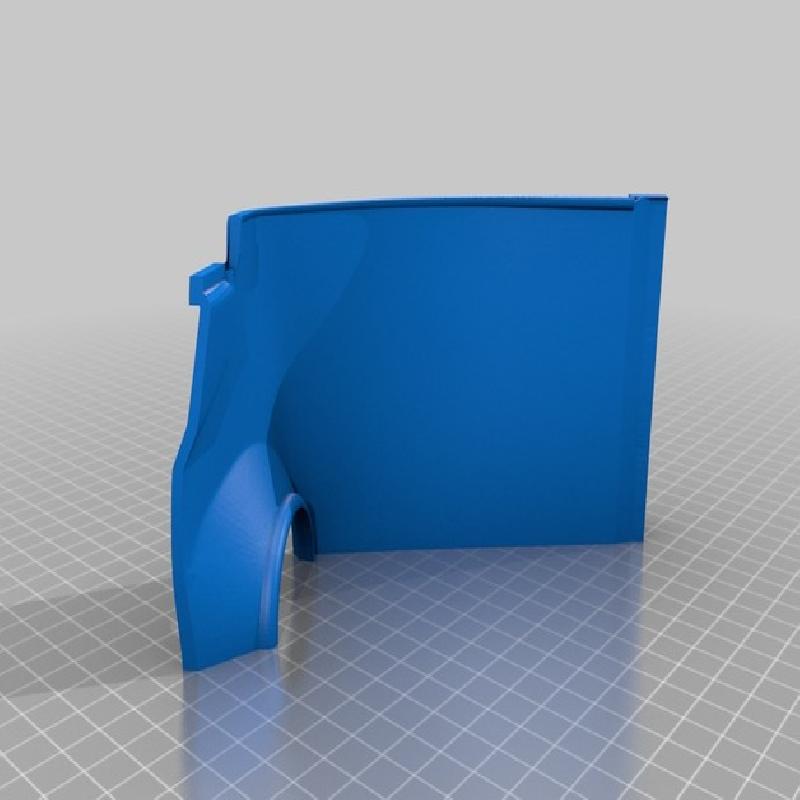
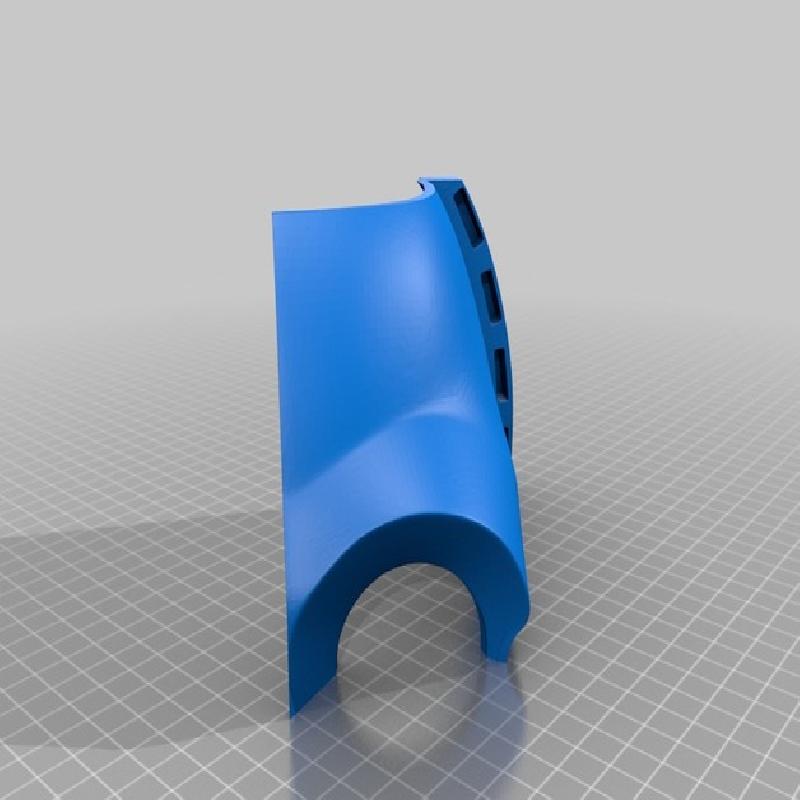
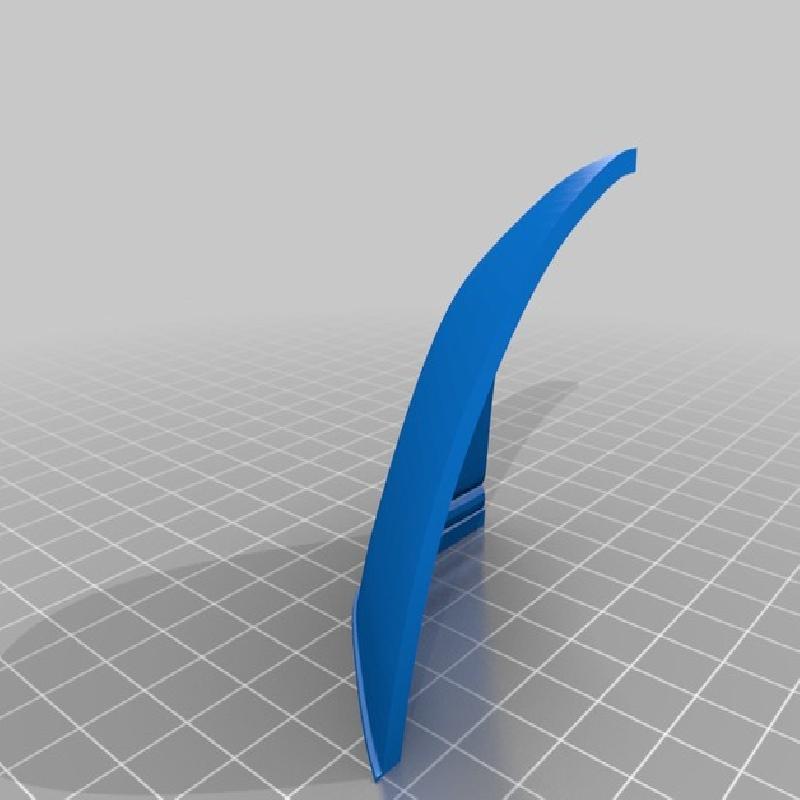
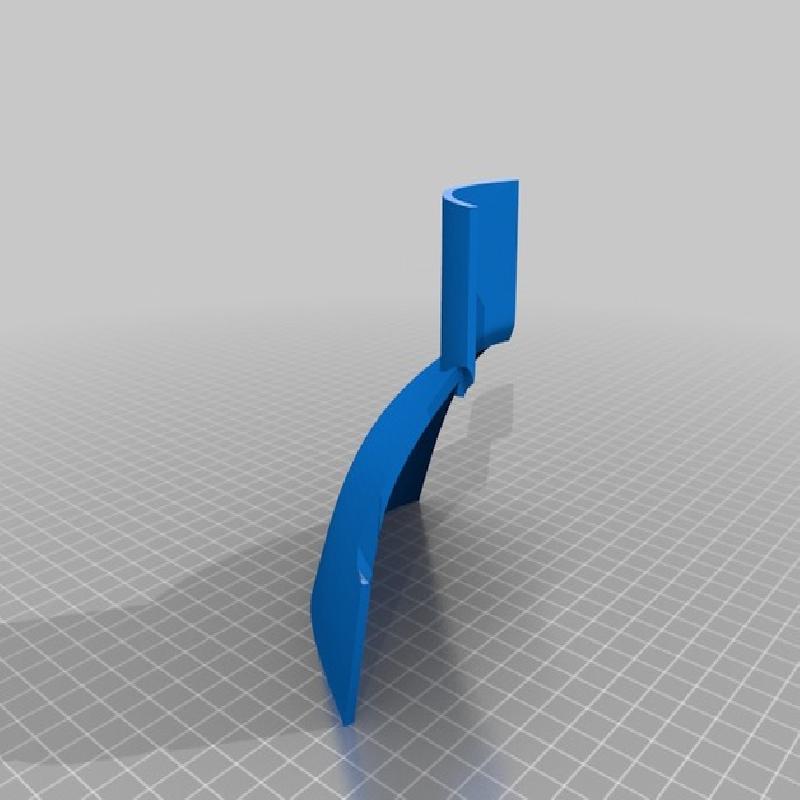
The way you put this together is pretty straight forward. You print parts 13,14,23,24 FIRST. This is the neck size. If your neck won't fit in that you will need to rescale the parts - so figure out your scale on the neck pieces. Sadly they take the longest to print, but worth knowing after 4 pieces if it won't fit your head.
How do you get it on and off?
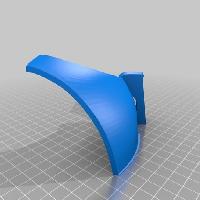
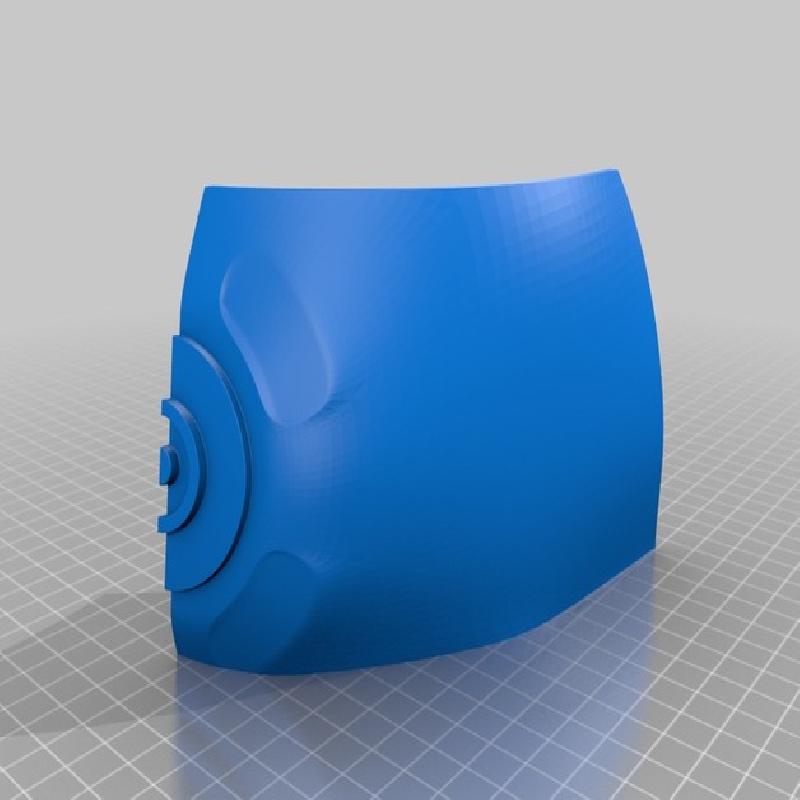
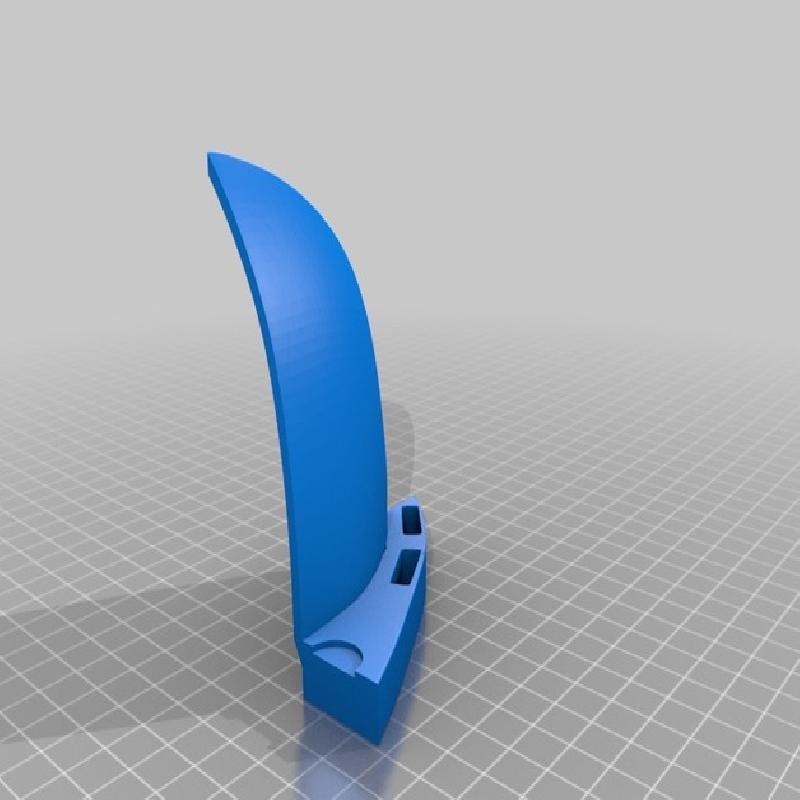
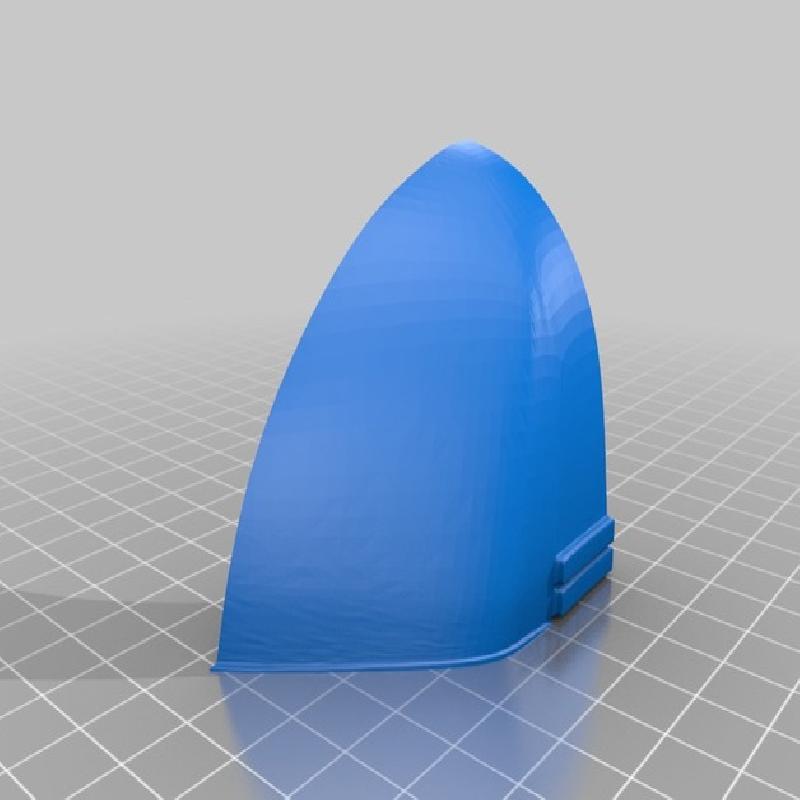
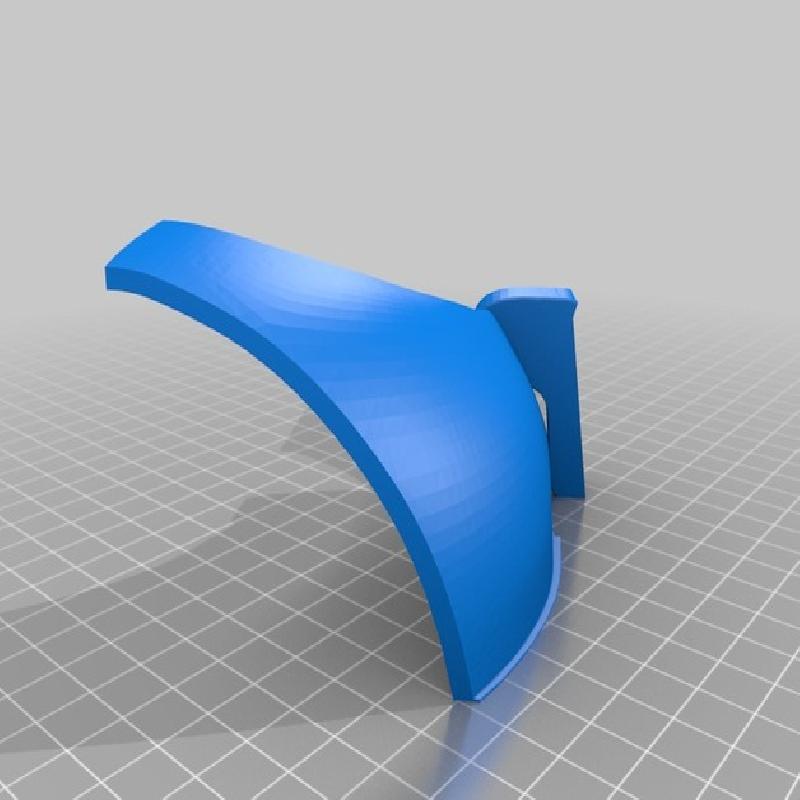
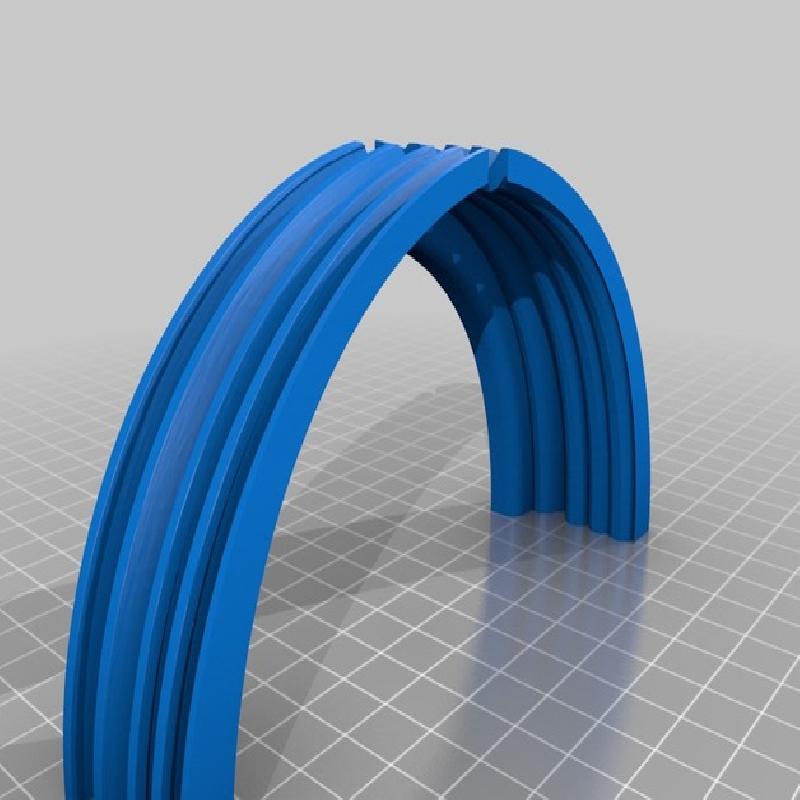
Well, I figure leave the face a seperate piece and have the neck and back connecting with some magnets or similar fasteners, and have some on the face so you can pull it on and off. The face and the 'crown' are all one piece, the back lines up with them so it makes sense to have the crown slot into the neck piece to line it up.
Sizing overall is for a head about 24cm wide(not including ears) and 17cm deep (back of head through to nose) and about 24cm high including chin to allow for mouth movement.
Overall thickness of the inner to outer perimeter is 2.8mm. Not too thick, not paper thin.
Personally, now it's finished I plan on making a scale head with light up eyes etc. I have a reasonably thin head so I could probably wear one, but let's be honest, it's a C3P0 mask, it's not going to fit everyone - Anthony Daniels is not exactly a goliath...
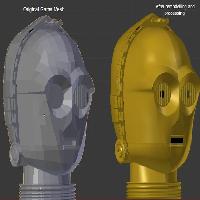
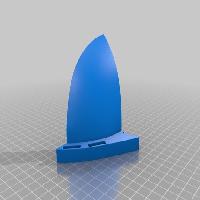
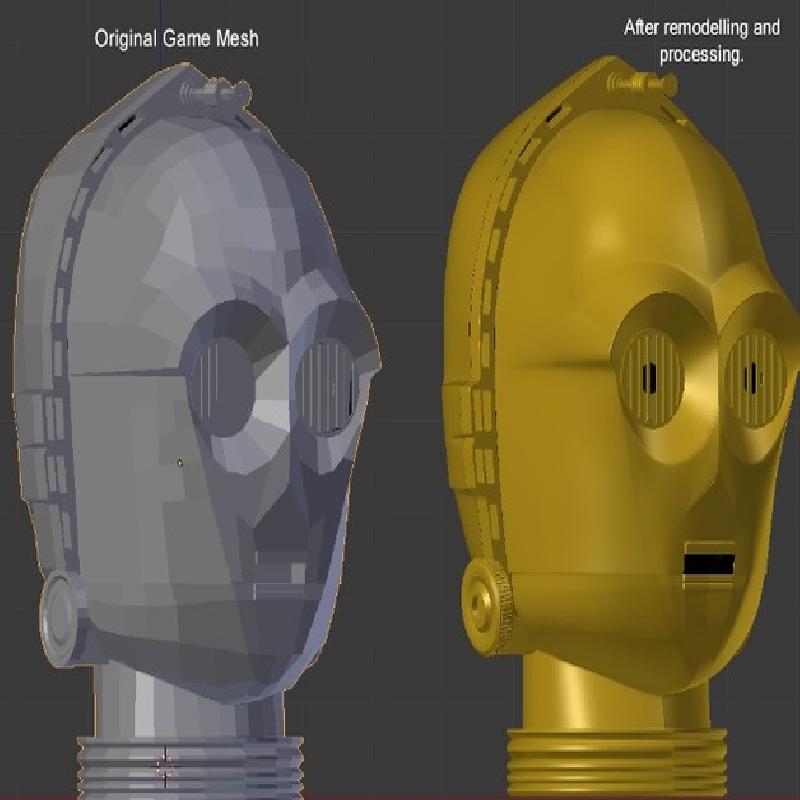
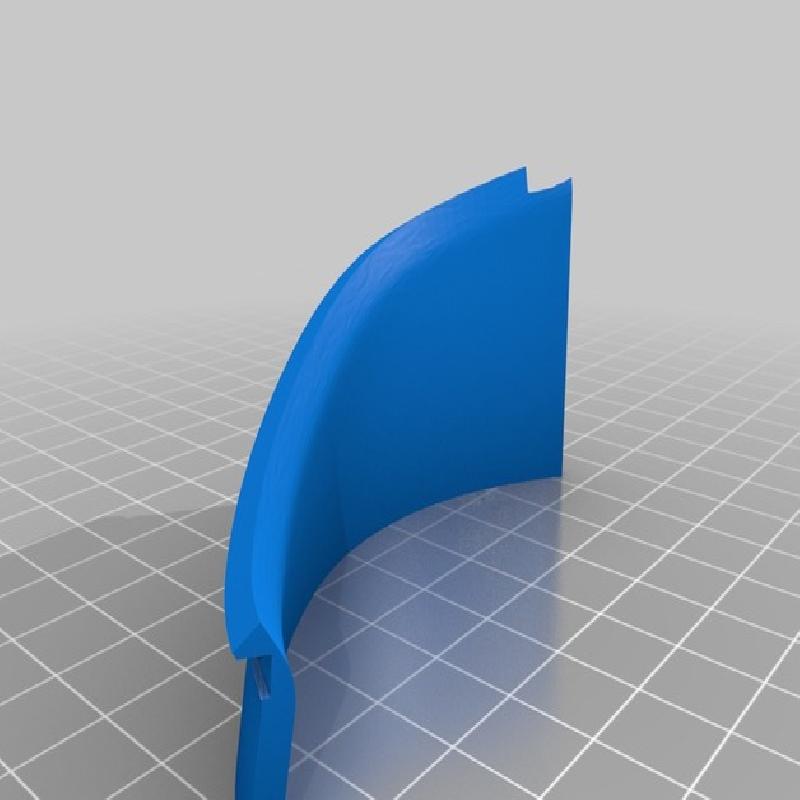
I've included an image of the original low poly mesh I used as a starter base. They get remodelled in Blender to reasonably hi poly, then into zbrush for fine detail and sculpting/smoothing, then back into blender for slicing up into pieces each measuring within a print bed size of 22cmx15cmx15cm (or a standard replicator2/prusa/flashforge size) If you want something cut up or in bigger pieces just ask.
All pieces have been repaired in netfabbed and slicing has been previewed and checked.
Please read printing tips for additional info.
Good luck Printing, and may the force be with you.
https://www.youtube.com/watch?v=HqjHjVeJgIY
Rafts: Doesn't Matter
Supports: Yes
Resolution: 0.2 to 0.3
Infill: 5% to 10%
Notes:
Orientation is not so important- I always ensure every single part has at least one flat side for flat bed printing. I've put them in a way that should require the least or no support. Most parts Require Support. Not all - but most. 5,6,13,14,21,22,23,24 especially. Parts 5 and 6 I personally would flip upsidown to the orientation I have given you, last minute change but you can flip the model yourself in your slicing program. It will require less support than printing upsidown. I suggest 0.3mm print as you are going to sand it alot anyway and it will be faster in the long run. 5% to 10% infil is probably advised, but it's up to you really.