by Jamo222
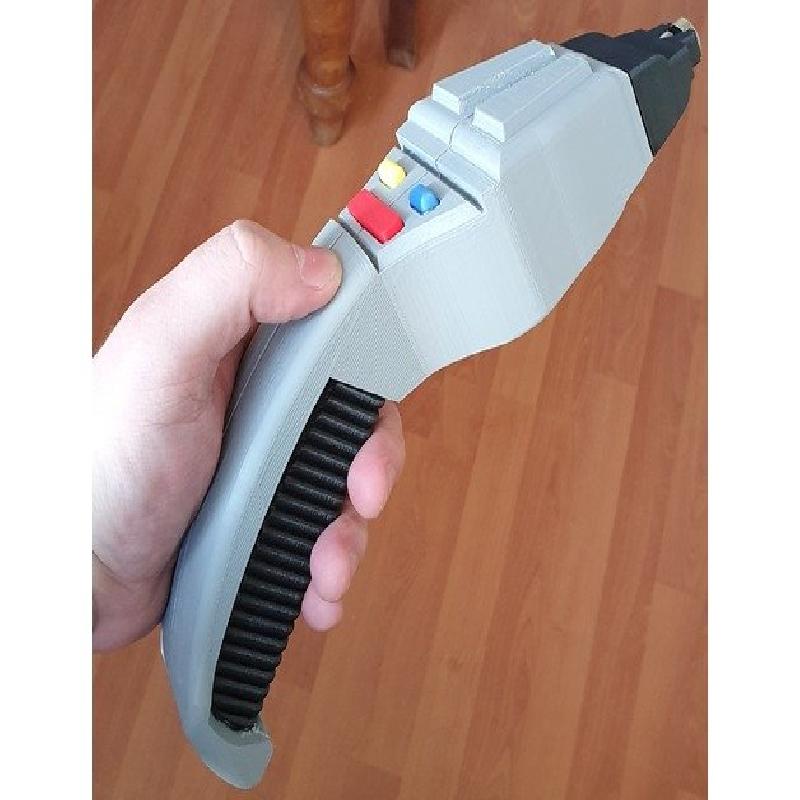
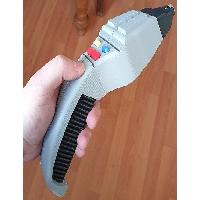
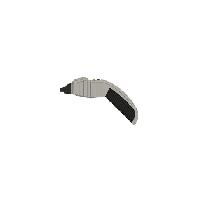
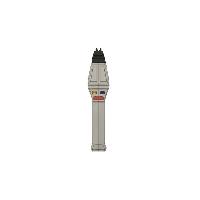
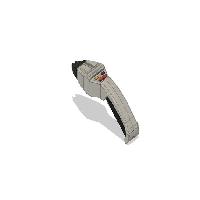
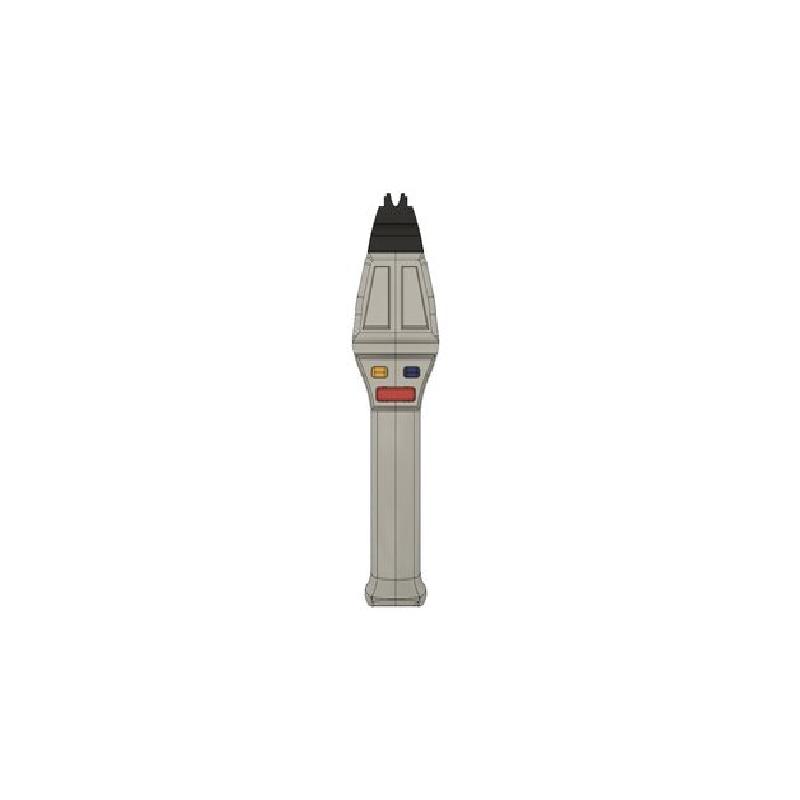
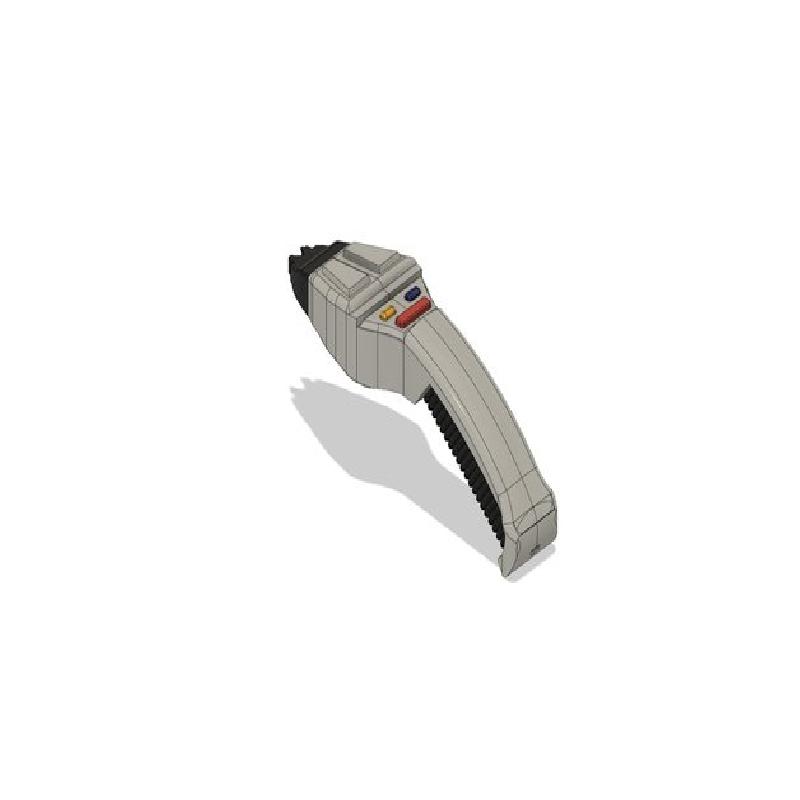
As a small project, we decided to design a Star Trek-style phaser inspired by the styling of Star Trek: TNG.
Includes space for working laser.
WARNING: LASERS ARE EXTREMELY DANGEROUS AND CAN CAUSE DAMAGE TO VISION AND EVEN BLINDNESS. ALWAYS WEAR LASER SAFETY GOGGLES WHEN WORKING WITH LASERS. DO NOT FIRE LASERS AT PEOPLE OR ANIMALS. 250mW LASERS ARE POWERFUL ENOUGH TO BURN PAPER AND WOOD.
PARTS NEEDED:
250mW Laser Module (12mm dia.)
Generic momentary push-to-make switch (Like this)
18650 Battery (We harvested an 18650 with charging board from a cheap-o style power bank)
Charging Board for 18650 battery
Wiring
The 18650 fits inside the grip, the switch locates between the fire button and the cover part. A small slot is provided at the base for the micro USB connection.
ASSEMBLY:
Fit together handle parts
Guide wires through handle parts into switch compartment.
Secure charging board to base of handle parts.
Connect 18650 to charge board and switch wiring. Be careful not to short out the cell at any point, as this can lead to fire.
Fit laser diode into nose part & attach to handle. Leave enough wire to connect laser diode to switch.
Connect switch in series with the positive terminal from the battery and the input of the laser diode. The switch's connections should feed through the small hole in the base of the cover part.
Attach fire button part to top of switch. The switch should friction fit between the cover and the fire button, but in case of a loose connection, a small amount of adhesive works just fine. Side note: the fire button will only locate into the cover in one orientation.
Connect output of laser diode directly to negative terminal of the battery
Coil up excess wire and insert cover section through the underside of the handle. this is a snug fit, sanding may be required
Fit grip piece over 18650 battery. the battery doesnt have much room to move, but we'd suggest securing it to the handle with a small dab of adhesive
Glue buttons into panel
(Optional) Boldly go where no man (or woman!) has gone before!
We'd strongly recommend test-fitting everything before assembly to make sure all your parts fit well.
Printer Brand:
Creality
Printer:
CR-10
Rafts:
Doesn't Matter
Supports:
Yes
Resolution:
0.1mm
Infill:
20%
Filament: Any PLA Grey, Black, Red, Yellow, Blue
Notes:
Print handle, nose and grip parts with supports. Buttons can be printed without support.