by tillig
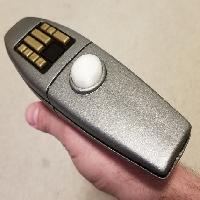
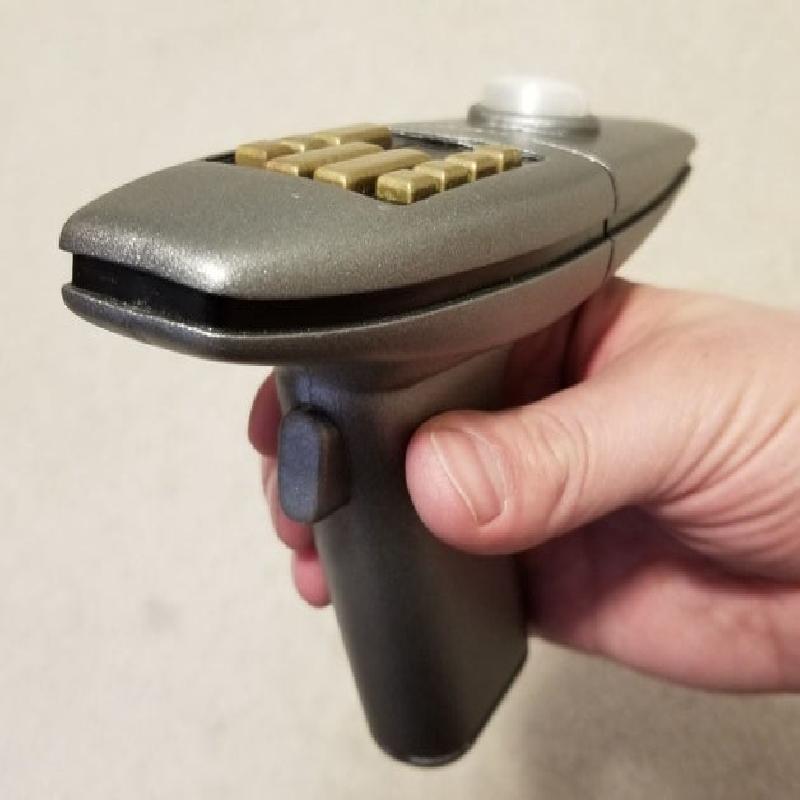
This is a phaser from Star Trek 2. There are no moving pieces or lights rigged up, but for a simple costume it works great. I tried a couple of the models out there and none of them worked for me, so I made my own.
Printer Brand:
Creality
Printer:
Ender 3
Rafts:
No
Supports:
Yes
Resolution:
0.12mm
Infill:
25%
Filament: Hatchbox PLA Black
Notes:
Print the left and right halves of the phaser such that the flat sides are on the printer bed. These can have infill around 25% but you don't want to go too low or it's too easy to crush when you hold the handle. You'll need supports on this because of the spot where this "gauge" thing goes in the back. Likely you'll paint this so it doesn't matter much what color you use.
The buttons can be printed with about 20% infill since they're so small. I painted these, too, so again, doesn't matter much. You might want to try a metallic bronze filament, that might look nice and save you paint time. Print these with the flat sides down and the rounded sides up.
The "gauge glass" was printed with pretty low infill using a translucent/transparent PLA. I used low infill so you can kind of see the infill design when looking at the glass. I chose a concentric infill pattern so it looked cool. Print this with the rounded side up and the flat side down.
Assemble the right and left half of the main body
The right and left halves of the phaser get epoxied together. I was kind of dumb and didn't put any registration notches so it's a little tricky. Sorry about that. Maybe I'll fix it later. Definitely pay attention to the gauge glass area in the back and the spot up front where the buttons are on top. It looks really bad if these aren't lined up pretty much dead on... and if the gauge glass part is off, you won't be able to finish assembly.
Sand the main body
You don't want any seams to show, so sand the junk out of this thing. I did my best on mine and still had a little bit of a seam.
Paint the body
I painted the main body all black with a Rust-Oleum paint + primer. I painted it a lot. A LOT.
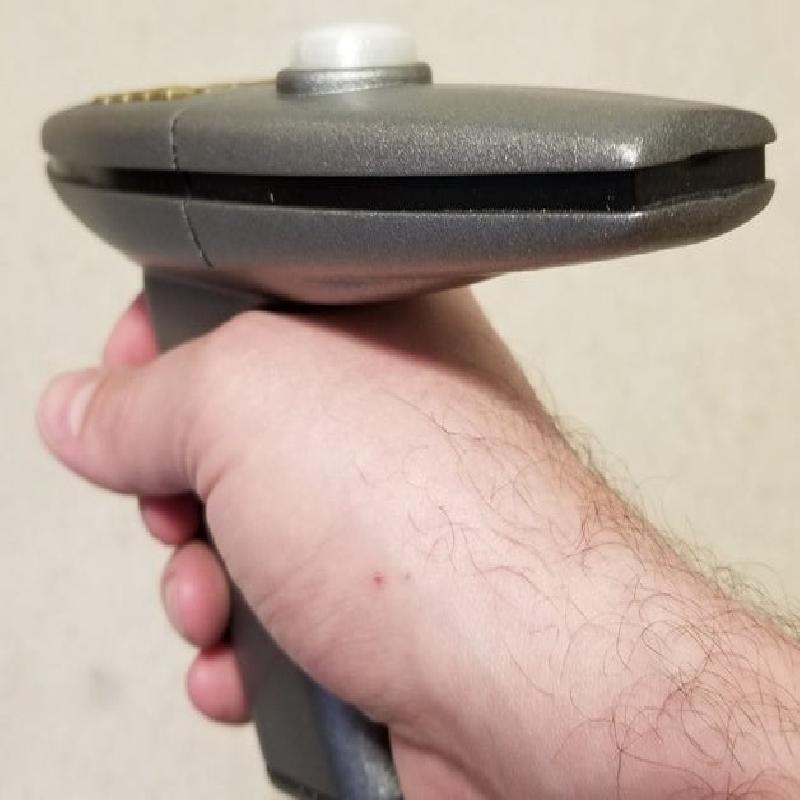
After that, I masked off the stripe around the outside, the "seam" between the front and back, and the control panel area. I painted the body of the phaser with a Rust-Oleum brushed nickel which gives it a nice metallic look.
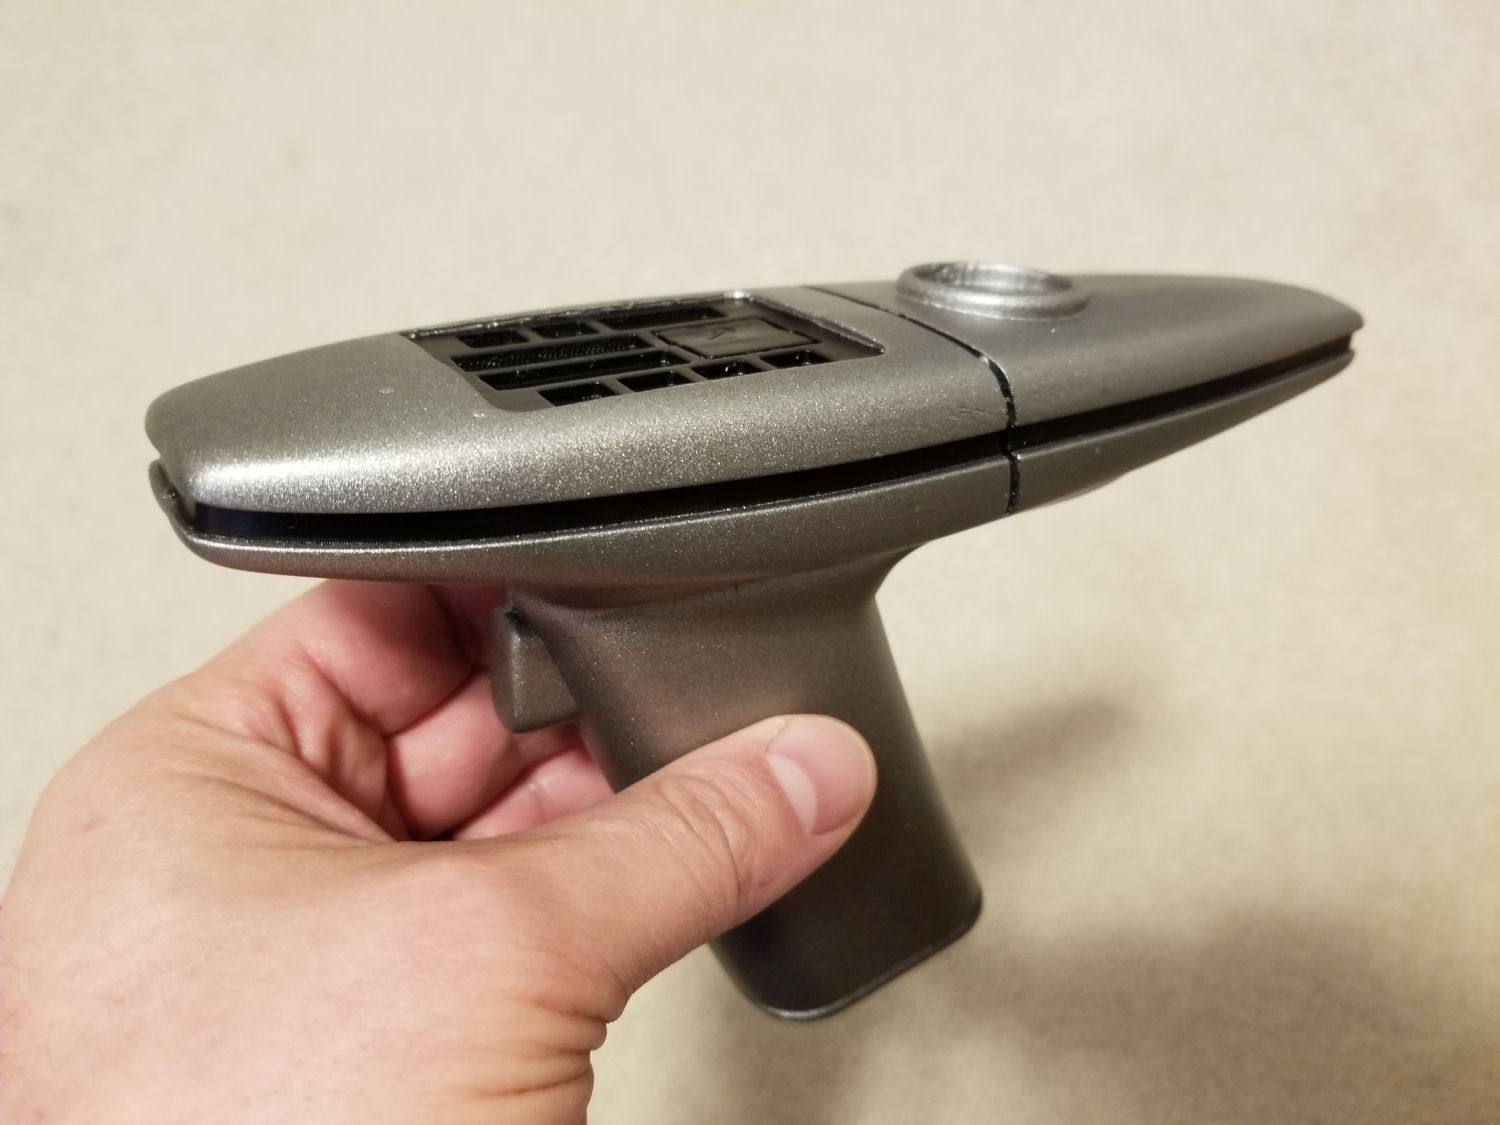
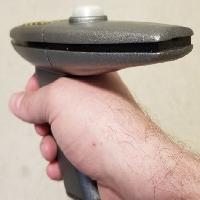
The main body assembled, sanded, and painted before the buttons and gauge glass are added.
Sand and paint the buttons
If you do a very light test fit of the buttons, they probably are pretty tight. That's intentional; you don't want a gap. Sand them a bit and paint them a nice metallic color. I used a hammered bronze. You probably don't want to lay on the paint too thick unless you give these a good sanding. If the fit is too tight, you'll scrape off your paint.
Don't worry too much about getting these out of order. The small square ones are all identical sizes. The two main long ones are identical to each other, and then there's the one-off in the bottom right corner. They'll all only fit where they're supposed to.
Glue in the buttons
Put a drop of super glue in each button hole and insert your buttons.
Finish the gauge glass
If you used the transparent PLA like I did, I sanded the gauge glass down extremely smooth and then just hit it with a glossy clear coat. If you didn't use transparent PLA, finish this so it looks like you might see a light come up from under it or look at it for a readout of some nature.
Glue in the gauge glass
Stick a drop of super glue in the hole where the gauge glass goes and drop it in. Done!
Research
Most of this was done by looking at photos of toys and props. I had to make a bunch of guesses on size but I think it generally came out OK.
Other Thoughts
This was kind of a nightmare to make. It's the first sort-of-organic shape I've made with Fusion 360 and I started running up against my machine's computational max, where adjusting that stripe along the side of the upper phaser body would hang the entire machine and never come back.
I'm not sure if I'll come back and continue working on this or not, but I think I'd like to iterate over it and make it better. Even if I just added a couple of registration pegs to make assembling the thing easier, that'd be nice. The back isn't entirely smooth to my liking, either, and I'd like to fix that.