

by Toranado3D, published
Version 1.0 and 1.1 Legacy Support Site
Update 7-5-2016
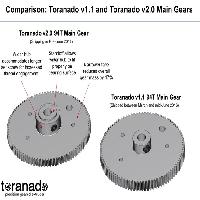
For those interested in packaging the Toranado v2.0 onto their printer builds. I have uploaded the latest Package models for both the Left-hand and Right-hand versions. You can get them Here.
Bill of Materials is posted at the bottom of this Details Page.
We have created a legacy site that supports versions 1.0 and 1.1. The links to the version 1.1 kits will be available shortly.
Right-hand version coming soon.
Hardware Kits - v2.0 Toranado Kits
v2.0 - Gear and Shaft Kit Only
Expect 5-10 days for handling on all kit orders as I continually replenish stock
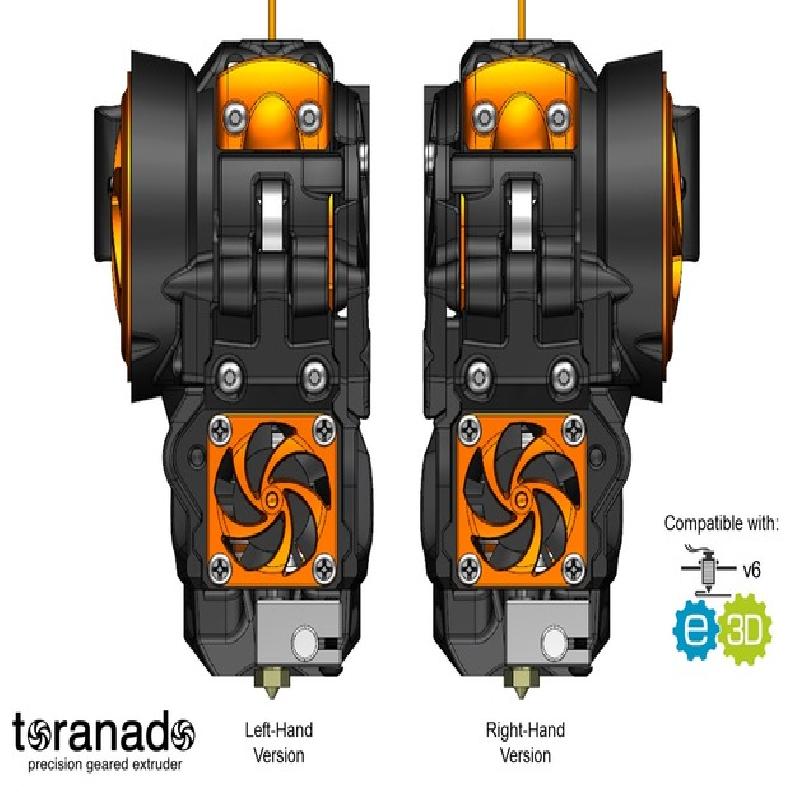
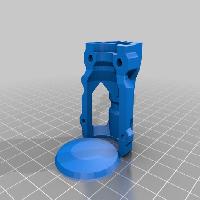
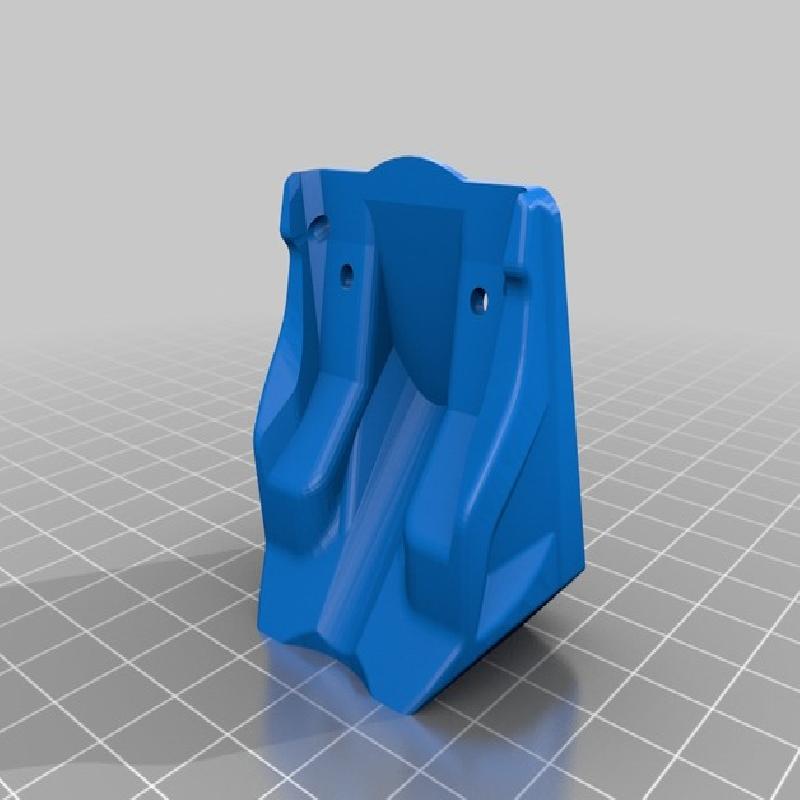
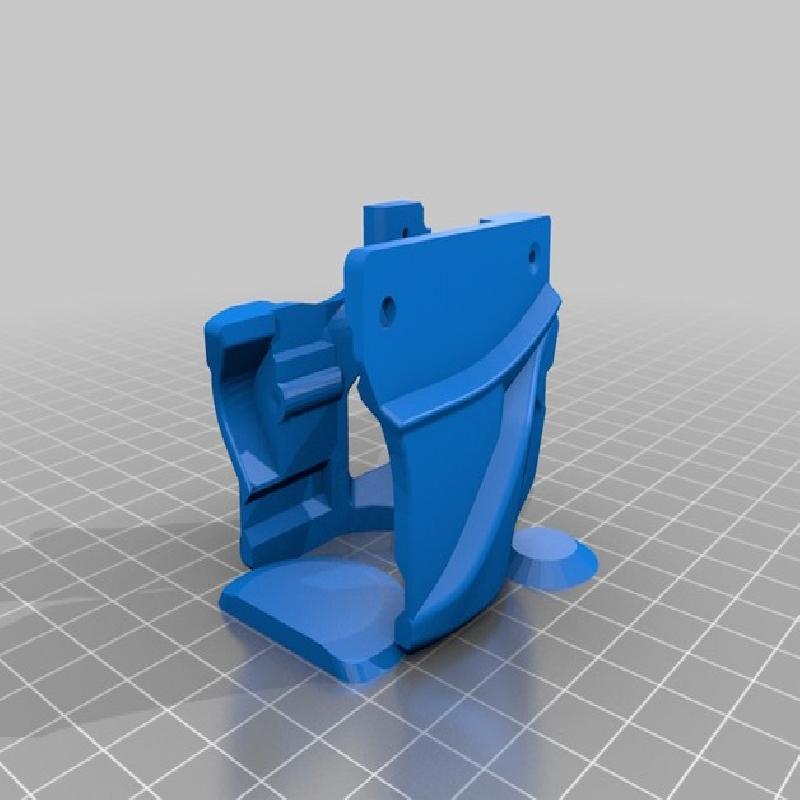
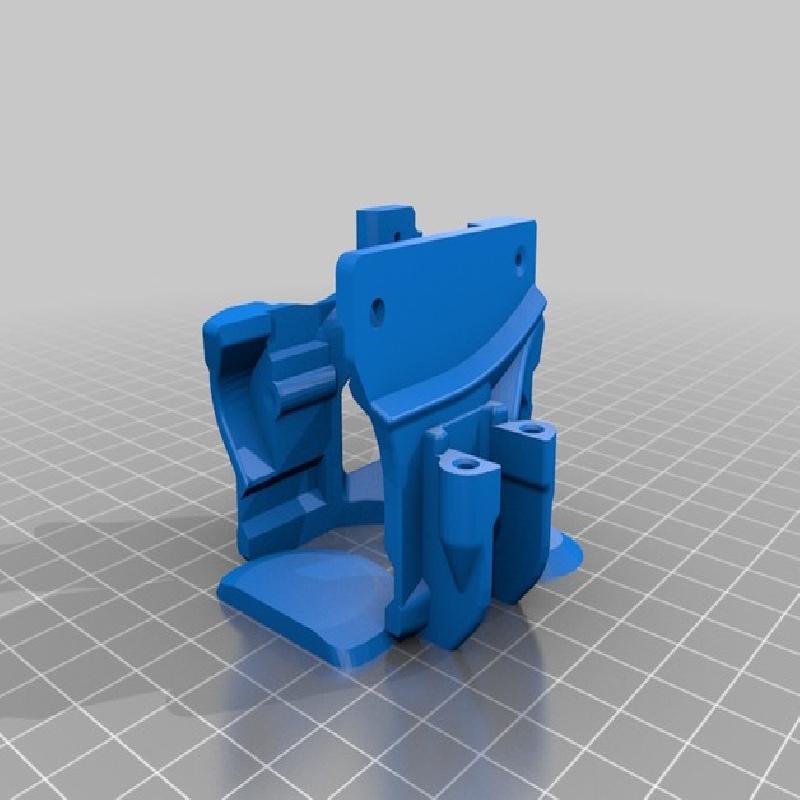
The Toranado Precision Geared 1.75mm Extruder - Coming Soon! - v2.0
Significantly lighter than NEMA-17 geared Extruders
All-in-one
Precision Geared
Uses Ultibot's High Performance MK7 Drive Gear
Modular Design - All parts are easily printable without structure and in your material of choice (PLA/ABS/PETG).
Designed for use with E3Dv6 1.75mm Universal (Original and Clone versions).
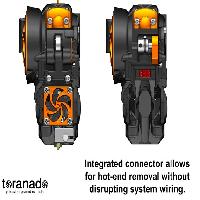
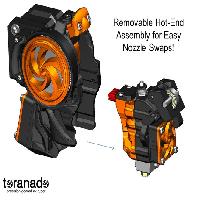
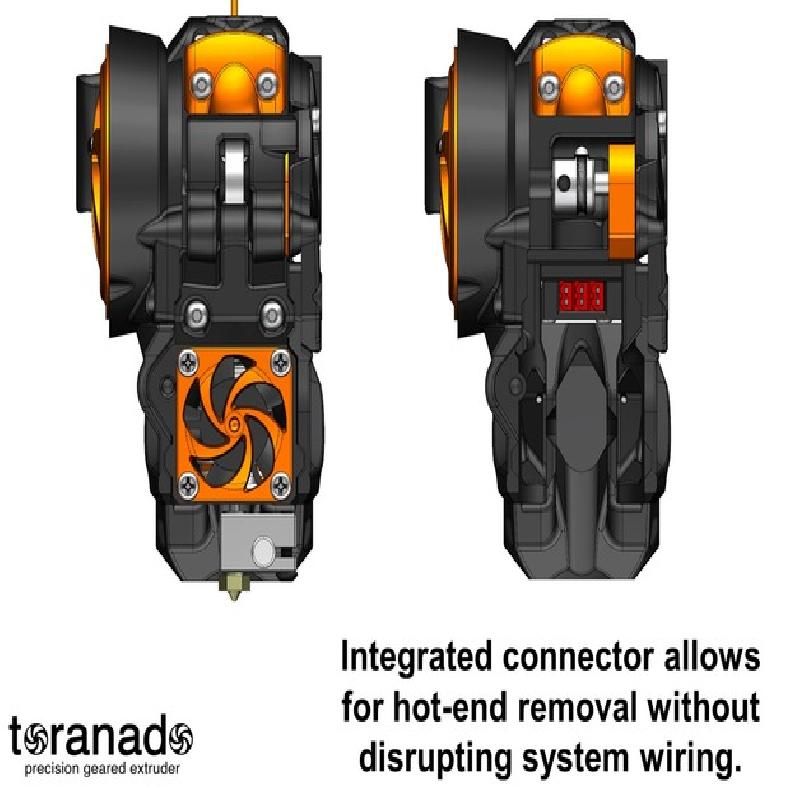
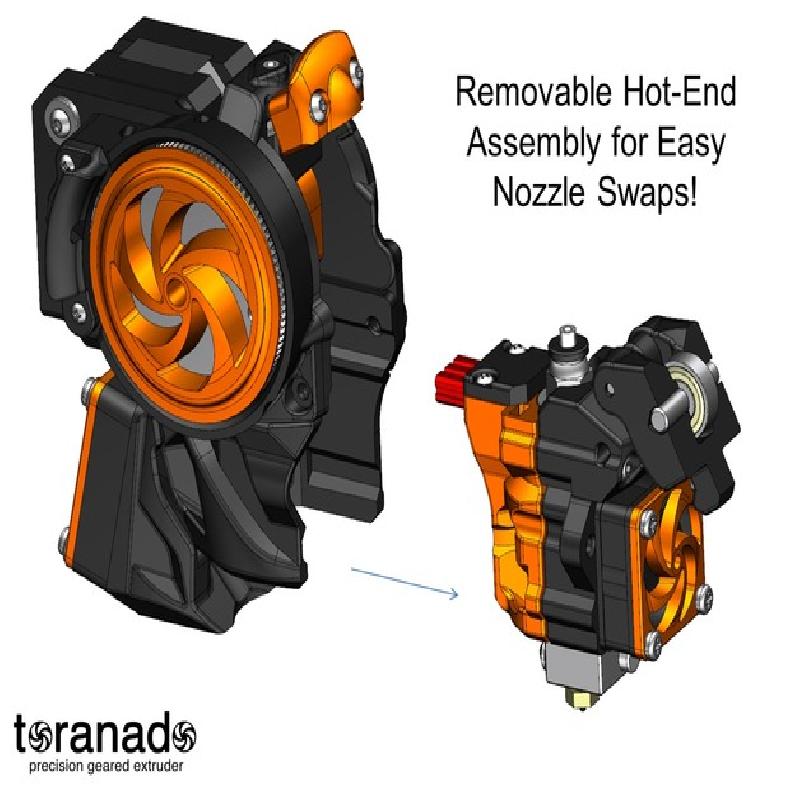
Removable Hot-end sub-assembly!
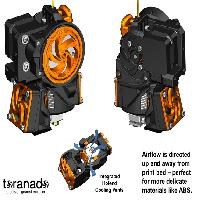
30mm airflow is captured and directed away from print bed
Attractive (like the one who designed it*).
*Note: There is still some minor discussion as to the validity of the designer being attractive.
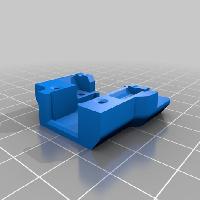
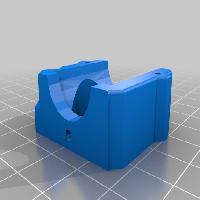
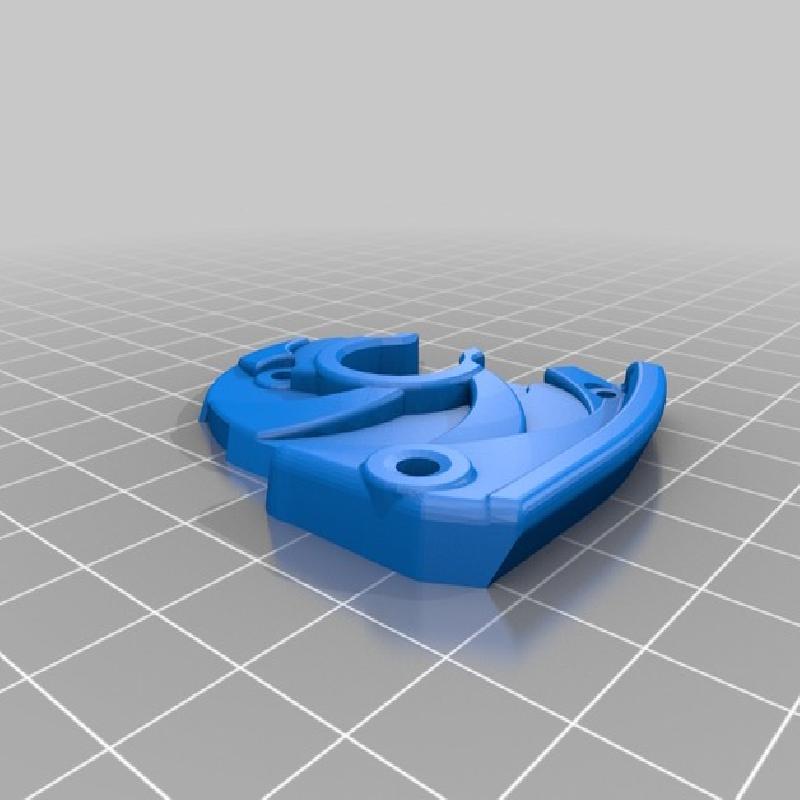
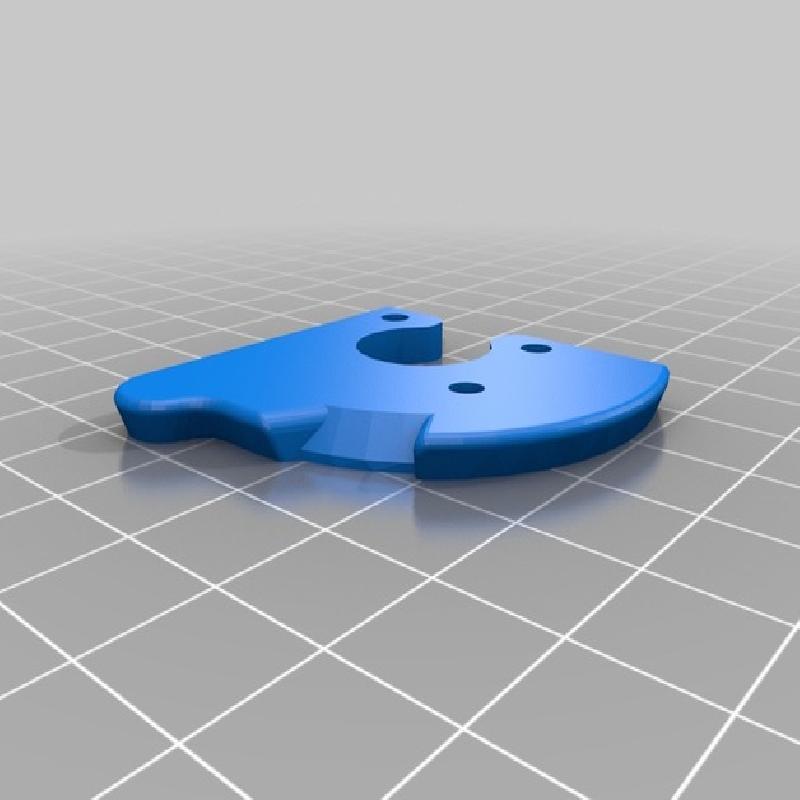
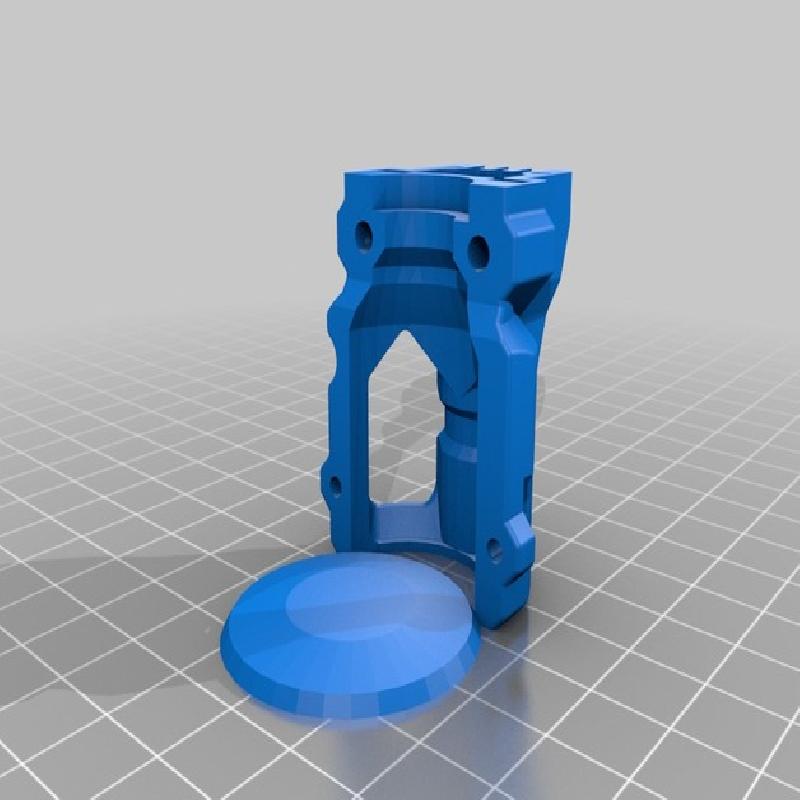
AVAILABLE TORANADO X-CARRIAGE MOUNTS
Also compatible with i3 Rework and typical 23x23mm x-carriage hole patterns.
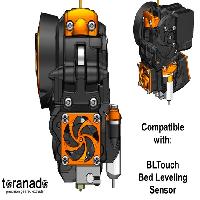
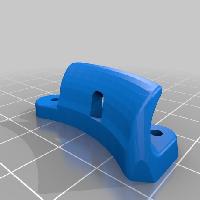
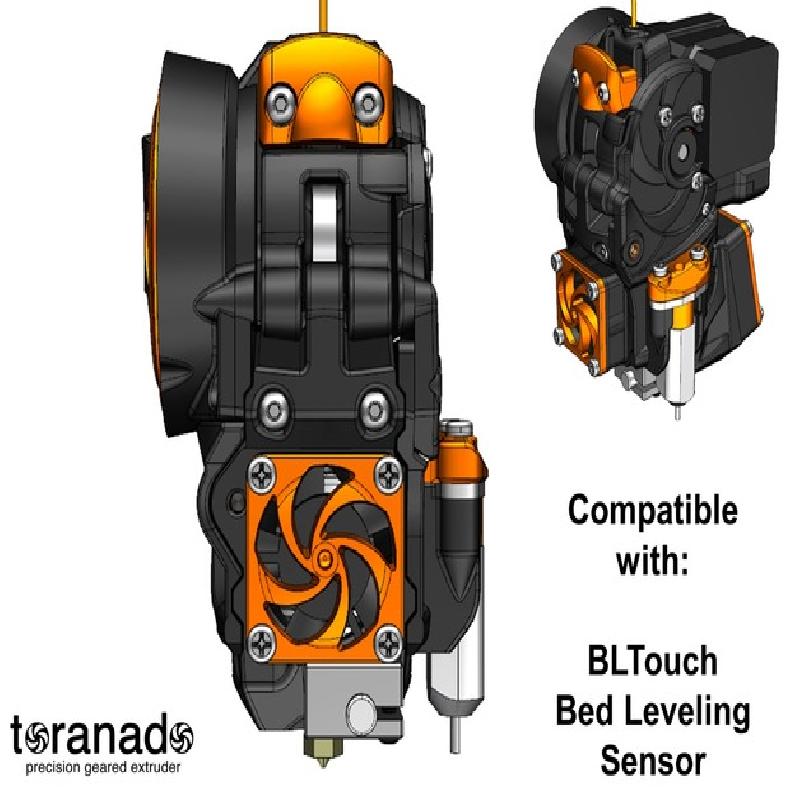
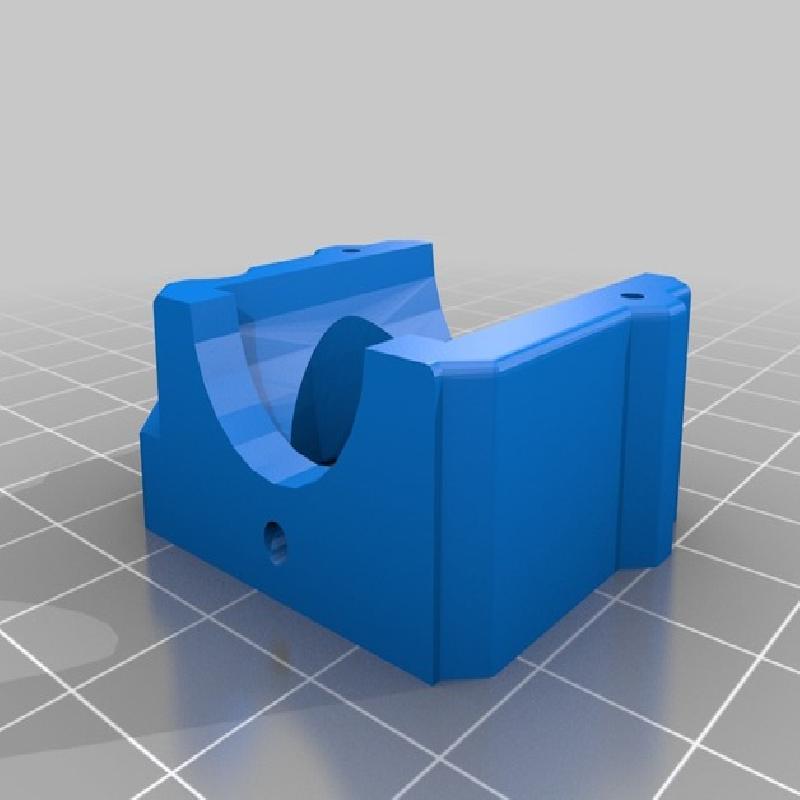
AVAILABLE BED-LEVELING SENSOR MOUNTS
BL-Touch - Coming Soon for v2.0!
I met a guy named Big Cooter, and he pushed me over a cliff.
Fine Tuning Your Extruder
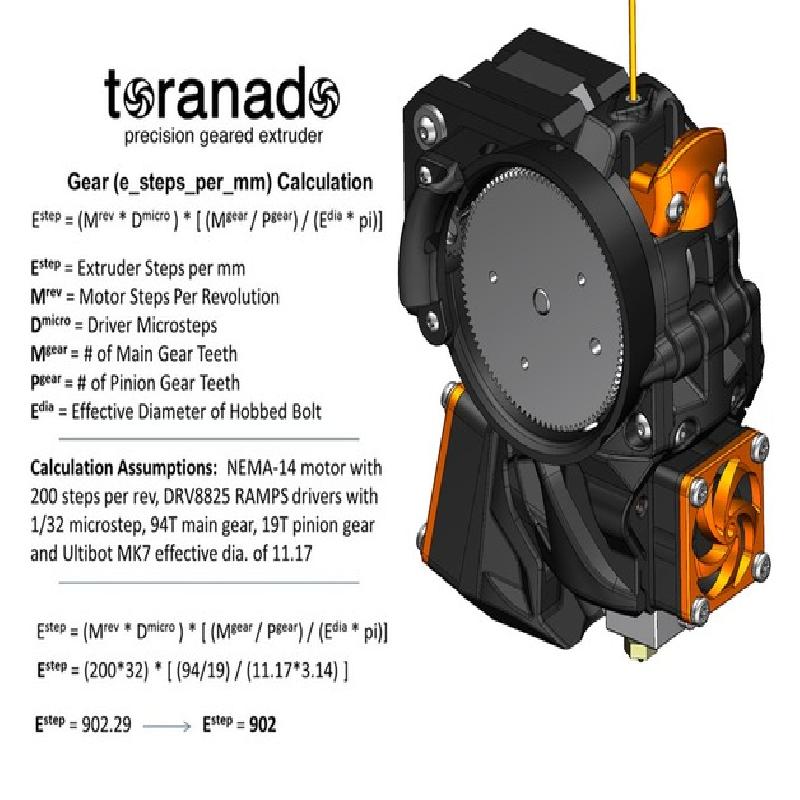
Setting the Extruder Steps Per Millimeter:
Ultibot 1.75mm Drive Gear
Several Makers have tried to use Drive gears other than the one I spec'd from Ultibot. Unless you can find a drive gear that has the same effective diameter, I do not recommend using it - as the tangent point on the bearing will not apply force in the proper area on the drive gear. It is essential your bearing align well to the drive gear. I am currently looking for ways to include proper drive gears in future kits.
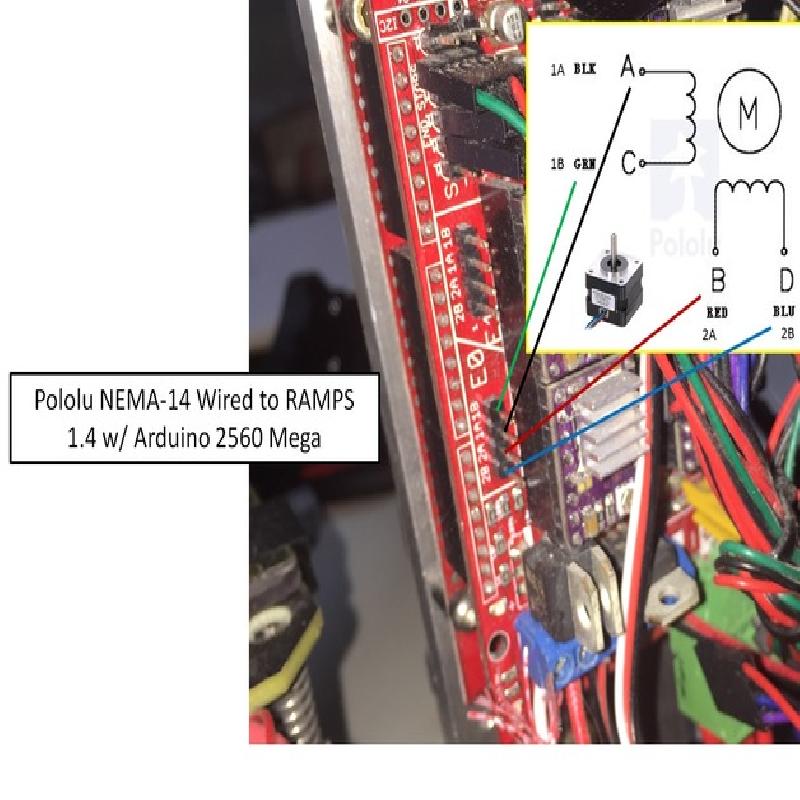
The NEMA-14 Stepper Motor
The motor I have spec'd is rated at 500mA, and even at the rated voltage NEMA14's run hot - be sure not to exceed the rated voltage. Also, You MUST follow Item #9 of the Build Instructions as well - isolating the motor heat from the extruder mount is critical.
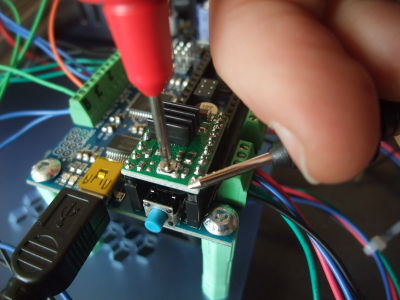
How to set the NEMA-14 properly For the popular RAMPS 1.4 setups:
DRV8825 1/32 stepper - you should take a DC voltage measurement exactly like this. To properly set the motor current, you should adjust your potentiometer to get the reference voltage as close to 0.25V as possible. 0.25V = 500mA (0.5A) to the motor. (Any VREF measurement between 0.24-0.26 should work fine). Formula: Measured VREF x 2 = Motor Current
Pololou A4988 Driver - measure to voltage exactly like this. If you are using drivers from Pololou - to properly set the motor current, you should adjust your potentiometer to get the reference voltage as close to 0.2V as possible. 0.2V = 500mA to the motor. (Any setting between 0.19-0.21 should work fine). Formula: Measured VREF x 2.5 = Motor Current.
NOTE: If you are using certain Chinese clones of the A4988 Driver, the formula is different. See This Post about adjusting your voltage setting on the stepper driver, depending on the type of A4988 that you have.
NEMA-14 WIRING to RAMPS1.4 w Ardino Mega 2560
Print Settings
.STL files and recommended print settings (with a 0.4mm nozzle)
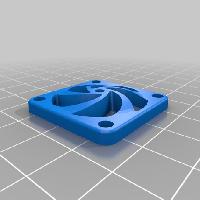
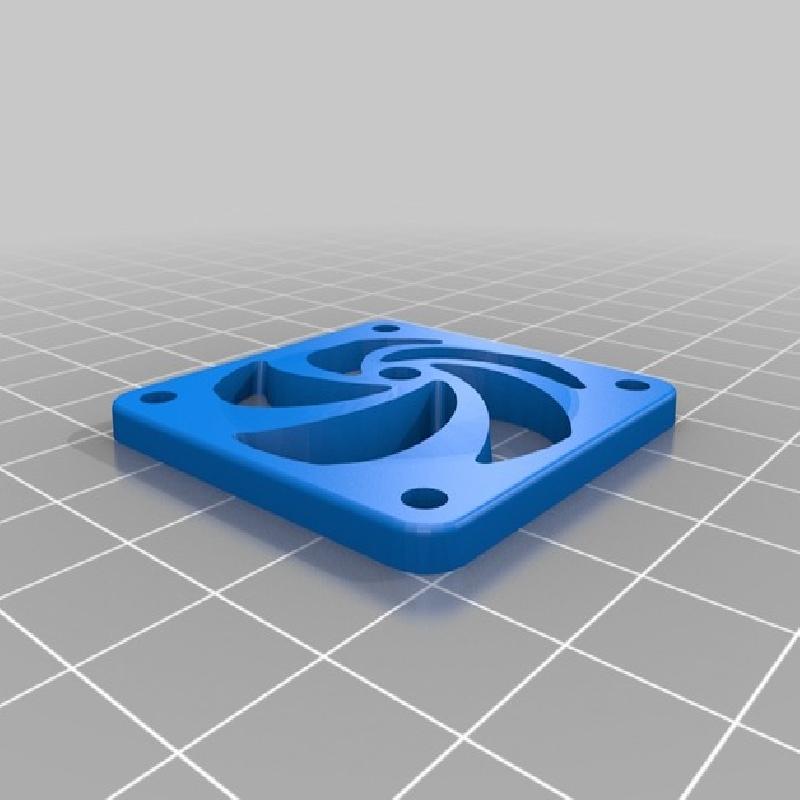
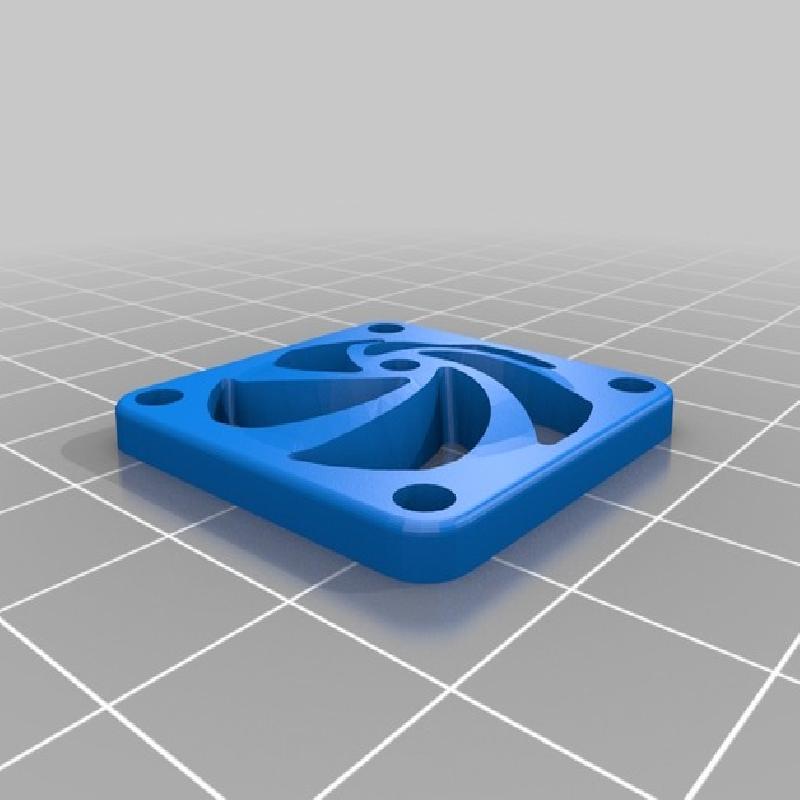
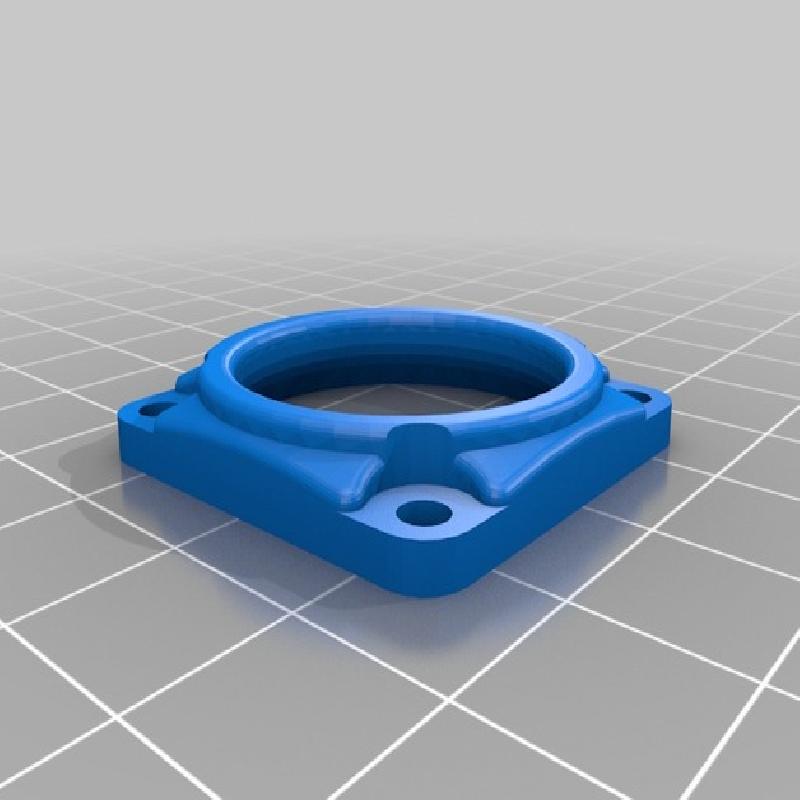
2.0-30mmfanmount-LH/RH.stl: 4 Perimeters, 0.2mm layers, 25% infill
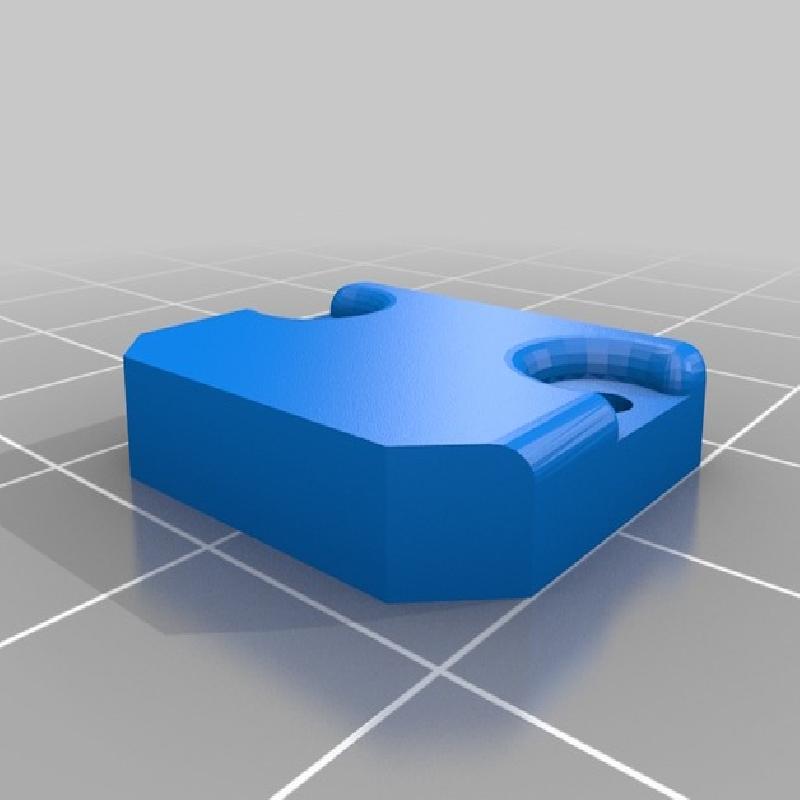
2.0-decorationcover-LH/RH.stl: 4 Perimeters, 0.15mm layers, 21% infill
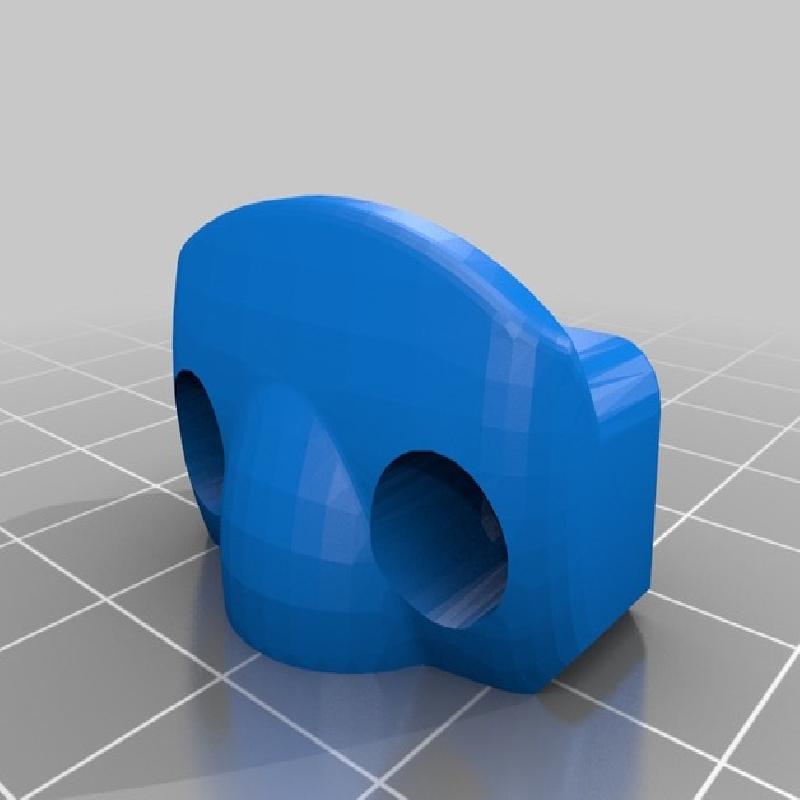
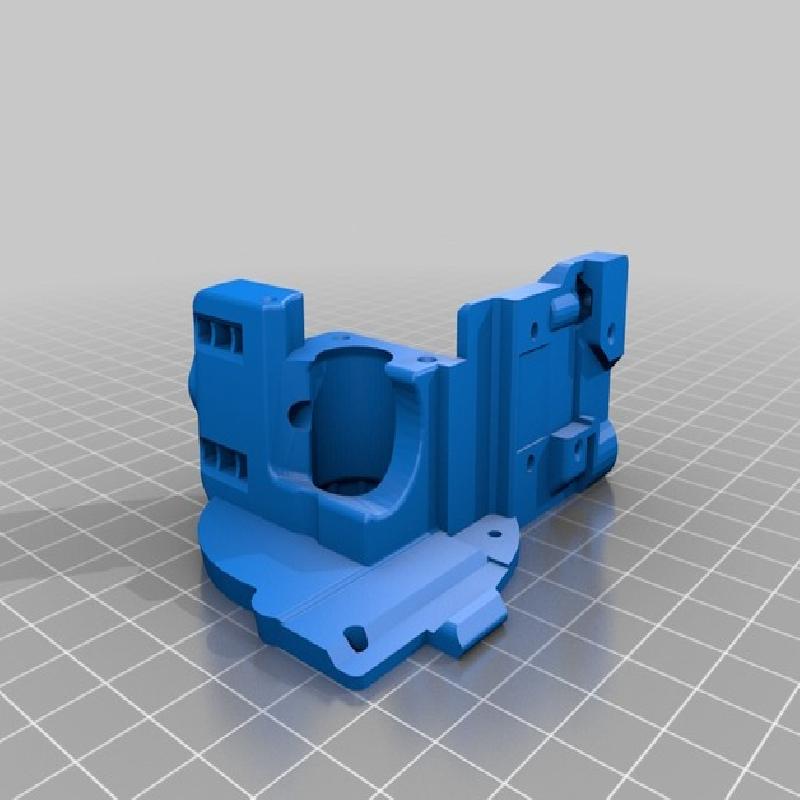
2.0-extruderbase-LH/RH.stl: 3 Perimeters, 0.2mm layers, 50% infill
2.0-idler-LH/RH.stl: 2 Perimeters, 0.2mm layers, 50% infill
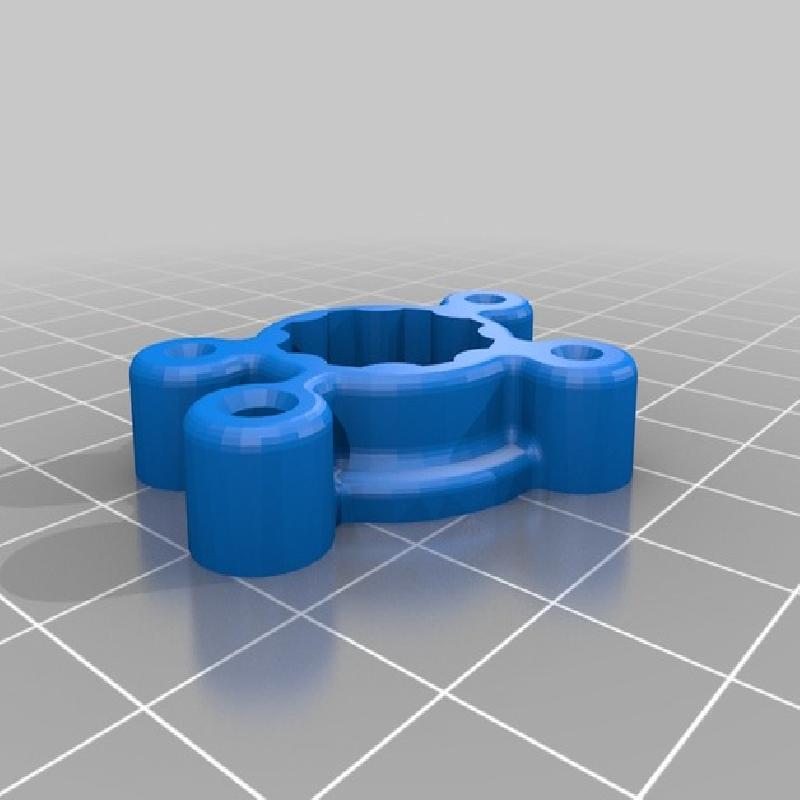
2.0-idlerholder-LH/RH.stl: 2 Perimeters, 0.2mm layers, 25% infill
2.0-idlertensioner-LH/RH.stl: 2 Perimeters, 0.2mm layers, 25% infill
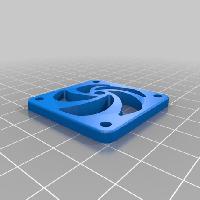
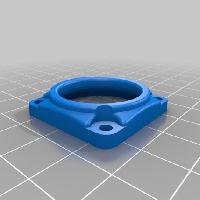
2.0-30mmvent-LH/RH.stl: 2 Perimeters, 0.2mm layers, 25% infill
2.0-gearprotector-LH/RH.stl: 2 Perimeters, 0.2mm layers, 21% infill
2.0-40mmfanduct.stl: 2 Perimeters, 0.2mm layers, 21% infill
2.0-lowercover-LH/RH.stl: 2 Perimeters, 0.2mm layers, 21% infill
2.0-decorationspacer-LH/RH.stl: 2 Perimeters, 0.2mm layers, 21% infill
2.0-conncoverbase-LH/RH.stl: 2 Perimeters, 0.2mm layers, 21% infill
2.0-smallgearcover-LH/RH.stl: 2 Perimeters, 0.2mm layers, 21% infill
2.0-conncover-he-LH/RH.stl: 2 Perimeters, 0.2mm layers, 21% infill
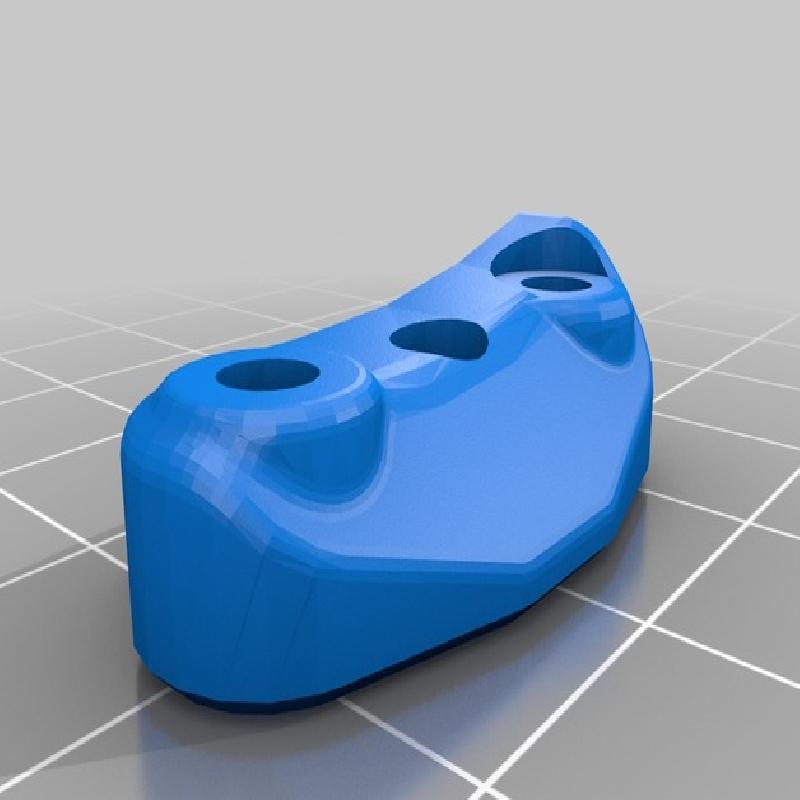
2.0-bearingholder-LH/RH.stl: 2 Perimeters, 0.2mm layers, 21% infill
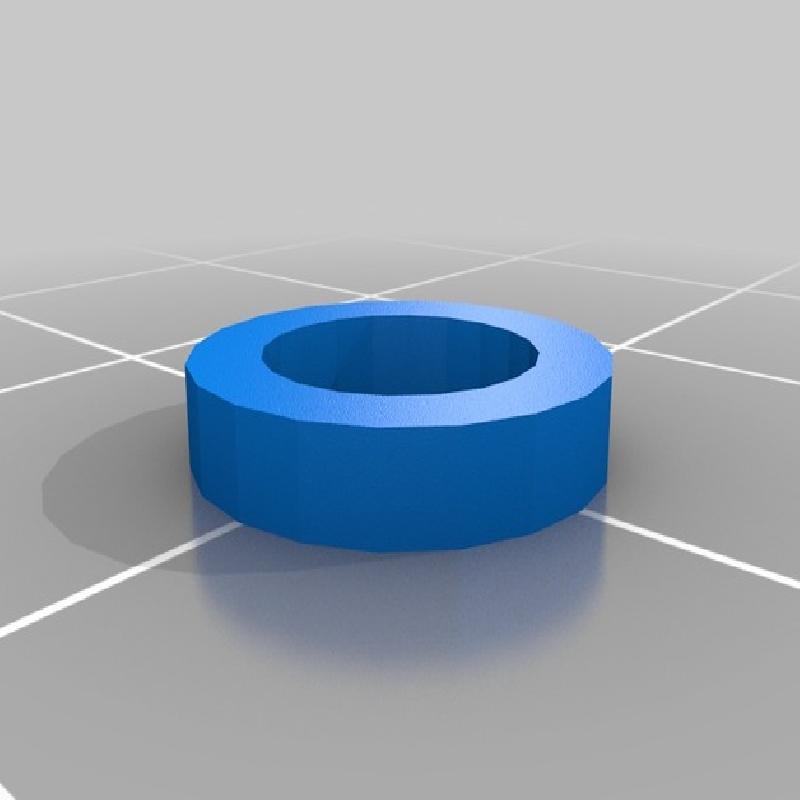
2.0-washer-M5.stl: 2 Perimeters, 0.2mm layers, 21% infill
2.0-gearcover.stl: 2 Perimeters, 0.15mm layers, 21% infill
2.0-40mmfancover.stl: 2 Perimeters, 0.15mm layers, 21% infill
2.0-30mmfancover.stl: 2 Perimeters, 0.15mm layers, 21% infill
2.0-30mmfancover-lownoise.stl: 2 Perimeters, 0.15mm layers, 21% infill
You will need the following hardware to complete your kit:
1x Toranado v2.0 Fastener Kit
-- Note: These kits can also be ordered as a bundle Here
1x E3Dv6 1.75mm Universal Hot-End Kit - Note: also works with E3dv6 Bowden or Off-brand versions
2x 625zz Radial Bearing w/ ABEC#1 Rating or Better
1x MR685ZZ Radial Bearing w/ ABEC#1 Rating or Better
Complete Toranado Bill of Material
1x E3Dv6 1.75mm Universal Hot-End Kit - Note: also works with E3dv6 Bowden or Off-brand versions
2x 625zz Radial Bearing w/ ABEC#1 Rating or Better
1x MR685ZZ Radial Bearing w/ ABEC#1 Rating or Better
1x 5mm Dia. Shaft 50mm Length - Available in Toranado v2.0 Gear and Shaft Kit
1x 5mm Dia. Shaft 25mm Length - Available in Toranado v2.0 Gear and Shaft Kit
5x M3 Hex Nut
4x M3 Washer
PTFE Tubing 4mmOD 2mmID - 75mm Length
2x M3 Idler Springs - Available in Toranado v2.0 Fastener Kit


