by Simonarri, published
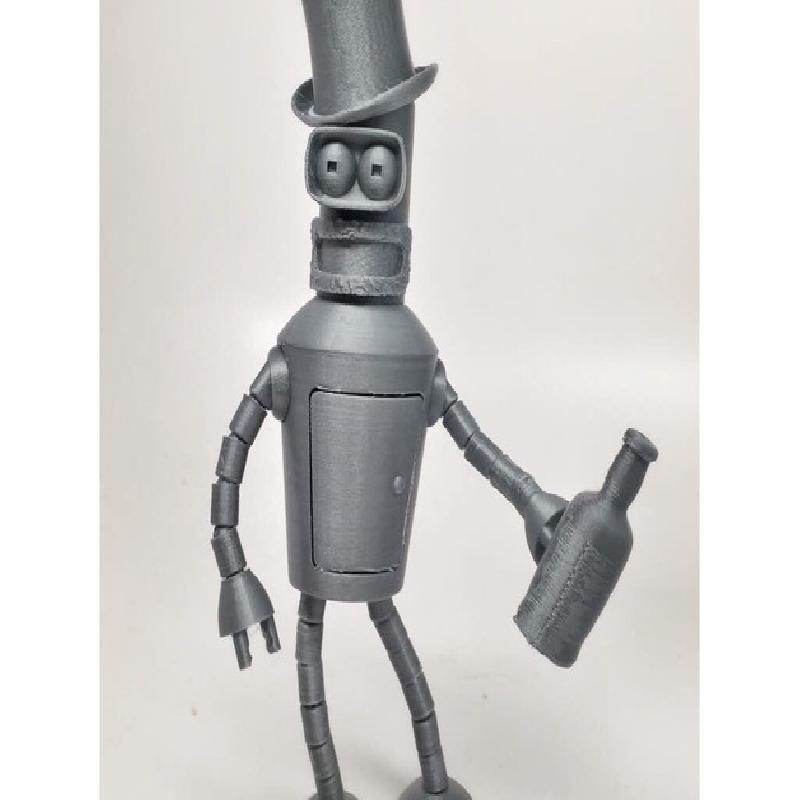
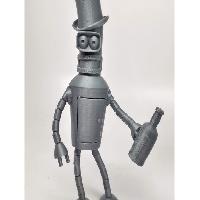
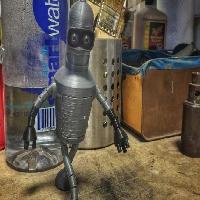
Bender Bending Rodriguez, the articulated model. He has some accessories, I'd like it if people would help create more, since there are so many. I will add accessories as I watch more episodes. Please read the instructions as they contain info on printing and assembly. Enjoy and if you like, follow me on Instagram (Simonarri).
Hey, wanna kill all humans?
This model has been switched out for the metric version. You do not have to scale to print!
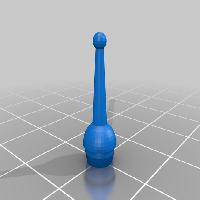
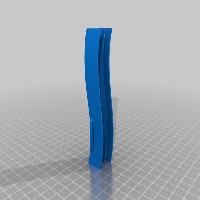
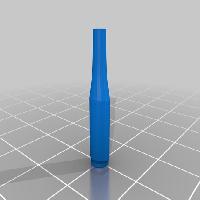
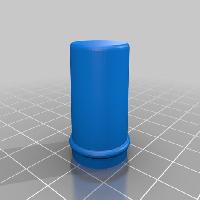
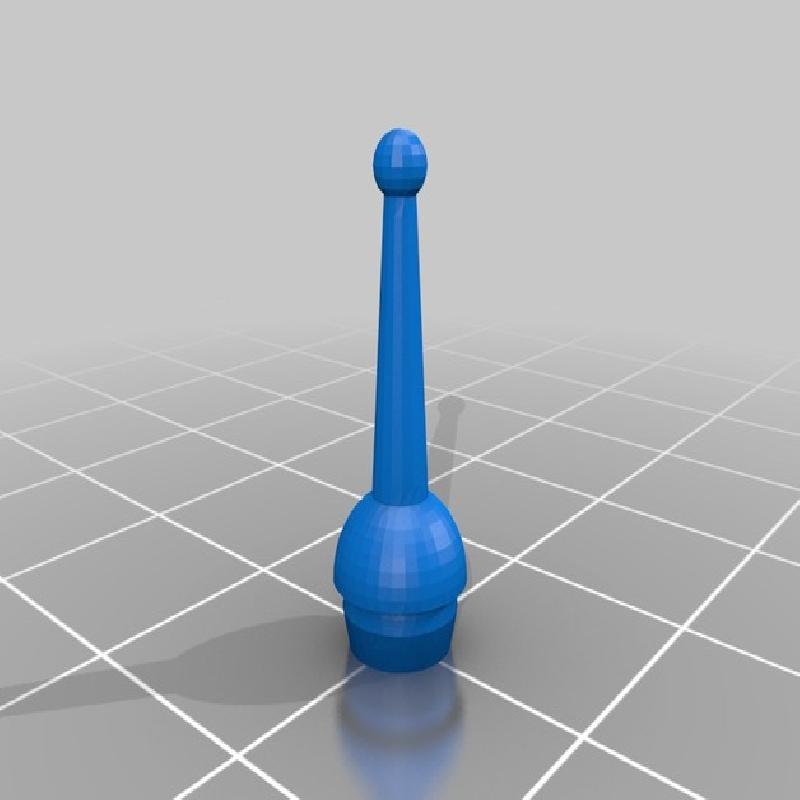
Smaller parts and those with not much of a footprint could use help from a brim. For me, these were: Cigar, beam, antennae. All other pieces seem to stand on their own.
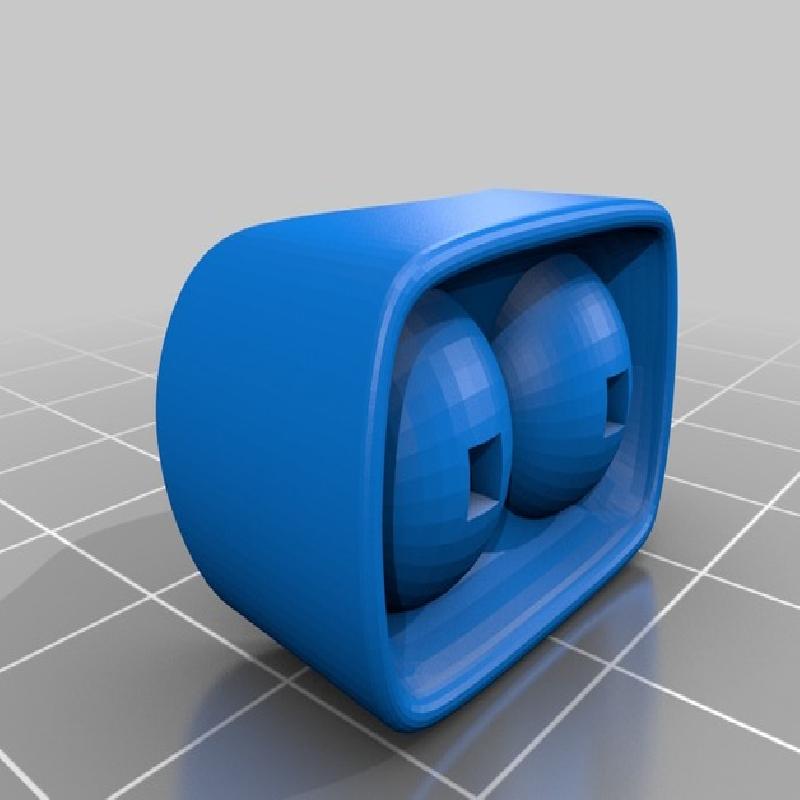
Some of the objects have numbers after their names. These numbers indicate the amount of each piece you will have to print to make one complete model. If you are painting the piece, you can print multiple eyes for different expressions.
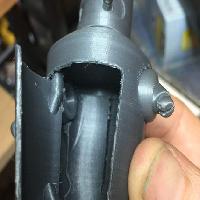
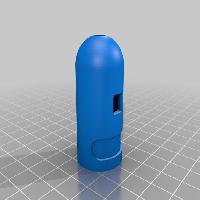
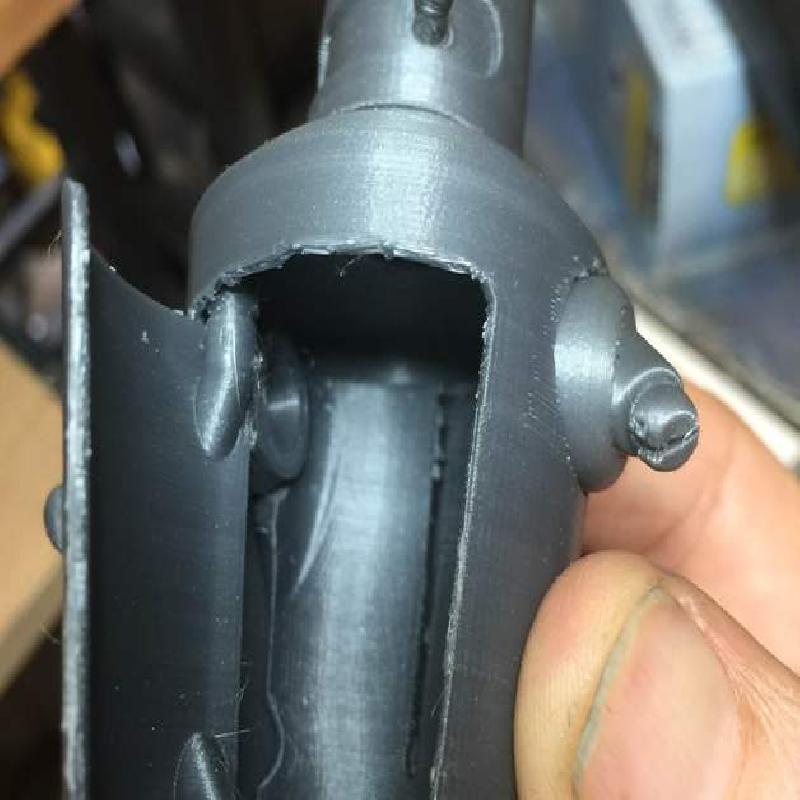
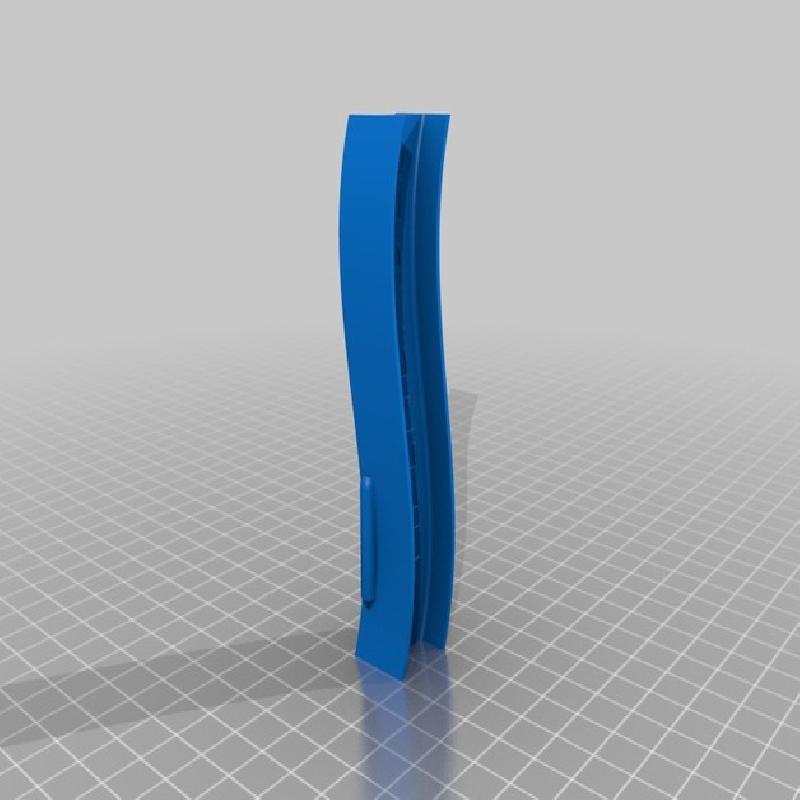
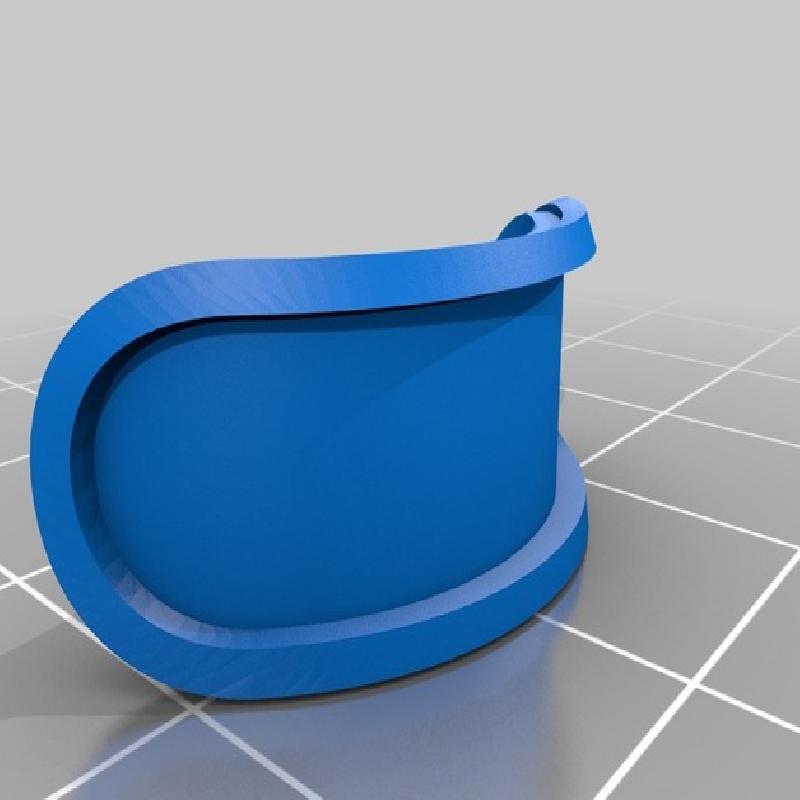
The body took the longest to figure out. I made it with small tabs at the top and bottom of the door that will need to be cut through with a blade. I made mine serrated and have included a photo to illustrate. I had different parts of the door fuse due to printer settings. If that happens for you, a little work with the serrated blade will open it up. After the door is cut all around, gently pry it open to work the hinges loose. Clean up around the armholes and tabs on the inside with a blade so the tabs are able to be pressed and moved slightly. To assemble the shoulders, press one tab(there are 2) and insert the shoulder into the socket at the same time. The ridges in front and back both need to be set completely into the ring on the shoulder. This will allow the shoulder to rotate with a little tension. Attach 4 links to one shoulder to make an arm.
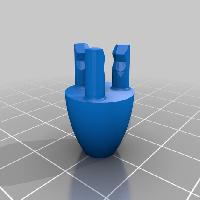
The legangle2.stl pieces are the first ones to attach to the bottom of the body for legs as they are angled slightly. Attach 5 links to this to form one leg. If the links don't fit together with a little push, run a blade around the inside hole of the link to loosen it up. Links and hands can be printed with a high infill number to make them tougher. The foot has a hole in the bottom that will fit rare earth magnets if you want to glue one in.
Below are edits and additions, so be sure to check them out:
4/7- Changed beam, fits between arms now
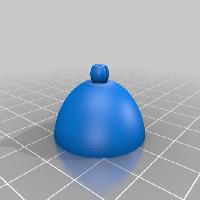
Added "Beard." This is the only piece so far that should print with support.
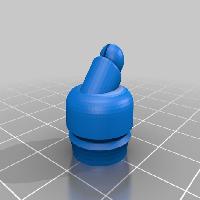
Added "Headnohole" as an alternate head with no cigar hole.
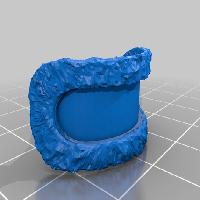
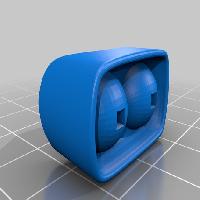
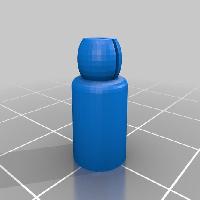
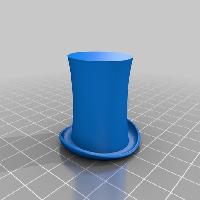
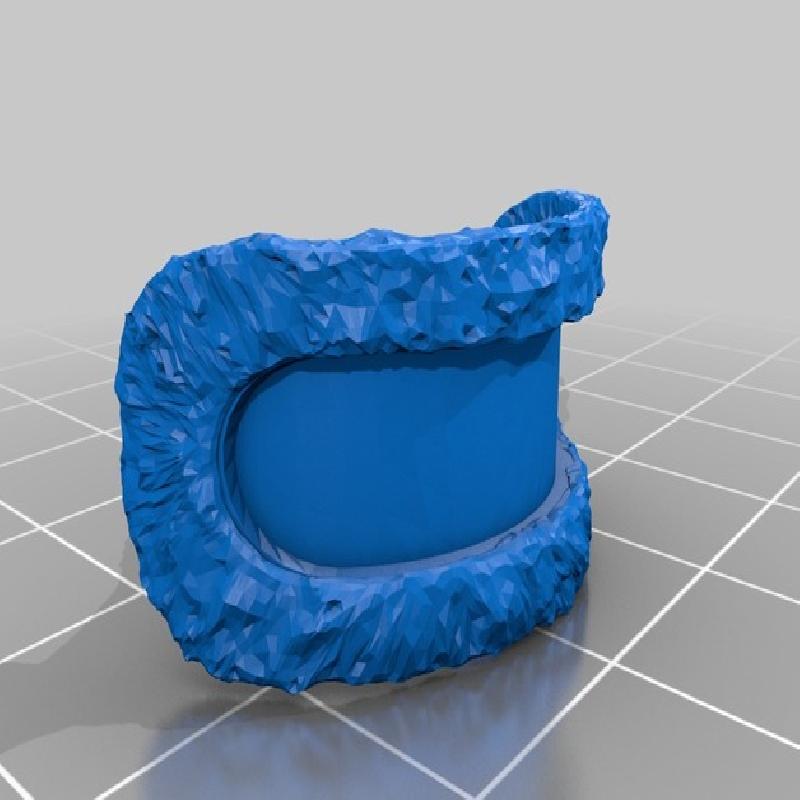
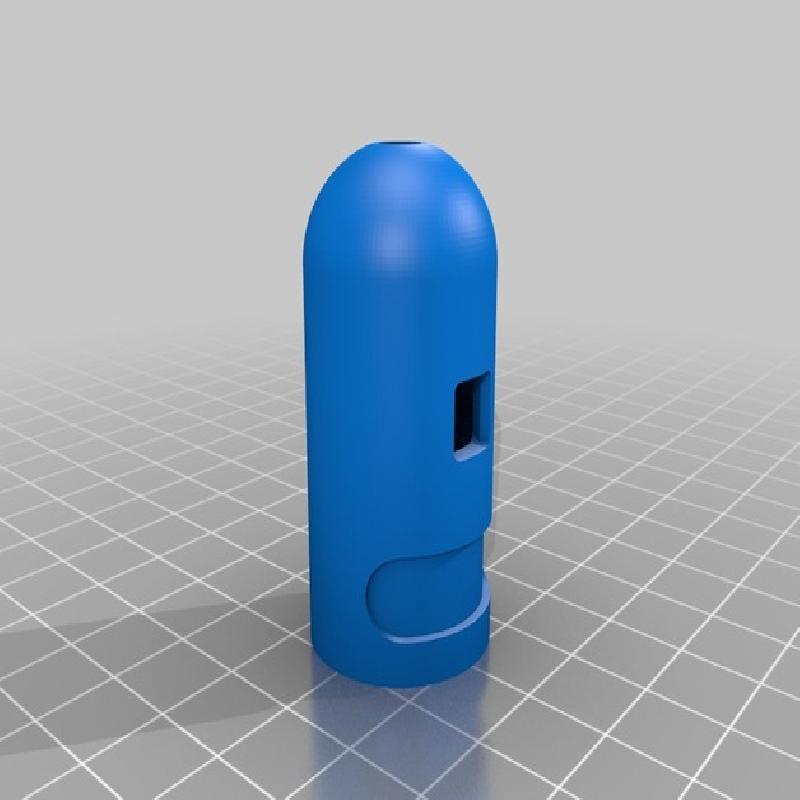
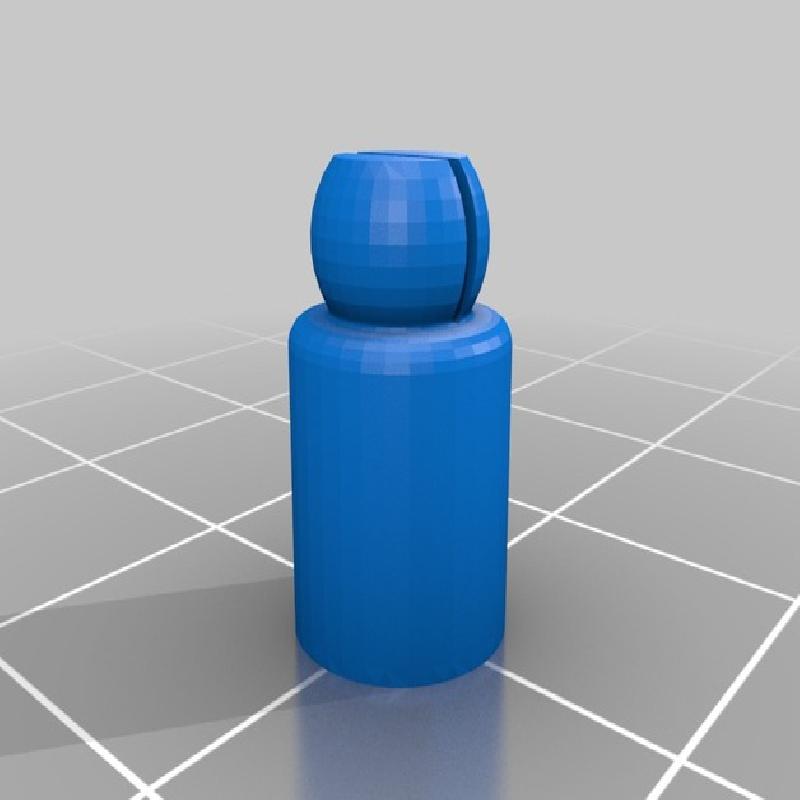
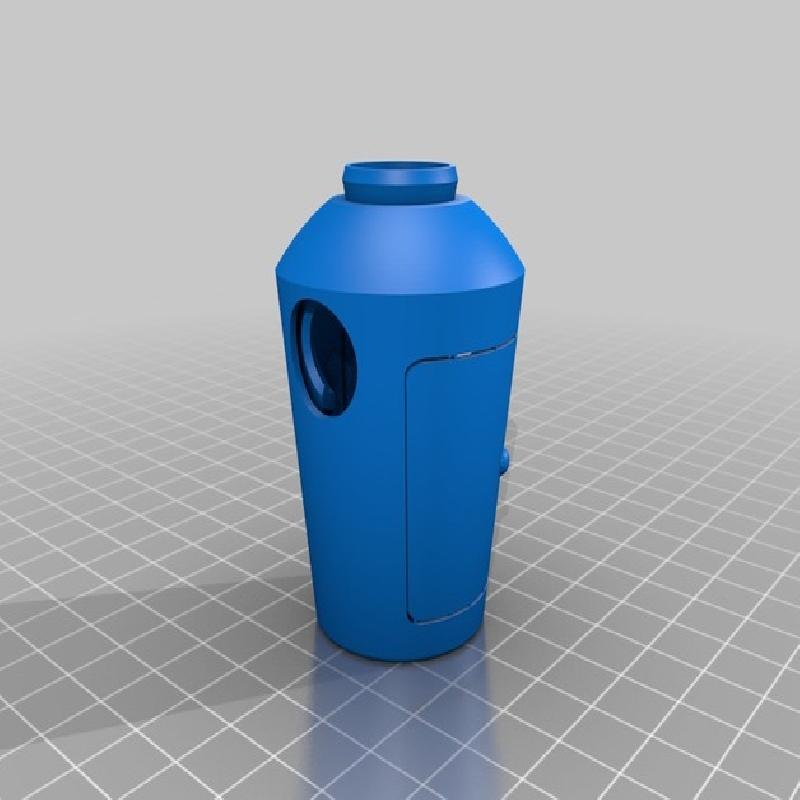
"Headjar" is the container for keeping heads alive. You can print a face and glue on.
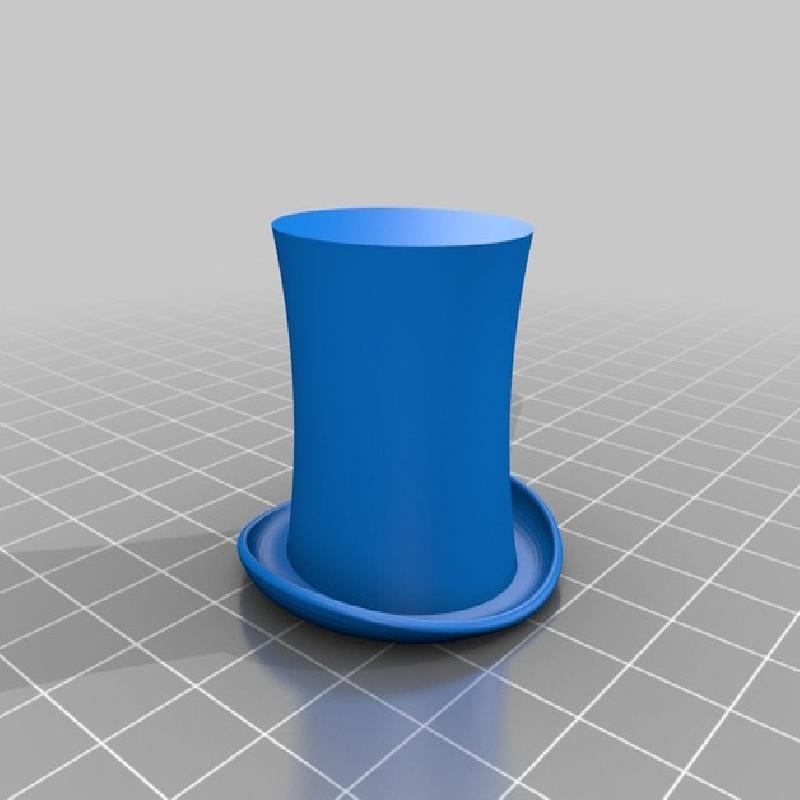
Added "Tophat"
5-29- Added link181 thru link185. Each one is .001 larger than the last. If you have issues with link18 fitting to make arms or legs, try printing 2 of link181 and see if they fit together better for you before printing 18 of them. If link181 is still too tight, move on to the next size and see if it works better for your printer.
7/22- Added 2 more supports to the bottom of the door per request
If any of these instructions are unclear, please drop me a line:)