by Lewj, published
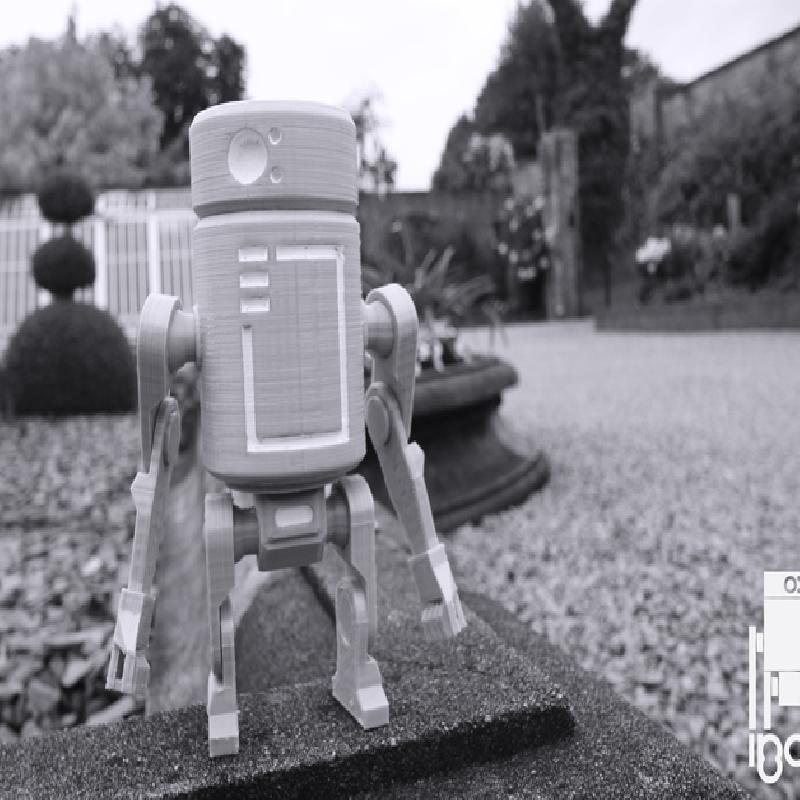
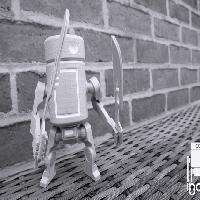
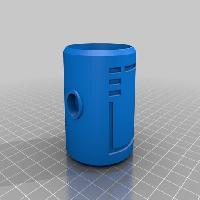
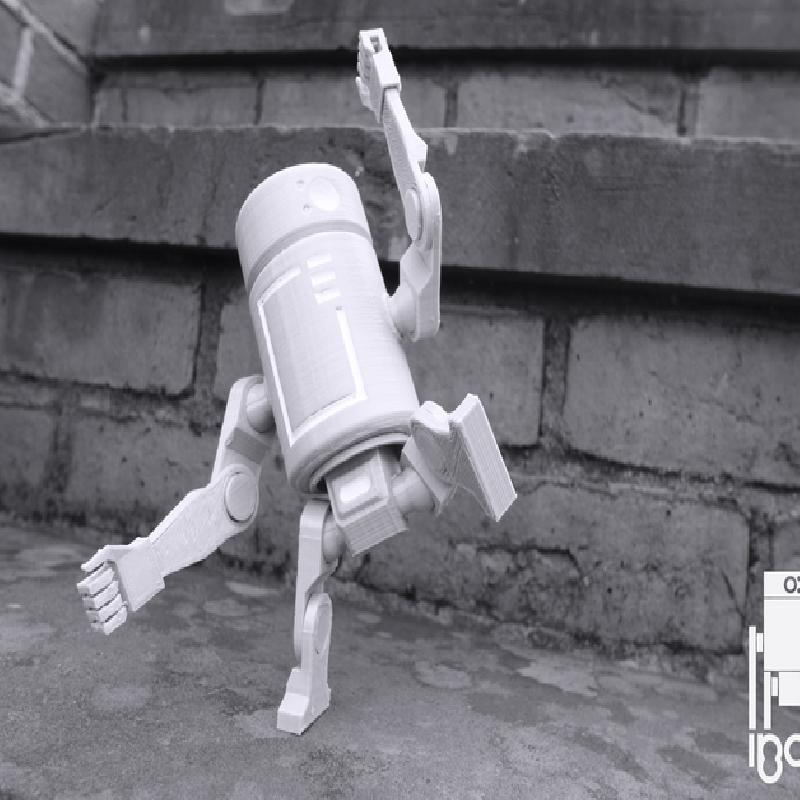
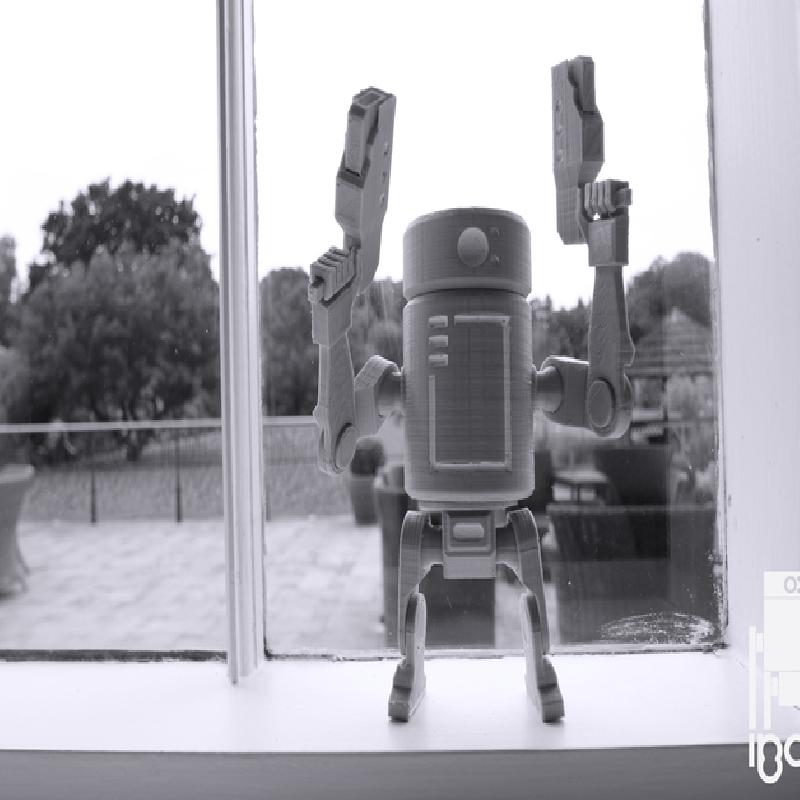
IBOT is the graceful successor to the original design. I took the proportions and style from Vr1 and expanded on every aspect of the 3d model. So whats new?
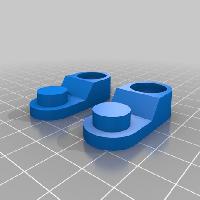
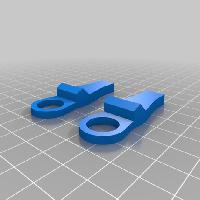
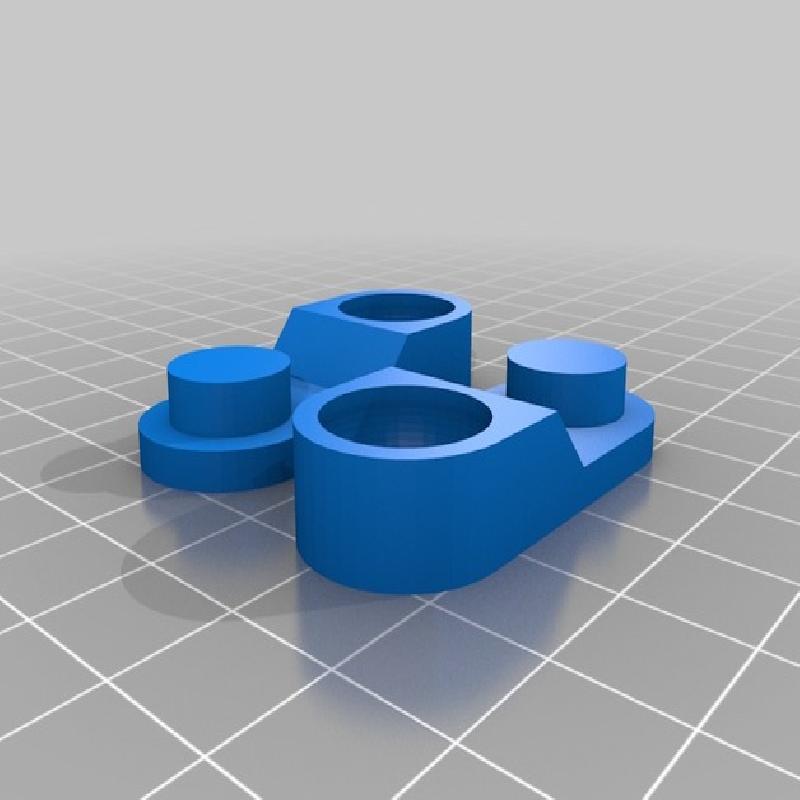
Articulated ball joints for the arms and legs.
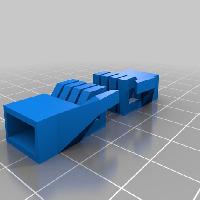
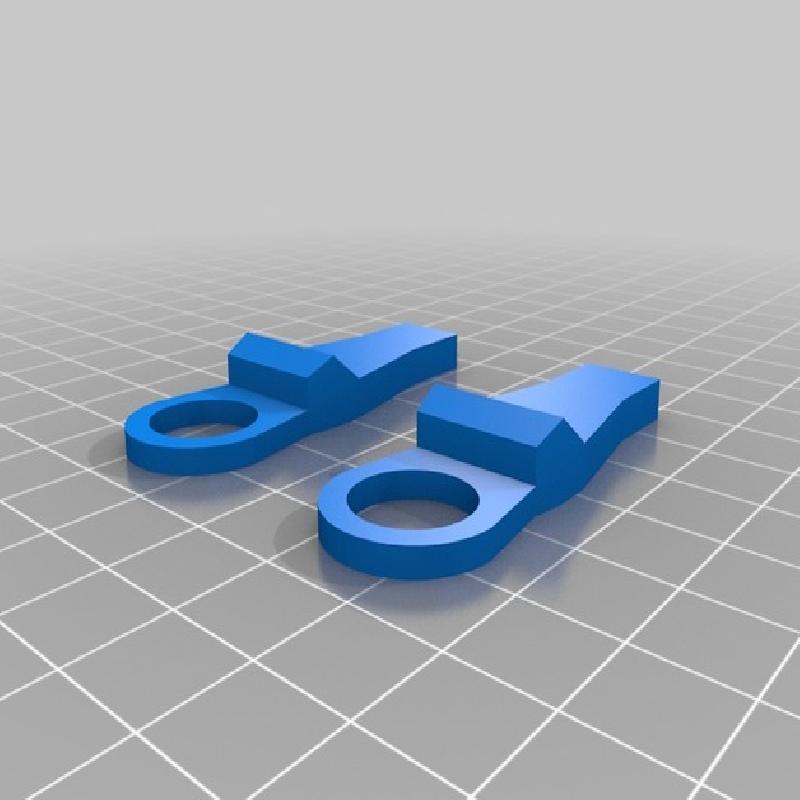
Pivot joints for the elbows and knees
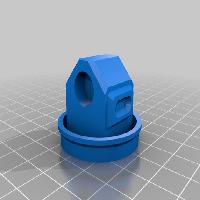
Improved details
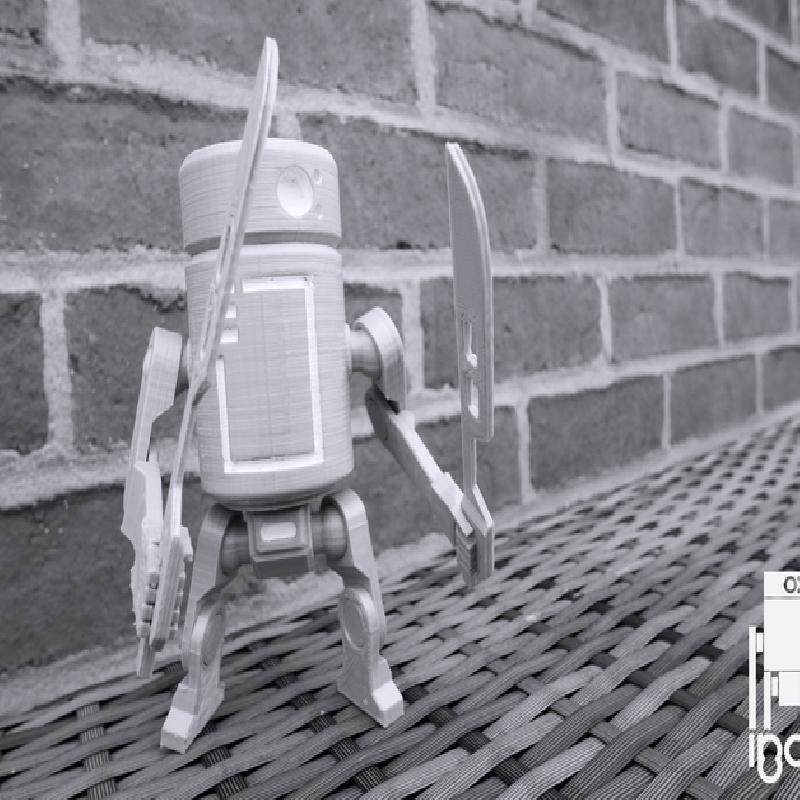
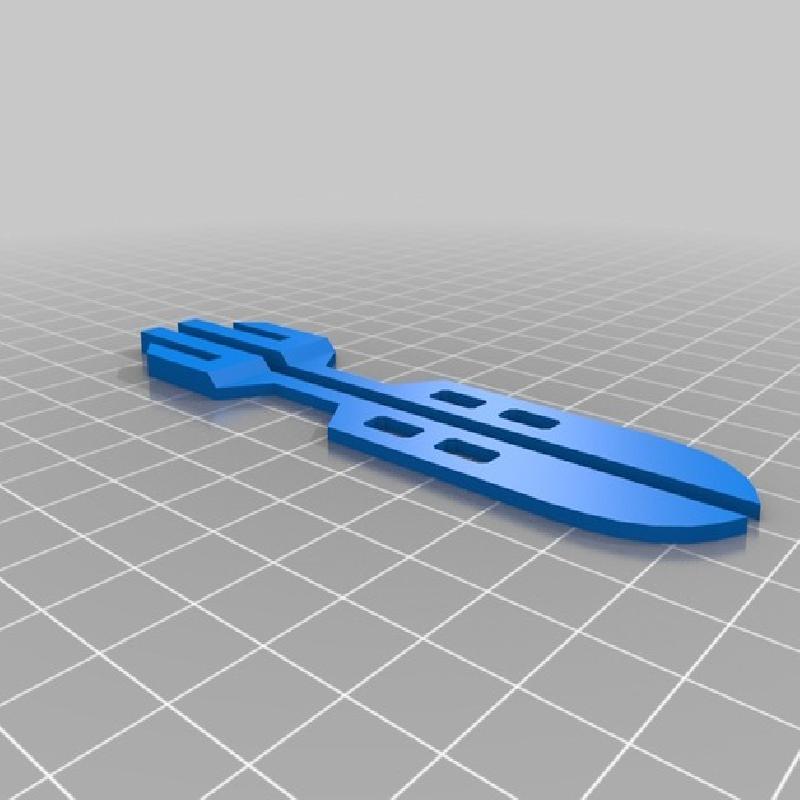
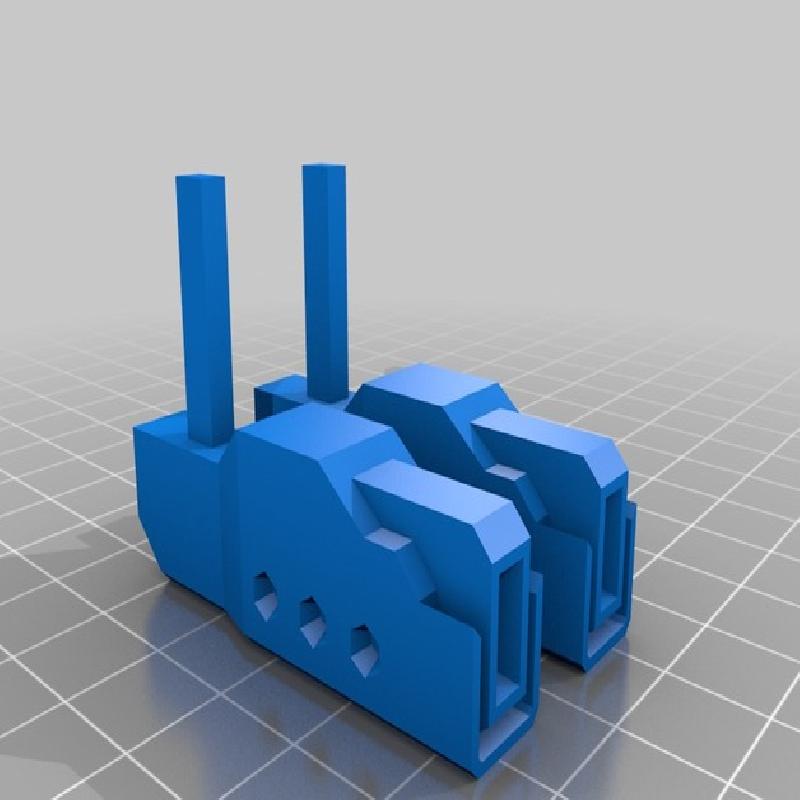
Functional Hands to accommodate accessories.
Efficient modelling techniques (all pieces are designed with a flat face for easy printing & small parts ensure it can be printed on the tiniest of print beds)
I've put alot of love into this design and i hope it shows through. It's a great little weekend project and i'd love to see how you make it your own.
Make sure to tag me on instagram if you make your own IBOT @lew_j. I'd love to see what colours/materials/finishes you've used!
Printer: M3D Micro
Rafts: Yes
Supports: Yes
Resolution: 200 Microns
Infill: Non
Notes:
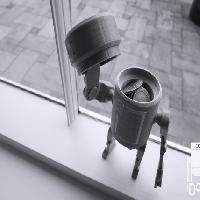
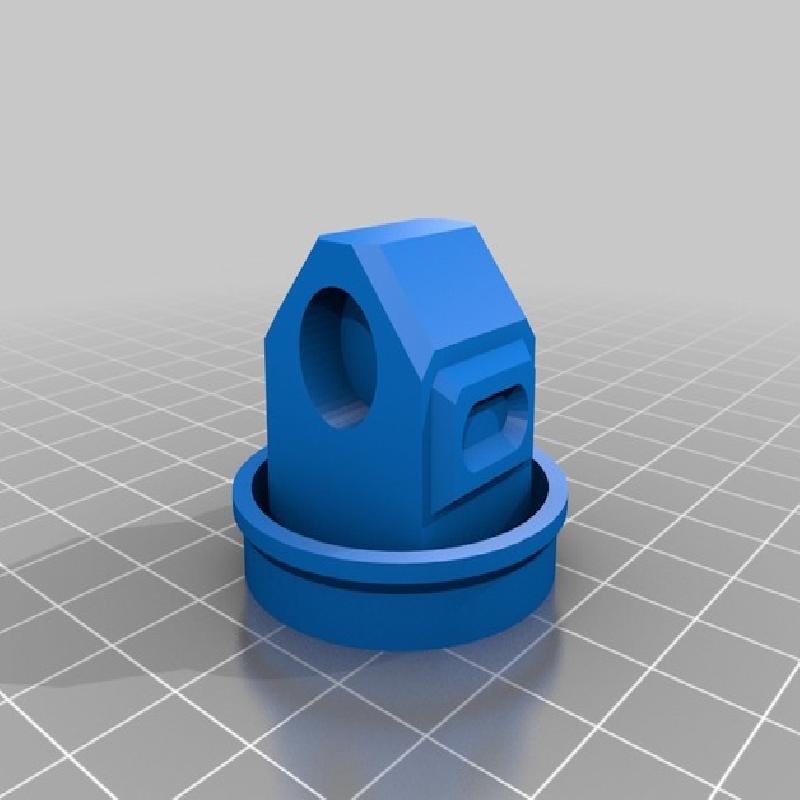
Total Print Time for IBOT Alone - 15hr Total Print Time for all pieces - 20hr I personally used the following settings on all pieces. Supports? only on Hands, Body, Pelvis Rafts? Recommended Infill? All pieces are hollow with the thick walls setting enabled Resolution? I printed at 0.2mm layer thickness (200 microns) Some light sanding maybe required depending on the resolution you use. The ball joints are a tight but trust me they do fit. IBOT is approximately 14cm tall when complete.
Instructions
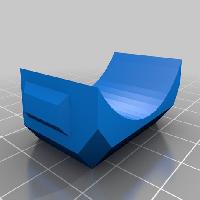
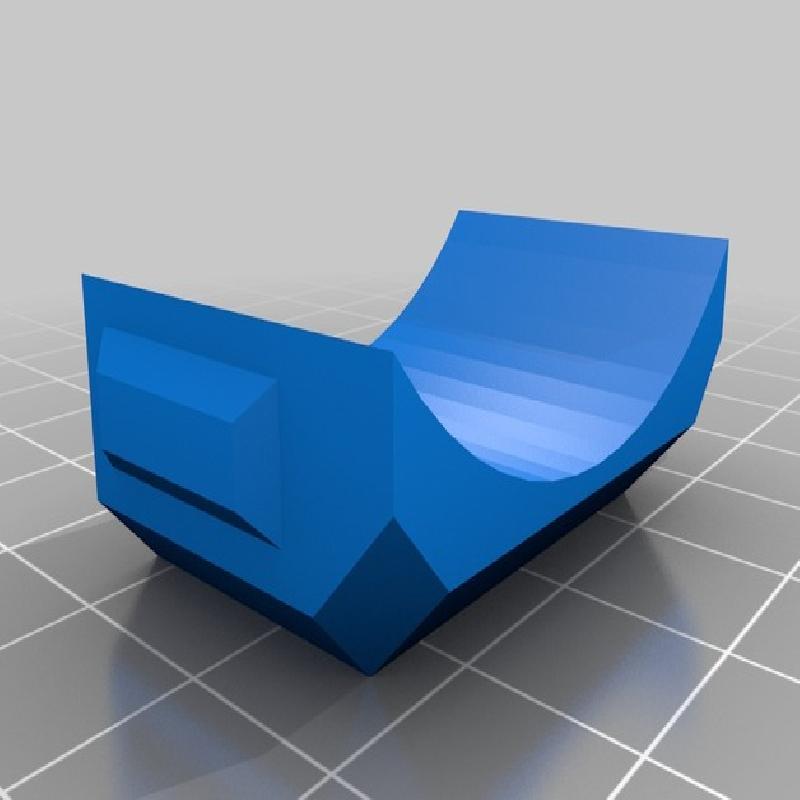
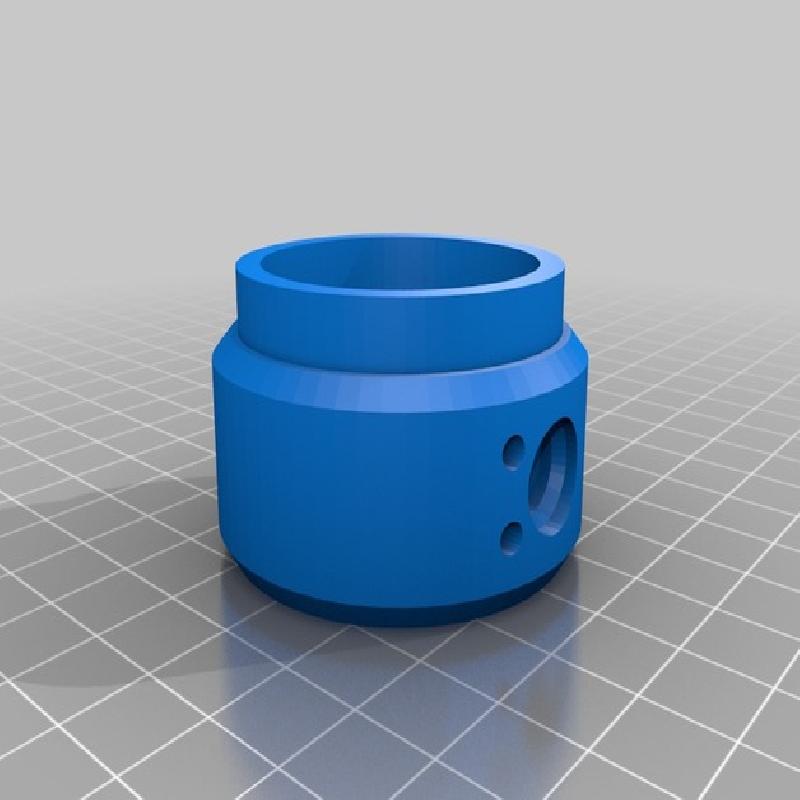
Print all pieces and remove excess support material / imperfections
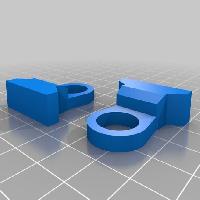
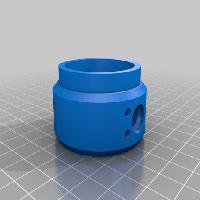
Slot two ball pegs into the body.
Insert Pelvis into flat end of the body (and Glue if required)
Slot two ball pegs into the Pelvis
Attach Biceps & Femurs to the relevant Ball Joints
Attach Feet & Forearms to the relevant Pivot Joints
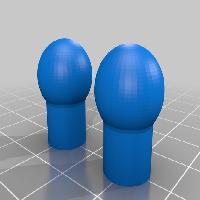
Plug the Hands into the Forearms
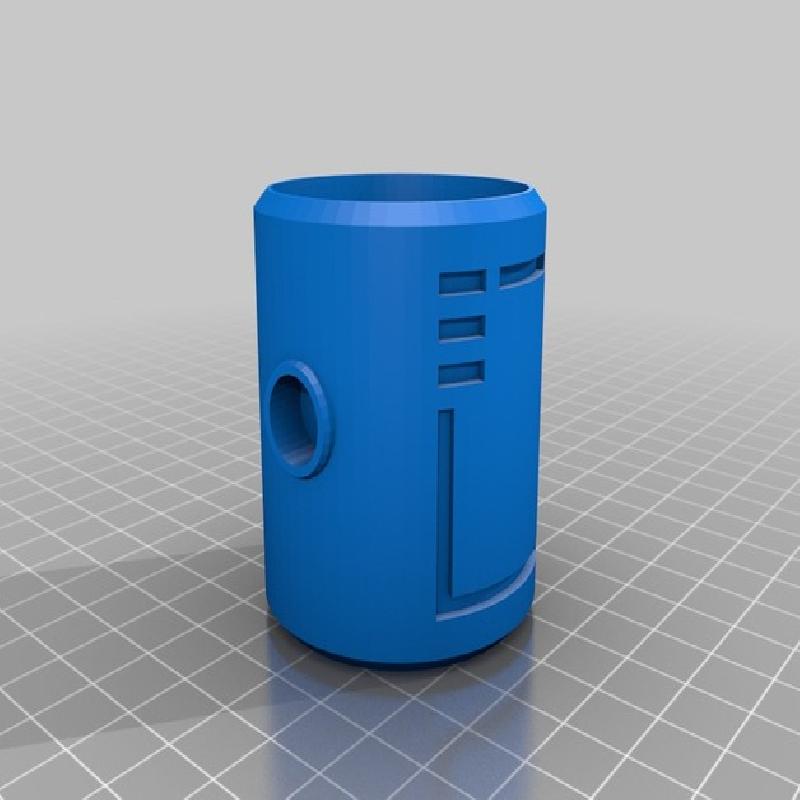
Slot in the Head.
Enjoy!
How I Designed This.
IBOT was designed & exported in Lightwave 3D. I used basic geometry to create each piece and added the necessary sockets/joints for articulation. This was mainly achieved by trial & error. I noticed you need a 0.1mm gap between a ball and its socket to make a decent friction fit. This also applies to the pivot joints & Head which rely on friction to move/stay in place. I used Rigidink PLA Filament which i wholeheartedly recommend to anyone.