by gzumwalt, published
Who likes knocking down dominoes? Yeah!!!!!!
Who likes setting up dominoes to be knocked down? Boo!!!!!!
Who likes pink and green? Uh, well, there's granddaughters, grandsons, nieces, nephews, and, well, you get the picture...
If you're like our family (we love knocking dominoes down, but can't stand setting dominoes up to be knocked down), then "The Pink and Green Domino Machine" may be the answer for you too! Our kids, grandkids, nieces, nephews and other family members like this little pink and green domino dispensing machine, and we hope you and yours do also!
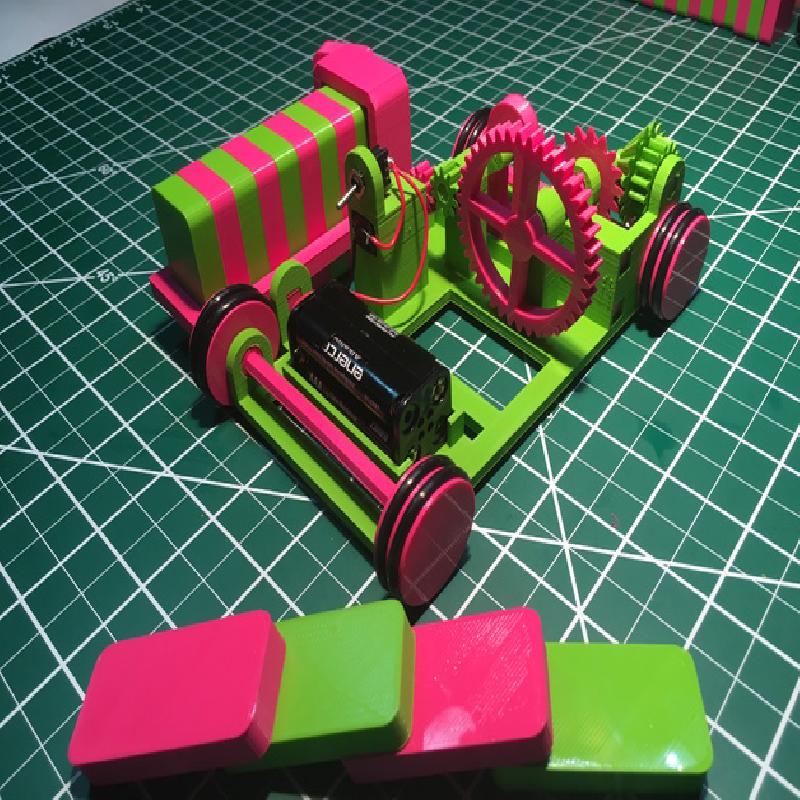
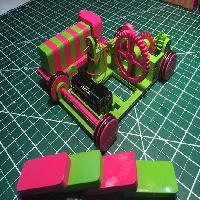
"The Pink and Green Domino Machine" is a "domino" dispensing machine. While it doesn't dispense commercial dominoes (well it will, but not with much success as the tolerances for commercial dominoes are not quite "standardized"), it does dispense the 3D printed dominoes in this design on almost any smooth, flat surface with 1" leading edge to leading edge spacing. If you have a steady hand and good aim, adding dominoes to the rack while "The Pink and Green Domino Machine" is in motion will keep it dispensing dominoes until you run out of 3D printed dominoes, run into an obstacle, or the batteries deplete! It misses on occasions, so it requires patience at times and close attention to the off switch, but after awhile, you'll find yourself as did we, building very long strings of dominoes with ease.
After seeing Mathias Wandel's "Lego domino row building machine" (https://woodgears.ca/domino/index.html, he's an excellent woodworker, check out his site), I decided to design, 3D print and assemble my own version so that I would be much less likely to forget how to put it back together if I dropped it or if the youngsters got a hold of it (20 or so printed pieces as opposed to hundreds)! If you're a Lego enthusiast, then by all means build his design as it is very impressive! But if you're a 3D printing enthusiast, then perhaps this thing is for you!
Video of prototype here: https://www.youtube.com/watch?v=K12tqdOb0f0.
Video of prototype without "Canopy.stl", "Rack.stl", and "Domino.stl" which better illustrates the mechanism is here: https://www.youtube.com/watch?v=QT916TMgEgs.
Designed using Sketchup Make 2016 and printed on an Ultimaker 2 Extended.
Printer Brand: Ultimaker
Printer: Ultimaker 2
Resolution: .1mm
Infill: 20%
Notes:
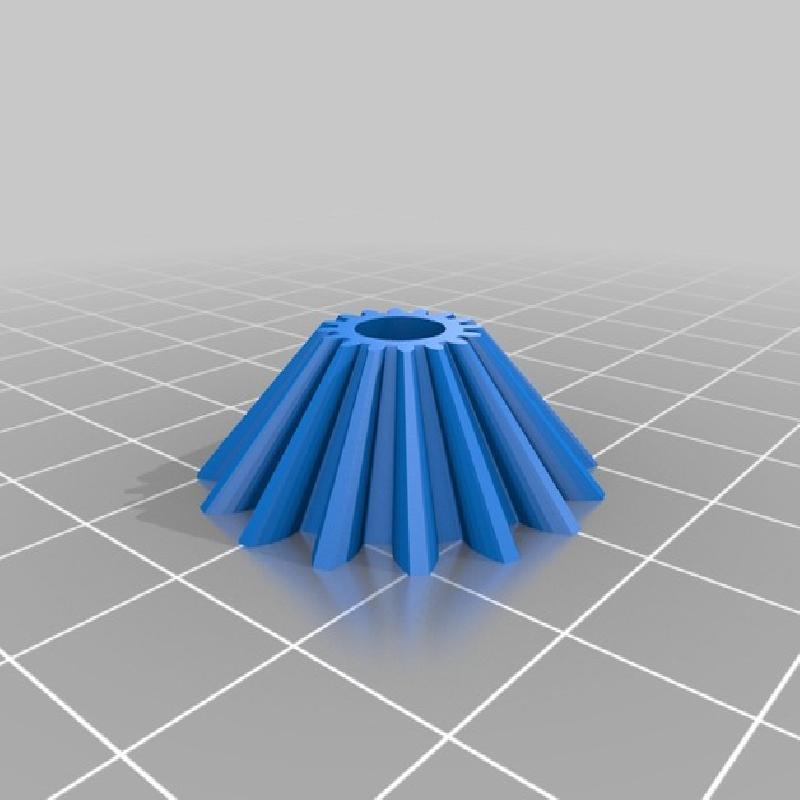
Make absolutely sure your build plate is level and not too close to the print head as any "oozing" will negatively effect the operation of "The Pink and Green Domino Machine". This is a tight tolerance build, so be prepared for post printing trimming, filing, sanding, etc. If your printer has problems printing "Gear Drive Bevel.stl", either use supports or rotate it 180 degrees vertical.
Parts I purchased:
1) "SPST Micromini Toggle Switch" (Radio Shack #275-0624).
2) "4 "AAA" Battery Holder" (Radio Shack #270-00413).
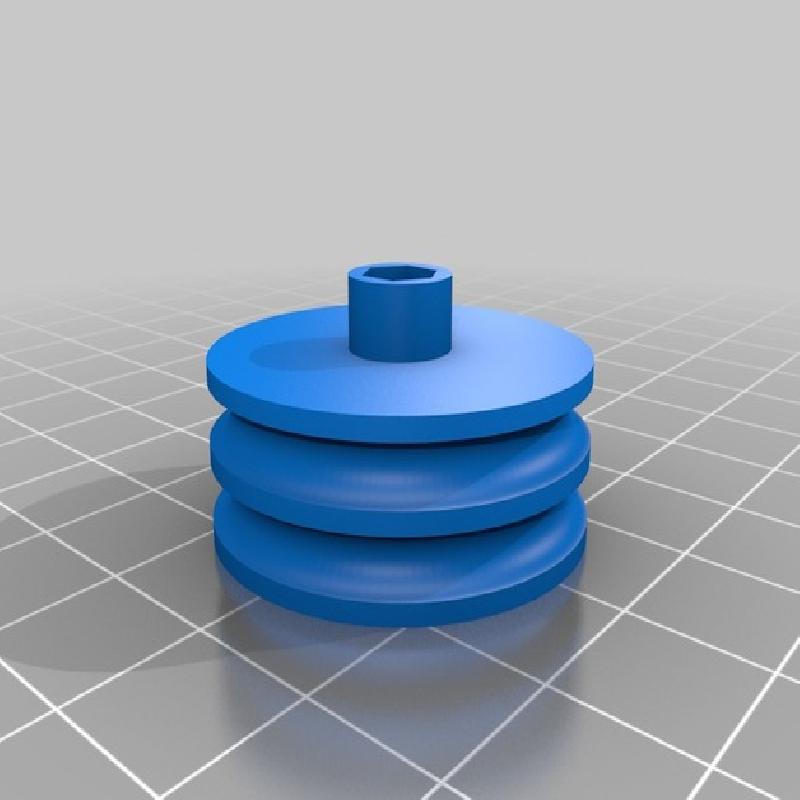
3) 6vdc 60 RPM gear motor (Amazon "DC 6V 60 RPM High Torque Electric Replacement Gear Box Motor").
4) 8 #18 (1 3/16" O.D. x 15/16" I.D. by 1/8") o-rings (Amazon, box and/or hardware store, ).
5) 4 "AAA" batteries.
Tools and supplies I used:
1) Rubber mallet.
2) Small vise.
3) Flat punch set.
4) Modeling knife.
5) Small files.
6) Sandpaper.
7) Slip joint pliers.
8) Needle nose pliers.
9) Thick cyanoacrylate glue.
10) Cyanoacrylate accelerator.
Assembly:
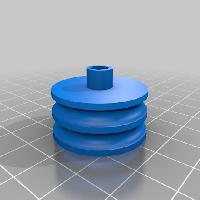
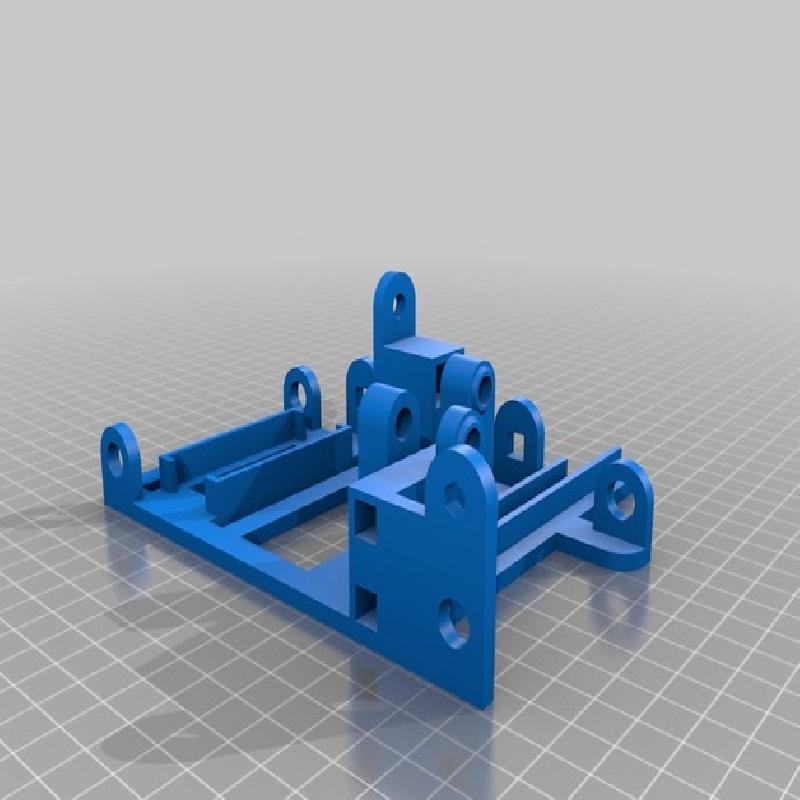
Print all pieces as shown in "Assembly.skp" or "Assembly.stl".
Prior to assembly, test fit and trim, file, sand, etc. all parts as necessary for smooth movement of moving surfaces, and tight fit for non moving surfaces. Depending on the colors you chose and your printer settings, more or less trimming, filing and/or sanding will be required. If the tight fitting components are too loose, add a small dot of cyanoacrylate to each side of the pin, allow to dry completely (I use accelerator to speed the process), then try the fit again. Repeat until tight.
Assemble as per "Assembly.skp" or "Assembly.stl". I perform the assembly task in the following order:
1) Install motor.
2) Install "Gear Motor.stl" onto the motor shaft. You will have to slide the motor out slightly to perform this step.
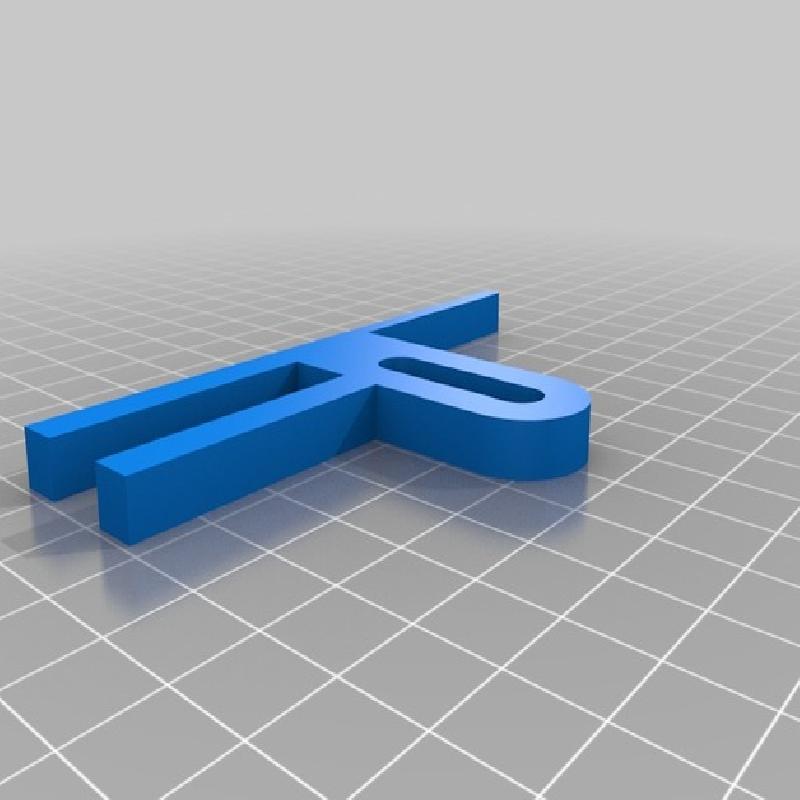
4) Install "Arm Slide.stl".
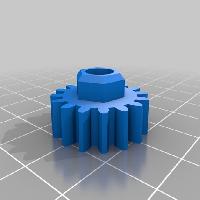
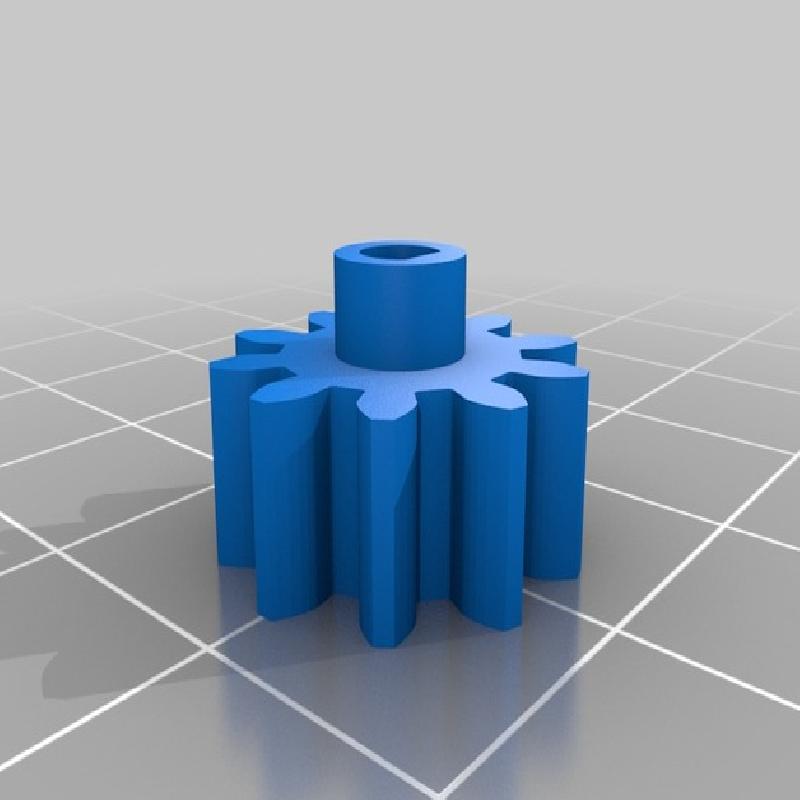
5) Install "Gear Slide Small.stl". Adjust the motor position fore and aft to make sure "Gear Slide Small.stl" and "Gear Motor.stl" align.
6) Install "Slide .stl" as shown. Again, at this stage you should have tested the slide and made sure it operates smoothly with no drag. I had to file the top of both slide guides in "Chassis.stl" to remove any stray filament.
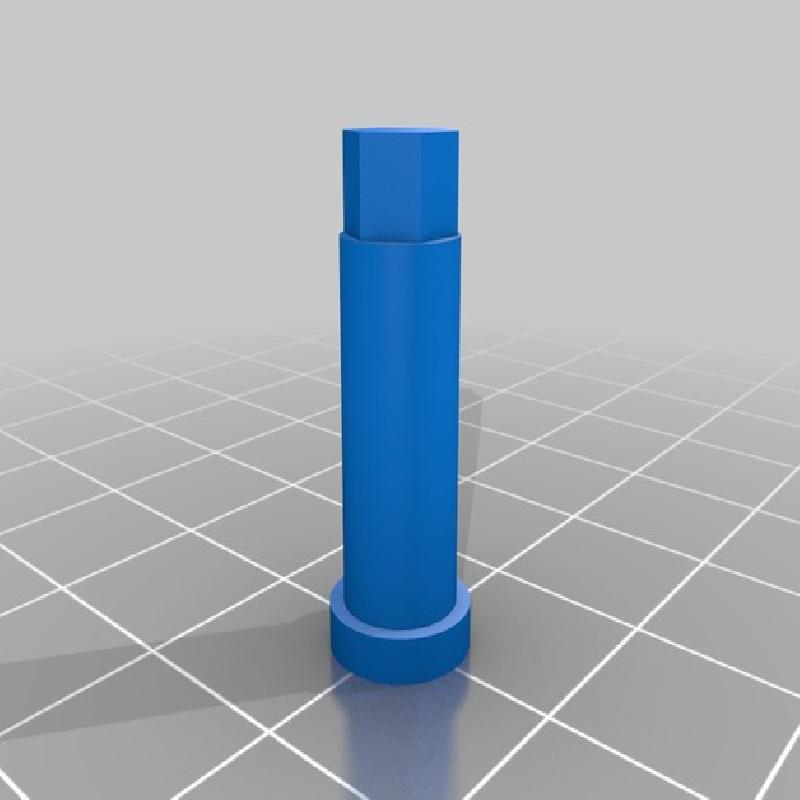
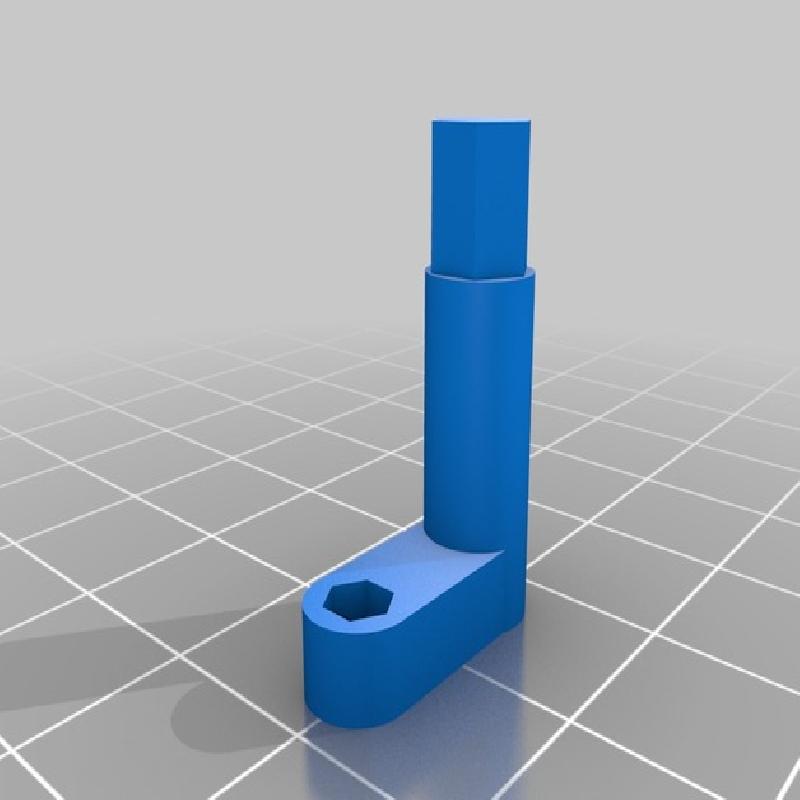
6) Install "Pin Slide.stl" as shown.
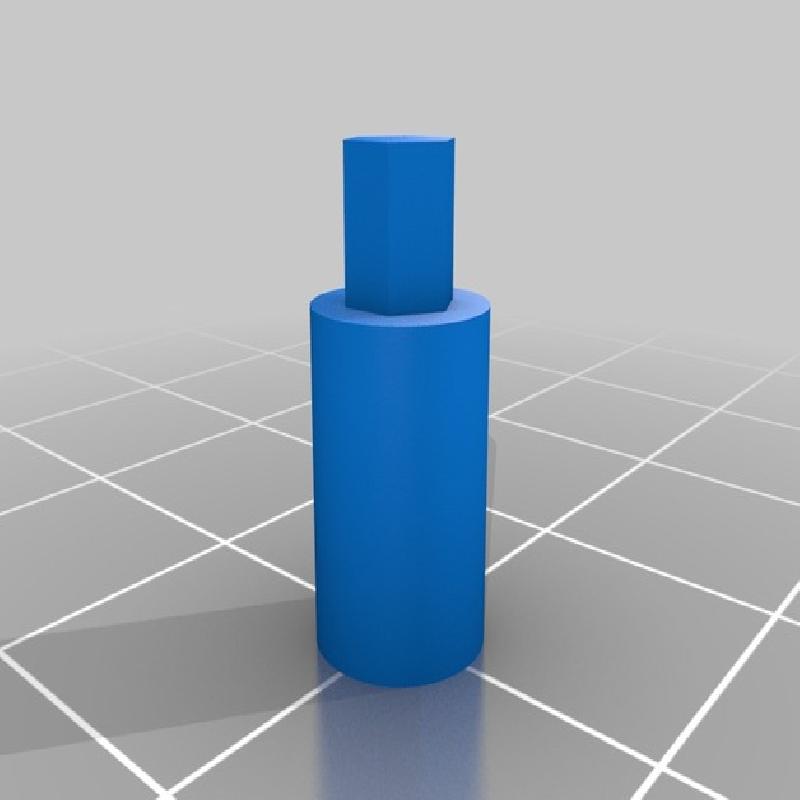
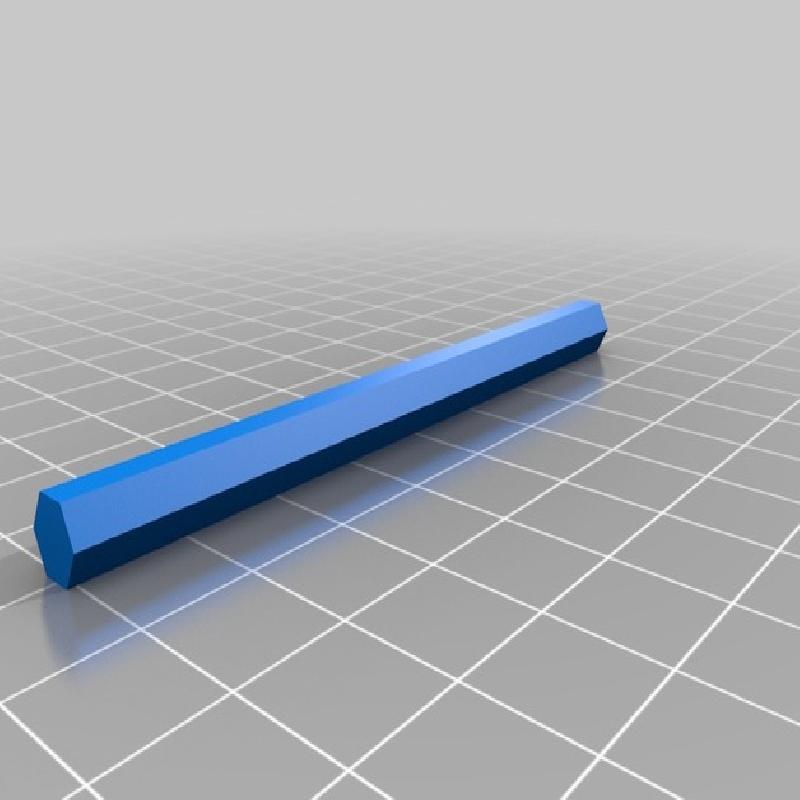
7) Install "Gear Drive Axle Chassis.stl" onto "Axle Chassis.stl" in the position shown.
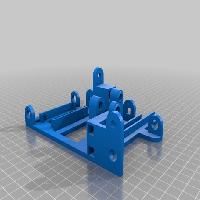
8) Install the assembled axle into the rear of "Chassis.stl" as shown.
9) Install 4 o-rings on two of "Wheel.stl", then press the two assemblies onto each end of the assembled axle that was previously installed into "Chassis.stl". Make sure the wheels and gear rotate smoothly.
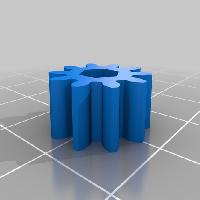
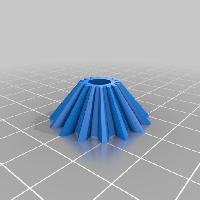
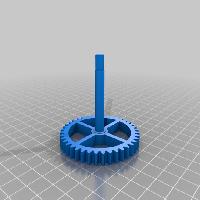
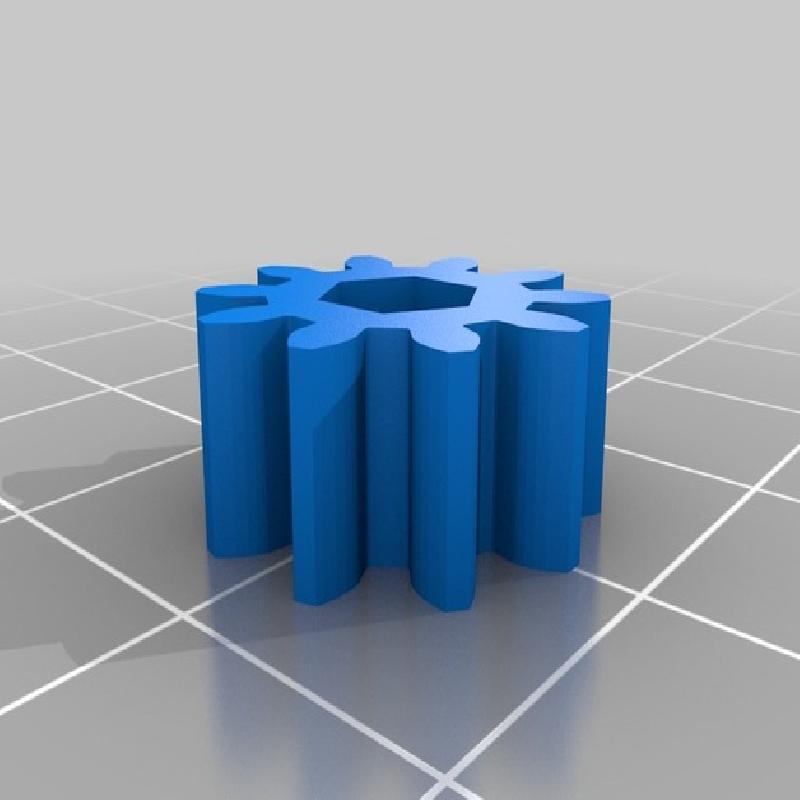
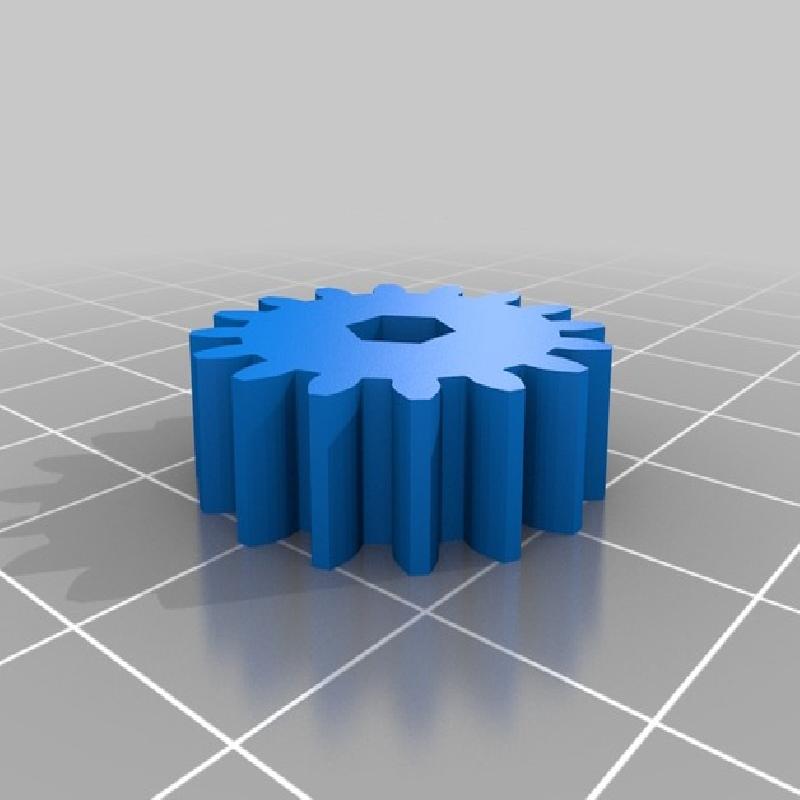
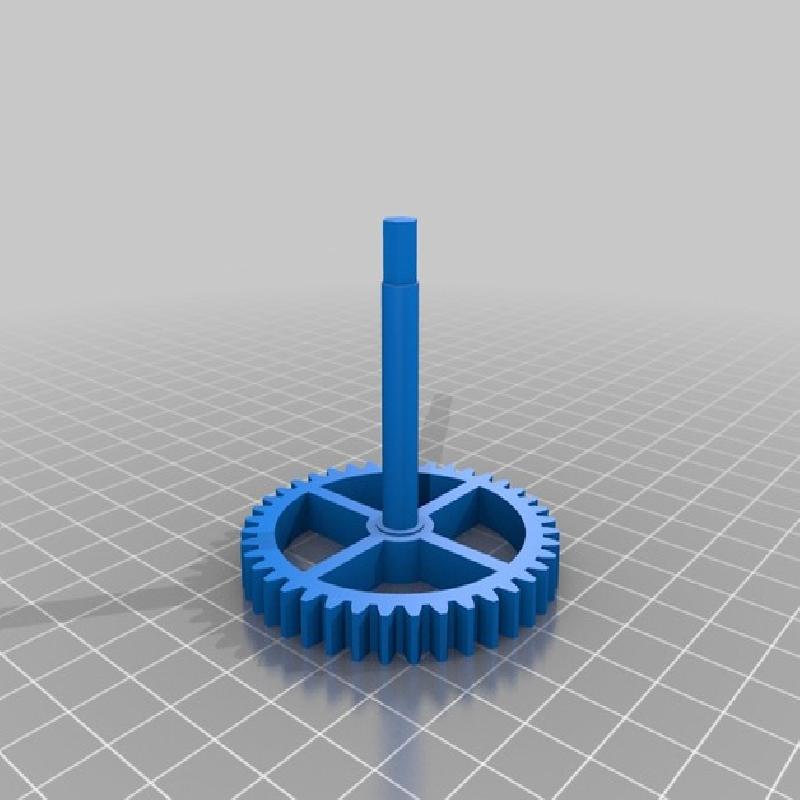
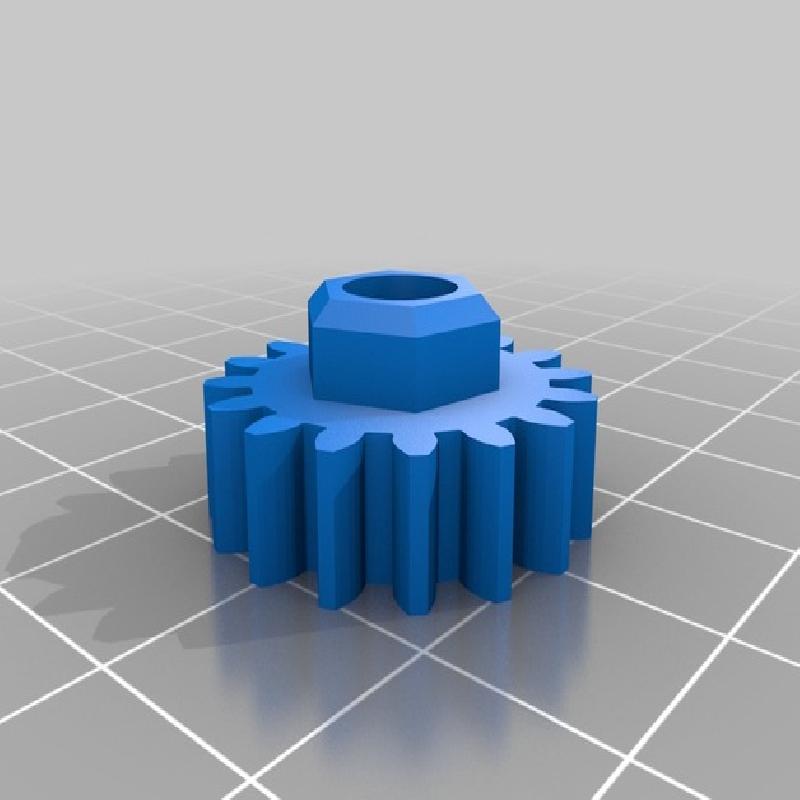
10) Press "Gear Drive.stl" into "Gear Drive Bevel.stl".
11) Using "Axle Gear Drive.stl", assemble the "Gear Drive.stl" and "Gear Drive Bevel.stl" onto "Chassis.stl". Make sure the wheels and gears rotate smoothly.
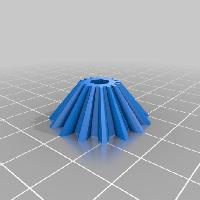
12) While holding "Gear Slide Bevel.stl" in the position shown, slide "Gear Slide Large.stl" into position and into "Gear Slide Bevel.stl".
13) Install 4 o-rings onto the remaining two "Wheel.stl".
14) Install "Axle Chassis.stl" into the front of "Chassis.stl" as shown, then press the "Wheel.stl" assemblies onto each end of "Axle Chassis.stl". Make sure the wheels rotate smoothly.
15) Install batteries in the battery holder, then touch the wires to the motor terminal to make sure the assembly moves forward, if not, reverse the wires and test again. Once the proper orientation is determined, solder the battery pack black wire to the correct motor terminal, the battery back red wire to the one of the switch terminals, then a red wire between the remaining switch terminal and motor terminal. Once complete, set the battery holder into the battery holder tray on "Chassis.stl".
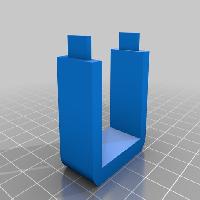
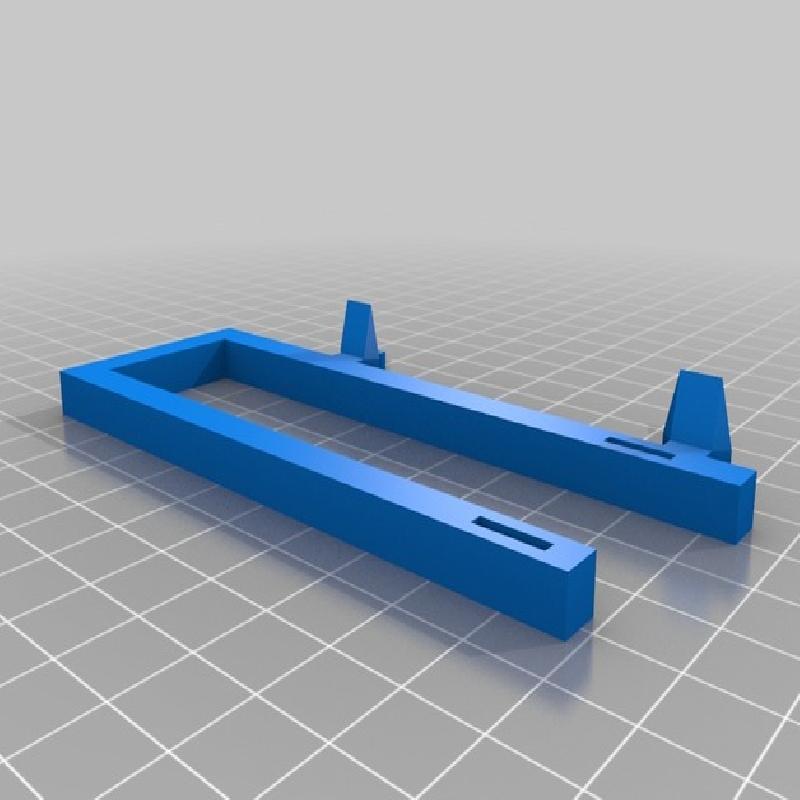
16) Press "Canopy.stl" into "Rack.stl" as shown.
17) Press the "Canopy.stl" and "Rack.stl" assembly onto "Chassis.stl" as shown.
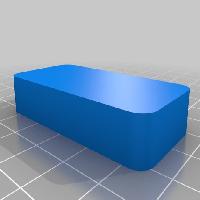
18) Print as many "Domino.stl" as you desire, testing each printed domino buy placing in "Rack.stl" and making sure it slides smoothly from one end to the other. If not, trim, file and/or sand "Rack.stl", "Domino.stl" or both. Carefully inspect each domino to make sure there is no "oozing" remnants on the build plate side of the domino (this will be a small bead of filament that squeezes out on the first layer if the print head is too close to the build plate). If detected, carefully remove it with a modeling knife, file and/or sandpaper as this is the most common cause of dominoes falling over or jamming in "Rack.stl".
Lubricate all moving surfaces with light machine oil.
Best of luck, and if you have any questions or comments, please feel free to comment and I will do my best to answer.
Hope you like it!
For traction, I decided to design wheels that used two #18 o-rings. The circumference of a #18 o-ring mounted on my wheel design is approximately 4". I next determined by trial and error that the distance between the dominoes I designed and printed worked best with a separation of approximately 1" leading to leading edge. Using these two parameters, I needed to design "The Pink And Green Domino Machine" gear train to eject 4 dominoes for every 1 rotation of the wheels.
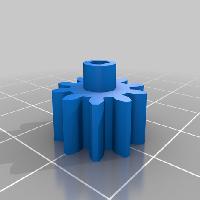
So i designed "Gear Motor.stl" and "Gear Slide Small.stl" with the same number of gear teeth, 10, which results in a 1 to 1 gear ratio. Then I designed "Gear Slide Large.stl" such that it had 40 teeth, which results in a 4 to 1 gear ratio. Since "Gear Slide Small.stl" drives "Slide.stl" at the motor speed, and "Gear Slide Large.stl" has 4 times the number of teeth as "Gear Slide Small.stl", and all subsequent gears in the wheel drive train are 1 to 1, then the slide mechanism operates 4 times for each 1 wheel rotation.
That's easy, right?
I've received a few questions about the design, and here are my replies:
1) Why the limited size of "Rack.stl"? The answer is dominoes in the rack create friction on the surface that "The Pink And Green Domino Machine" runs on. If there are too many dominoes in the rack, the friction is so great that the machine turns to the right since the rack is offset from center. After trial and error, I determined 12 dominoes was as much as this mechanism could push without creating enough drag to lose traction and turn right.
2) Why did you print your own dominoes? It's cheaper to print them, my kids, grandkids, nieces and nephews have a much easier task racking a "thicker" domino, you can pick your own colors, and finally, a thicker domino is less apt to fall over.
3) Why does the last domino more often than not come out "crooked"? That's because the last domino has no previous domino holding it "square" in the rack. I considered a gate, but the drag of the gate would cause the dominoes to fall in the rack. I also considered decreasing the rack width, but with the variety of printer resolutions out there, I was hesitant to do so.
4) In the video, the last green domino almost falls over, why? Because when I printed the dominoes, I had yet to trim off the "ooze" bead.
5) What is the purpose of "Canopy.stl"? The intent was to keep the left and right arms of "Rack.stl" parallel.
6) Why is the assembly "Rack.stl" and "Canopy.stl" a separate part from "Chassis.stl"? Two reasons, the rack is at a higher plane than "Chassis.stl", and more important, If your dominoes fall over in the rack, and the slide mechanism is about to become jammed, the "Rack.stl" and "Canopy.stl" assembly will separate from "Chassis.stl" in order to avoid breaking "Rack.stl"