by Heartman, published
Robots, so fascinating...
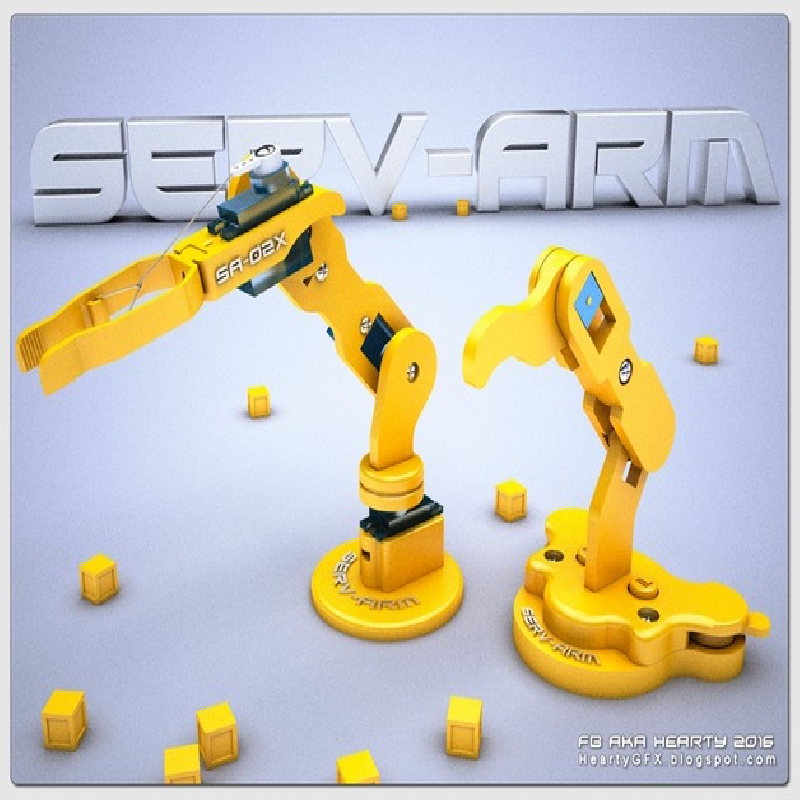
This is a robot with the ability to learn a sequence, and repeat ad infinitum.
You can control it, in live mode, for a distance handling.
Or, record a sequential movements and play it as needed.
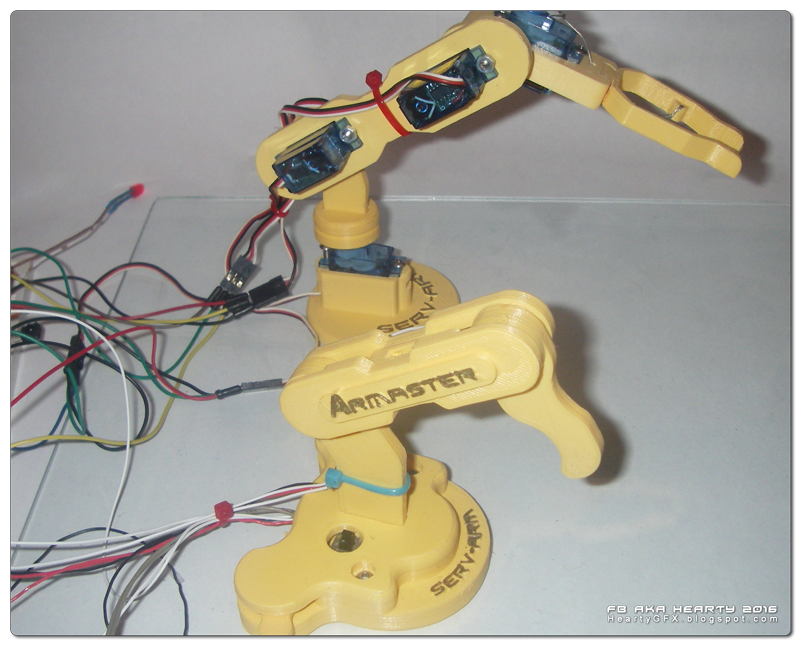
As you can see, the bot is in two parts, the Armaster (controller) and the Serv-Arm (Controlled).
Printer Brand: RepRap
Printer: Home made
Supports: No
Resolution: 0.2mm
Infill: 30%
Notes:
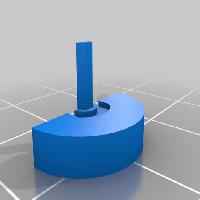
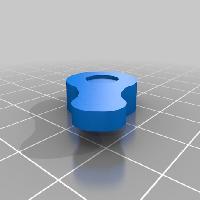
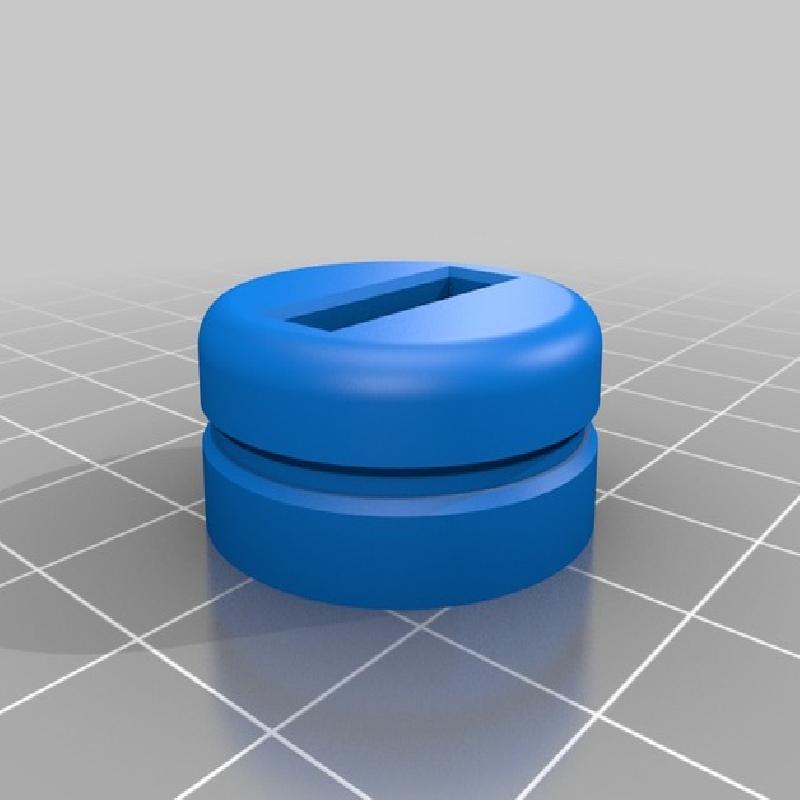
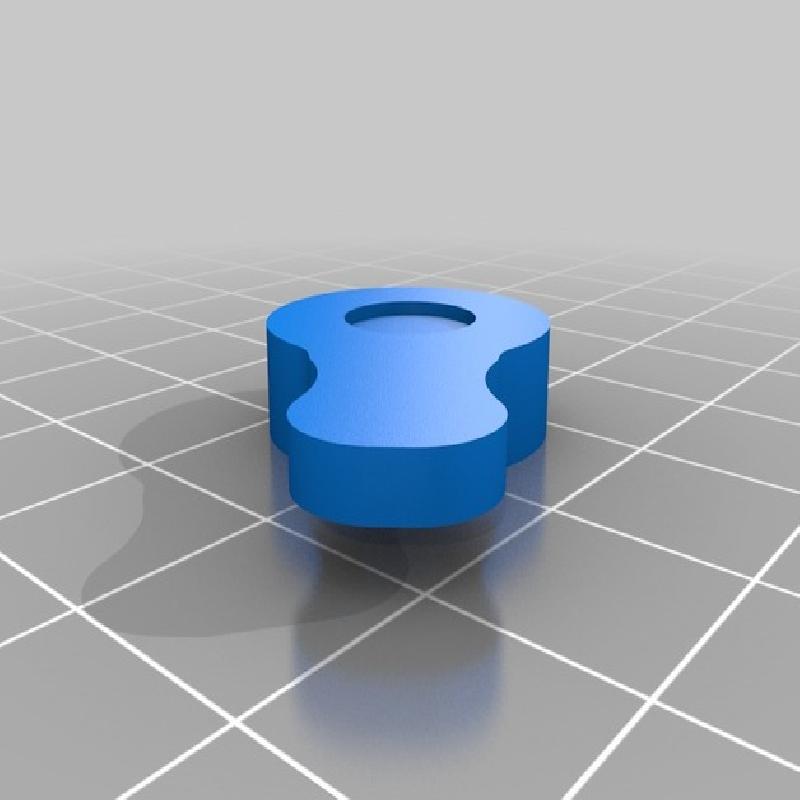
The trimPot axes are delicate to print, I choosed 0.12mm and up the fan speed for this part.
Design
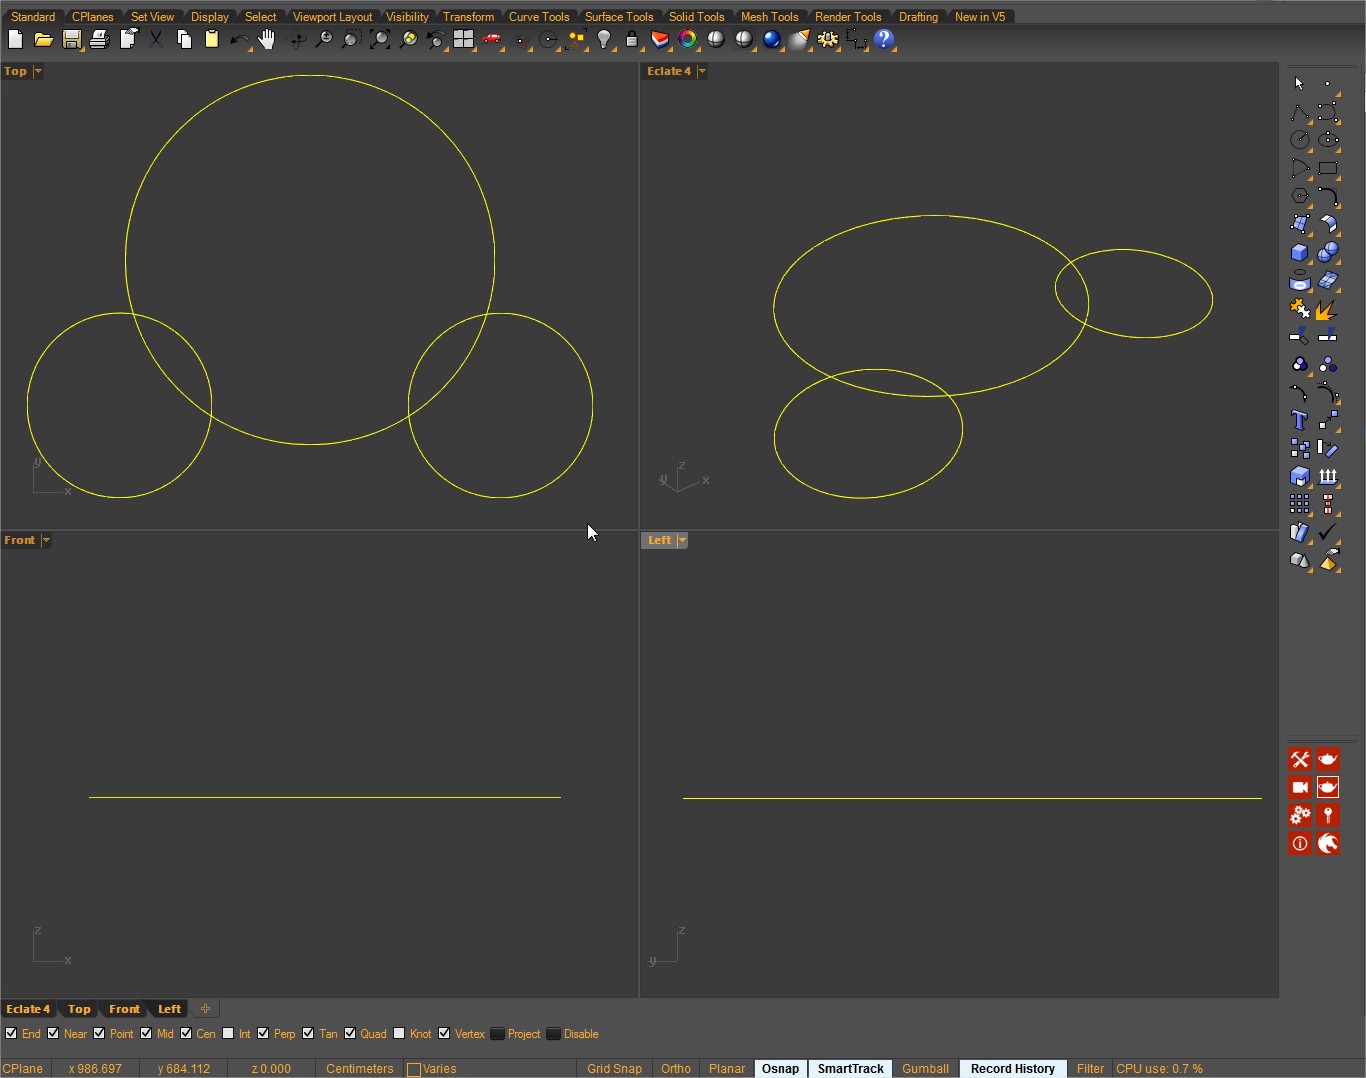
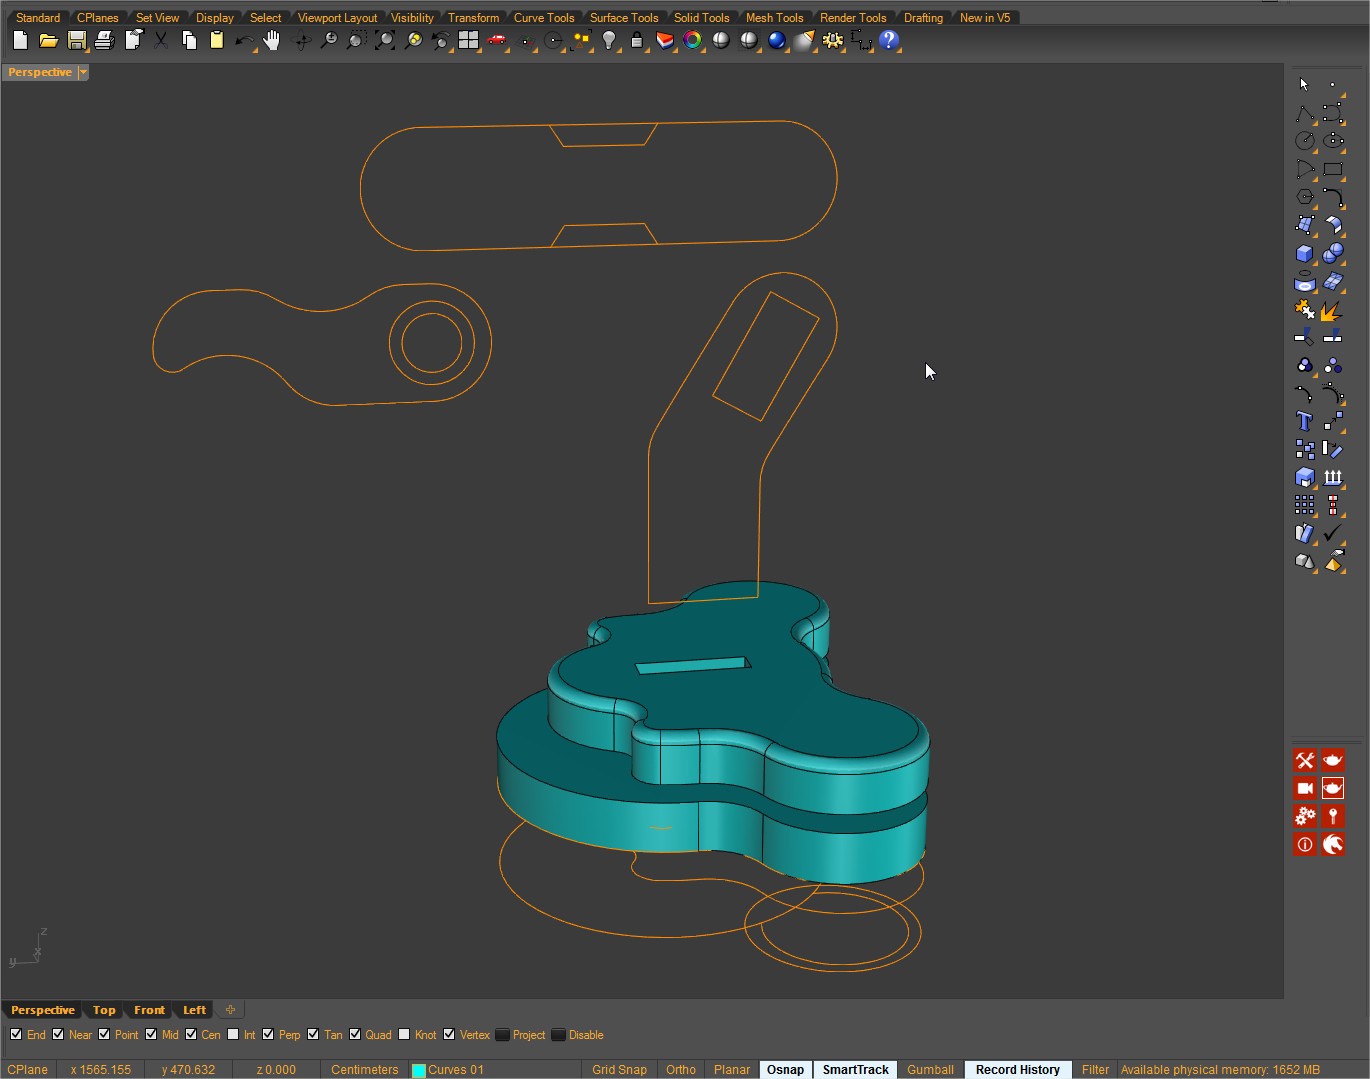
For this project I used Rhino just because I feel comfortable with, but any 3D software can do the business.
Most of elements are just extruded shapes or primitives 3d objects , with some boolean, join, cut operations.
With Rhino, I begin to sketch the model I have in mind, with curves.
I try to simplify every complicated shapes with basic geometrical curves.
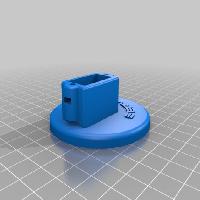
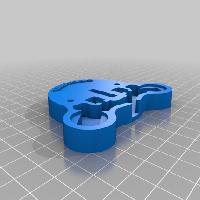
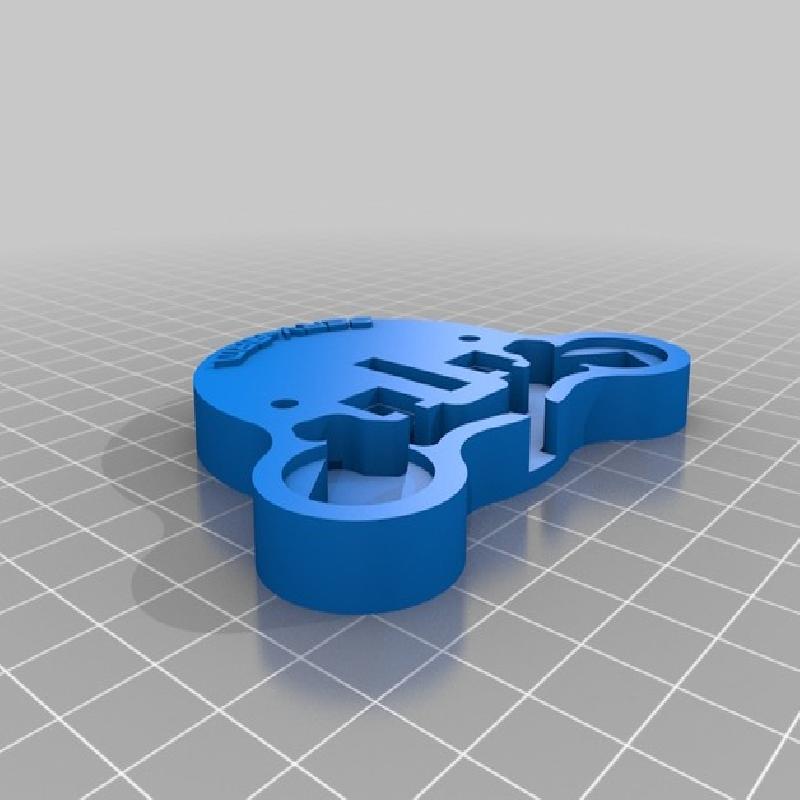
In this exemple, this is the base of the Armaster.
I wanted to design it like a gamepad shape.
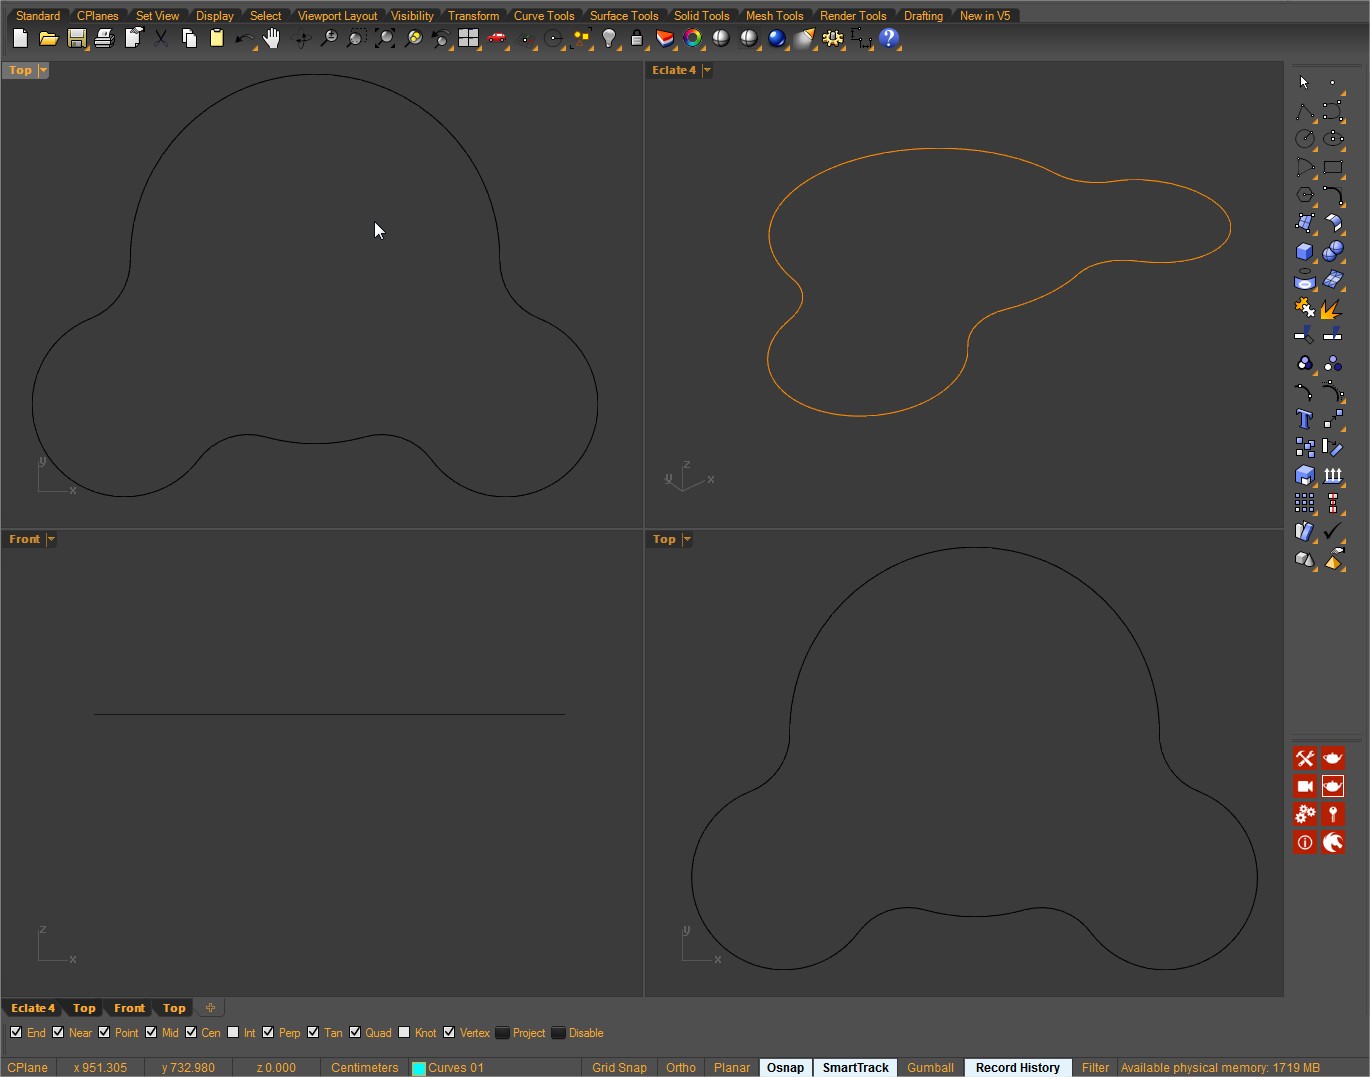
By mixing the curves I can build any complex shape.
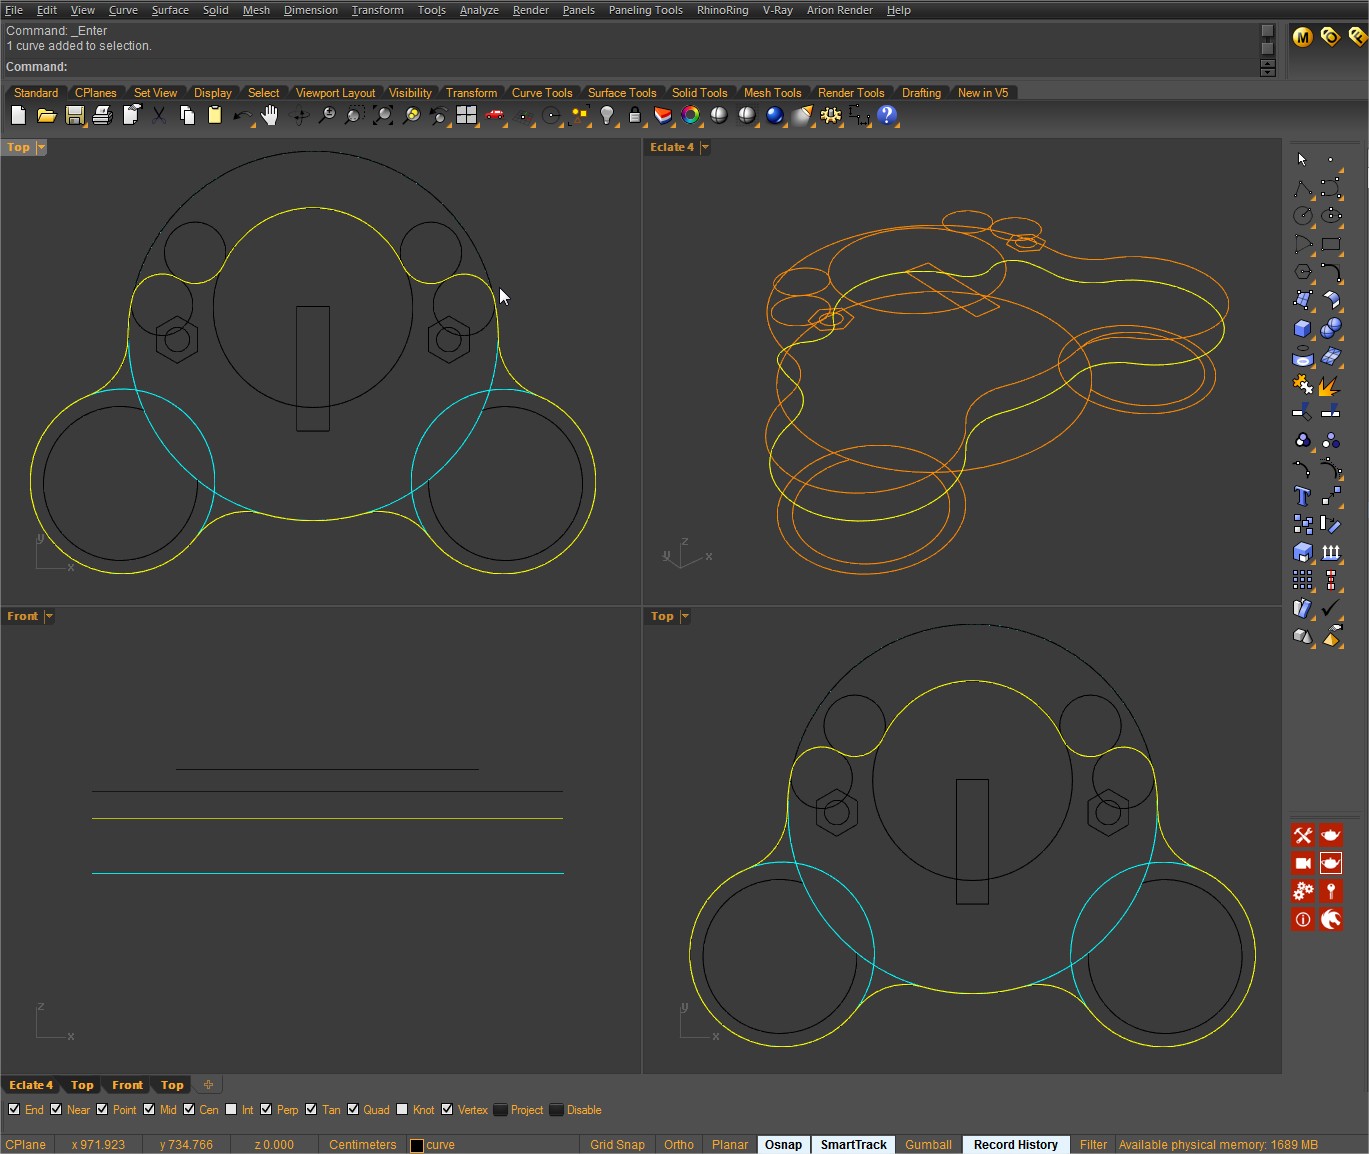
I just have to extrude the result to begin to see what I imagined. The result will be as I expected or really close at least.
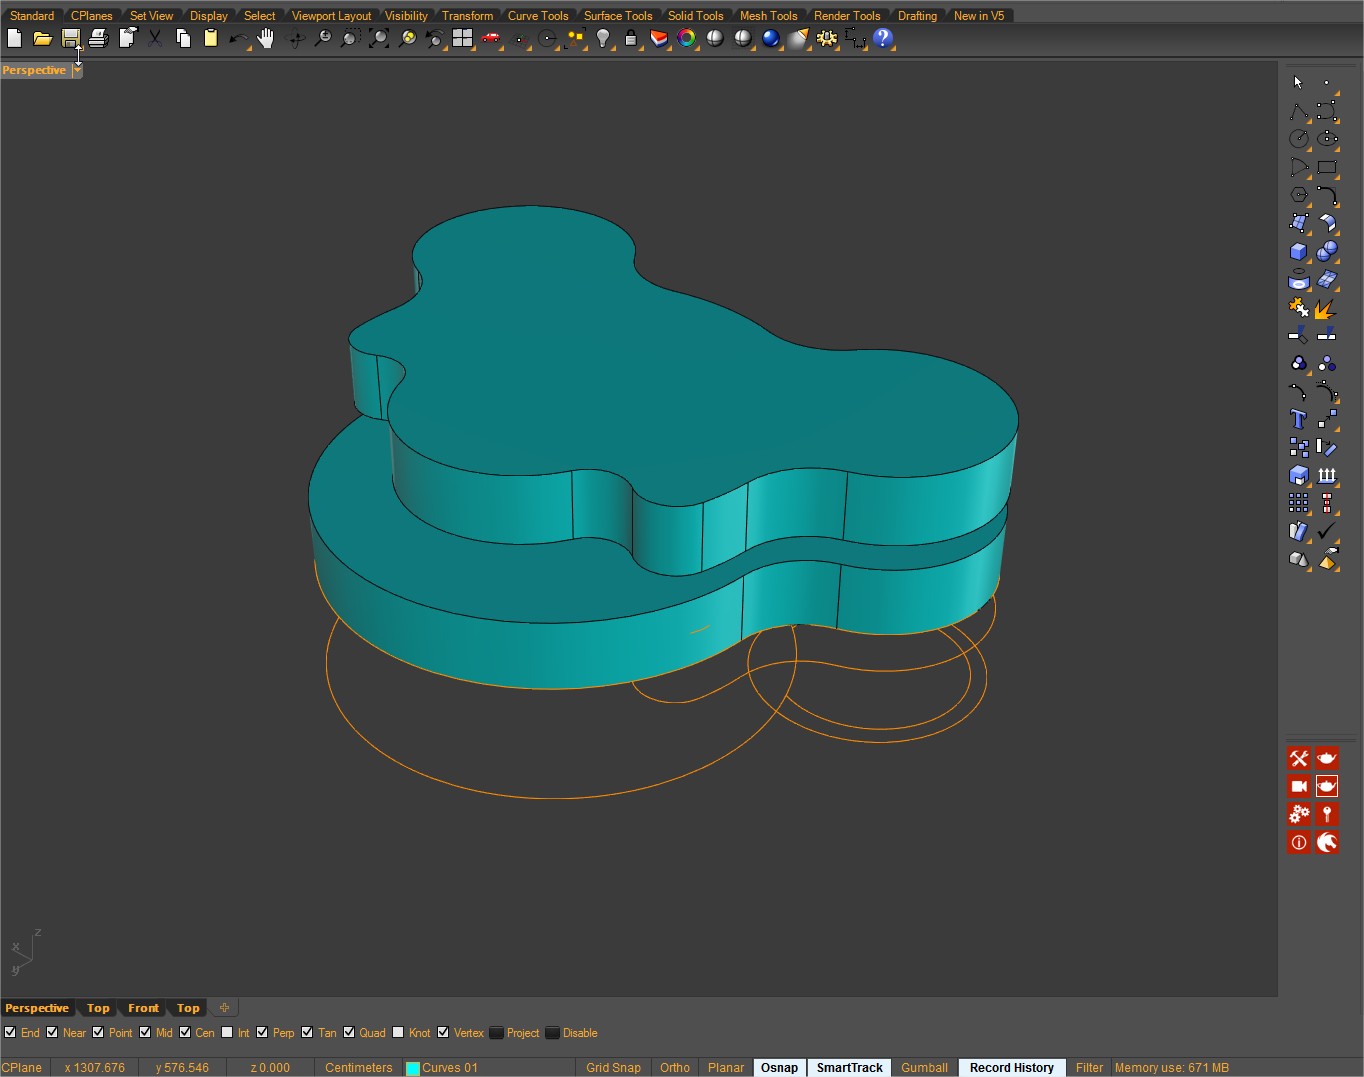
I will do the same for every elements, nothing really difficult in fact with this robot design.
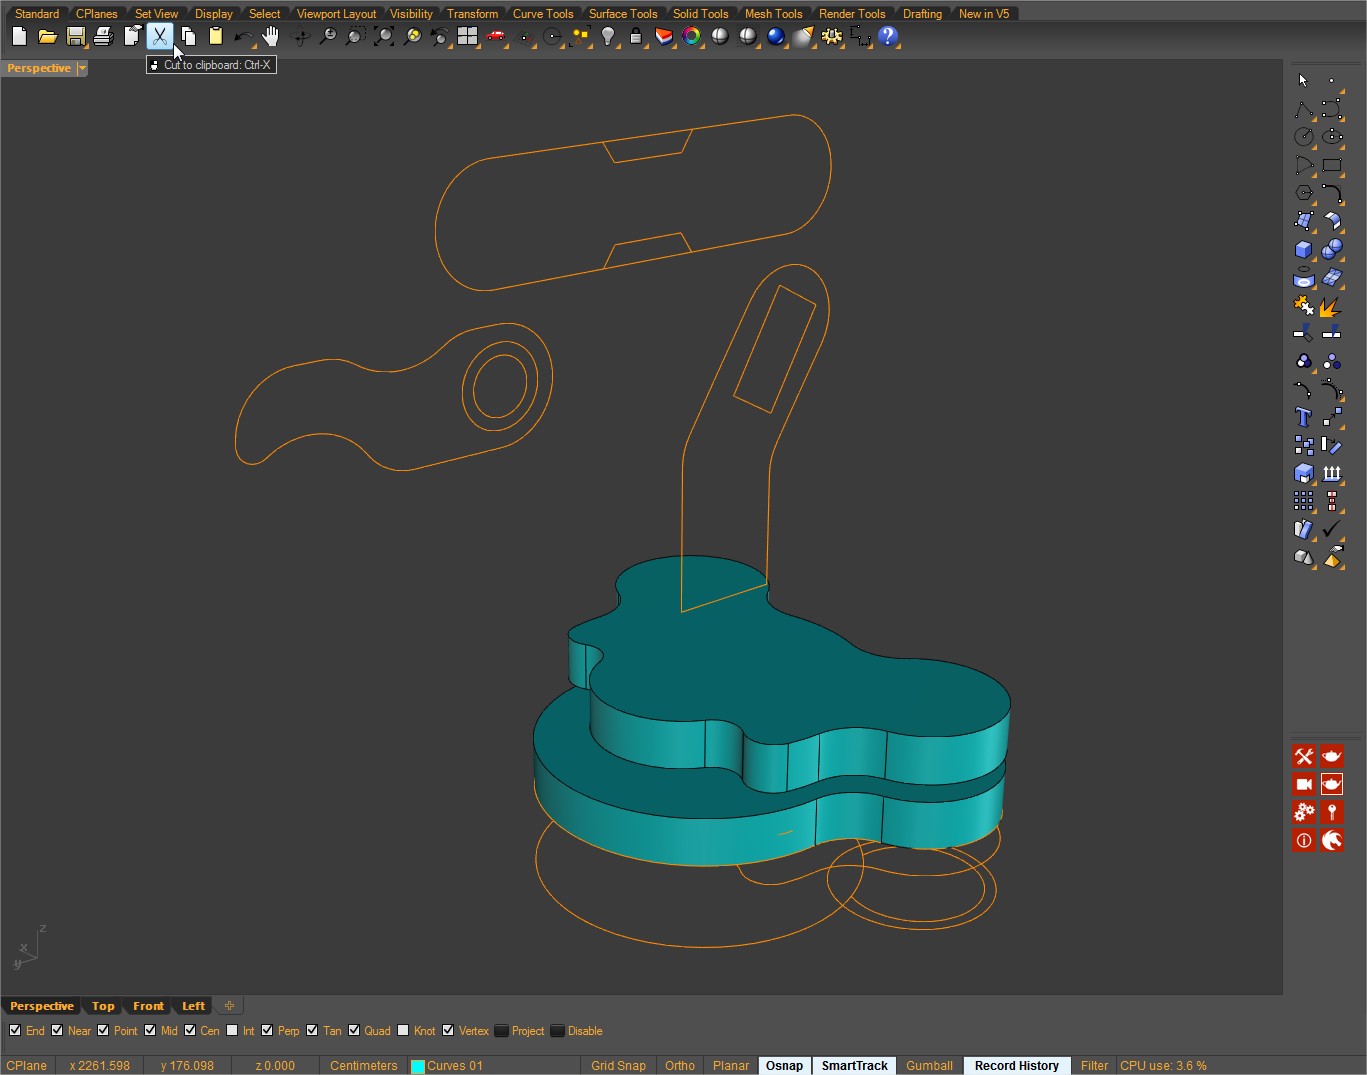
When I have my main volume, I will work on the details and finitions, like fillet in order to have something smooth, making the holes, etc..
Assembling the elements should not be difficult.
The wires are soldered on the trimpots before assembling, and trimpot can be glued to the plastic element,
(just a small drop is enough... Be careful to not glue the inside potentiometer ...)
Before to glue anything, do a test to avoid a reversing between the rotation of the potentiometer and servo. (At least if you did the mistake, don't worry you can change that on the code)

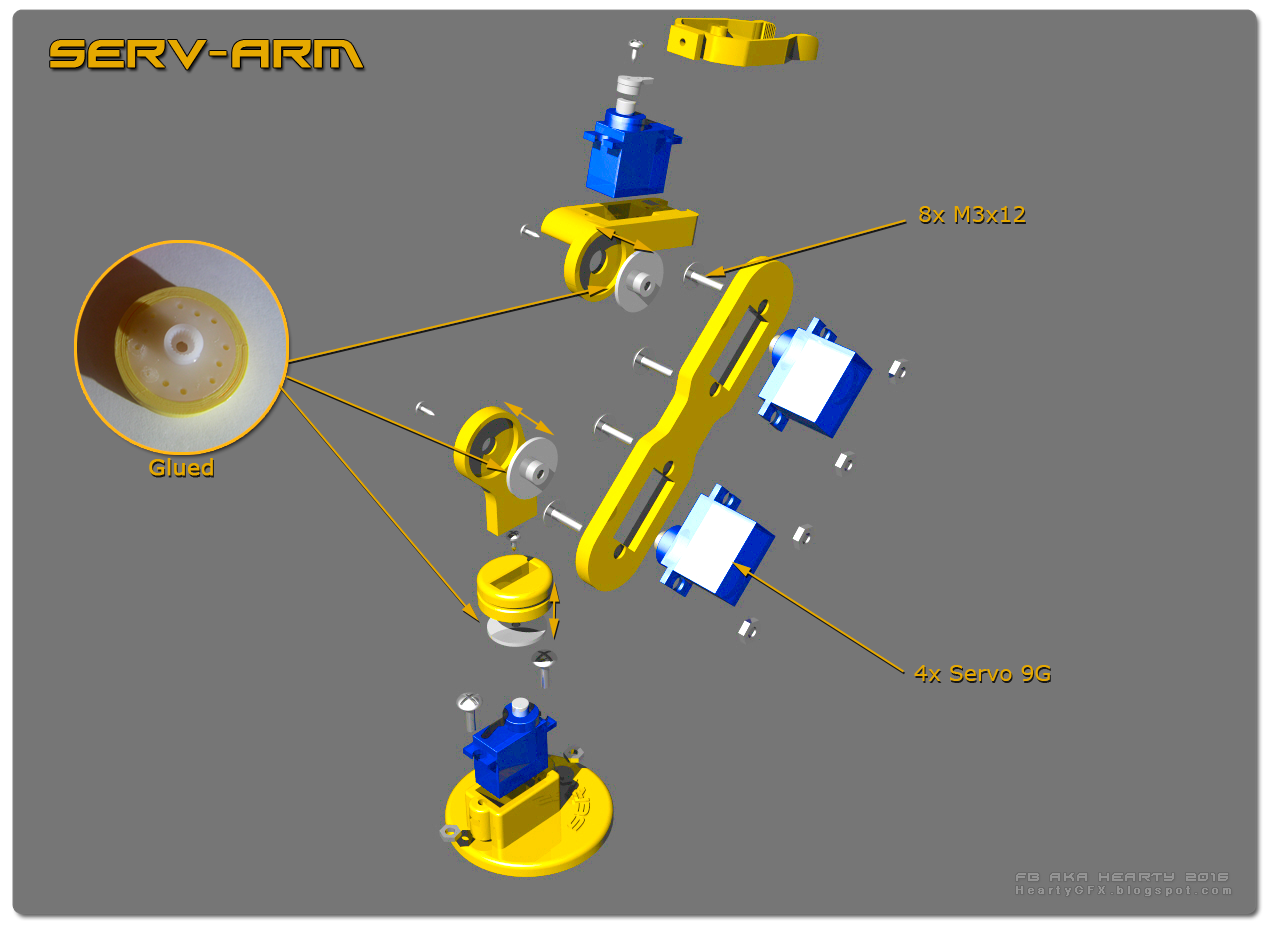
Note:
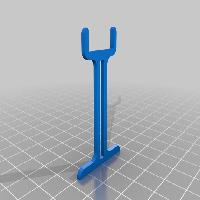
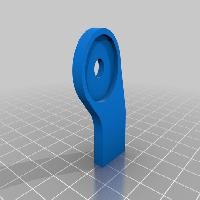
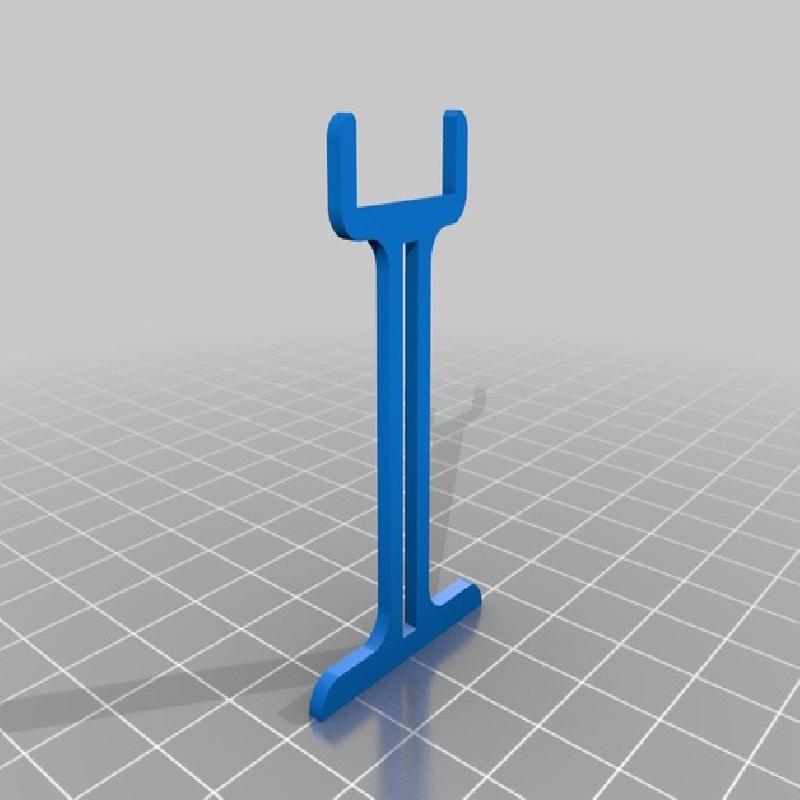
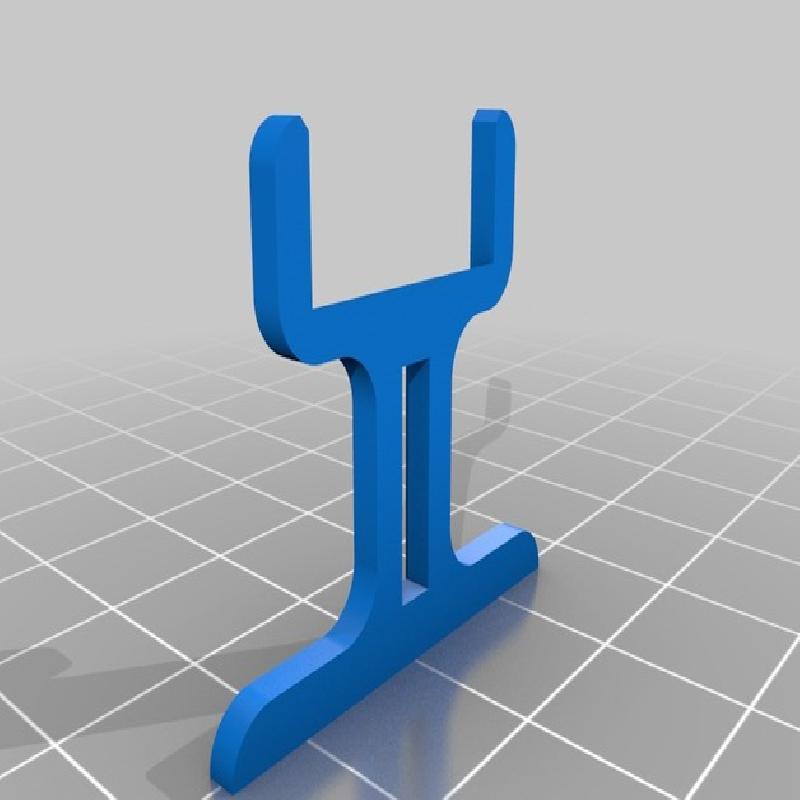
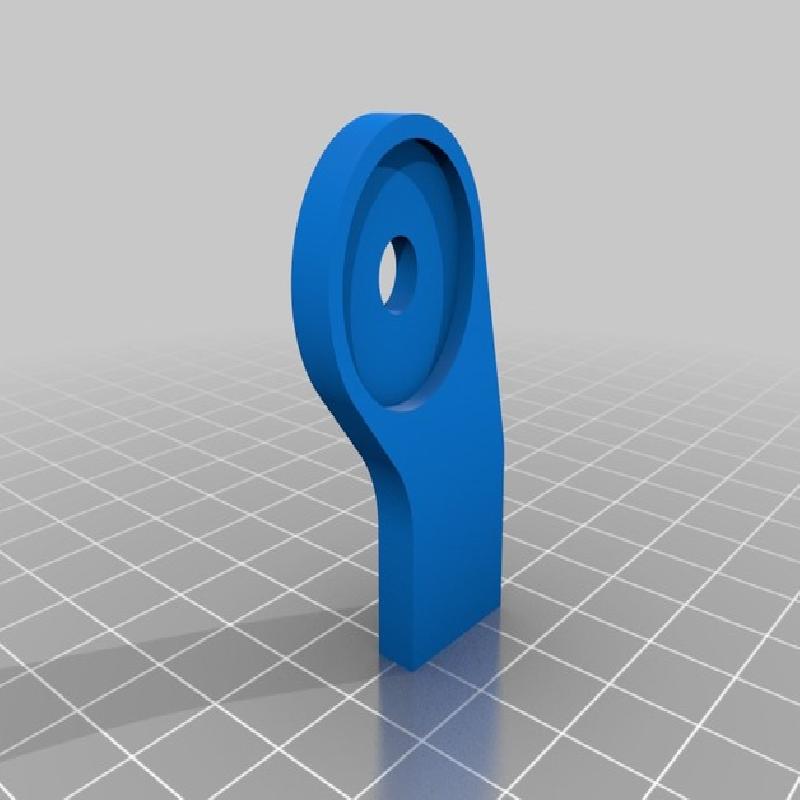
The arms (vertical part), Armaster and Serv-Arm, are just inserted by force in the rectangular base housing. no glue .
Trial & Error(sss)
Let's talk about the frustrating side of creation, the backstage side.

Designing something new, from scratch, means almost necessarily, a lot of trial before to find THE result that will satisfy you.
Most of time it's not what you expected, too heavy, too short, too long, too much, too "not enough".
The interaction between 3D software and 3D Printing is so easy and fast which makes these part less frustrating than the old process, where the build of each elements needed more work, more time, where error meant headache and discouragement.
Henceforth, the time between the prototype and the final product is shorter than never.
Electronic part
As said earlier, this bot is really simple to build.
Even the electronic part needs few components easy to assemble.
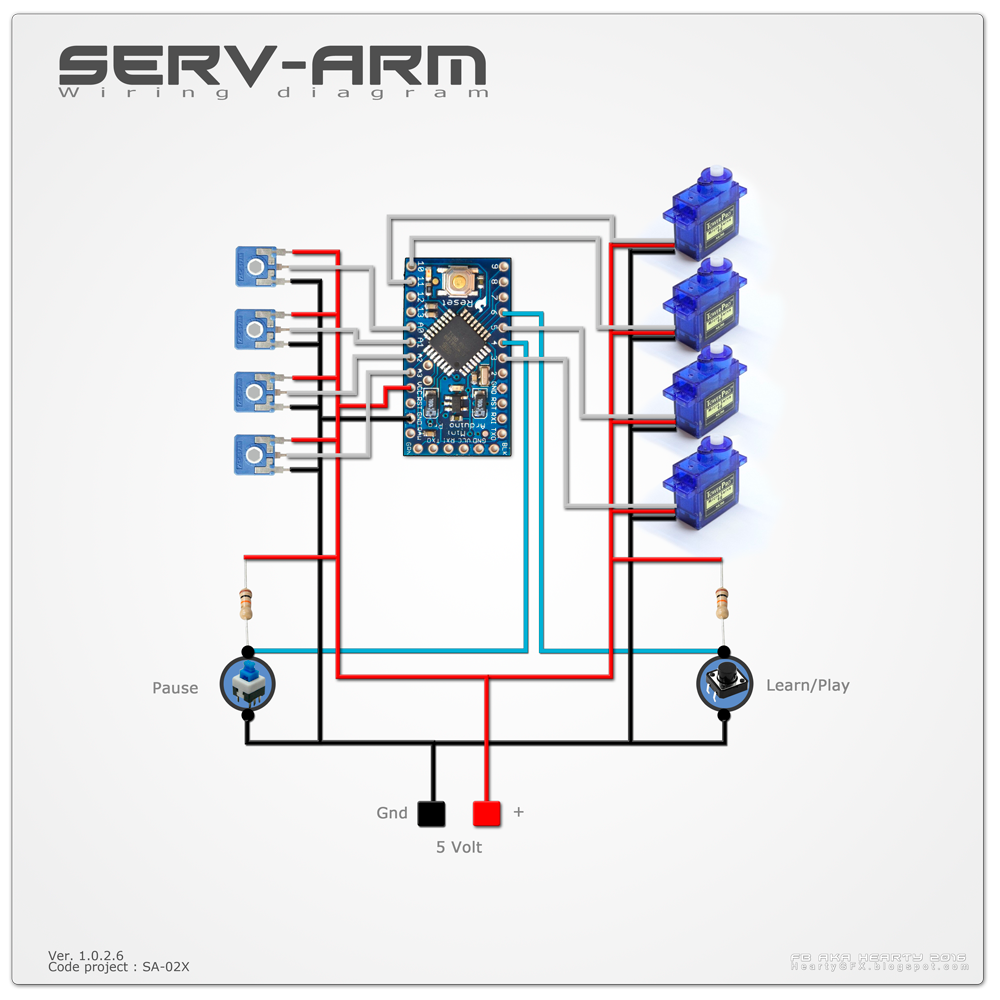
Nothing difficult.
How it works
The main push (momentary) button is the learn/play button.
Each arm position will be recorded when pressing the button.
To play the sequence, just double push.
The second button
Is a switch (toggle) button, which pause the playing mode.
The Gripper trimpot, in play mode, allow you to change the playing speed mode.
Objective
Learning any 3D software to design a fun project
Electronic (basic level)
µcontroller programmation (basic level)
Engineering.
This project is a collaborative experiment, between the computer graphic course
and programming class, even physic class in order to think of a good weight distribution and strength.
Build a robot is fun and will motivate students to think about mechanical constraints, the micro servomotors used will push to think more about the bot weight.
3D printing have some rules to follow like printing orientation and the layer height.
The printed pieces are stronger in X, Y axes, that's why from the begining of the conception, it needs to think on how to build the pieces in order to prepare it for an optimal printing orientation.
Also, I try to avoid , wherever possible, the use of structure , most of the time , destroys the surface smooth quality.
I prefer to slice my piece and glue it in the post printing step, than using support strutures.
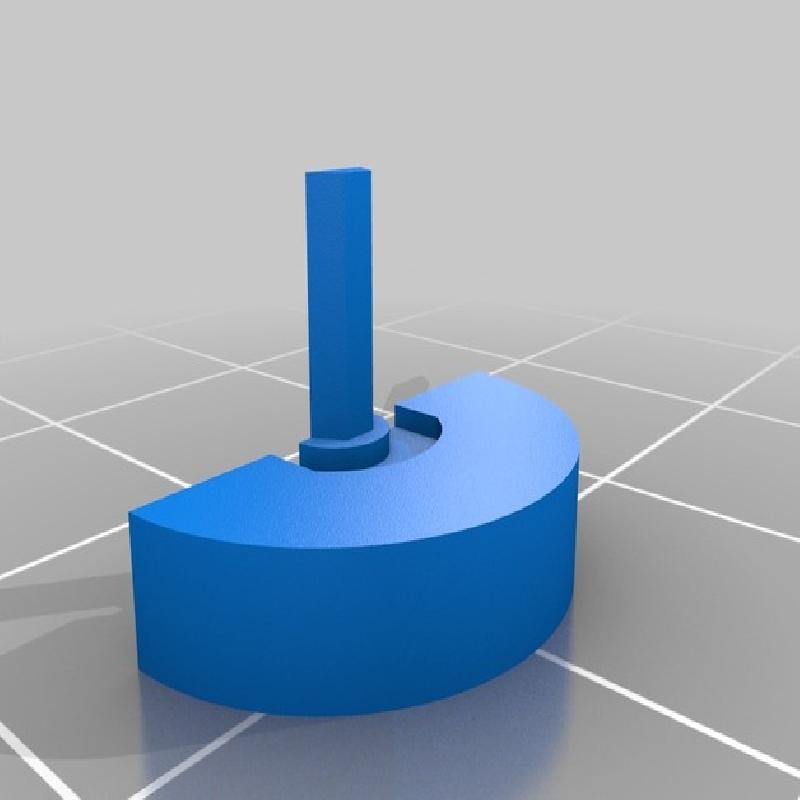
Check the little trimpot axis. It's cutted it in the middle vertically to easily print it horizontally, a small diameter in Z axis is almost impossible, at least difficult and weak result.
The student will understand the implication of the mechanical constraint specifications, it needs from the begining to think, not only about the look or functionalities, but also how anticipate the building process.
This is a new approach of teaching .
The 3D printing is pushing to think differently, to prepare students with a better understanding about what the business sector expected of them.
The teachers need to bring new arguments, skills change with changing technology .
3D printing is more than an evolution , it is a revolution.
Be prepared to prepare them.
Audience
The modelisation is so basic, this is not necessary to have a previous knowledge, every needs can be learned with this project.
A project like this should be more efficient if it makes interaction between different courses and/or grad class.
Preparation
Student will need a computer with 3D software installed
Any software can be used for this project, most of them have the same basic functions.
But obviously, using a professionnal application it will help you to make a faster and easier high level quality design.
Arduino software installed on the computer in order to upload the firmware into the Arduino µController
The electronic part is relatively simple,
An Arduino pro mini (or nano with the USB), any other model will make the deal. In fact if you choose a bigger arduino model, you will have more memory. Actually with the Atmega328 is limited to approximately 100 arm's positions recorded.
4 servomotors, type 9G.
4 Variable resistors vertical type ACP "spain" between 20 and 25K
2 Resistors 10K
1 Push button (NO)
1 switch button
1 BreadBoard (solderless prototyping), optionnal, depend if the electonic (Arduino and pullup resistor) will be on a PCB or not.
Power supply / Battery 5V
Wire
Iron solder and tin
11 bolt / Screw M3x12
Duration of the project.
A project like this one, can have a different approach .
Depends on the involvement of the school.
A month, if the goal is just turned on the design and printing.
It's obvious that I'm talking about a school project duration starting from scratch including the learning time.
But, it can be (and should , in my opinion) a project of the school year , if all classes are involved.
Optionally , students can be motivated if they know that will be their ArmBot at the end of the program.
References
The idea is based on the pretty cute project of :
Pinaut which is based itself on the Stoerpeak project.
I used the Pinaut code, on an Arduino pro mini to make it small, cheap, and easy to do for everyone.
You can, in fact it is strongly advised, developping your own code to give the behavior that you want, to this bot.
Arduino is very well referenced on the net,
you can find any subject you need.
The first legitimate place, is Arduino website itself to begin.
Arduino & Servo
Arduino & Potentiometer
Arduino & Button
Arduino & Array
When this project will be finished,
The student will understand how to prepare and think a design to reach a professionnal level.
he will build an awesome tool to learn more about programmation, robotic,
at any level, from the basic input output µcontroller usage, to more complicated mathematic as management of Inverse Kinematic, trigonometry, and so on...
This type of exercise will be done in collaboration with other classes and different courses in order to create synergy on a common project.
This is a a fantastic project for students, a nice course support, to avoid boring and abstract lessons.
The total cost for this awesome learning tool is ridiculously cheap.