by Bible9230, published
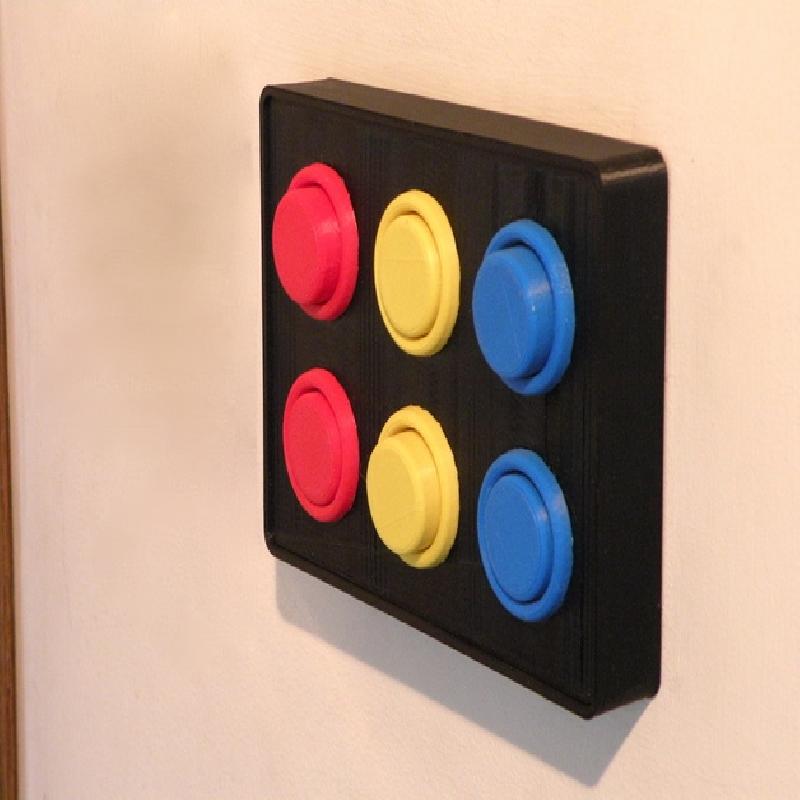
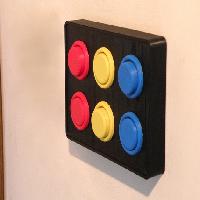
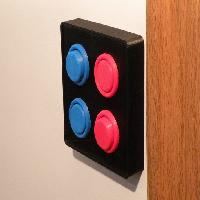
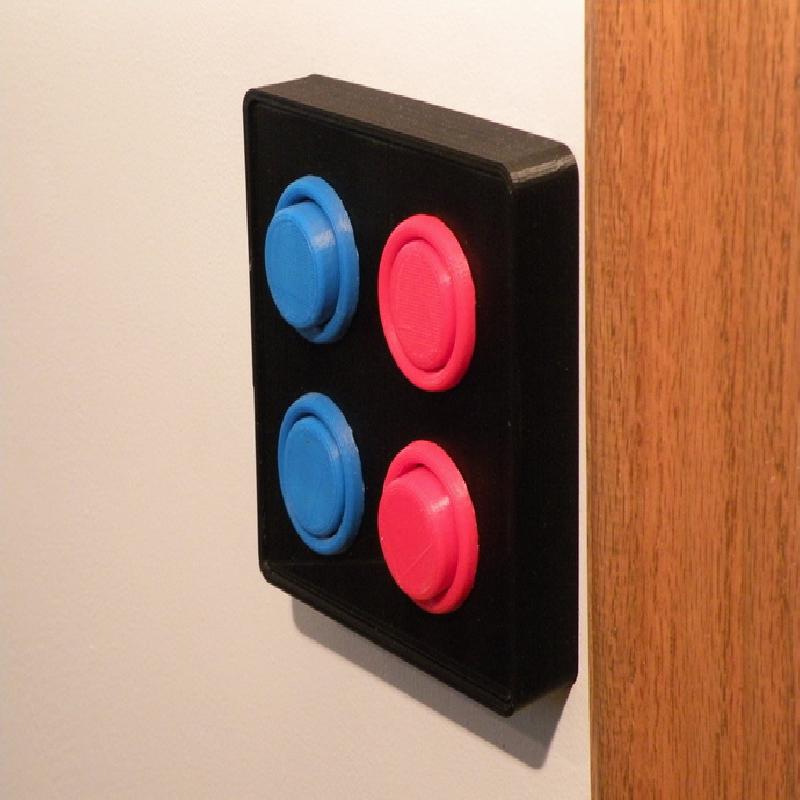
Convert your boring old light switches into something more exciting! Mix and match your button and box colors to suit your mood or decor. You have the option of single, double, or triple switch configurations.
This conversion only works for rocker switches. New rockers with plenty of spring action work best. If you have toggle switches, you will need to change them out.
Printing:
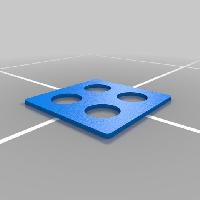
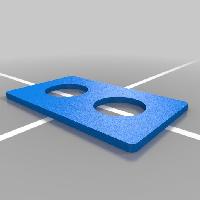
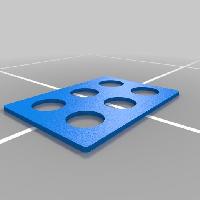
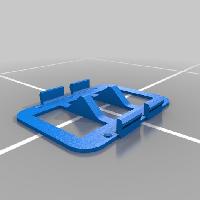
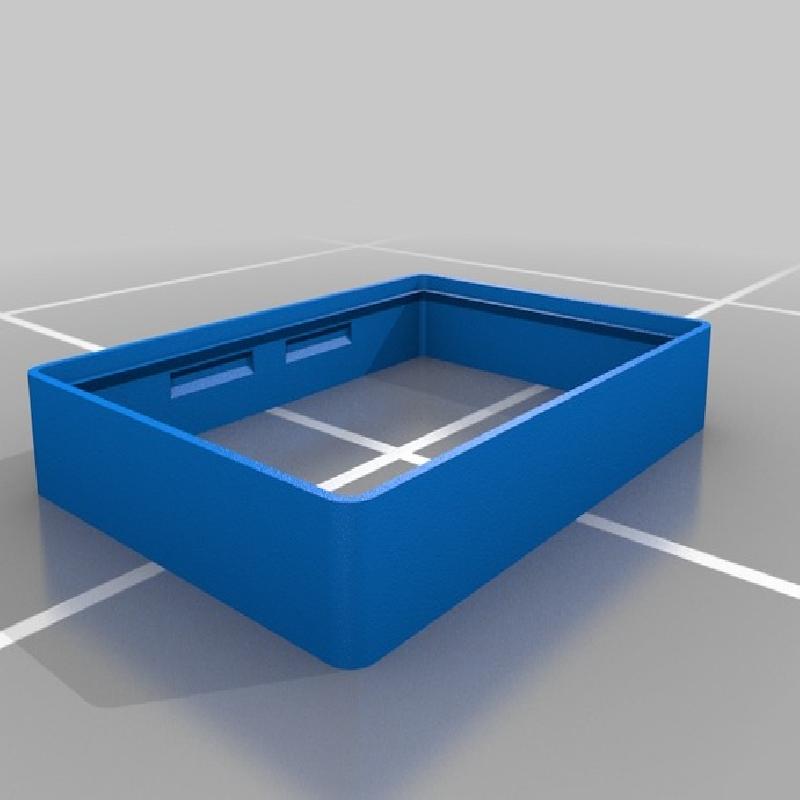
How many switches are you going to cover? Select and print the proper lid, box, and plate.
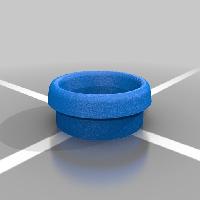
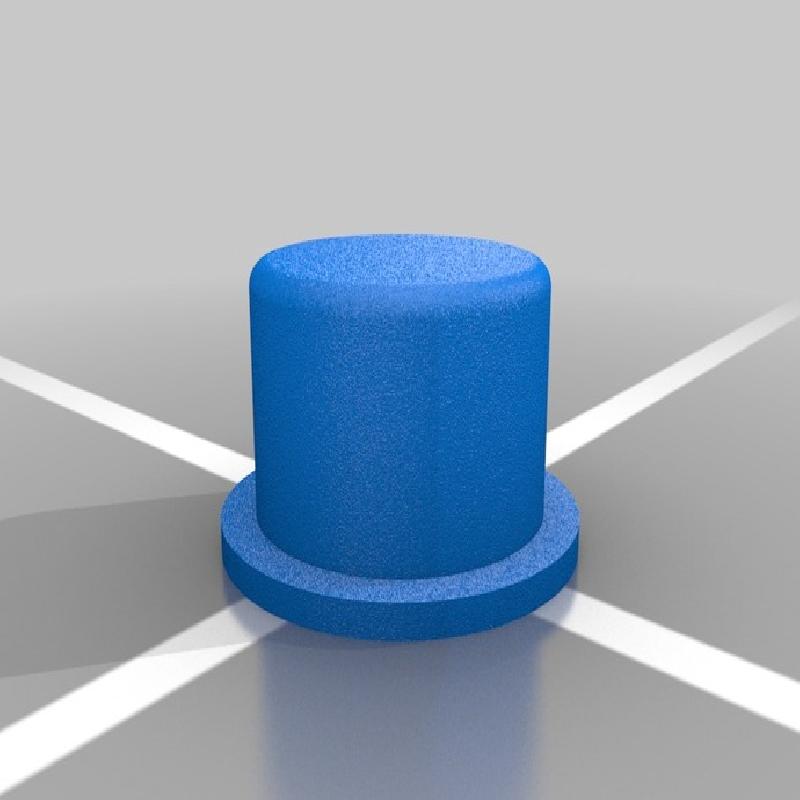
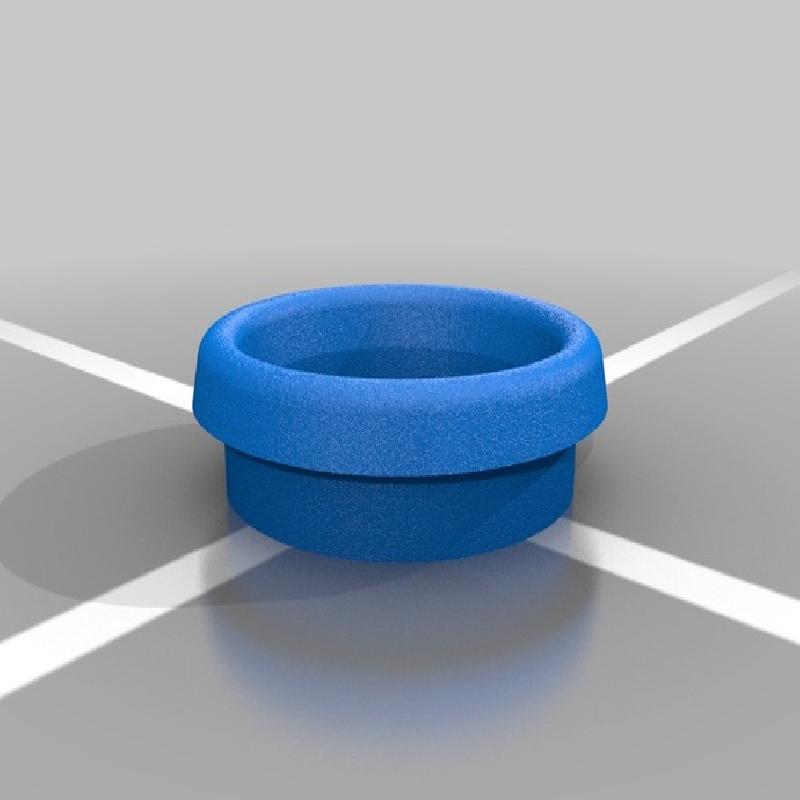
Print the number of buttons and rings needed for your lid choice. The ring is the only part that will need to be printed using supports in MakerWare.
Some parts have a .015 deep pocket on the backside to make it easier to remove the prints from the table surface. I hope this helps.
Part Clean Up:
You may need to do some light sanding or filing (needle files work best) to get the parts to fit together properly. The inside surface of the rings will probably need the most work to ensure a smooth sliding of the buttons. The rings should fit firmly into the lid holes.
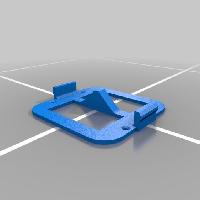
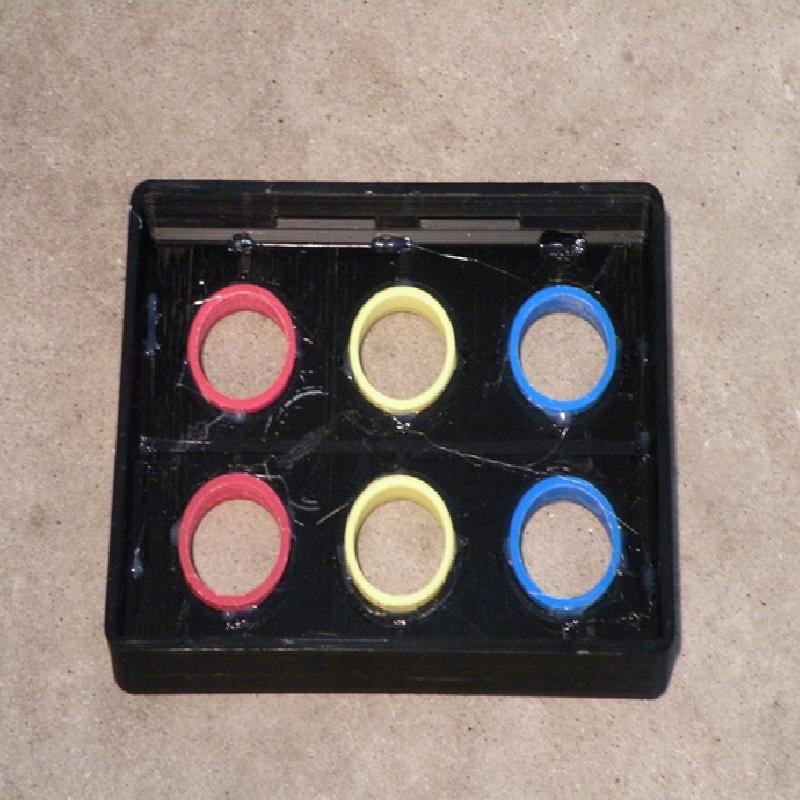
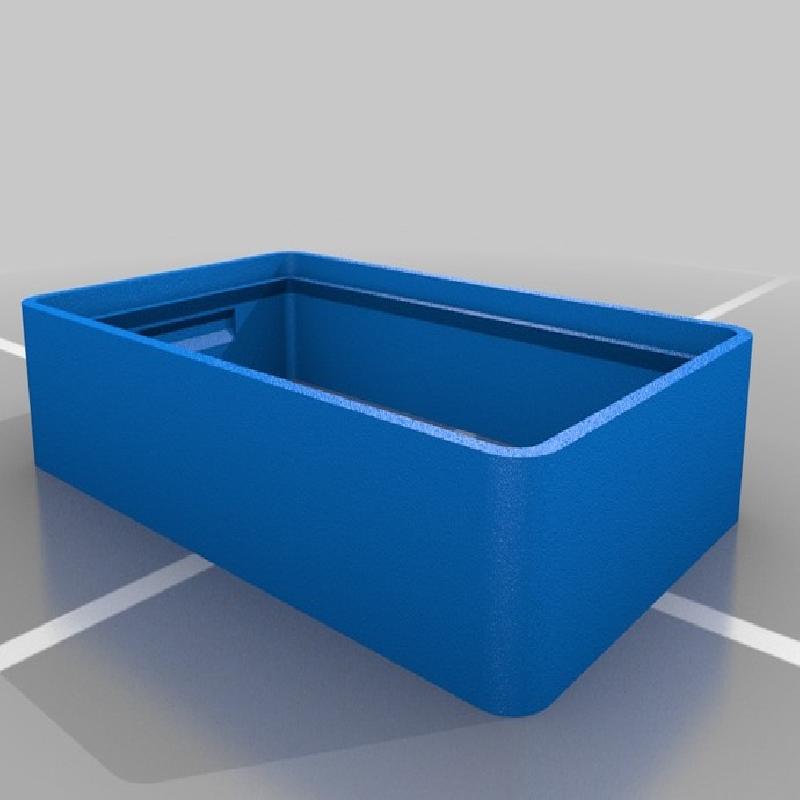
Box Assembly:
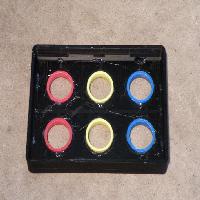
Place all of your rings into the lid and set face down onto a flat surface. Only glue from the BACK SIDE (there is a photo for reference). Using a hot glue gun, lightly tack each ring in place making certain the ring and lid are fully together. Very little glue is needed
It's better to glue the lid and box together after the rings are already glued in place to make certain the lid will fit firmly into the box. With the lid still flat on the table, set the box on lid. Don't squeeze the wall sides while glueing since it may affect the fit onto the adapter plate. Lightly tack into place with hot glue.
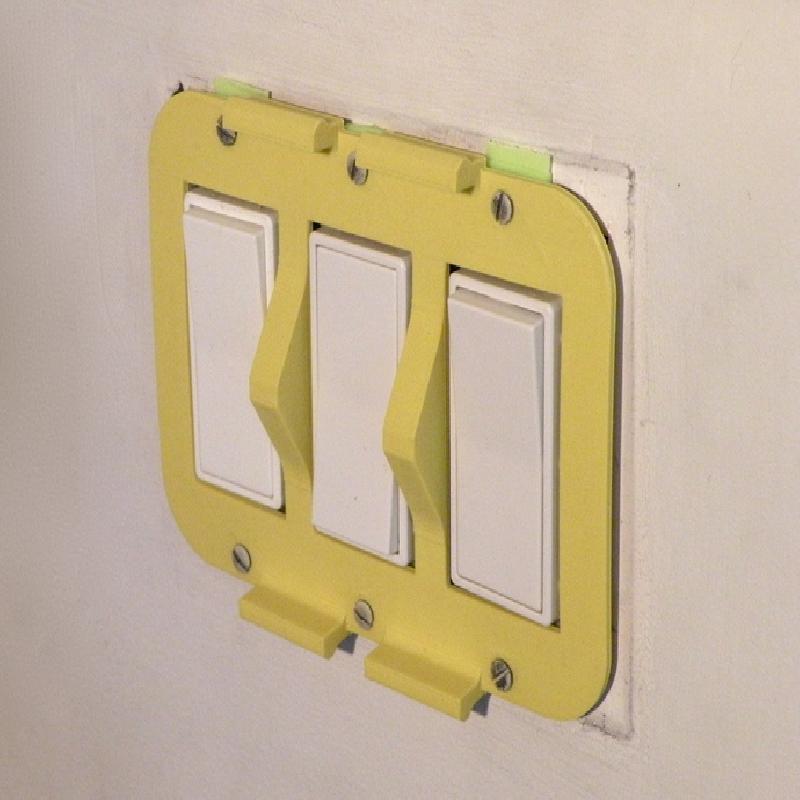
Final Assembly:
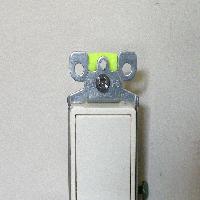
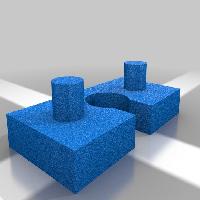
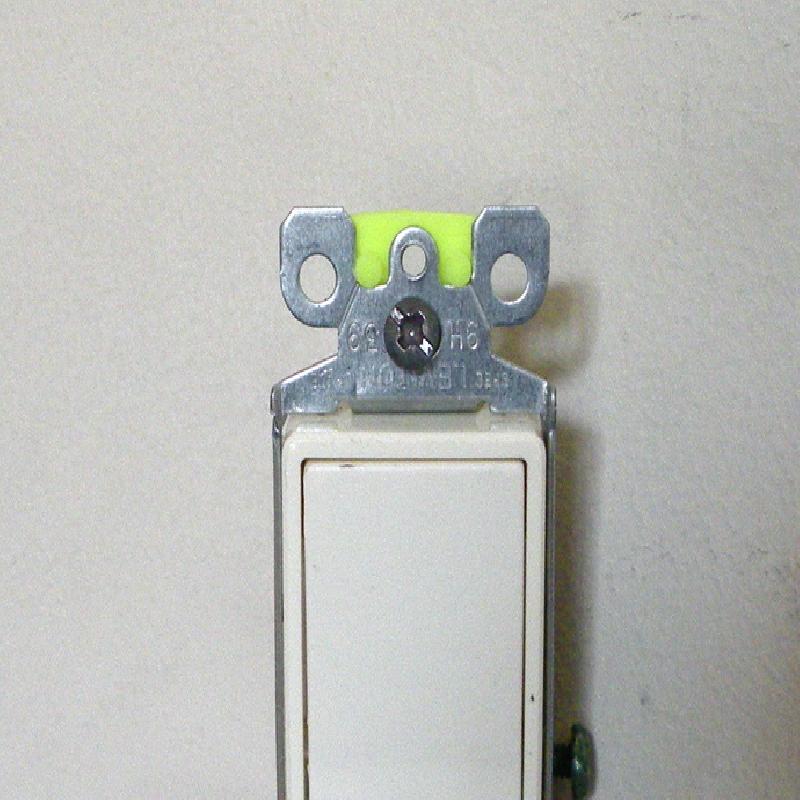
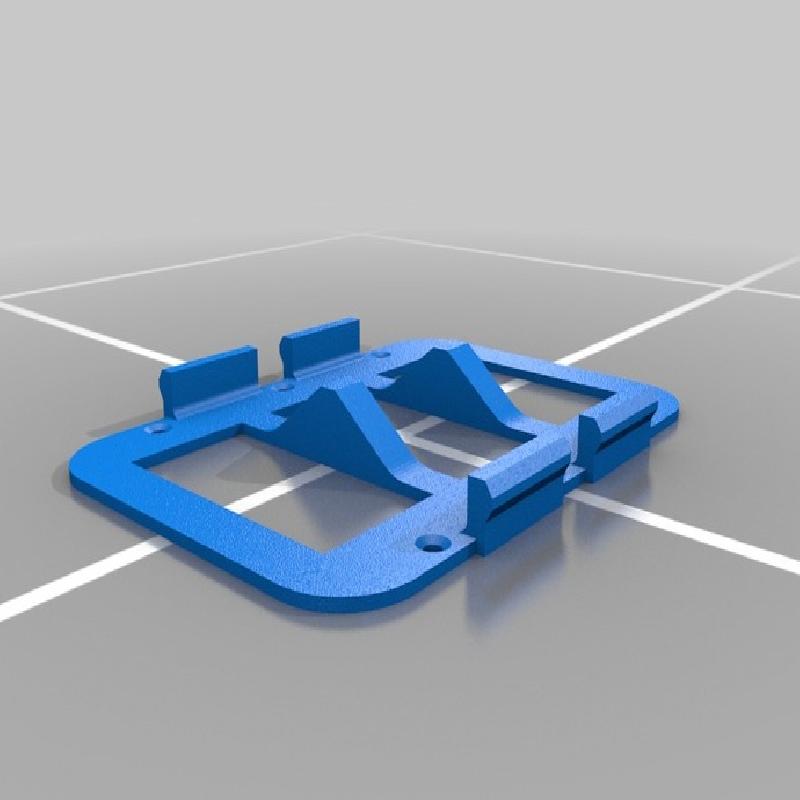
Your rocker light switches will need to be spaced properly from the wall to get the best fit. The distance from the top face of the adapter plate to the wall should be about .250 . If it needs to be spaced further from the wall, you can print the light switch spacer and slip it onto the switch as shown in the example photo.
Lightly tighten the adapter plate screws. If you tighten them too much, the mounting tabs will bend outward making it harder or impossible to snap the box into place.
Slip your buttons into the rings.
Slip the complete assembly onto the adapter plate starting with the bottom tabs and snap into place. The box should be flush with the wall. If there is a gap, remove the adapter plate, and screw the switches closer to the wall. If the tabs cannot snap onto the adapter plate then the swtiches need to spaced further from the wall.
Play Time:
You can now Uppercut your lights on and Body Blow your lights off! You can also Zap your fan on and Hyperspace your fan off!
Optional:
You can make it look even more like an arcade panel by decorating a piece of paper and glueing it onto the lid before the rings are tacked into place. You could even give names to the buttons.