by Kmobrain
FR :
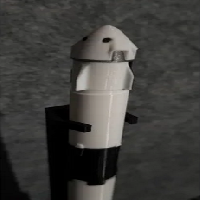
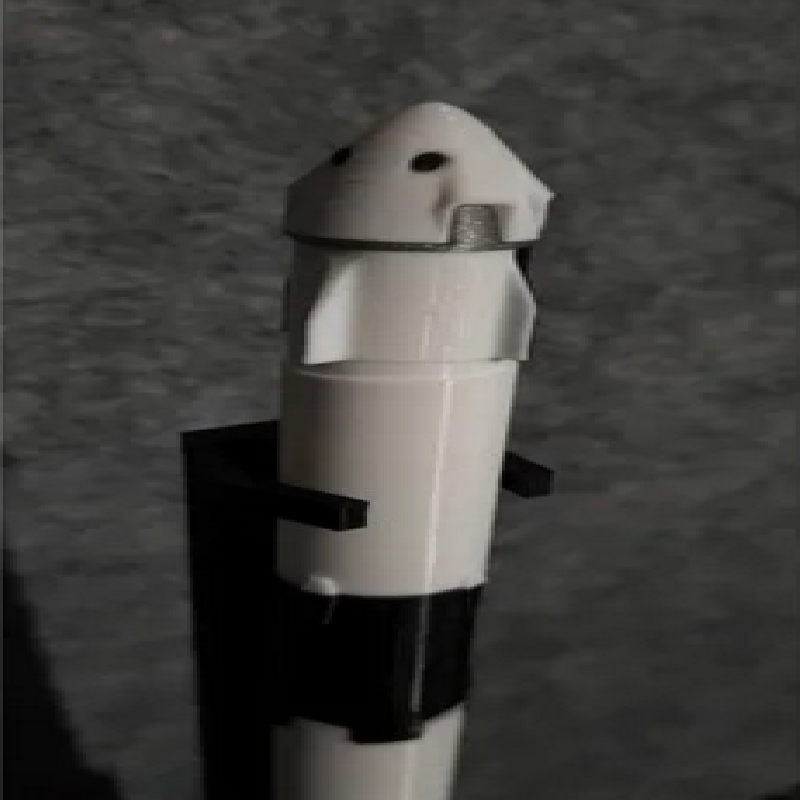
/!\ Le mauvais rendu de l'impression ne vient pas du model mais de mes paramètres d'impression.
Je n'ai pas eut le temps de refaire les impressions pour le moment, de meilleurs photos arriveront plus tard.
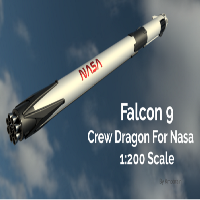
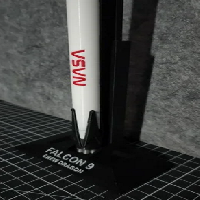
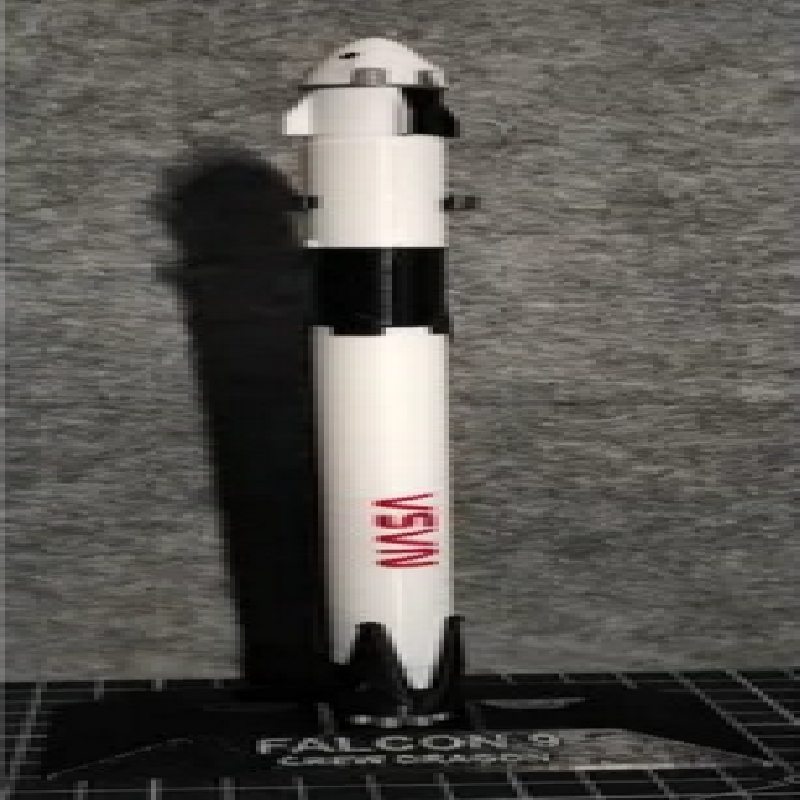
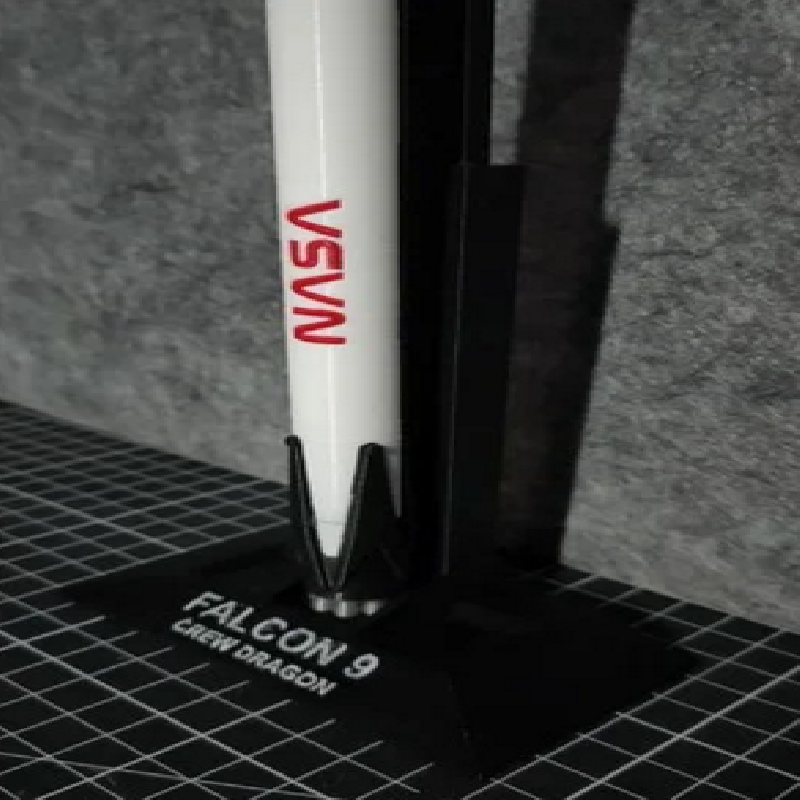
j'ai réaliser le Model de la Falcon 9 Crew Dragon a l'échelle 1:200 pour faire une petites collection des lanceurs a échelles équivalente.
Environ 10h d'impression. 33 cm de haut.
ENG (with google trad :/ ) :
/!\ The bad rendering of the print does not come from the model but from my print settings.
I haven't had time to redo the prints yet, better photos will arrive later.
I made the Falcon 9 Crew Dragon version at 1: 200 scale to make a small collection of launchers with equivalent scales.
Approximately 10 hours of printing time. 33 cm high.
Print Settings
Printer brand:
Creality
Printer:
Ender 3
Rafts:
No
Supports:
Yes
Resolution:
0.2
Infill:
15%
Filament_brand:
ArianePlast
Filament_color:
Black White Grey
Filament_material:
PLA
Notes:
FR : Pour ma part j'ai régler la largeur de buse a 0,36 dans simplify3D pour les petites pointes du premier étage et les câbles noir. Pour l’impression de l'étage 1 le mieux est de mettre les pics vers le haut, et pour le câble le mieux est de l'imprimer a plat sur le bed. ENG (with google trad :/ ) : For me I set the nozzle width to 0.36 in simplify3D for the small peaks of the first stage and the black cables. For the printing of stage 1 the best is to put the peaks upwards, and for the cable the best is to print it flat on the bed.
Post-Printing
Assembly
Vous allez peut-être avoir besoin de poncer les zones de jonction entre les piéces et de coller afin d'avoir une meilleur solidité. Stage 2 > Interstage Interstage > Stage 1 Stage 1 > Cable You may need to sand the joining areas between the parts and glue in order to have better strength. Stage 2 > Interstage Interstage > Stage 1 Stage 1 > Cable